STEP #1: Download our Cartoon, Comic Strip, and Vintage Mascot Brush Libraries. Adobe Illustrator Brushes will come to you as Zipped Folders. Extract All before using in Adobe Illustrator.
STEP #2: Once you have downloaded and extracted the Brush Libraries, they are ready to be used in Adobe Illustrator. Save all files to an external hard drive or cloud-based storage.
STEP #3: Open Brush Libraries through the “Other Library” Option in the Brushes Panel in Adobe Illustrator. Adobe Illustrator Brushes have been organized into Brush Libraries for easy application.
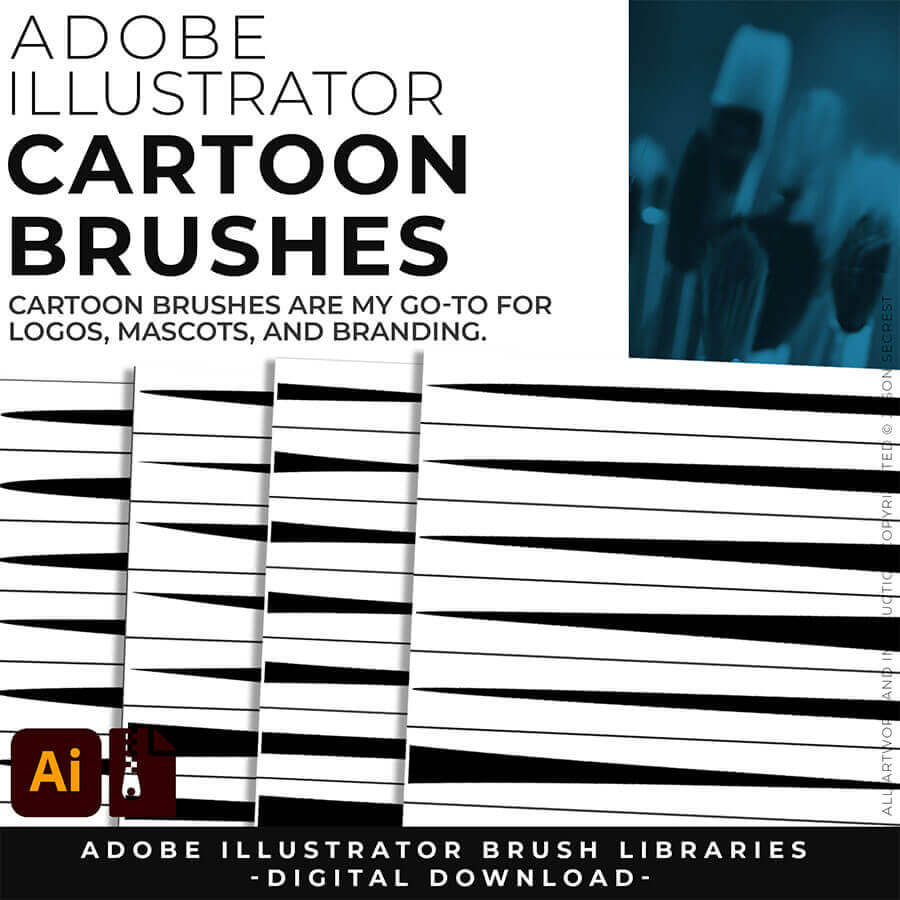
CARTOON BRUSHES: Cartoon Brushes are my go-to for Professional Logos, Cartoons, Mascots, and Branding. Use Cartoon Illustrator Brushes with the Pen, Pencil or Paint Brush Tools to Apply different Line Variation to your Vector Artwork.
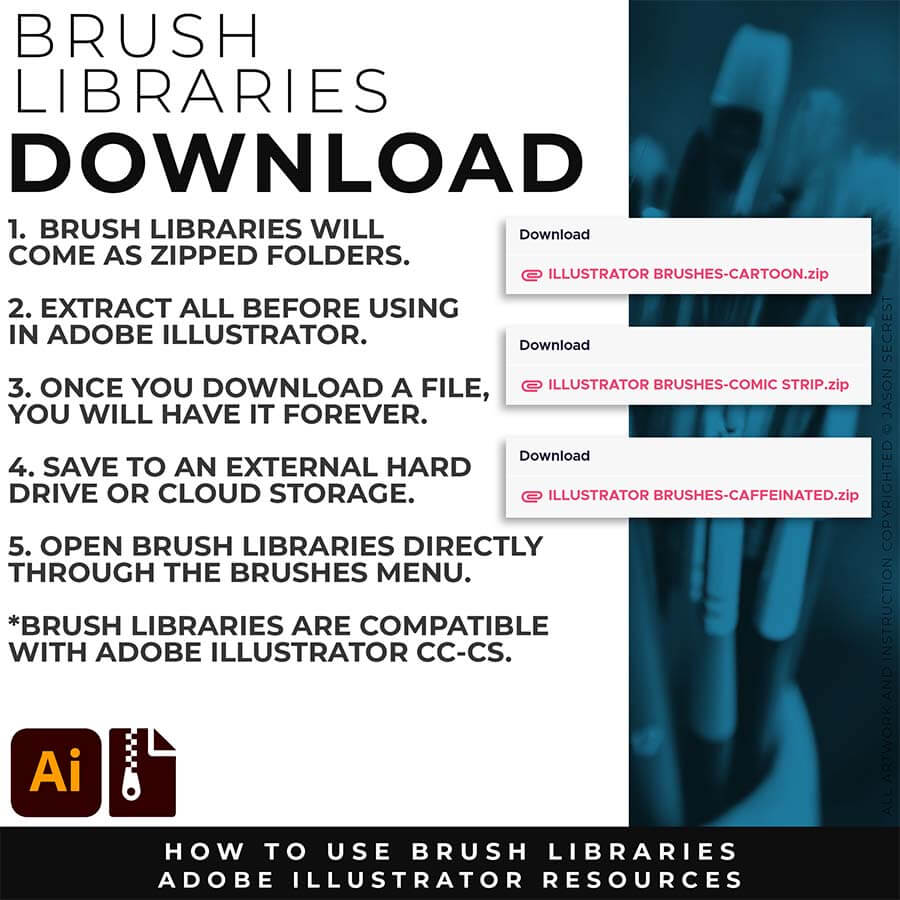
DOWNLOADING BRUSHES: Once you download a file, you will have it forever. Save all files to an external hard drive or cloud-based storage. Start with our Beginner and Resource Guides to understand how to save, apply, and edit in Adobe Illustrator.
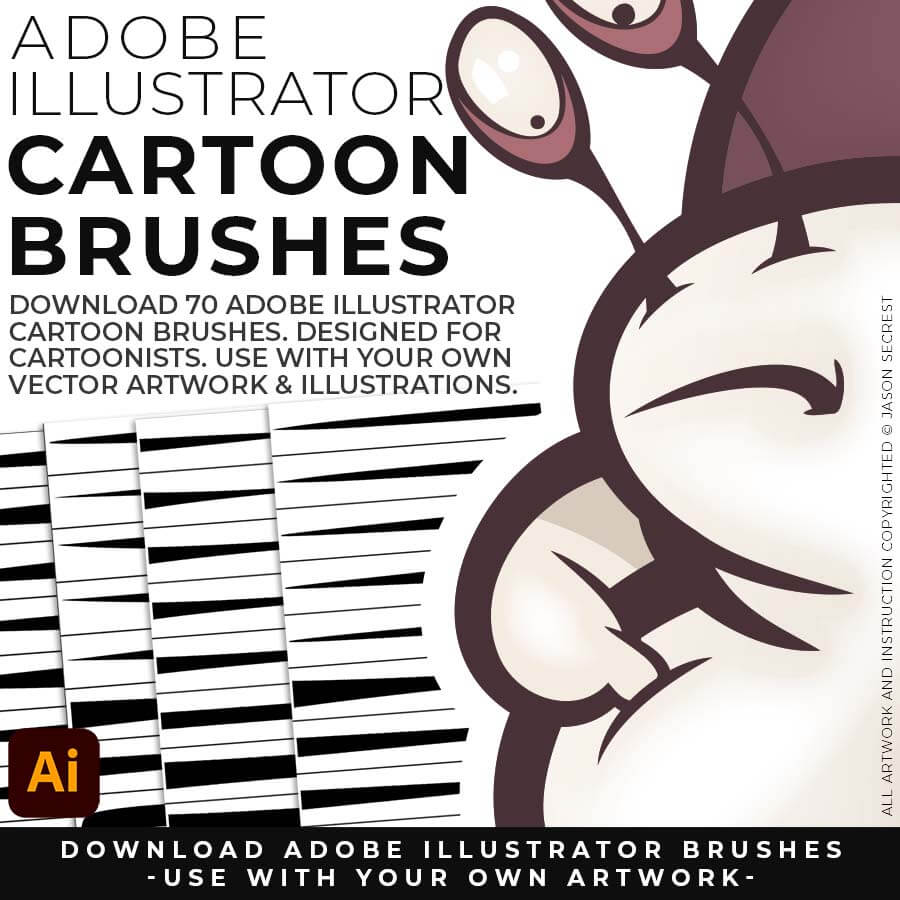
CARTOON BRUSHES: Cartoon Brushes are my go-to for Professional Logos, Cartoons, Mascots, and Branding.
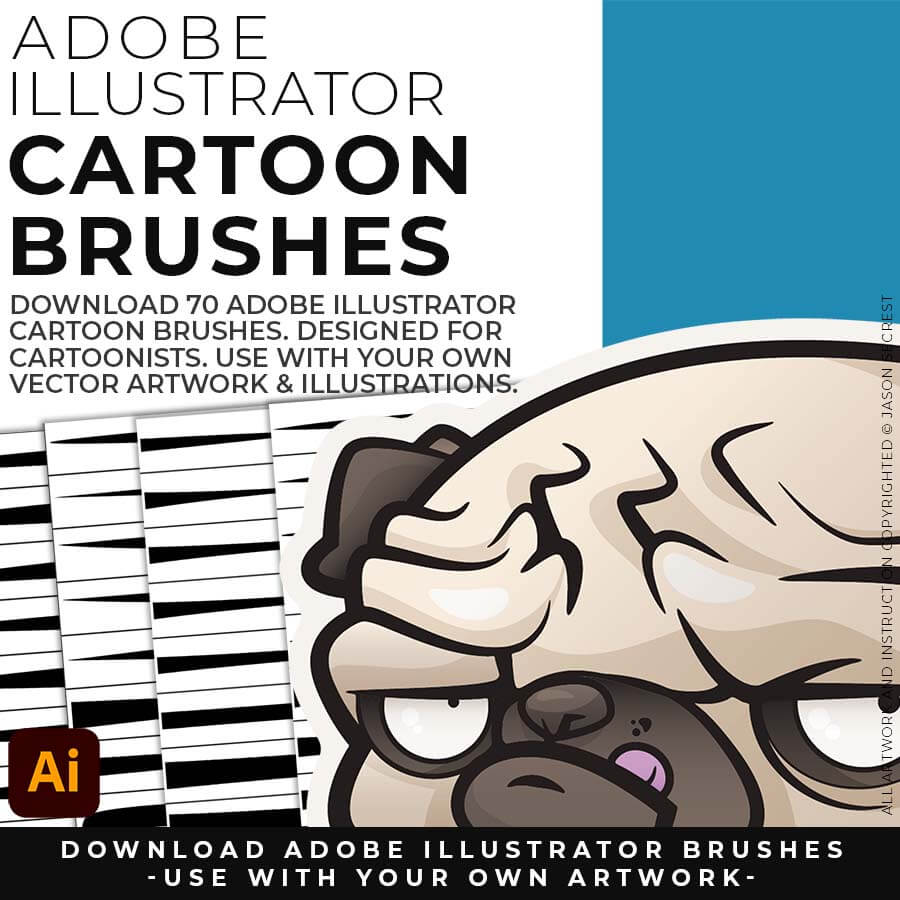
CARTOON BRUSHES: (Updated) Libraries are Pressure Sensitive for those of you looking to apply brushes use with your tablet.
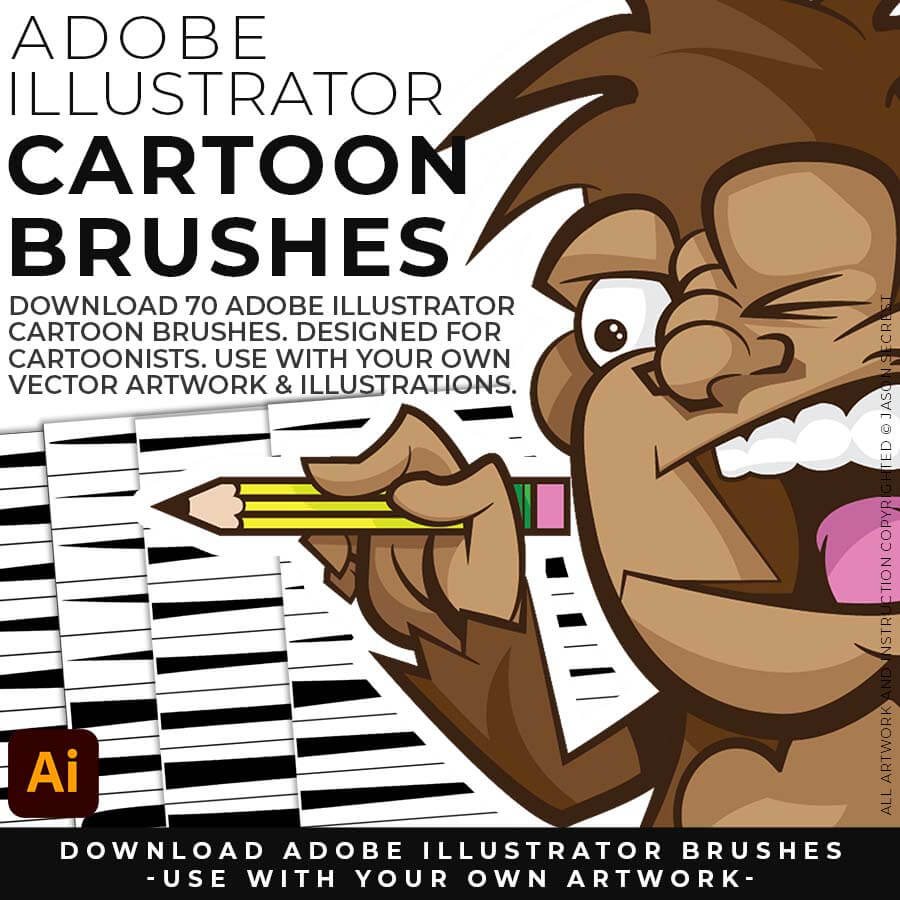
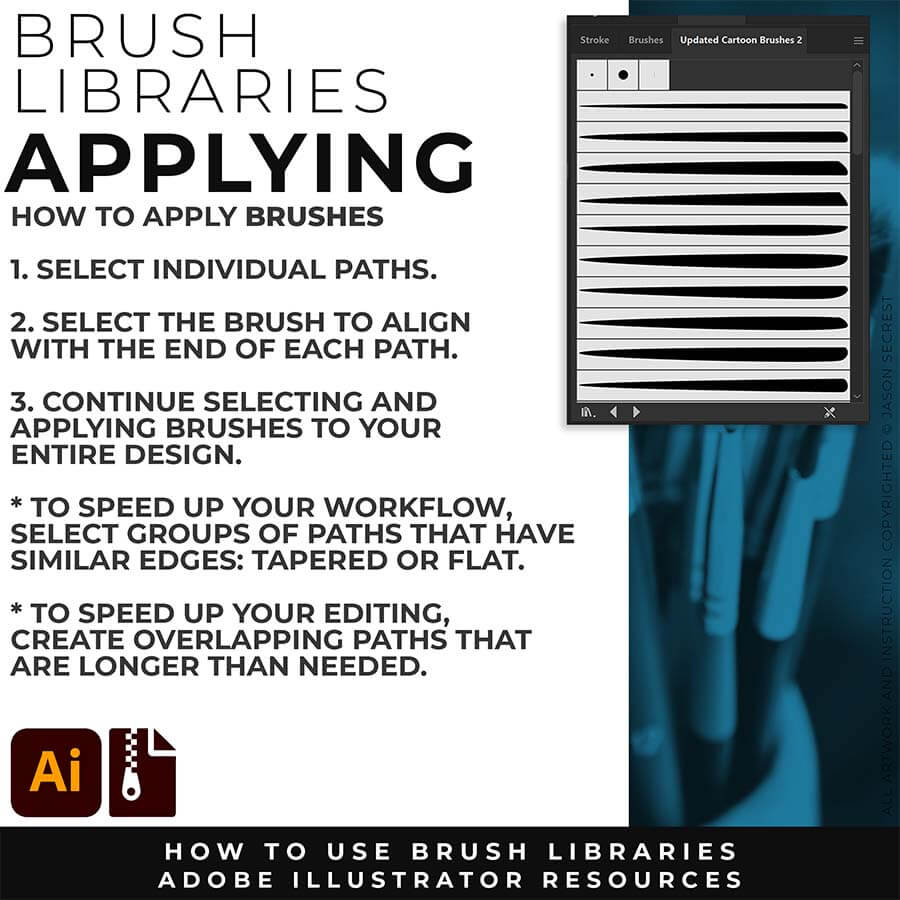
CARTOON BRUSHES: Includes Updated Cartoon, Cartoon 2, and Original Cartoon Brush Libraries.
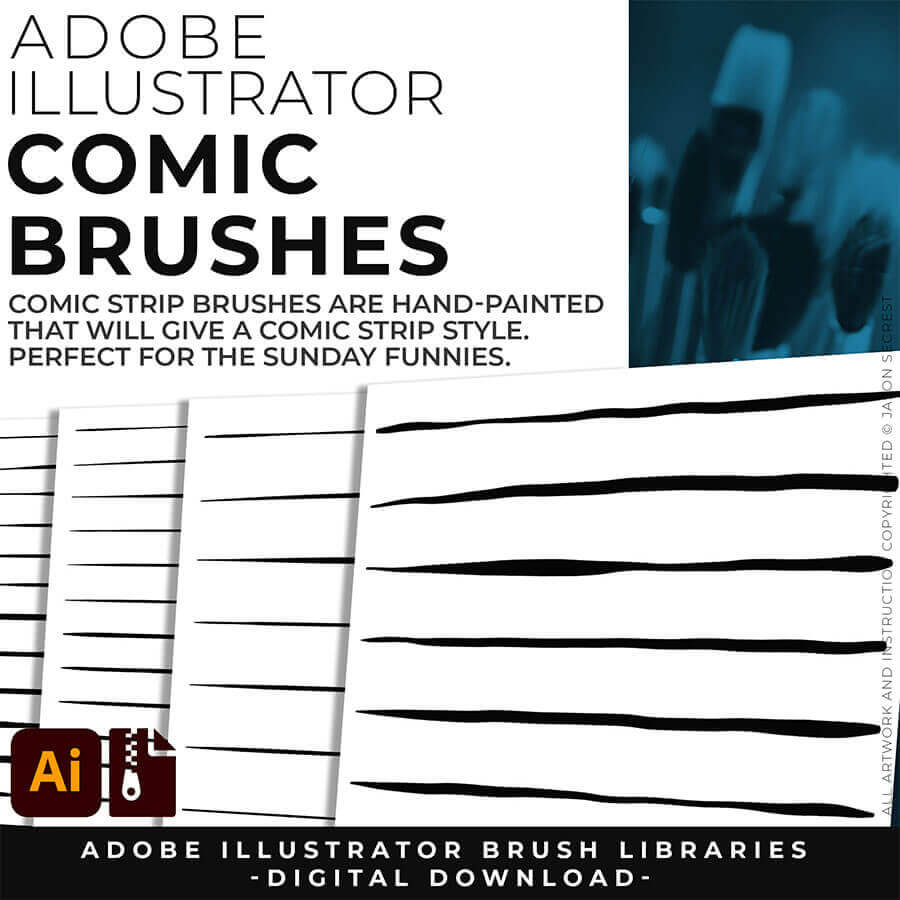
COMIC STRIP BRUSHES: Hand Painted + Comic Strip Brushes to get a lived in feel back into your Vector Art. Comic Strips and Hand Painted are painted based on some of my favorite artists and cartoonists. These brushes are designed to look ready for the Sunday Paper.
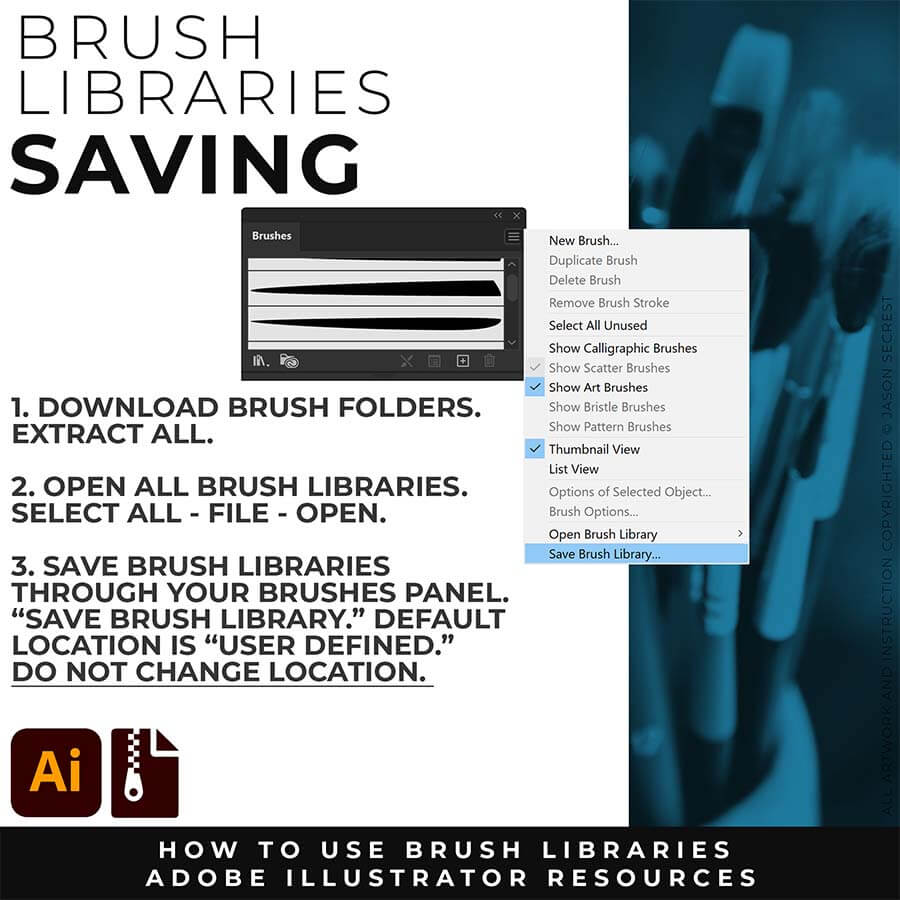
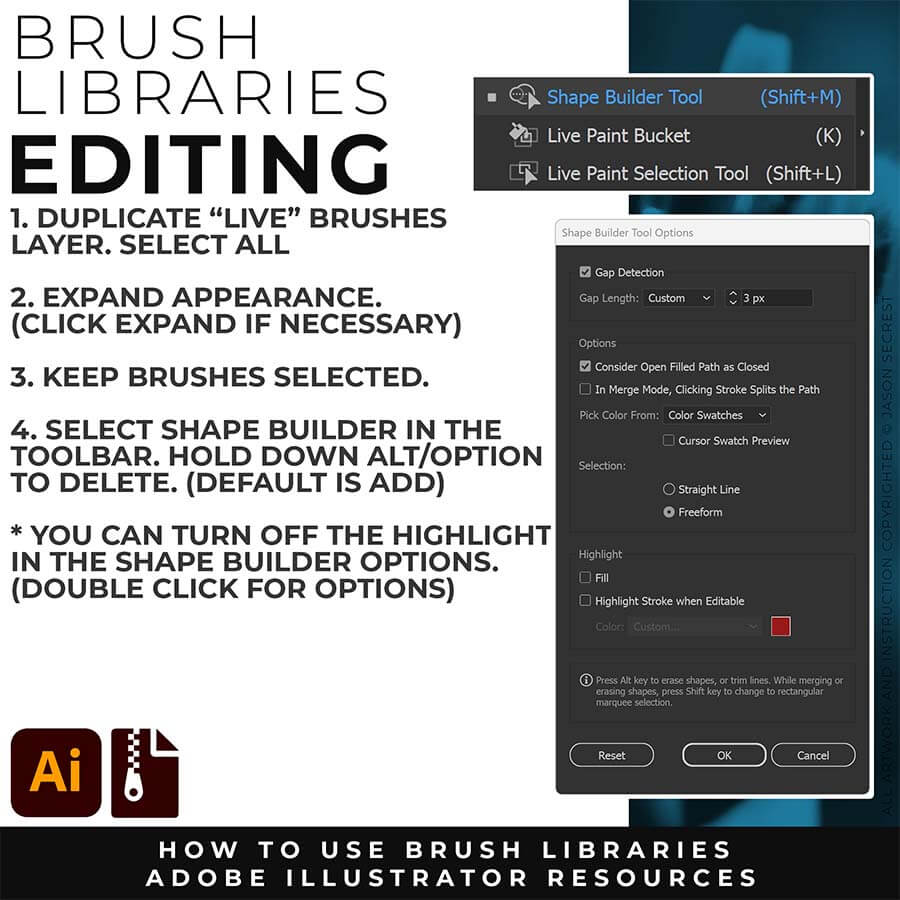
SAVING BRUSHES: Open All of the Brushes Libraries in Adobe Illustrator. (File - Open). Have your Brushes Panel Open. Under Window - Brushes. Click on Each Illustrator Document and Open the Brushes Menu in the Brushes Panel. Scroll down to Click on Save Brush Library. Default Location = User Defined.
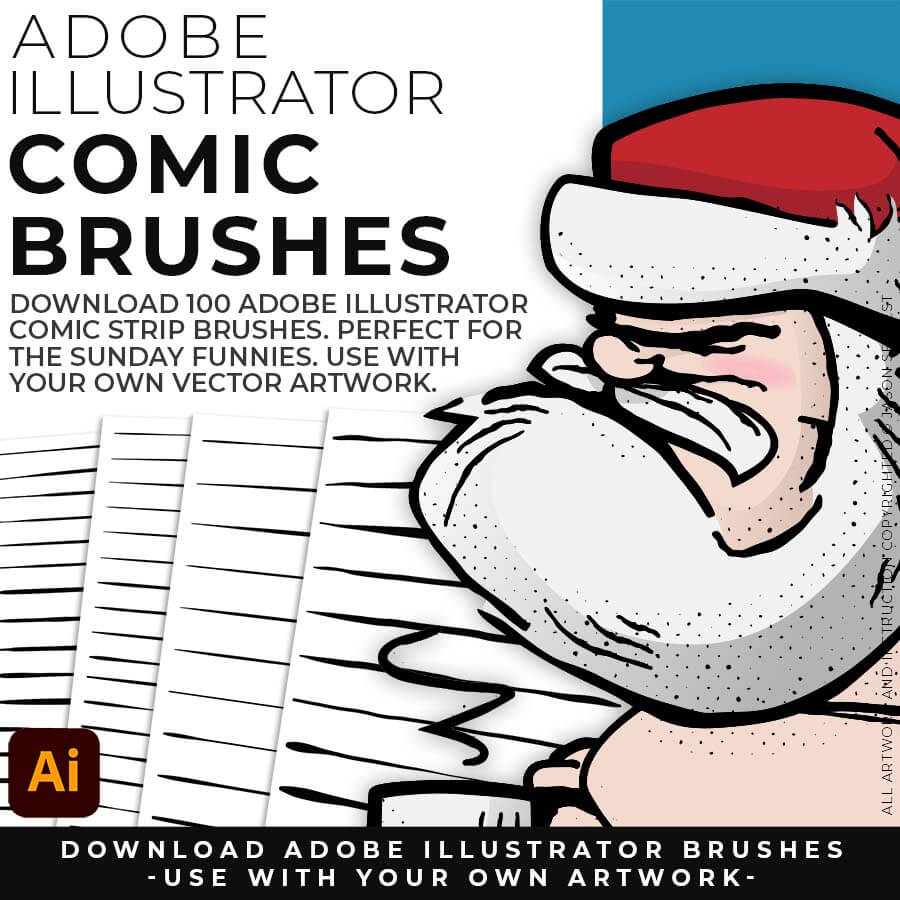
COMIC STRIP BRUSHES: Hand Painted + Comic Strip Brushes to get a lived-in feel back into your Vector Art.
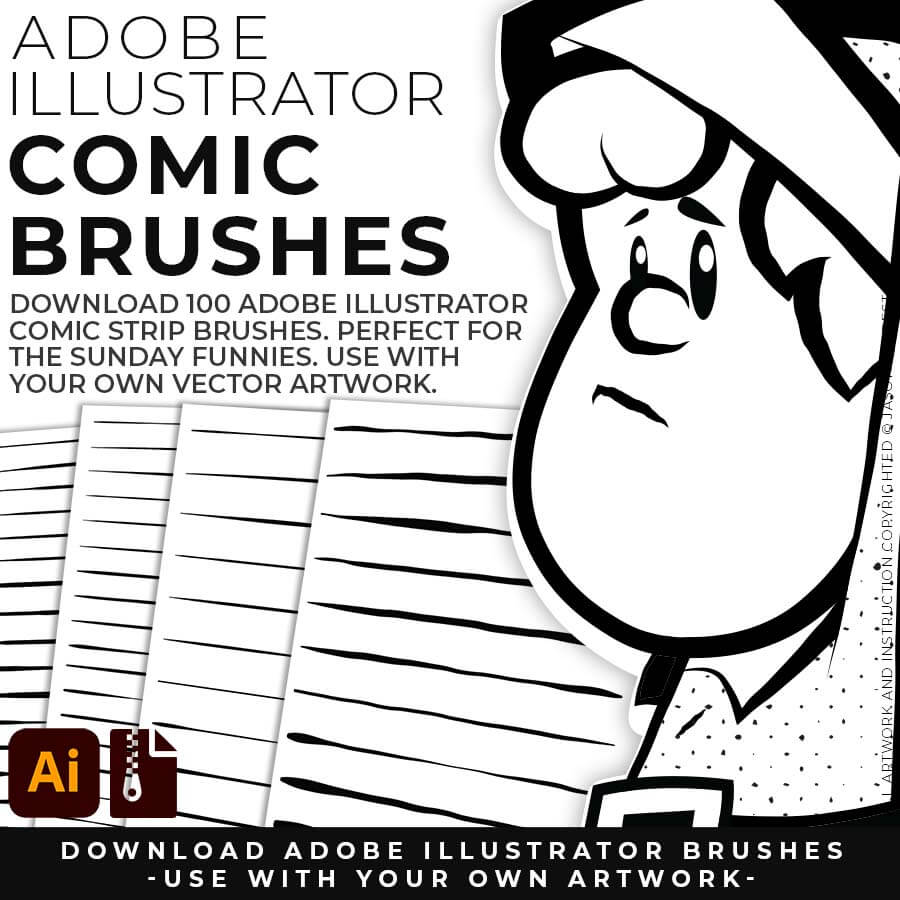
COMIC STRIP BRUSHES: Comic Strips and Hand Painted are painted based on some of my favorite artists and cartoonists. These brushes are designed to look ready for the Sunday Paper.
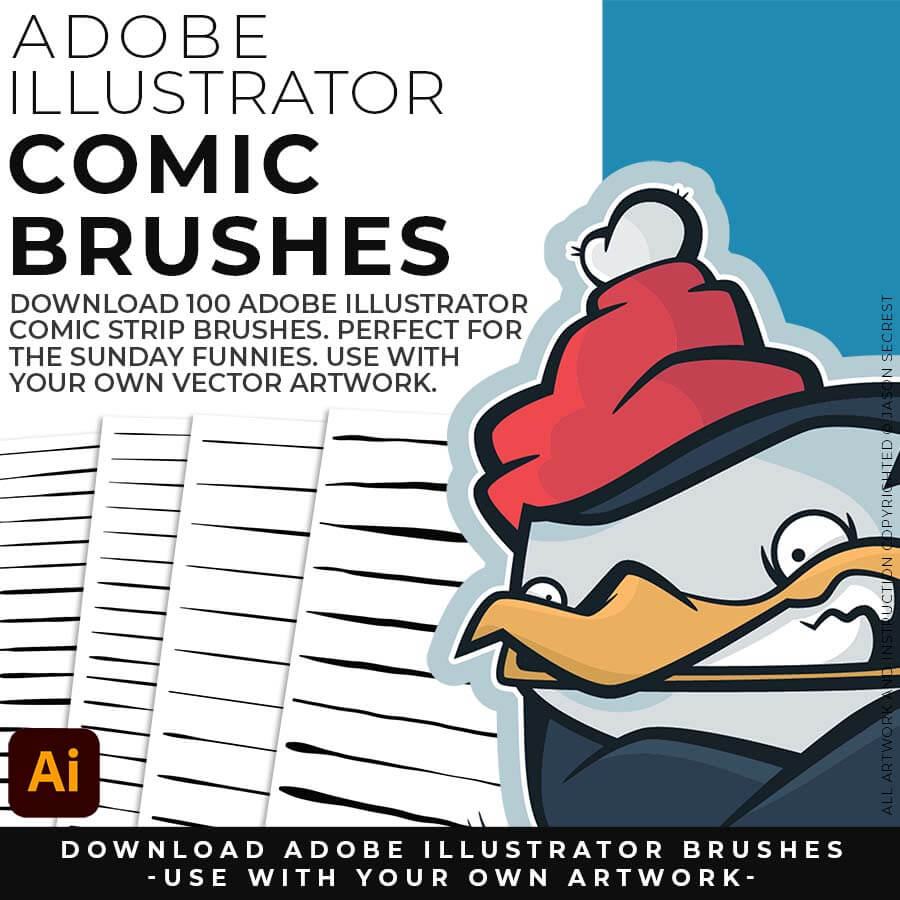
COMIC STRIP BRUSHES: Includes Updated Comic Strip, Hand-Painted, Paintbrush, and Fine Liner Brush Libraries.
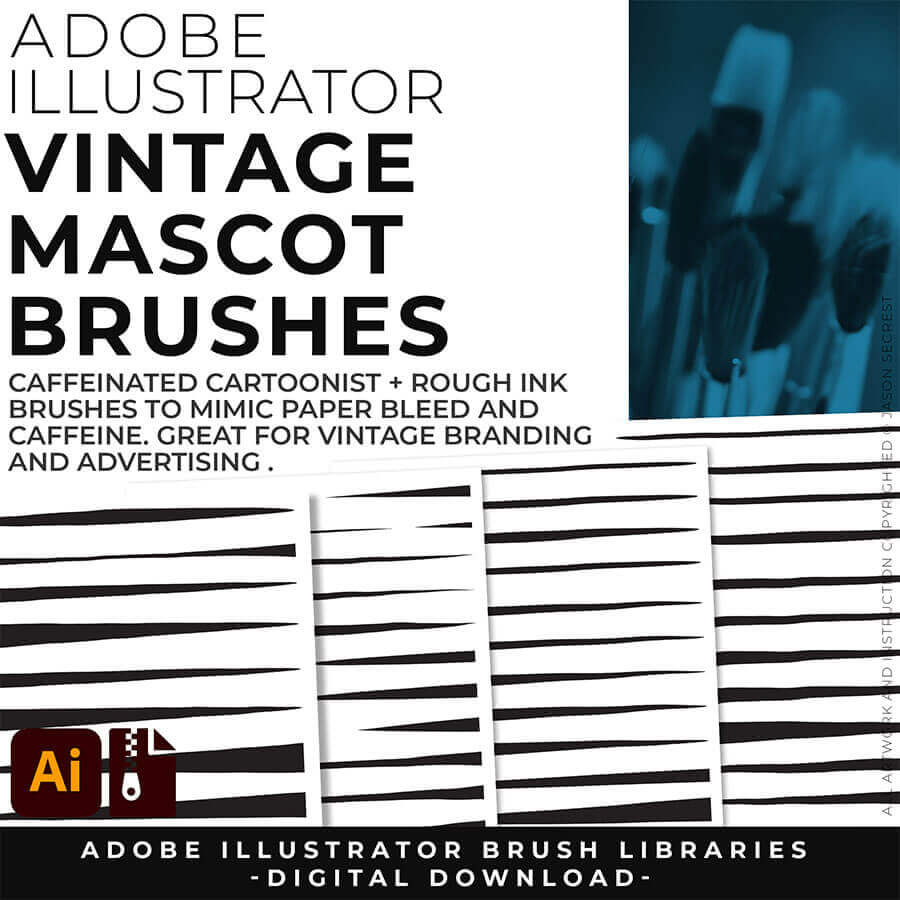
MASCOT BRUSHES: Jittery Hand, Caffeinated Cartoonist + Rough Ink Brushes to Mimic Paper Bleed and Caffeine. Designed to be a little less stiff with your vector art. Use these Brush Libraries to get more of a distressed look or ink bleed back in your own Vector Artwork.
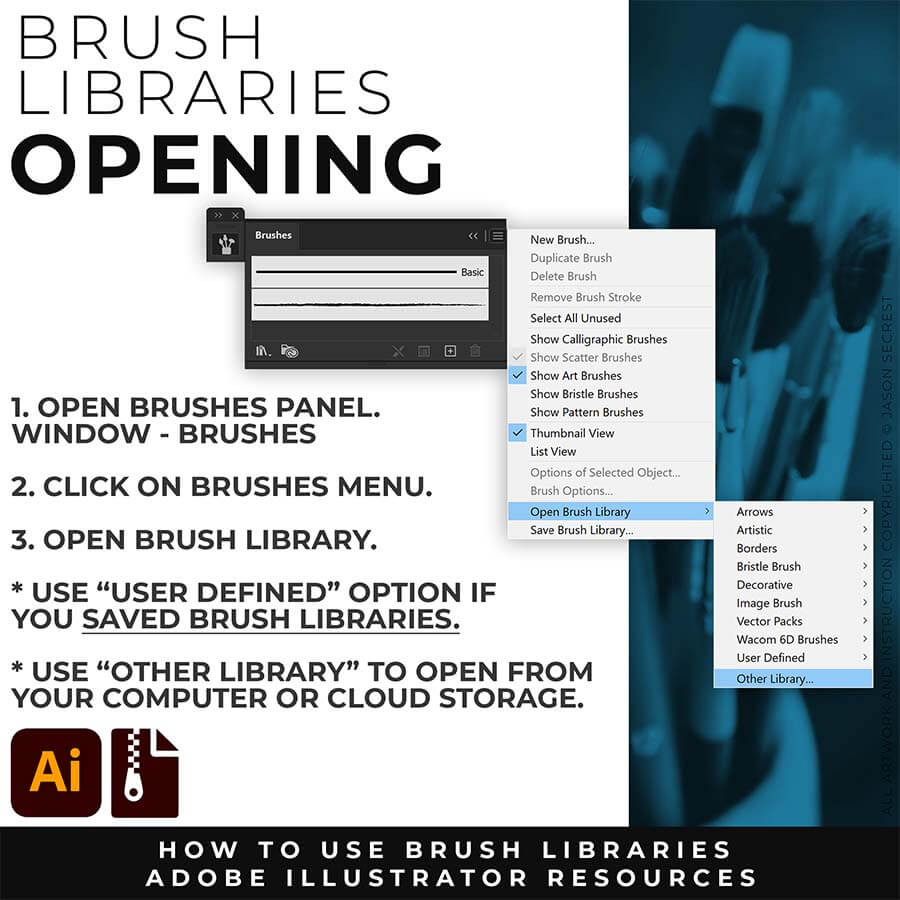
OPENING BRUSHES: Under Window - Select Brushes. In the Brushes Menu, drop-down to Open Brush Library. Hover over it and select "Other Library." A Normal Open Dialogue Box will appear to select any Brush Library to use in Illustrator. Almost all of our step-by-step tutorials on YouTube use this method.
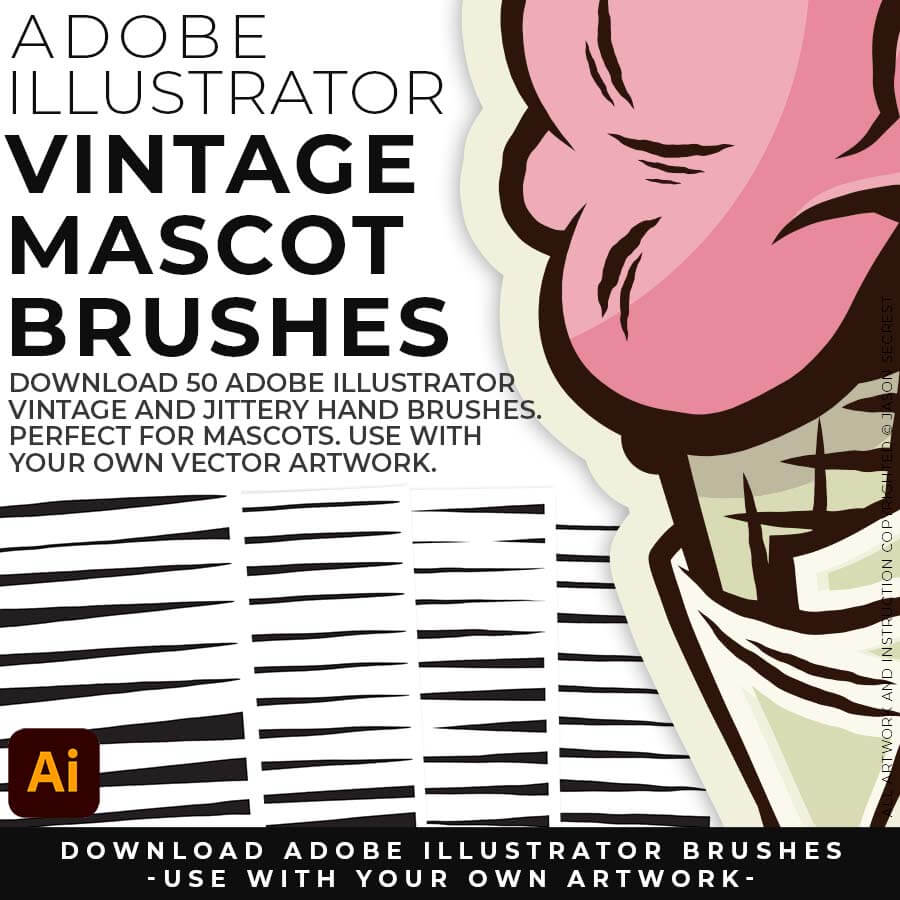
MASCOT BRUSHES: Jittery Hand, Caffeinated Cartoonist + Rough Ink Brushes to Mimic Ink on Paper Bleed and a little Caffeine.
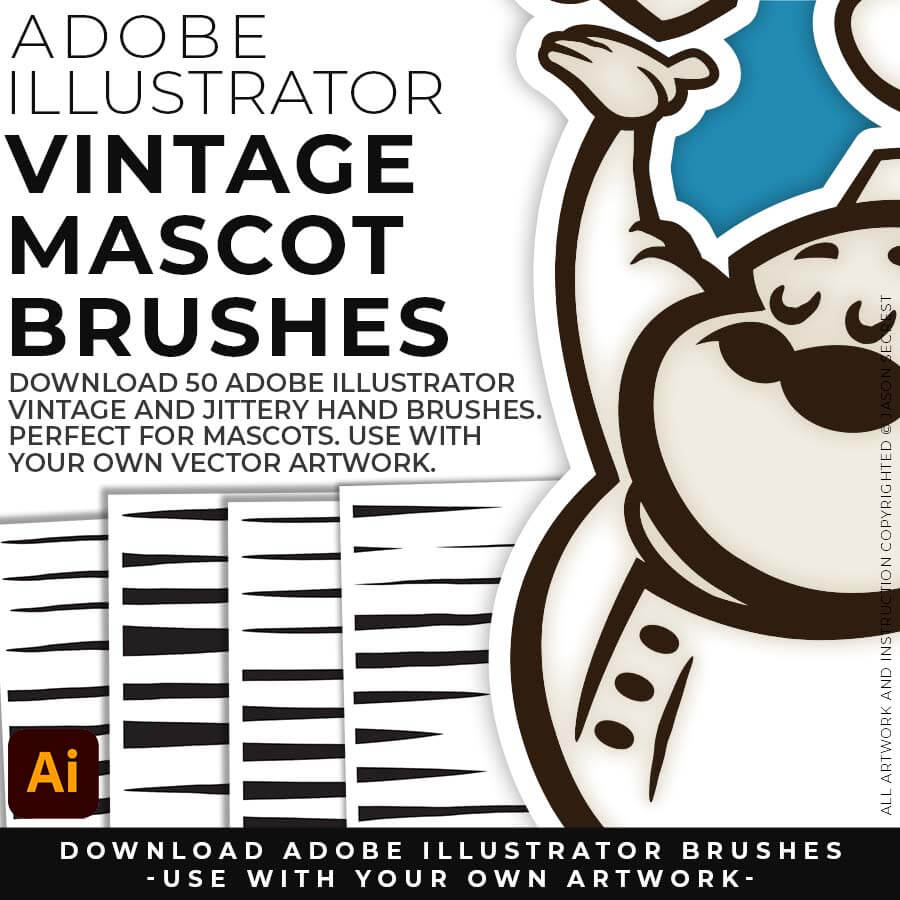
MASCOT BRUSHES: Designed to be a little less stiff with your vector art. Use these Brush Libraries to get more of a distressed look or ink bleed back in your own Vector Artwork.
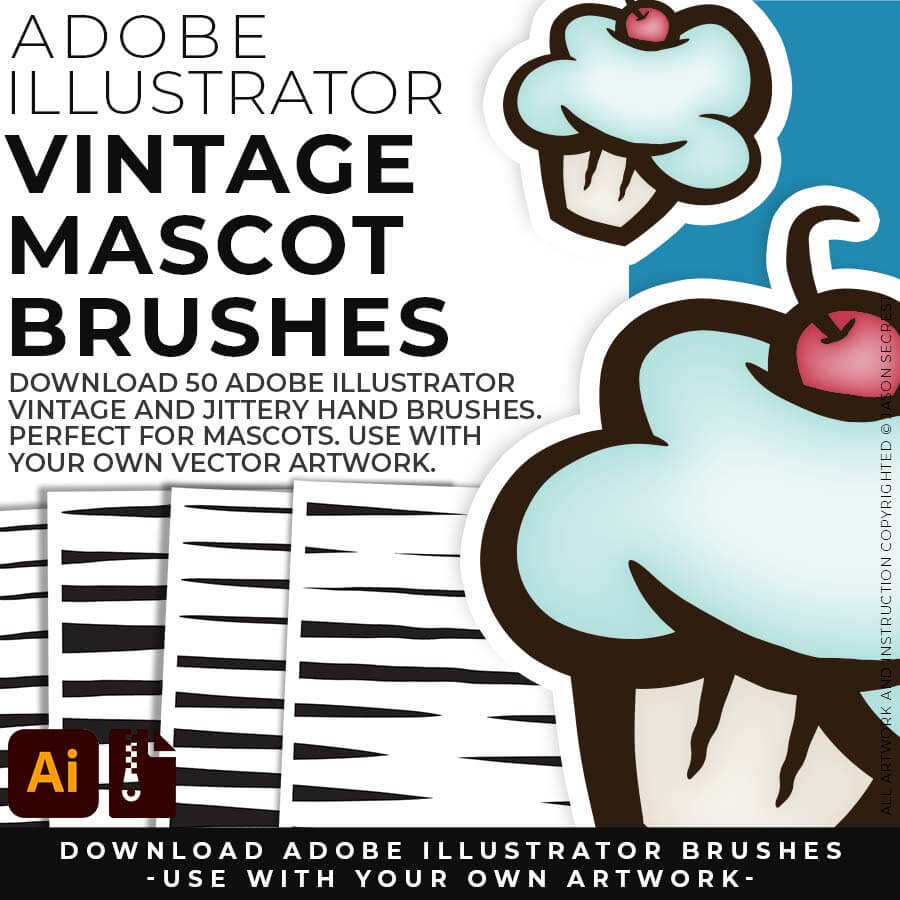
MASCOT BRUSHES: Includes Updated Caffeinated Cartoonist, Rough Ink, and Jittery Hand Brush Libraries.