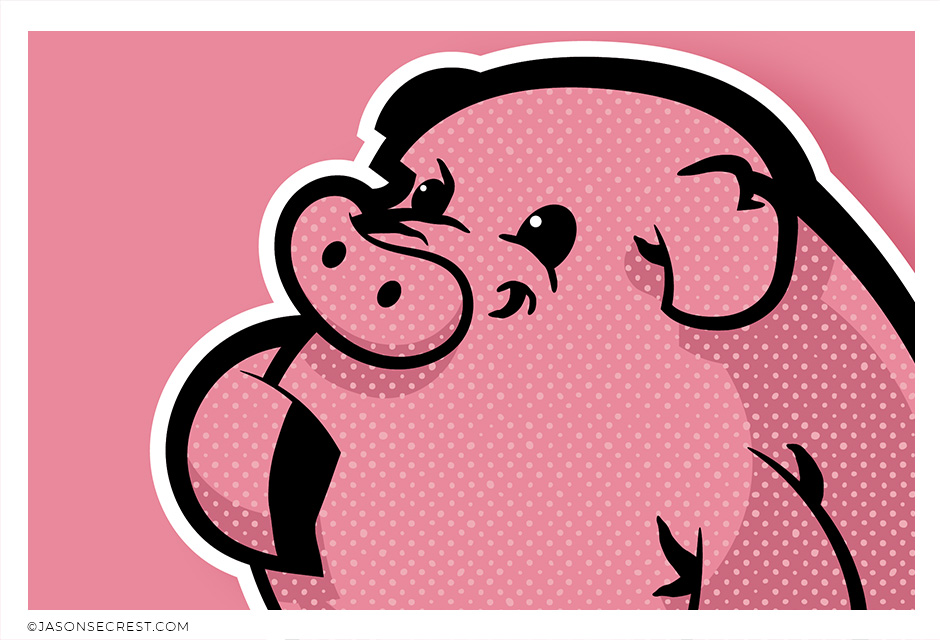
BEGINNER: Understand the Building, Variation, and Advanced Coloring Methods. VIEW PUG TUTORIAL

BEGINNER: Understand the Building, Variation, and Advanced Coloring Methods. VIEW WHALE TUTORIAL

BEGINNER: Understand the Building, Variation, and Coloring Methods VIEW DOG TUTORIAL
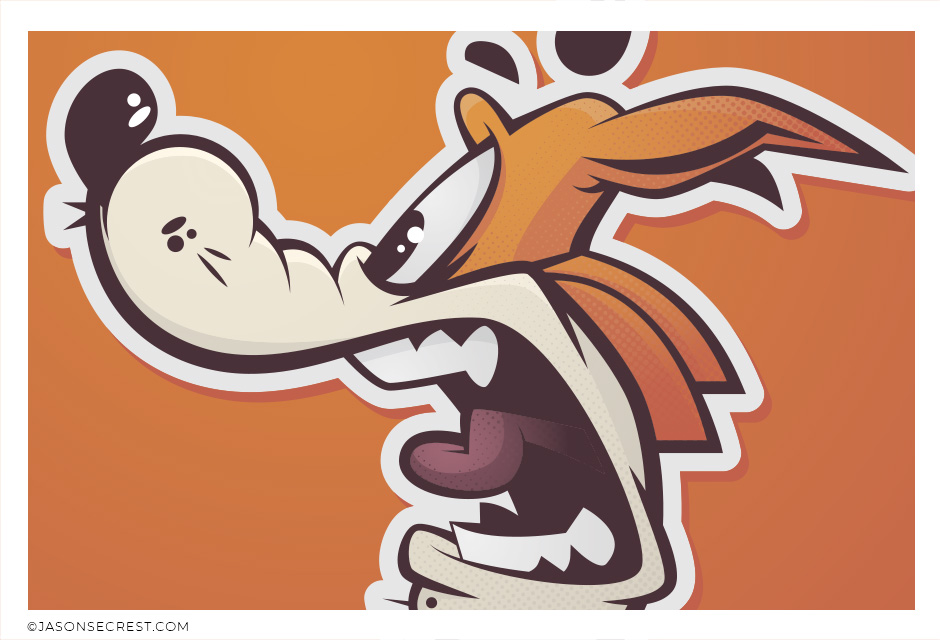
BEGINNER: Understand Building, Variation, and Expanded Editing Methods. VIEW COYOTE TUTORIAL
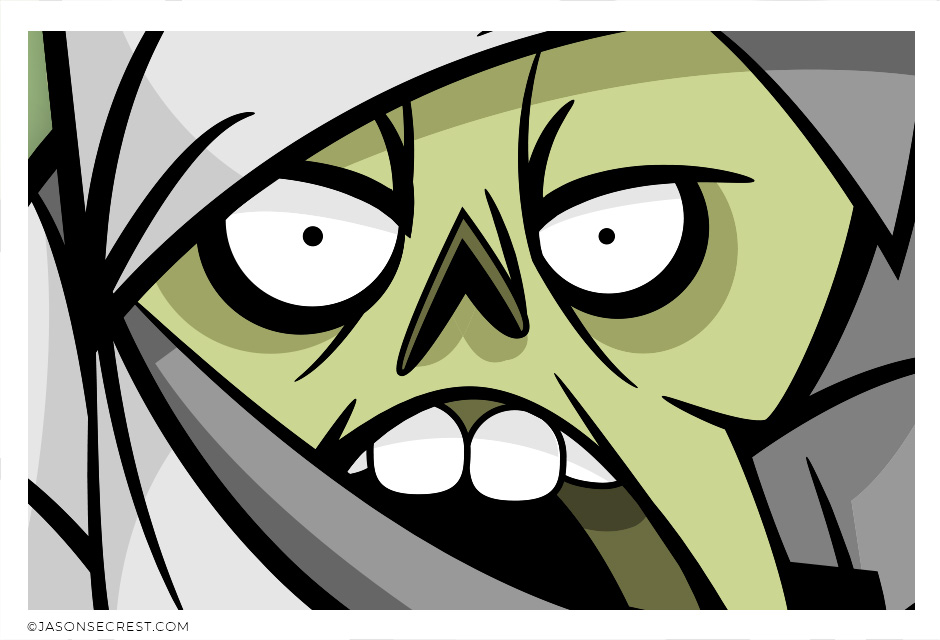
BEGINNER: Understand the Building, Variation, and Advanced Coloring Methods. VIEW MUMMY TUTORIAL
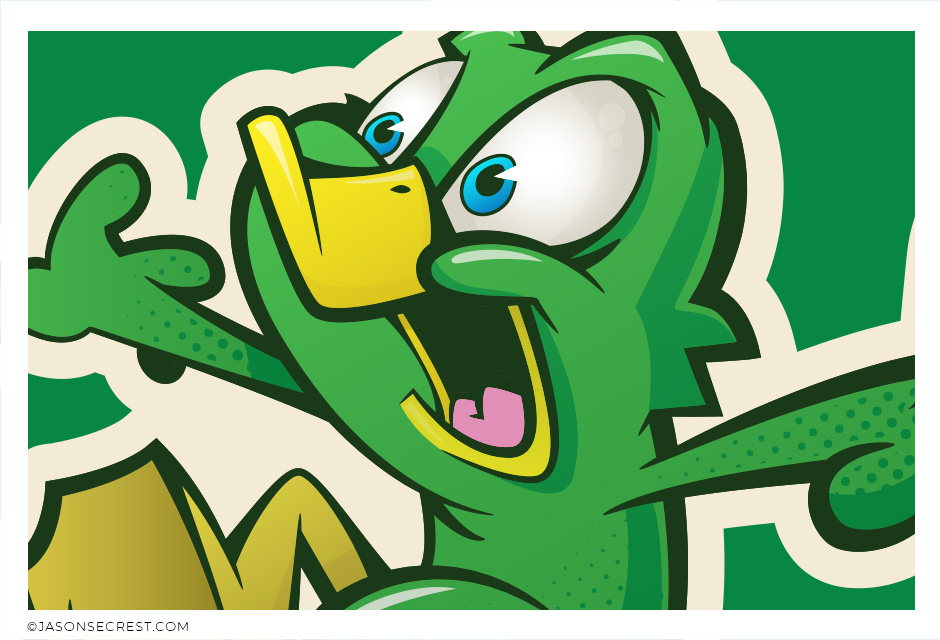
BEGINNER: Understand Building, Variation, Editing, and Basic Coloring Methods. VIEW DUCK TUTORIAL

BEGINNER: Understand Building, Variation, Editing, and Basic Coloring Methods. VIEW ICE CREAM TUTORIAL

BEGINNER: Understand the Building, Variation, and Advanced Coloring Methods. VIEW GATOR TUTORIAL
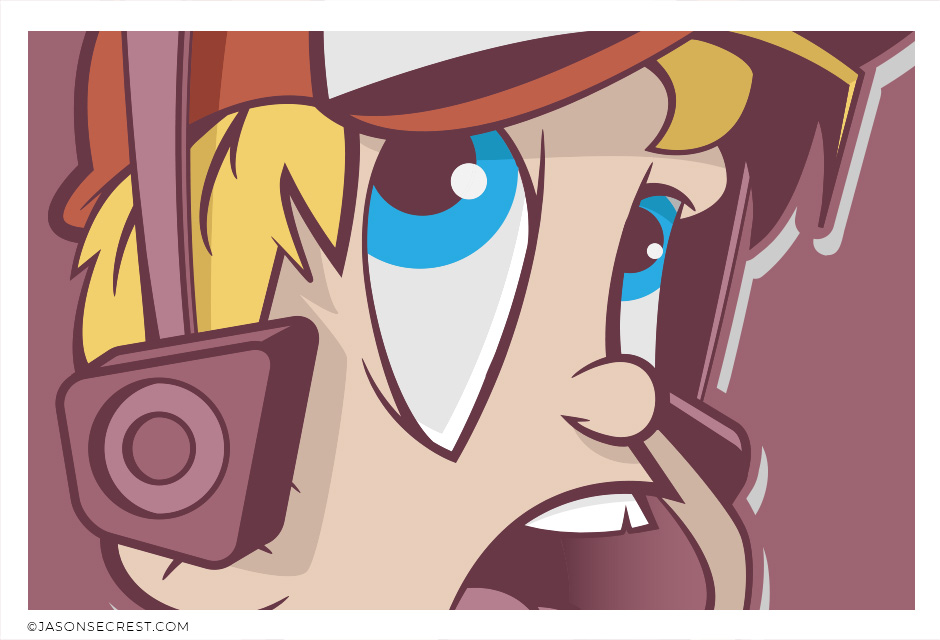
BEGINNER: Understand the Building, Variation, and Advanced Coloring Methods. VIEW KID TUTORIAL
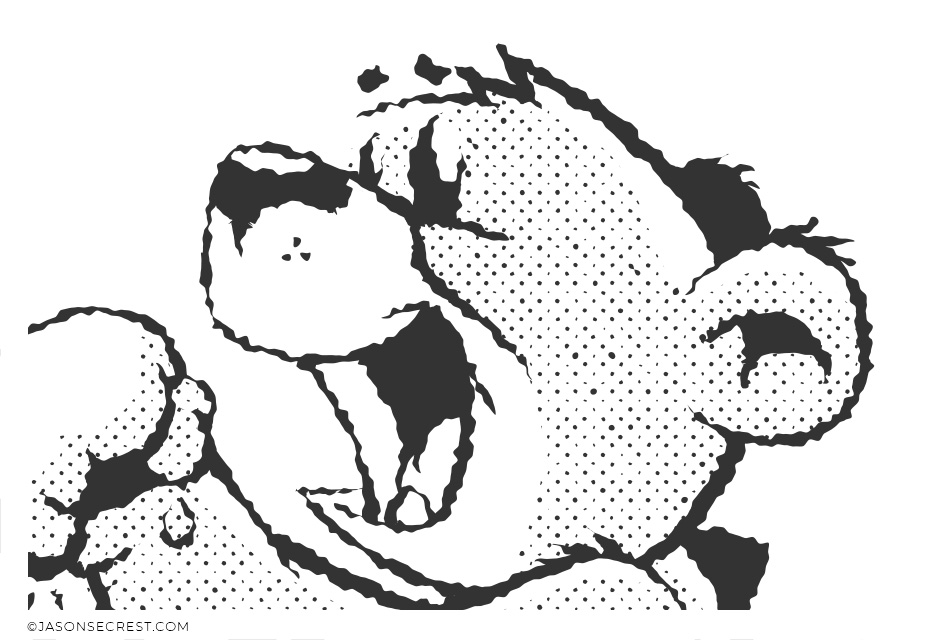
BEGINNER: Understand the Building, Variation, and Advanced Coloring Methods. VIEW TEDDY TUTORIAL

BEGINNER: Understand Building, Variation, and Expanded Editing Methods. VIEW SNAIL TUTORIAL
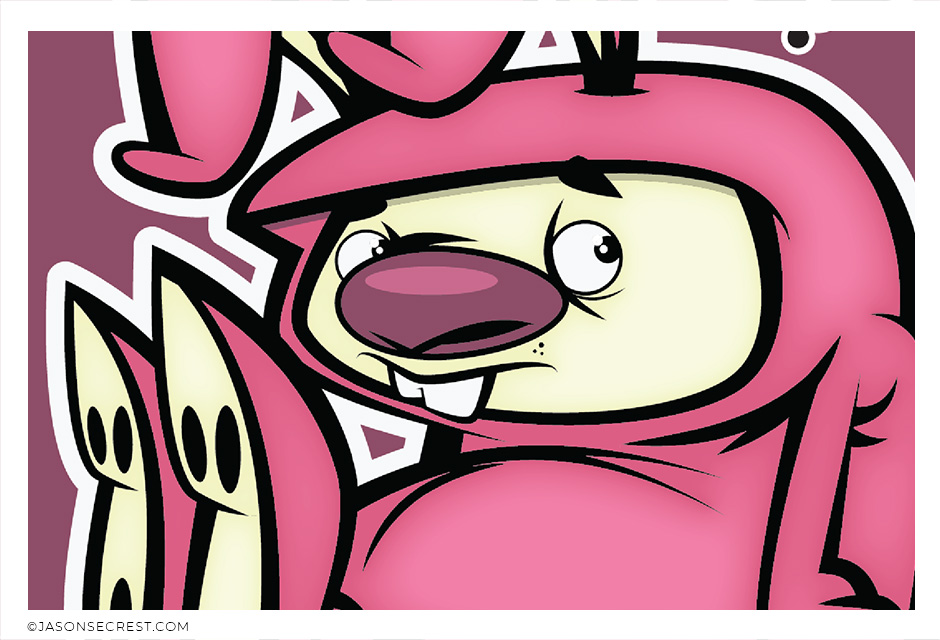
ADVANCED: Understand Variation, Editing, and Advanced Coloring Methods. VIEW BUNNY TUTORIAL

ADVANCED: Understand Variation and Expanded Editing Methods. VIEW KID TUTORIAL

BEGINNER: Understand the Variation and Expanded Editing. VIEW DOG TUTORIAL
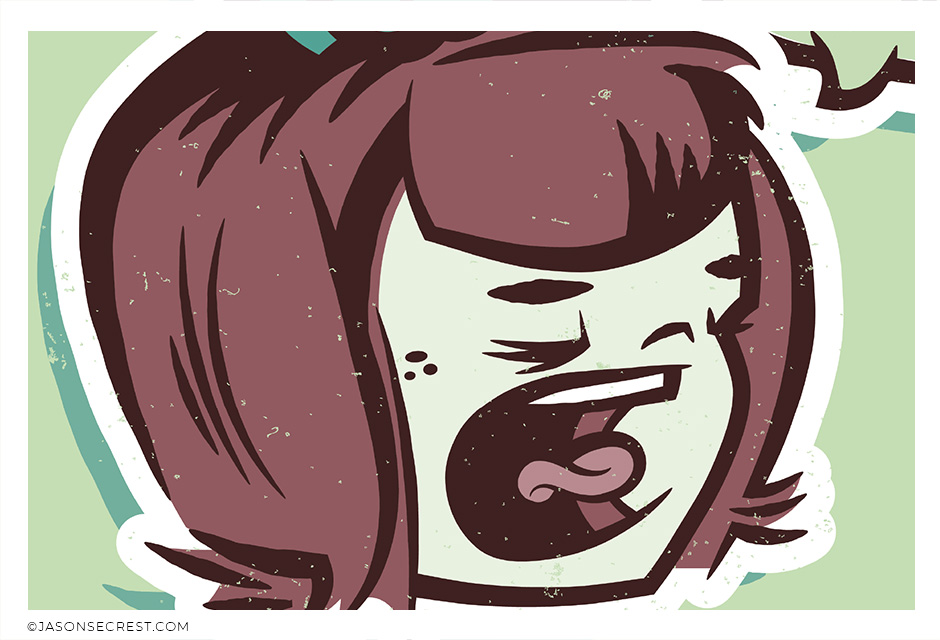
ADVANCED: Understand Variation and Expanded Editing Methods. VIEW GIRL TUTORIAL

ADVANCED: Understand Variation and Expanded Editing Methods. VIEW CHEF TUTORIAL

ADVANCED: Understand Variation, Editing, and Advanced Coloring Methods. VIEW ELF TUTORIAL

ADVANCED: Understand Variation, Editing, and Advanced Coloring Methods. VIEW BUNNY TUTORIAL
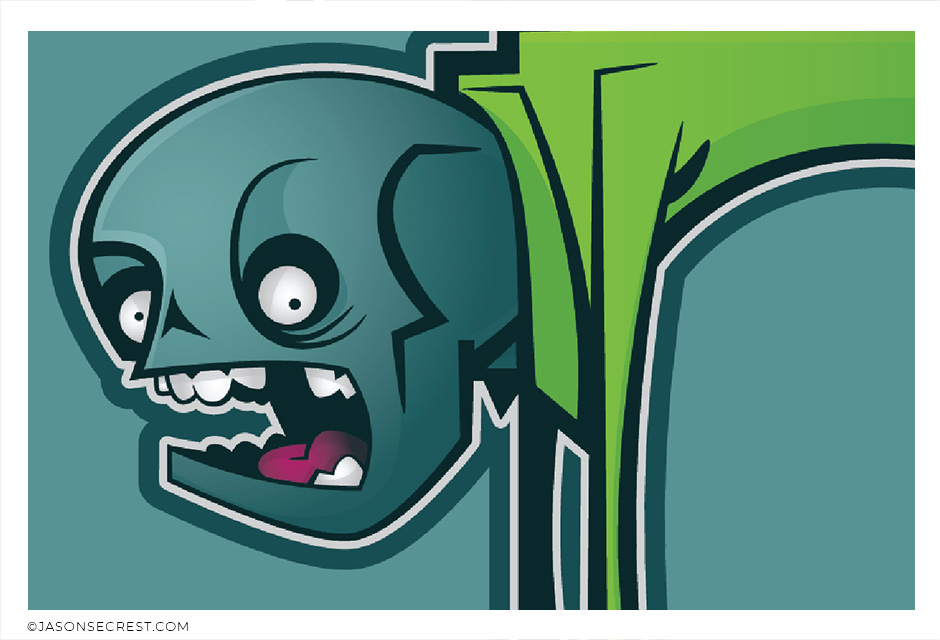
ADVANCED: Understand Variation and Editing Methods. VIEW ZOMBIE TUTORIAL

ADVANCED: Understand Variation, Editing, and Advanced Coloring Methods. VIEW GHOST TUTORIAL
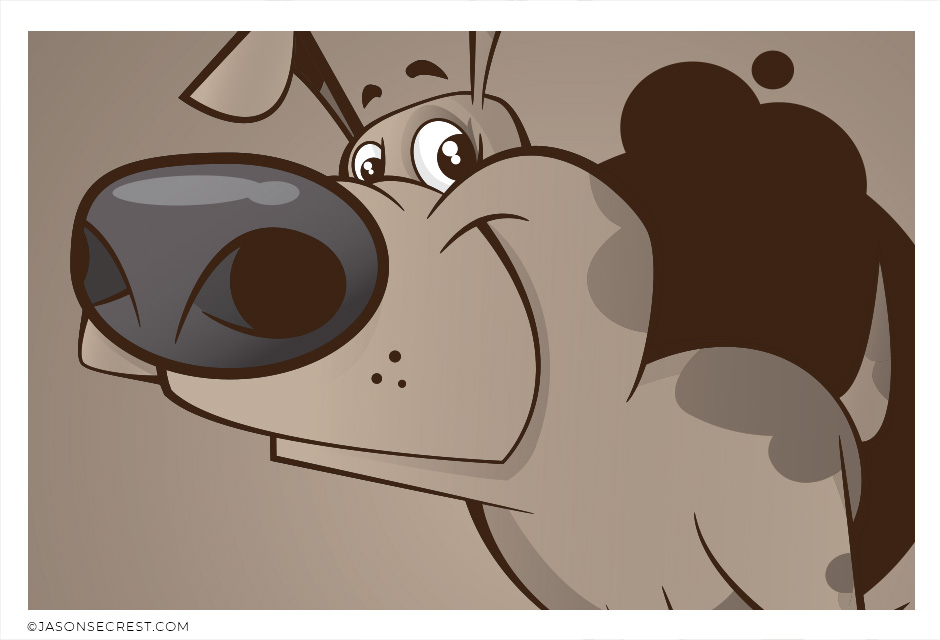
ADVANCED: Understand Variation, Editing, and Advanced Coloring Methods. VIEW PUPPY TUTORIAL

ADVANCED: Understand Variation, Editing, and Advanced Coloring Methods. VIEW MONKEY TUTORIAL
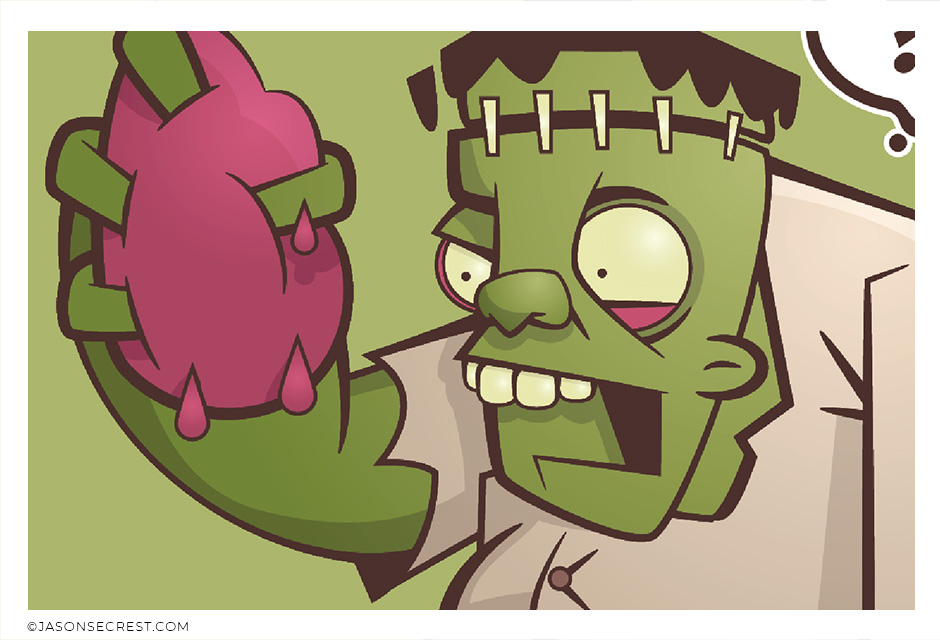
ADVANCED: Understand Variation, Editing, and Advanced Coloring Methods. VIEW MONSTER TUTORIAL
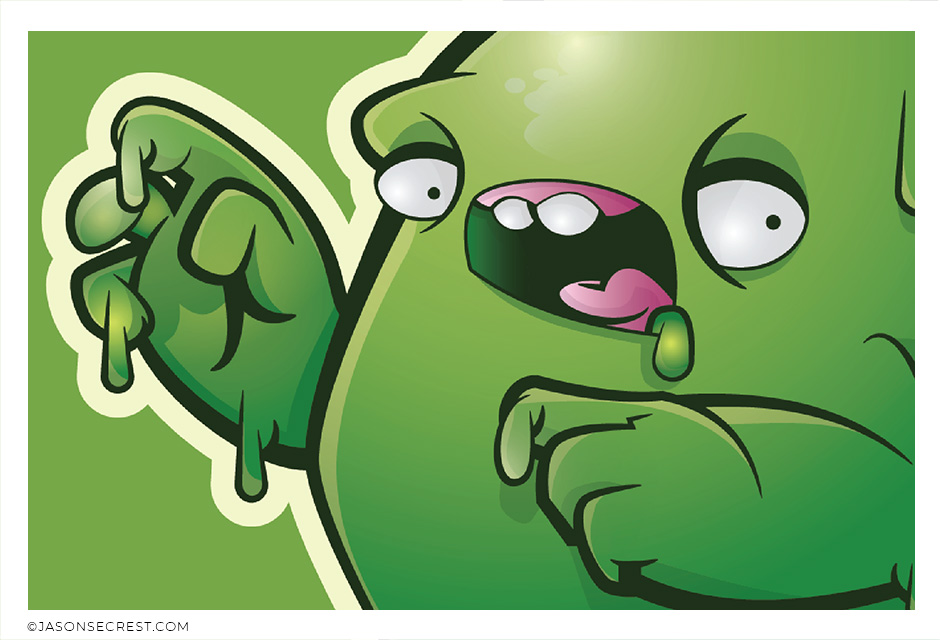
ADVANCED: Understand Variation, Editing, and Advanced Coloring Methods. VIEW SLIME TUTORIAL

BEGINNER: Understand the Building, Variation, and Advanced Coloring Methods. VIEW FROG TUTORIAL
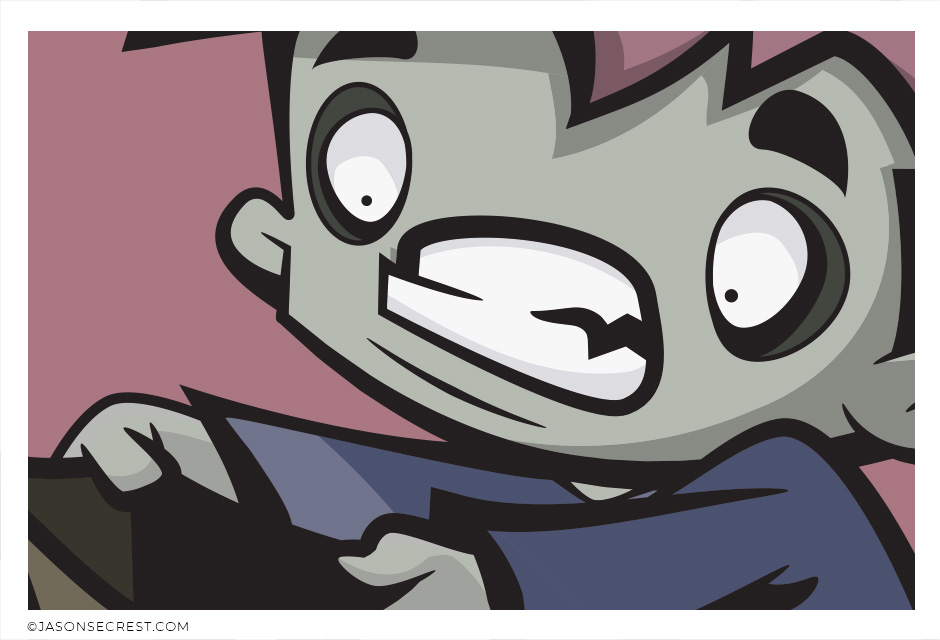
BEGINNER: Understand the Building, Variation, and Advanced Coloring Methods. VIEW CANDY TUTORIAL

ADVANCED: Understand Variation, Editing, and Advanced Coloring Methods. VIEW BUTCHER TUTORIAL
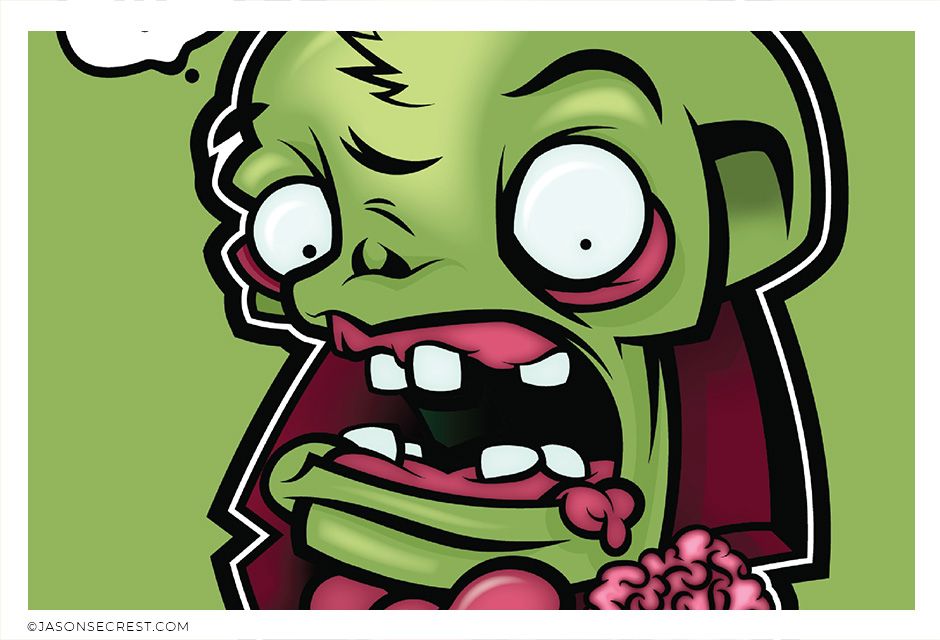
BEGINNER: Understand the Building, Variation, and Advanced Coloring Methods. VIEW ZOMBIE TUTORIAL
Top notch video as usual man. Cheers!Made by Mighty
I really love your channel, thanx for your tutorial really helpful 🙂 Sara Abdalla • 1 year ago
First time dive into Illustrator. This was great, learned a ton! ThanksPhilippe Lachenal
Such a cool drawing ! My favorite in this series !!!! Espermaschine • 1 year ago
I appreciate your videos. I have been an illustrator user for years and have my own ways of doing things. It's great to see other ways of using tools and learning tricks I didn't know were available! It's also good to see you doing the same thing as me in other instances, confirming I'm on the right track!Andy Zenz
Awesome tutorial! I don't think I've picked up something so easily from someone who knows what they are doing. I managed to draw my first vector art and it was a joy! Great work keep it up!blitz145
Great job Jason, you make it look so easy. And it actually was. Thumbs up!Little Richard • 5 months ago
That was a fun tutorial. I really enjoyed it. Thanks for such a detailed, easy to follow tutorial! Daniel Huckabay • 1 year ago
Love your video thanks so much. you blow Lynda.com out of the water!!!!Steve Yensel
Brilliant video. So much great info packed in here. I'm just getting started drawing cartoons with my Wacom tablet, and this was a huge help. Thumbs up and thanks!Dorian Staten
Wow Thanks Jason...was really struggling with making images with basic shapes. Your tutorial is helping me out!!Kishor Rajani
thanks a lot you are really one of my favorites, I like the steps you give us, and I'm so thankful for that effort you do for helping us :)Wessam Lotfi
Keep up the good work Jason. I’ve been doing Lynda.com tutorials for a few months now and I got more out of your videos than what I’ve received at Lynda. Keep it up and Thank You!!bobby jacobs • 1 year ago
These tutorials are amazing. Just started using illustrator and really glad I found your channel. The only videos that explain everything step by stepAida Stan
You are definitely one of the best teachers I've found dealing with start to finish creative process. Great work!!!Jasen Fisher
Thank you loads! Compared to other tutorials, yours are just really well-explained and easy-to-follow. Can totally see that you've got a passion for what you're doing and that's just wonderful! 🙂 Keep it up, you're doing an amazing job. Yulia Kachurova
Thank you so much man, I loved the way you explain this, I spent days looking for a good tutorial vid, thanks a lot, gonna keep watching your videos!!!Karel Marccenaro

