STEP #1: DOWNLOAD TEXTURES. Adobe Illustrator BMP Textures will come as Zipped Folders. Once you have downloaded and extracted the Folders, Textures are ready to be used in Adobe Illustrator. Textures include Cracks, Grunge Distressing, Paper, and Paint Splatter T-shirt BMP Textures.
STEP #2: FILE + PLACE. Place a BMP Texture over your finished vector artwork. Simple File-Place. I recommend scaling the texture to fit over your completed artwork before you export or save. Simply scale the texture file using the Bounding Box or the Properties Panel. You can scale the texture to fit over the asset or the entire artboard.
STEP #3: APPLY TEXTURES. Most adjustments to the Adobe Illustrator BMP Textures will be made in the Transparency Panel. Use the Transparency Panel to apply Opacity Masks to create T-Shirt Distressing on your own original artwork and designs. We will be going through the Basics of applying BMP Textures.
DOWNLOADING TEXTURES
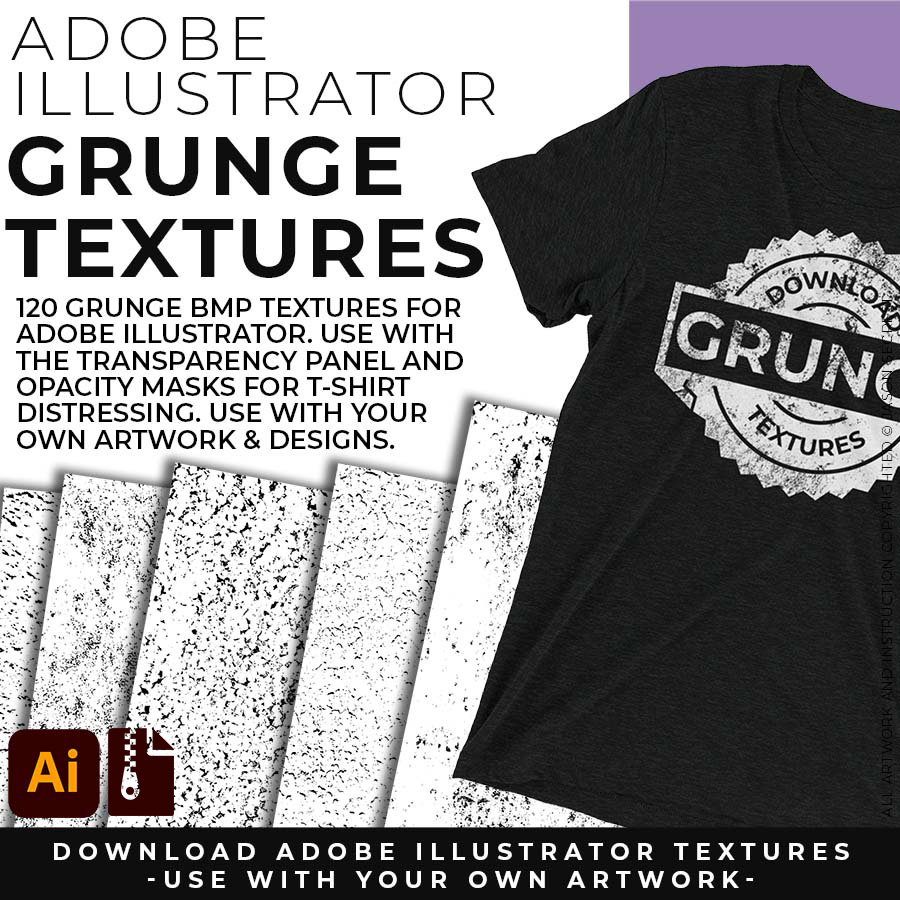
Grunge BMP Textures for easy T-Shirt Distressing Styles: Apply BMP Textures within Adobe Illustrator using Opacity Masks or the Transparency Panel.
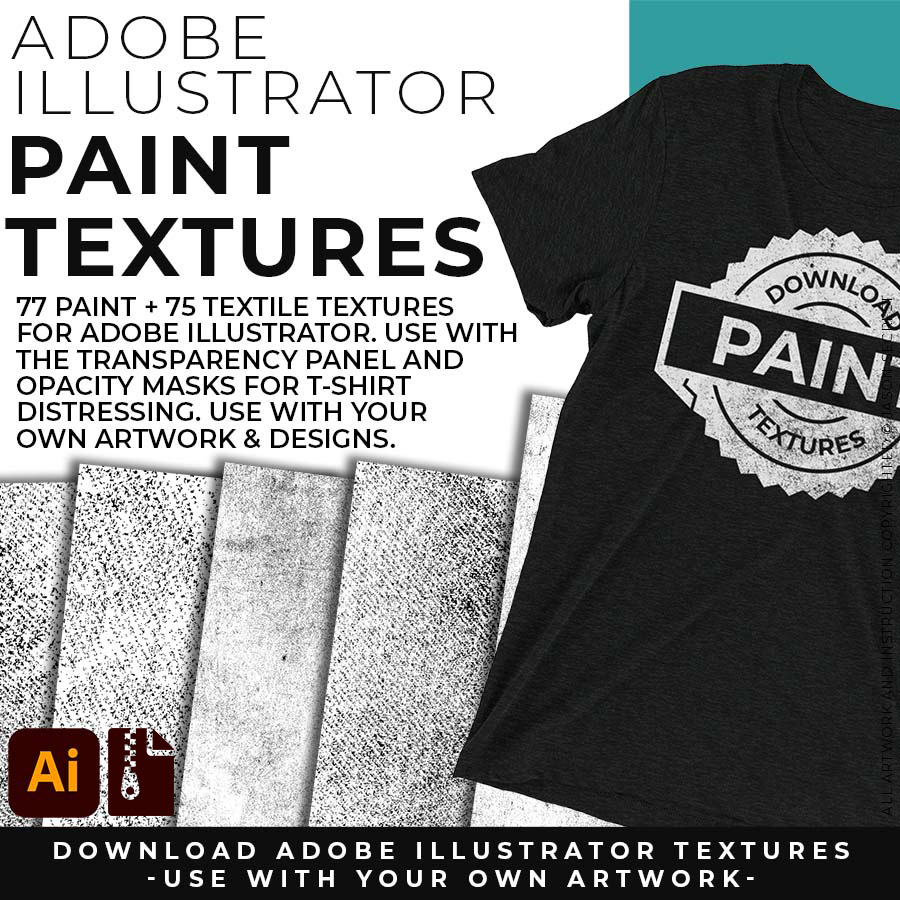
Paper and Paint Splatter Textures for Subtle or Messy Styles: Easily Apply, Change Colors, and Transparency of BMP Textures. Clipping and Opacity Masks are Non-Destructive.

Cracks and Distressing Textures for easy Vintage Styles: Apply BMP Textures with Clipping Masks, Transparency Panel, and Blending Modes for subtle Texture Overlays.
OPENING TEXTURES
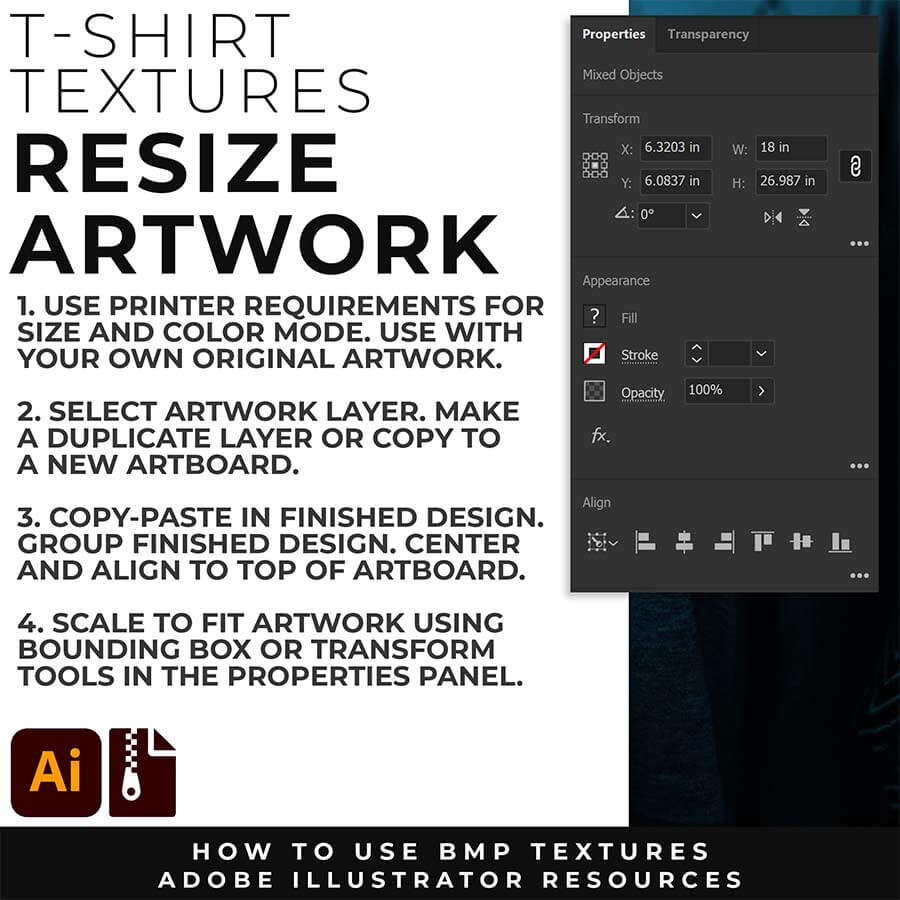
RESIZE ARTWORK: If you are building in a smaller scale you will need to resize your artwork before applying textures. I recommend duplicating the layer or copying and pasting to a new artboard. Select All - Group. Use the Properties Panel to transform your original Artwork or Design to fit Printer Requirements.
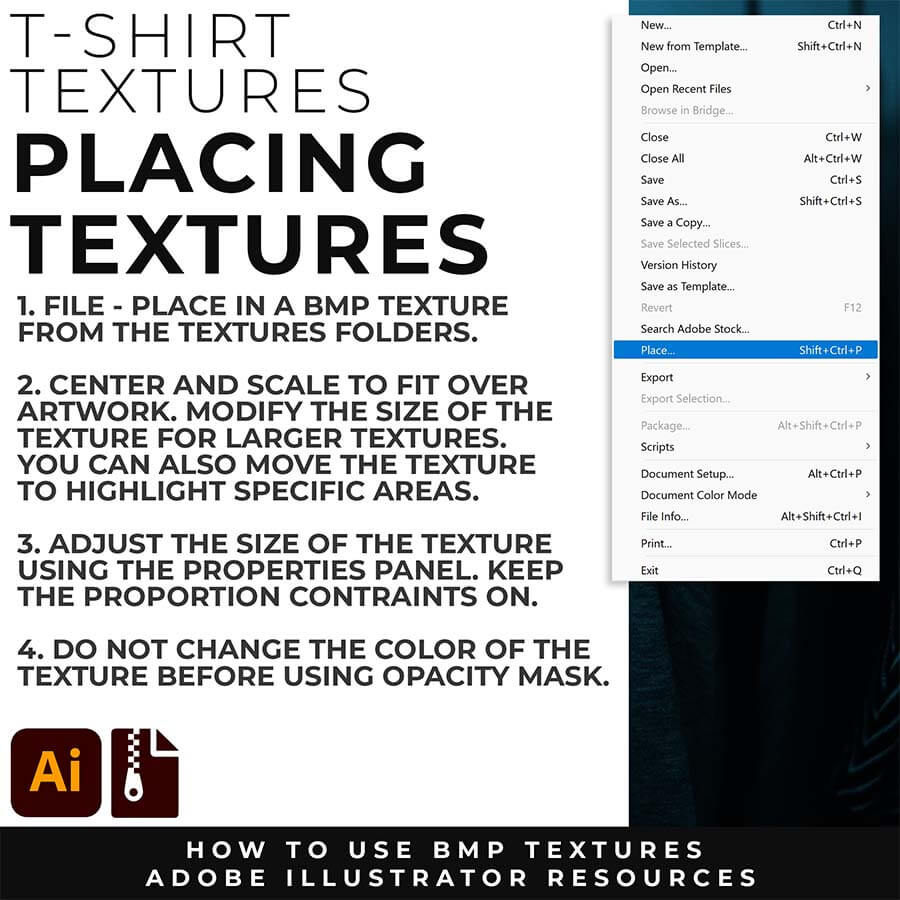
FILE - PLACE: Once you have grouped and resized (if needed) your own finished original artwork, you are ready to bring in the BMP Textures. Under File - Place Textures into your working Artboard. Scale to Fit over your entire design. To use Textures with Opacity Masks you will need to Group and Scale your Finished Artwork before Applying.
APPLYING TEXTURES
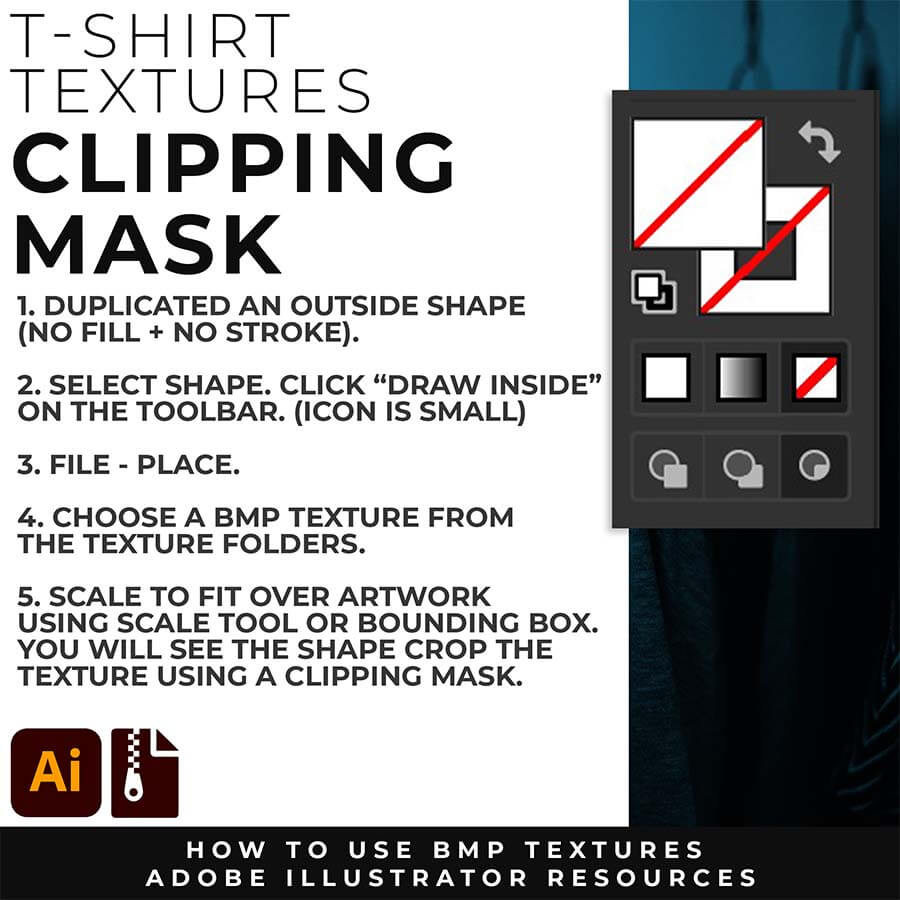
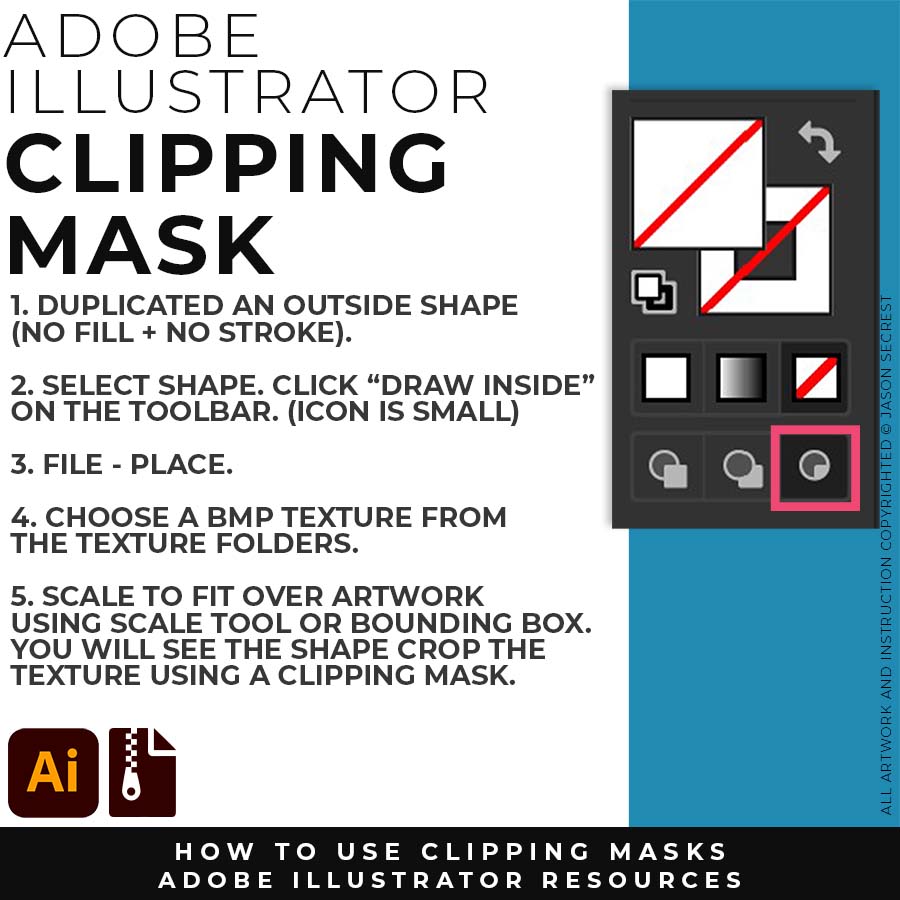
CLIPPING MASKS: Using the "Draw Inside" feature is an easy way to use Clipping Masks in Adobe Illustrator. Simply File - Place in the BMP Texture into the selected "Draw Inside" Shape.

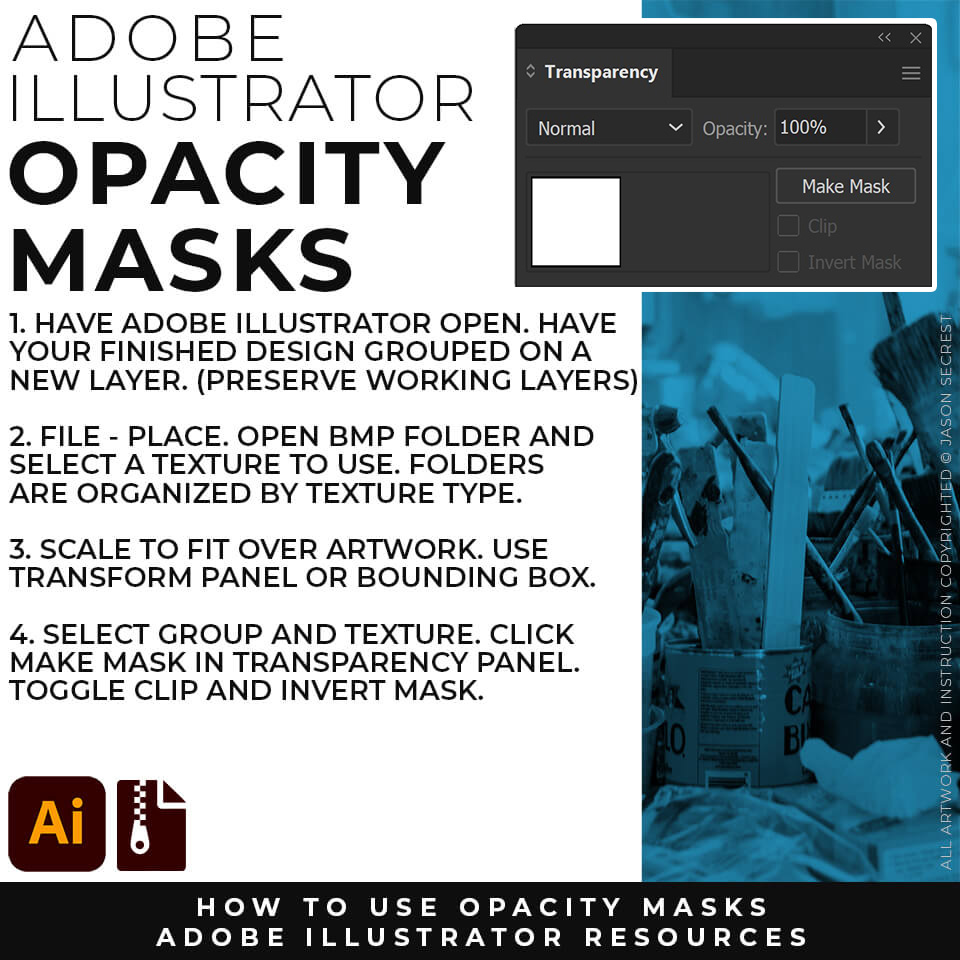
OPACITY MASKS: Using Opacity Masks in Adobe Illustrator is extremely fun. Click on "Make Mask" in the Transparency Panel. This will be for your own original artwork for T-shirt Distressing.
APPLYING OPACITY MASKS: Applying Opacity Masks is extremely user-friendly. Group your Finished Artwork. Scale and Center to fit your artboard. I recommend copying and pasting your design from a "Building Artboard" to preserve your Layers. For my example, I am using a 12" by 16" Artboard (RGB). Place in BMP Texture. Scale to Fit over Artwork. Select All. Click "Make Mask" in the Transparency Panel. Click "Release" to change BMP Texture.
USING "LIVE" TEXT: Remember that the basics of applying a BMP Texture using Opacity Masks is Grouping your Finished Artwork. For those of you looking to keep your Text "Live," keep your "live" Text Layers within your Group. Scale and Center to fit your artboard. Place in BMP Texture. Scale to Fit over Artwork. Select All. Click "Make Mask" in the Transparency Panel. Click "Release" to change BMP Texture.
APPLYING CLIPPING MASKS: To apply a Clipping Masks we will need a Shape. I have created a Silhouette by using the Shape Builder Tool and an Offset Path. The Shape should have No Fill/Stroke. Select Shape. Click on "Draw Inside." File - Place in a BMP Texture within the Shape. Scale to Fit over the Design.
APPLYING OPACITY MASKS: Applying Opacity Masks is extremely user-friendly. Group your Finished Artwork. Scale and Center to fit your artboard. Place in BMP Texture. Scale to Fit over Artwork. Select All. Click "Make Mask" in the Transparency Panel. Click "Release" to change BMP Texture.