ADOBE ILLUSTRATOR

BEGINNER - ADVANCED

ILLUSTRATOR TUTORIALS: As I create my artwork, focus on the essential areas related to developing your workflow: Building, Editing, and Coloring. LEARNING TARGET (1): Understand how to apply the Primary Building Tools and Options in Adobe Illustrator. LEARNING TARGET (2): Understand how to apply Building, Variation, Editing, and Advanced Coloring Techniques.
TUTORIALS: I have organized tutorials by core areas of your Workflow: Building, Editing, and Coloring. LEARNING TARGET (1): Understand the Building Tools and Options. LEARNING TARGET (2): Apply Line Variation along with Live and Expanded Editing Tools. LEARNING TARGET (3): Apply Color, Values, and Gradients using Advanced Coloring Techniques.
GETTING STARTED: Our Getting Started Guides will walk you through the process of downloading, saving, and gathering resources for your own artwork.  LEARNING TARGET (1): Download Stock Photos to use as a Resource Images. LEARNING TARGET (2): Download and Save Brush Libraries. LEARNING TARGET (3): Download or Save Color Swatches.
STOCK PHOTOS: I recommend using Unsplash for your Sketch, Drawing, and Color References. If you are new, I recommend creating a "Traceable Path" by using a Clean Line Drawing or Traced Stock Photo. LEARNING TARGET: Download Stock Photos to use for your artwork and designs.
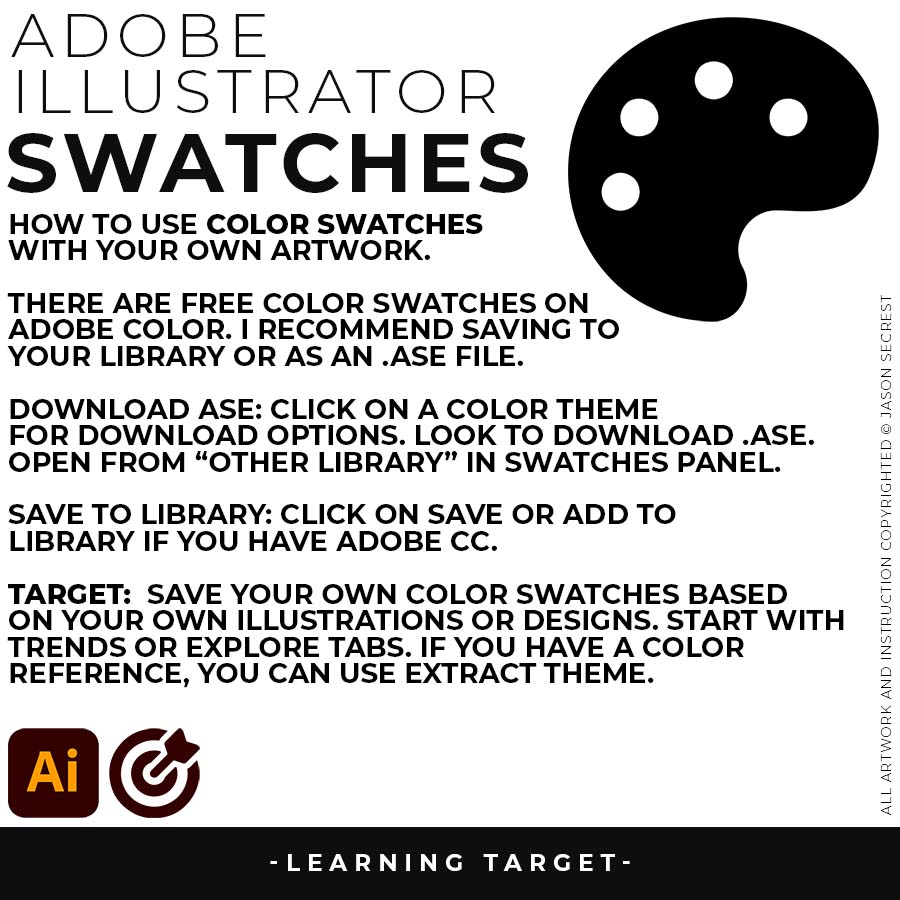
COLOR SWATCHES: I highly recommend using Adobe Color for your Themes to add to your Library or download ASE Files. In most tutorials, we will be applying Flat Colors using Live Paint. LEARNING TARGET: Download or Save Color Themes to use with your own artwork and designs.
FONT FAMILIES: I recommend using Adobe Fonts for Commercial Use. If you are New, look for Font Families to use for your Primary Business or Marketing (Headers + Sub Headers). LEARNING TARGET: Download or Save Fonts to use with your own artwork and designs. 
ILLUSTRATOR TUTORIALS: Tutorials and Playlists will follow an easy process for creating artwork in Adobe Illustrator. If you are new to Adobe Illustrator, start with Beginner Guides or Illustrator Tutorials.  LEARNING TARGET: Understand how to apply the Primary Building Tools and Options in Adobe Illustrator.
DIGITAL DOWNLOADS: Many of you are jumping over from YouTube looking to download our Adobe Illustrator Brushes and Resource Folders. Digital Downloads will come through our friends at Teachable. LEARNING TARGET: Download Brush Libraries, Comic Halftones, T-Shirt Textures, or Resource Bundles.
RESOURCE GUIDES: As I create my artwork, pay attention to the resources being used throughout the Workflows, Tutorials, and YouTube Playlists. LEARNING TARGET: Understand how to apply Brush Libraries, Color Swatches, Comic Halftones, and BMP Textures in Adobe Illustrator.
BEGINNER: In our Beginner Guides and Tutorials, you will see me give Prompts and Learning Targets. These directions will simplify the process of learning Adobe Illustrator. LEARNING TARGET: Understand the Primary Building Tools and Options in Adobe Illustrator.
ADVANCED: As I am creating my artwork, pay attention to the Sequence of Events, Resources, and Tool Options as it relates to building a "Workflow." LEARNING TARGET: Apply Building, Variation, Editing, and Advanced Color Techniques to your own Artwork.
FOCUS: I have organized tutorials by core areas of your Workflow: Building, Editing, and Coloring. LEARNING TARGET (1): Understand the Building Tools and Options. LEARNING TARGET (2): Apply Line Variation along with Live and Expanded Editing Tools. LEARNING TARGET (3): Apply Color, Values, and Gradients using Advanced Coloring Techniques.
"BUILDING" ARTBOARD: I recommend establishing a "Standardized Approach" that you can use for your own artwork. The initial Artboard Size can be changed at any point without ruining your own artwork. LEARNING TARGET: Create a "Building Template" that includes Artboards, Resources, and Template Layers.
DOWNLOAD RESOURCES: If you are a Beginner, I am going to recommend starting from a Resource Image. Give yourself a "Traceable Path" by using a Clean Line Drawing or Traced Photo. LEARNING TARGET: Start with the Resource you intend on using for your artwork (Sketch, Drawing, or Traced Stock Photo).
TEMPLATE LAYER: Have your Drawing, Sketch, or Traced Photo Selected. In your Layers Panel, select the Menu in the Upper-Right Hand Corner. Drop down to Template. This will create 50% Opacity and Lock the Layer. LEARNING TARGET: Create a Template Layer so you can see the Resource Image and new Paths.
RESOURCE IMAGES: If you are a Beginner, I am going to recommend starting from a Resource Image. Give yourself a "Traceable Path" by using a Clean Line Drawing or Traced Stock Photo. LEARNING TARGET: Download Resource Images to use for your artwork and designs.
COLOR SWATCHES: I highly recommend using Adobe Color for your Themes to add to your Library or download .ASE Files to Open. In most Tutorials, we will be applying Flat Colors using Live Paint. LEARNING TARGET: Download or Save Color Themes to use with your own artwork and designs.
BRUSH LIBRARIES: Many of our Tutorials will go through a process of applying and editing our Brush Libraries. Brush Libraries will come as Zipped Folders, Extract All before using in Adobe Illustrator. LEARNING TARGET: Download Brush Libraries to use with your own artwork or designs.
beginner adobe illustrator tutorial whale
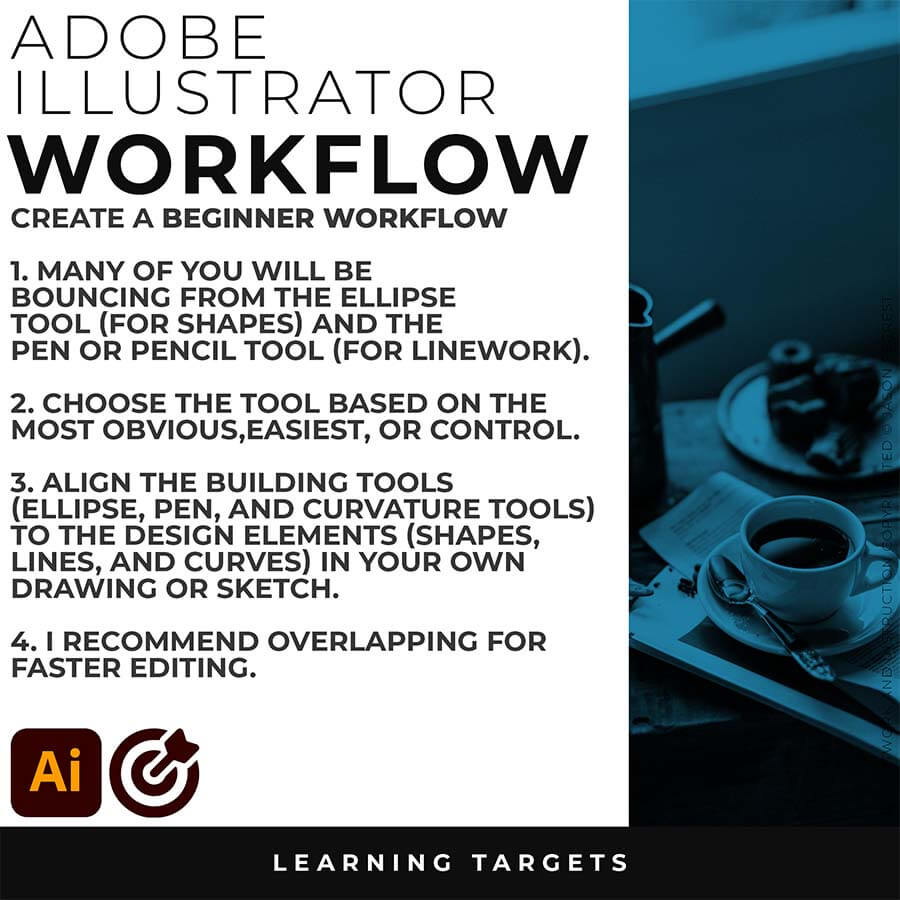
PRIMARY BUILDING: I will use Shapes, Pencil, and Pen Tools in Adobe Illustrator as my Primary Building Tools. Notice I have simplified my drawings and sketches to make this step feel like tracing.  → PEN TOOL WORKFLOW
beginner adobe illustrator tutorial whale

BEGINNER WORKFLOW: As I create my artwork, pay attention to the sequence of events as it relates to building a workflow. → BEGINNER GUIDE 1 / BEGINNER GUIDE 2 / BEGINNER GUIDE 3

beginner adobe illustrator tutorial whale

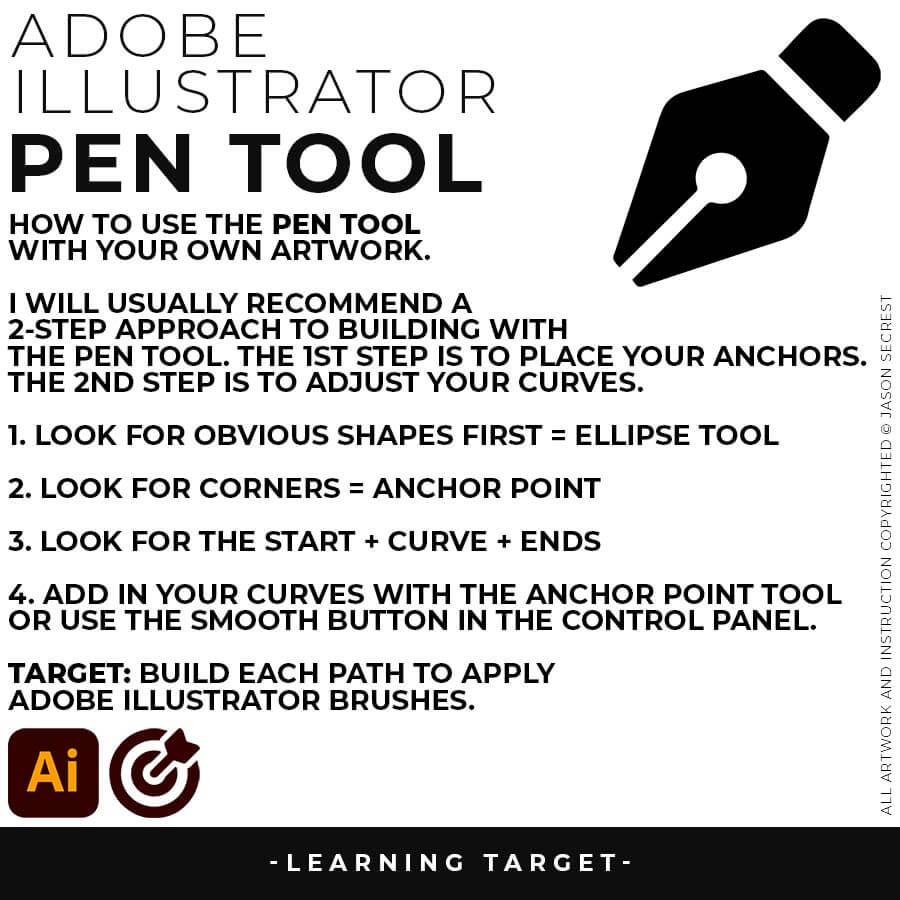
PEN TOOL: If you are frustrated with the Pen Tool, a simple tip is to break down the process into 2 Steps. The first step is to just apply Anchor Points to the start-curve-end of a line or path. The second step is to adjust the Curves with the Anchor Point Tool or Smooth Curve Button in the Control Panel.
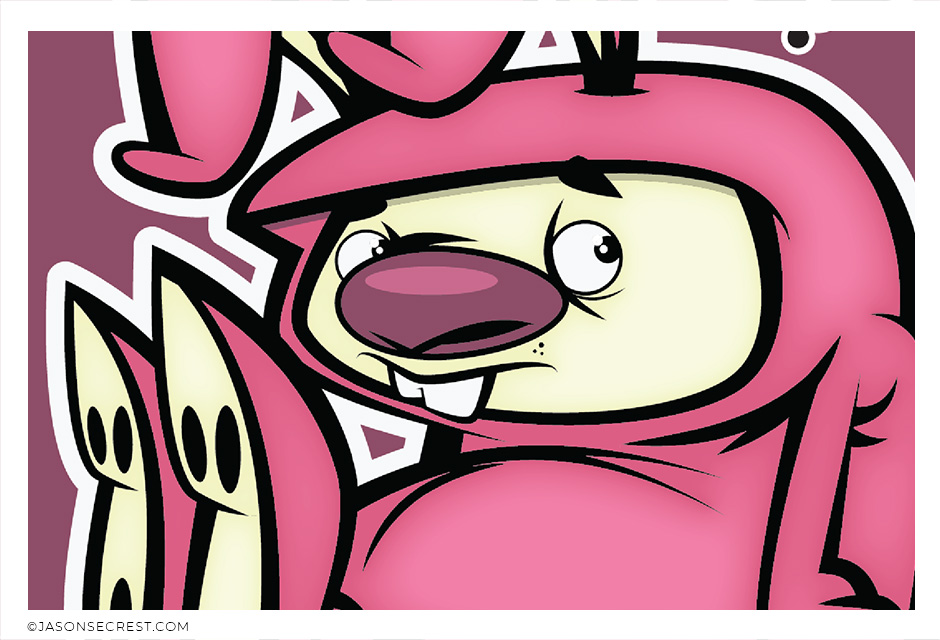
beginner adobe illustrator tutorial pug
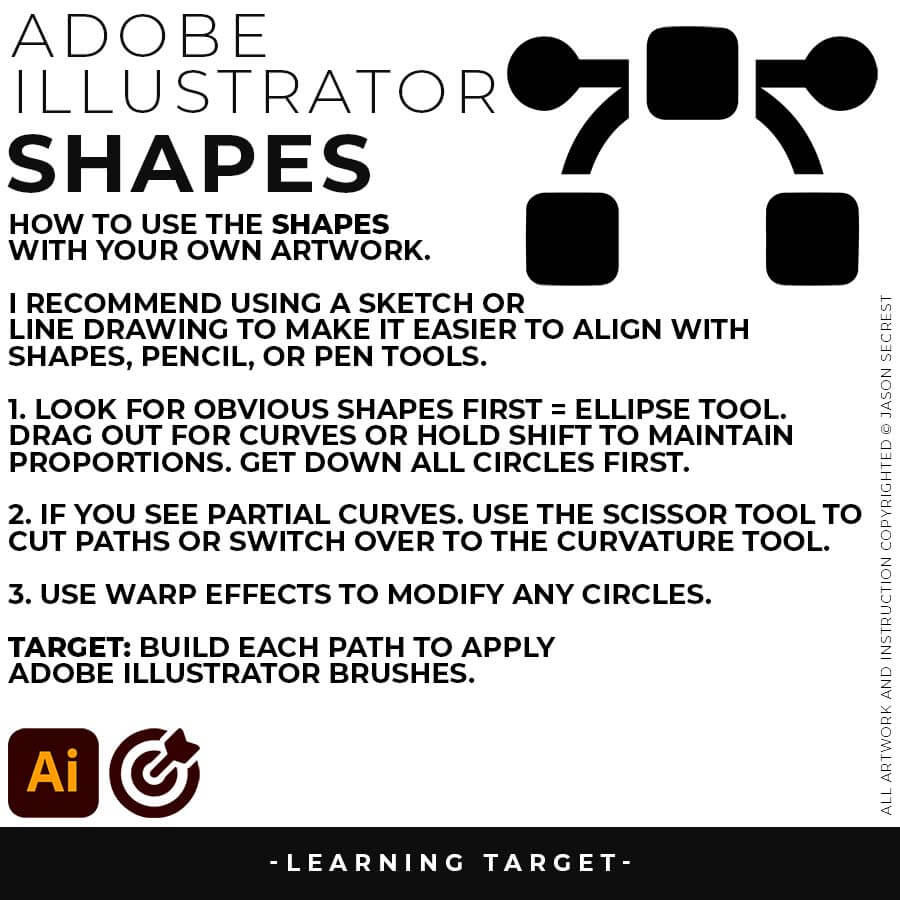
ELLIPSE TOOL: A good place to start if you are new to Adobe Illustrator is our Beginner Guide (Shapes). We will be going through Building with Shapes, Align Panel, Pathfinder, and Basic Color Fills. There are Beginner Guides for the Pen Tool and Tablet if you are new to the website or Adobe Illustrator.
beginner adobe illustrator tutorial coyote
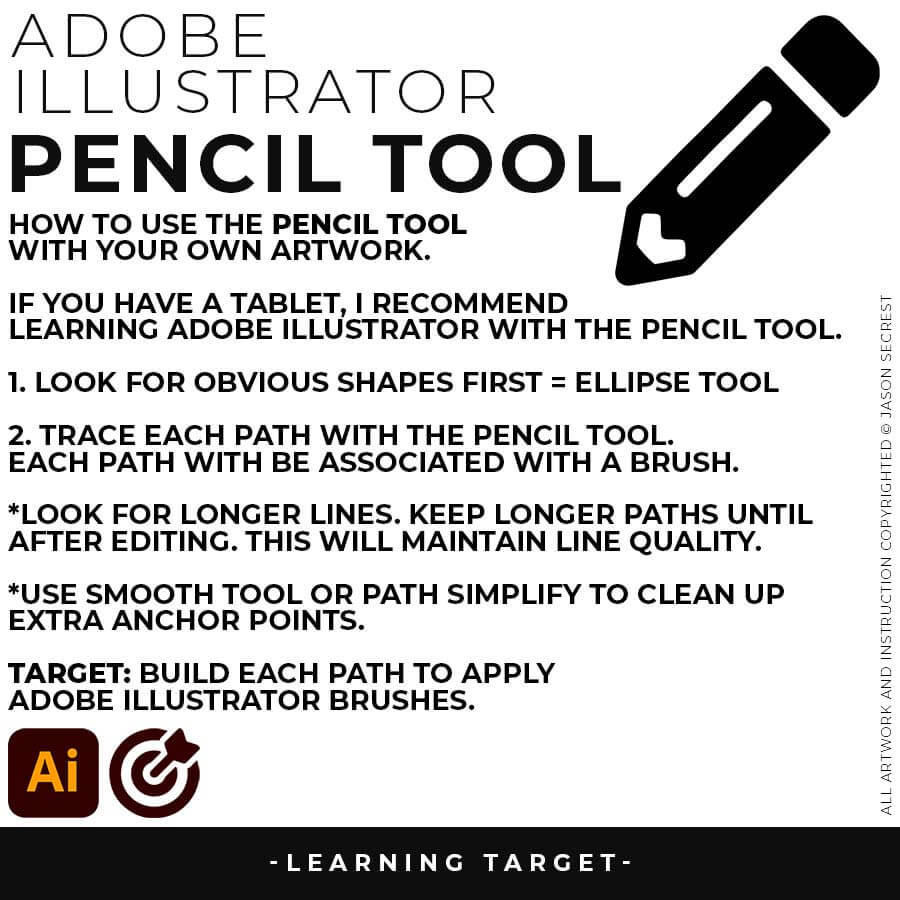
PENCIL TOOL: Many of you are looking to use your Tablet with Adobe Illustrator. I am going to recommend breaking down your current tablet workflow into multiple steps. I do see a lot of mistakes when people try to combine too many steps all at once with their new tablets.
ADOBE ILLUSTRATOR

STEP BY STEPS

STEP BY STEPS

GO TO TUTORIALS
beginner adobe illustrator tutorial whale
VARIATION + EDITING: I will apply Brush Libraries for my Line Variation. Notice I am using Expanded Editing Tools to clean up my Paths before moving on to the Coloring Step.  → SHAPE BASED WORKFLOW
beginner adobe illustrator tutorial whale

BEGINNER WORKFLOW: As I create my artwork, pay attention to the sequence of events as it relates to building a workflow. → BEGINNER GUIDE 4 / BEGINNER GUIDE 5 / BEGINNER GUIDE 6

beginner adobe illustrator tutorial coyote
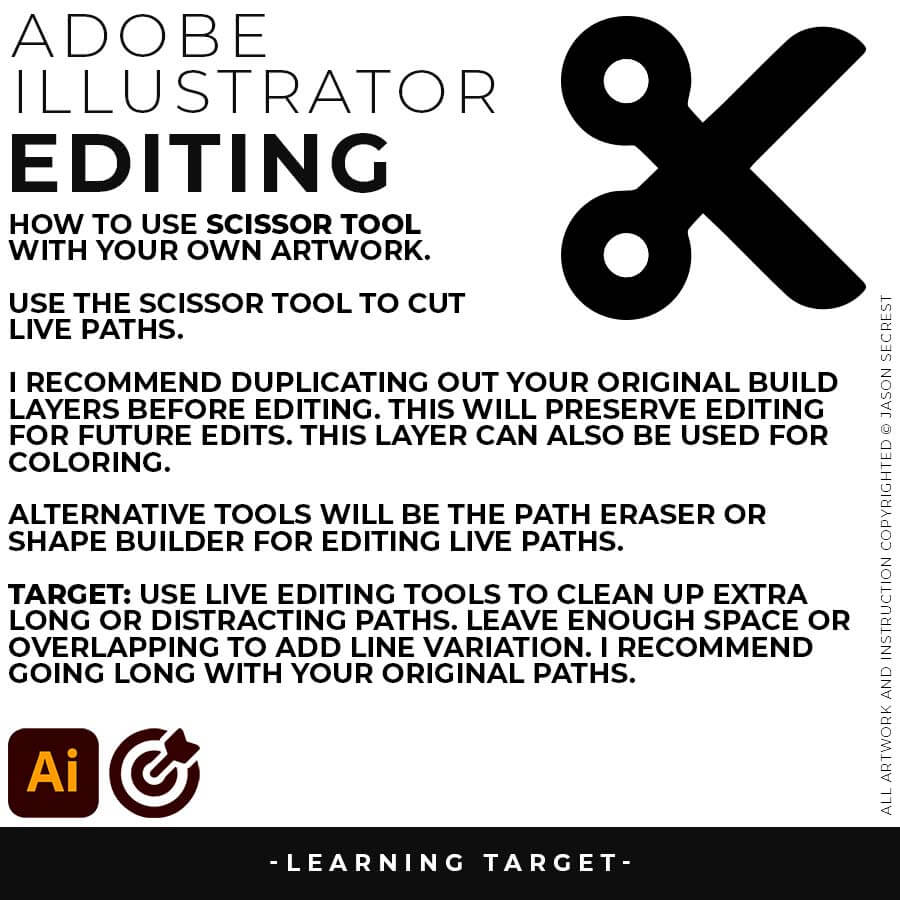
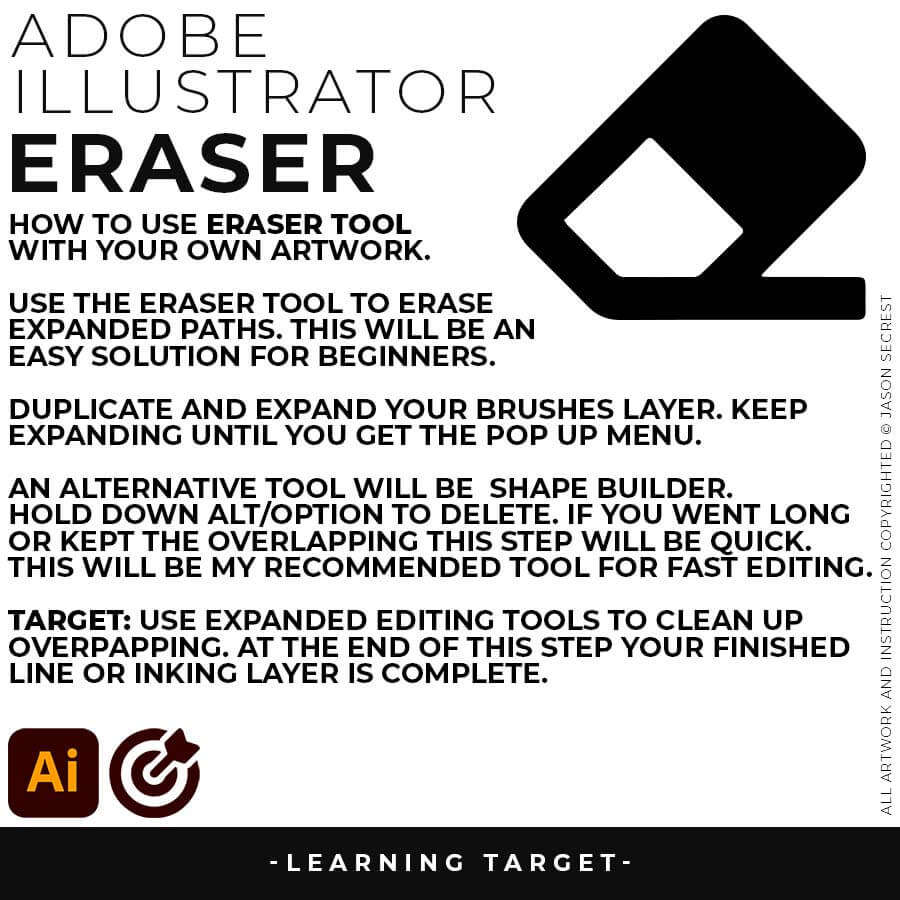
LIVE EDITING: While you are building in Adobe Illustrator, you can use the “Live” Editing Tools to Cut and Edit Paths. Some of the basic tools will be the Scissor Tool, Path Eraser, or Shape Builder. I do recommend going long with your initial Paths.
beginner adobe illustrator tutorial coyote
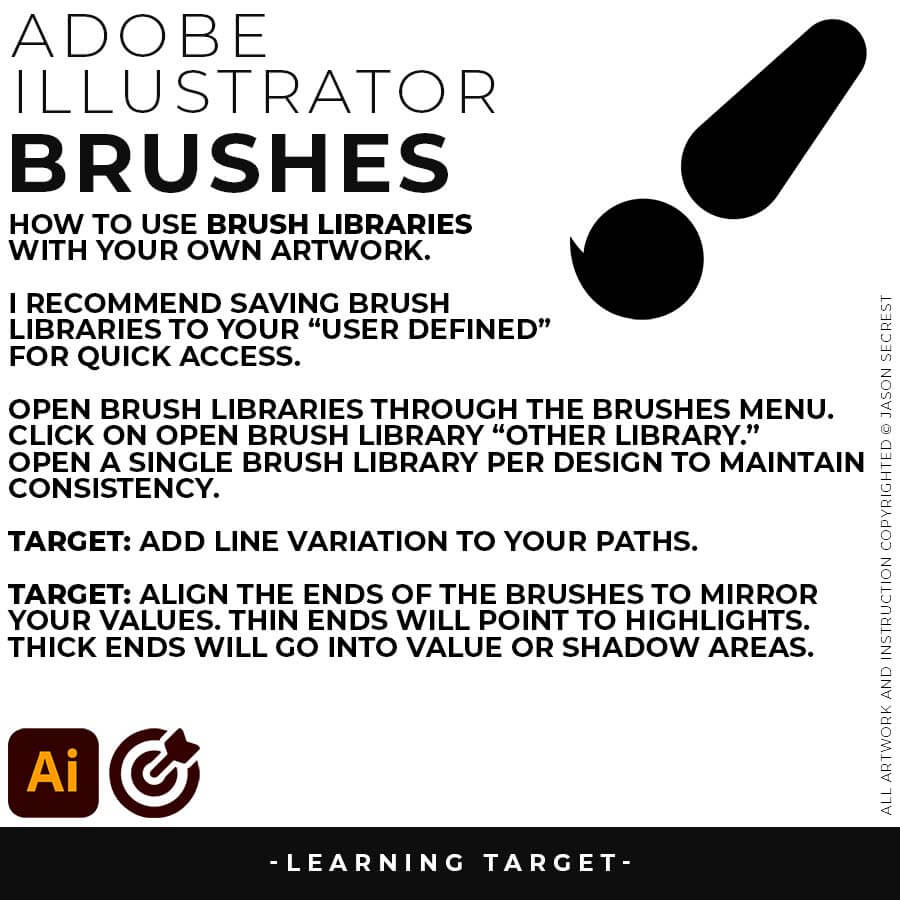
VARIATION: Many of you will be applying our Brush Libraries. To Open Brushes, open the Brushes Panel. Click on Open Brush Library. Scroll down to “Other Library.” Select one of the Brush Libraries to apply. If you saved Brushes, you can Open from “User Defined.”
beginner adobe illustrator tutorial coyote
EXPANDED EDITING: After completing the Line Variation, I will recommend keeping the “Live” Layer from future Editing. Duplicate and Lock Out. We will be Expanding this New Layer to use with Shape Builder for Fast Editing. Hold down Alt/Option while Editing.
ADOBE ILLUSTRATOR

STEP BY STEPS

STEP BY STEPS

GO TO TUTORIALS
beginner adobe illustrator tutorial whale
ADVANCED COLORING: I will use Live Paint to create my Basic Fills or Flat Color Layer. Notice the steps to select and create a Live Paint Group.  → PENCIL TOOL WORKFLOW
beginner adobe illustrator tutorial whale

BEGINNER WORKFLOW: As I create my artwork, pay attention to the sequence of events as it relates to building a workflow. → BEGINNER GUIDE 7 / BEGINNER GUIDE 8 / BEGINNER GUIDE 9

beginner adobe illustrator tutorial coyote
COLOR SWATCHES: Use Color Swatches from your Library or save them from Adobe Color as an .ASE File. Open Swatch Library from the “Other Library” Option. Most Color Themes will use Hues as the Base Color. We will be using Live Paint to create our Basic Fills or Flat Color Layer.
beginner adobe illustrator tutorial coyote
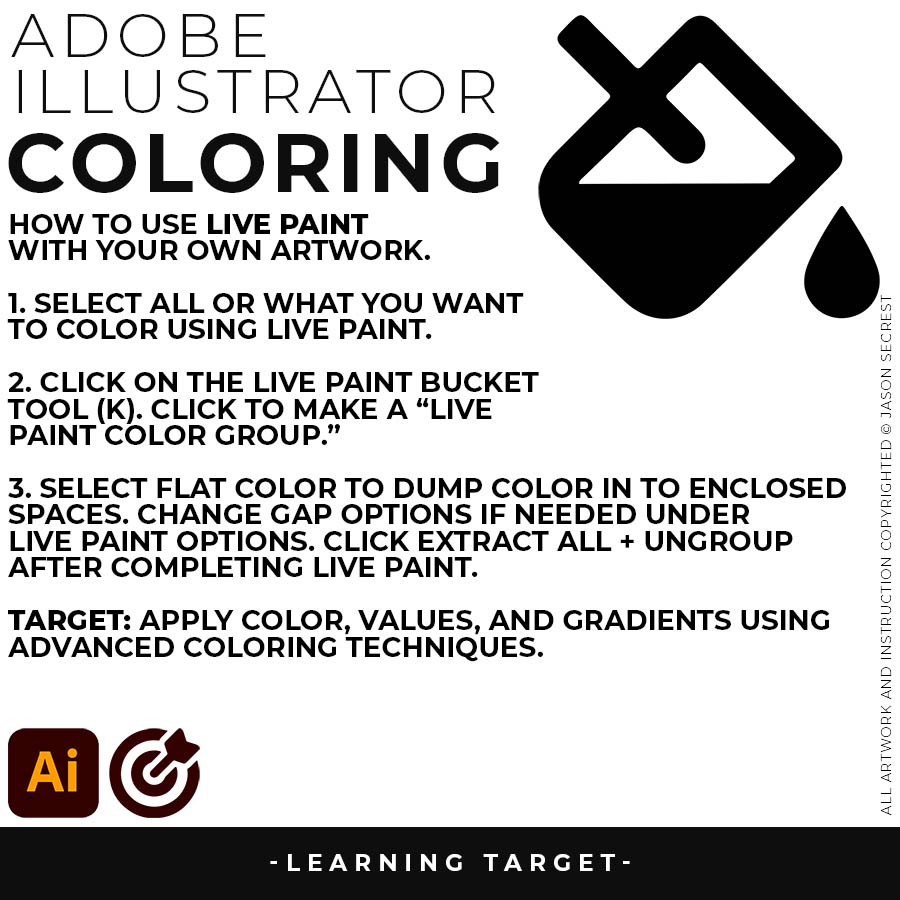
LIVE PAINT: Coloring will be extremely easy using Live Paint Bucket. The goal of Live Paint is to create Shapes that we can color using Fills. Once you have completed the Live Paint Group, it is important to Expand and Upgroup. We will leverage these shapes for our Values and Gradients.
beginner adobe illustrator tutorial coyote
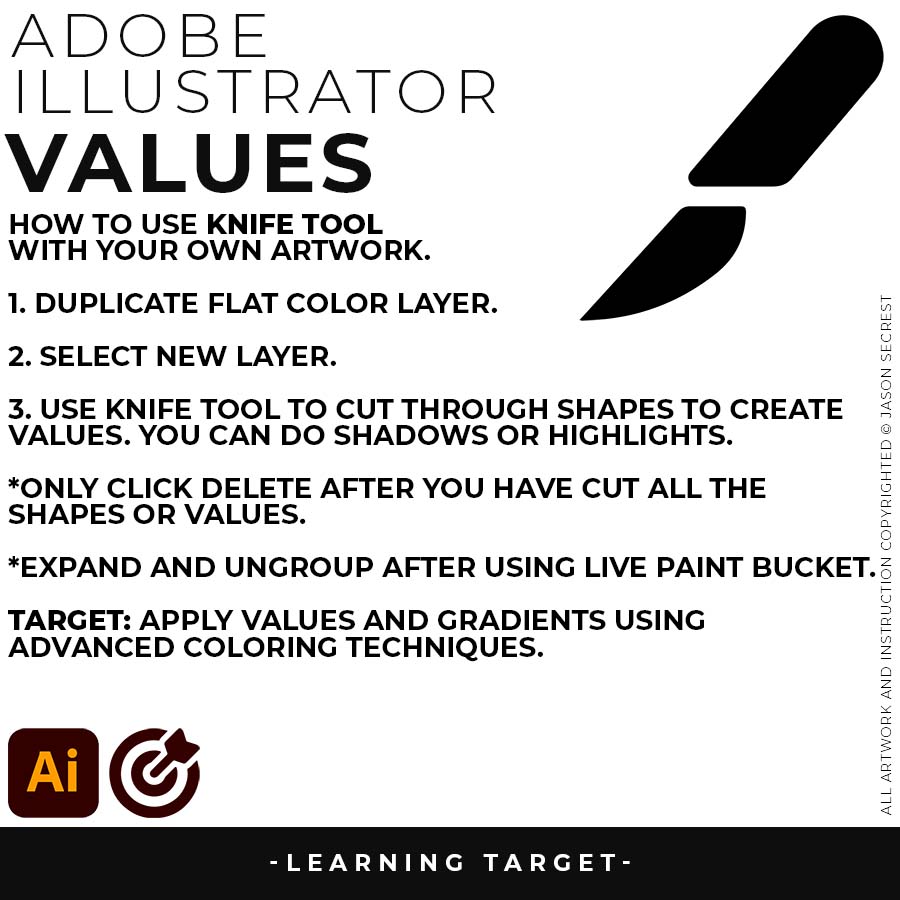
KNIFE TOOL: After using Live Paint, Expand and Ungroup. Use a Duplicated Flat Color Layer for your Value Layers. The Knife Tool will cut Shapes. I recommend cutting out all of the shapes first before deleting them. You can use this technique for Highlights, Shadows, or Cast Shadows.
ADOBE ILLUSTRATOR

STEP BY STEPS

STEP BY STEPS

GO TO TUTORIALS

ILLUSTRATOR TUTORIALS

beginner adobe illustrator tutorial whale
PRIMARY BUILDING: I will use Shapes, Pencil, and Pen Tools in Adobe Illustrator as my Primary Building Tools. Notice I have simplified my drawings and sketches to make this step feel like tracing.  → PEN TOOL WORKFLOW
beginner adobe illustrator tutorial whale

BEGINNER WORKFLOW: As I create my artwork, pay attention to the sequence of events as it relates to building a workflow. → BEGINNER GUIDE 1 / BEGINNER GUIDE 2 / BEGINNER GUIDE 3

beginner adobe illustrator tutorial whale

PEN TOOL: If you are frustrated with the Pen Tool, a simple tip is to break down the process into 2 Steps. The first step is to just apply Anchor Points to the start-curve-end of a line or path. The second step is to adjust the Curves with the Anchor Point Tool or Smooth Curve Button in the Control Panel.

beginner adobe illustrator tutorial pug
ELLIPSE TOOL: A good place to start if you are new to Adobe Illustrator is our Beginner Guide (Shapes). We will be going through Building with Shapes, Align Panel, Pathfinder, and Basic Color Fills. There are Beginner Guides for the Pen Tool and Tablet if you are new to the website or Adobe Illustrator.
beginner adobe illustrator tutorial coyote
PENCIL TOOL: Many of you are looking to use your Tablet with Adobe Illustrator. I am going to recommend breaking down your current tablet workflow into multiple steps. I do see a lot of mistakes when people try to combine too many steps all at once with their new tablets.
ADOBE ILLUSTRATOR

STEP BY STEPS

STEP BY STEPS

GO TO TUTORIALS
beginner adobe illustrator tutorial whale
VARIATION + EDITING: I will apply Brush Libraries for my Line Variation. Notice I am using Expanded Editing Tools to clean up my Paths before moving on to the Coloring Step.  → SHAPE BASED WORKFLOW
beginner adobe illustrator tutorial whale

BEGINNER WORKFLOW: As I create my artwork, pay attention to the sequence of events as it relates to building a workflow. → BEGINNER GUIDE 4 / BEGINNER GUIDE 5 / BEGINNER GUIDE 6

beginner adobe illustrator tutorial coyote
LIVE EDITING: While you are building in Adobe Illustrator, you can use the “Live” Editing Tools to Cut and Edit Paths. Some of the basic tools will be the Scissor Tool, Path Eraser, or Shape Builder. I do recommend going long with your initial Paths.
beginner adobe illustrator tutorial coyote
VARIATION: Many of you will be applying our Brush Libraries. To Open Brushes, open the Brushes Panel. Click on Open Brush Library. Scroll down to “Other Library.” Select one of the Brush Libraries to apply. If you saved Brushes, you can Open from “User Defined.”
beginner adobe illustrator tutorial coyote
EXPANDED EDITING: After completing the Line Variation, I will recommend keeping the “Live” Layer from future Editing. Duplicate and Lock Out. We will be Expanding this New Layer to use with Shape Builder for Fast Editing. Hold down Alt/Option while Editing.
ADOBE ILLUSTRATOR

STEP BY STEPS

STEP BY STEPS

GO TO TUTORIALS
beginner adobe illustrator tutorial whale
ADVANCED COLORING: I will use Live Paint to create my Basic Fills or Flat Color Layer. Notice the steps to select and create a Live Paint Group.  → PENCIL TOOL WORKFLOW
beginner adobe illustrator tutorial whale

BEGINNER WORKFLOW: As I create my artwork, pay attention to the sequence of events as it relates to building a workflow. → BEGINNER GUIDE 7 / BEGINNER GUIDE 8 / BEGINNER GUIDE 9

beginner adobe illustrator tutorial coyote
COLOR SWATCHES: Use Color Swatches from your Library or save them from Adobe Color as an .ASE File. Open Swatch Library from the “Other Library” Option. Most Color Themes will use Hues as the Base Color. We will be using Live Paint to create our Basic Fills or Flat Color Layer.
beginner adobe illustrator tutorial coyote
LIVE PAINT: Coloring will be extremely easy using Live Paint Bucket. The goal of Live Paint is to create Shapes that we can color using Fills. Once you have completed the Live Paint Group, it is important to Expand and Upgroup. We will leverage these shapes for our Values and Gradients.
beginner adobe illustrator tutorial coyote
KNIFE TOOL: After using Live Paint, Expand and Ungroup. Use a Duplicated Flat Color Layer for your Value Layers. The Knife Tool will cut Shapes. I recommend cutting out all of the shapes first before deleting them. You can use this technique for Highlights, Shadows, or Cast Shadows.
ADOBE ILLUSTRATOR

STEP BY STEPS

STEP BY STEPS

GO TO TUTORIALS
Top notch video as usual man. Cheers!Made by Mighty
I really love your channel, thanx for your tutorial really helpful 🙂 Sara Abdalla • 1 year ago
First time dive into Illustrator. This was great, learned a ton! ThanksPhilippe Lachenal
Such a cool drawing ! My favorite in this series !!!! Espermaschine • 1 year ago
I appreciate your videos. I have been an illustrator user for years and have my own ways of doing things. It's great to see other ways of using tools and learning tricks I didn't know were available! It's also good to see you doing the same thing as me in other instances, confirming I'm on the right track!Andy Zenz
Awesome tutorial! I don't think I've picked up something so easily from someone who knows what they are doing. I managed to draw my first vector art and it was a joy! Great work keep it up!blitz145
Great job Jason, you make it look so easy. And it actually was. Thumbs up!Little Richard • 5 months ago
That was a fun tutorial. I really enjoyed it. Thanks for such a detailed, easy to follow tutorial! Daniel Huckabay • 1 year ago
Love your video thanks so much. you blow Lynda.com out of the water!!!!Steve Yensel
Brilliant video. So much great info packed in here. I'm just getting started drawing cartoons with my Wacom tablet, and this was a huge help. Thumbs up and thanks!Dorian Staten
Wow Thanks Jason...was really struggling with making images with basic shapes. Your tutorial is helping me out!!Kishor Rajani
thanks a lot you are really one of my favorites, I like the steps you give us, and I'm so thankful for that effort you do for helping us :)Wessam Lotfi
Keep up the good work Jason. I’ve been doing Lynda.com tutorials for a few months now and I got more out of your videos than what I’ve received at Lynda. Keep it up and Thank You!!bobby jacobs • 1 year ago
These tutorials are amazing. Just started using illustrator and really glad I found your channel. The only videos that explain everything step by stepAida Stan
You are definitely one of the best teachers I've found dealing with start to finish creative process. Great work!!!Jasen Fisher
Thank you loads! Compared to other tutorials, yours are just really well-explained and easy-to-follow. Can totally see that you've got a passion for what you're doing and that's just wonderful! 🙂 Keep it up, you're doing an amazing job. Yulia Kachurova
Thank you so much man, I loved the way you explain this, I spent days looking for a good tutorial vid, thanks a lot, gonna keep watching your videos!!!Karel Marccenaro