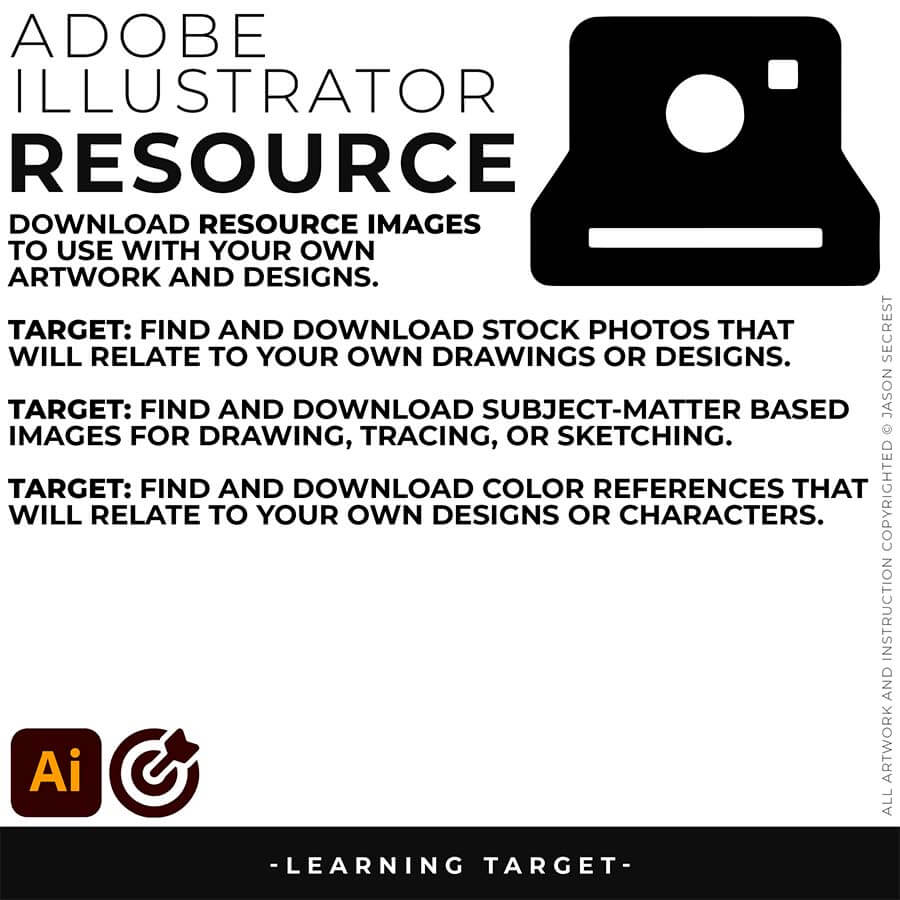
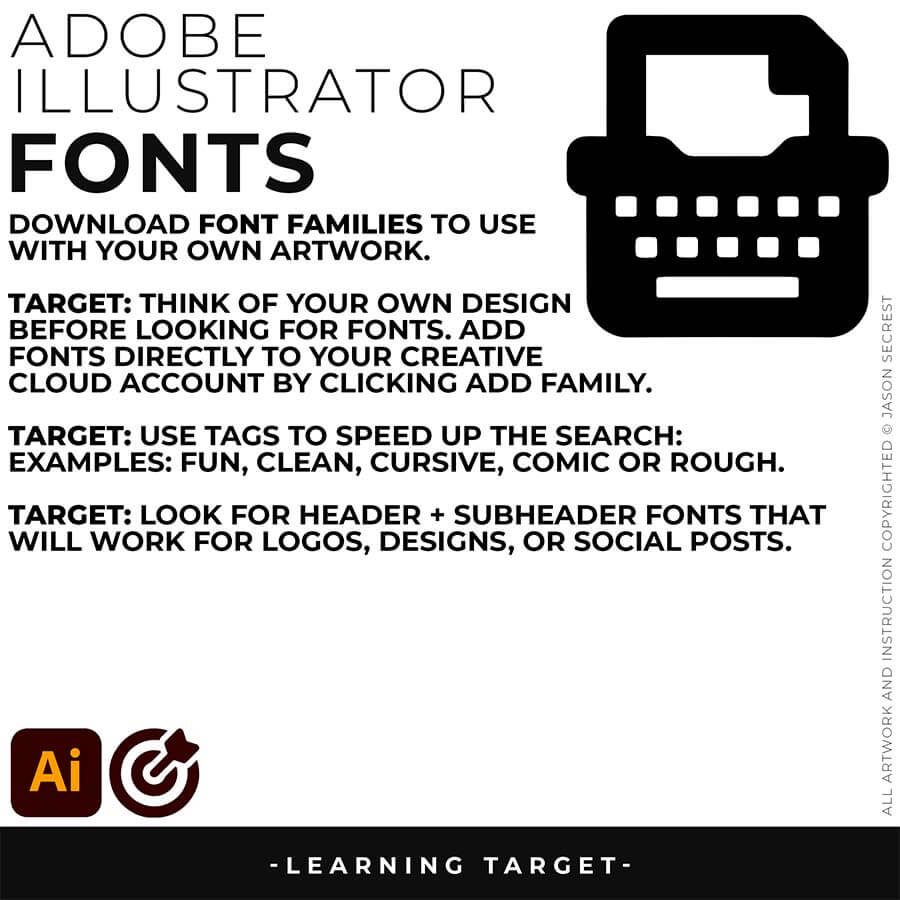
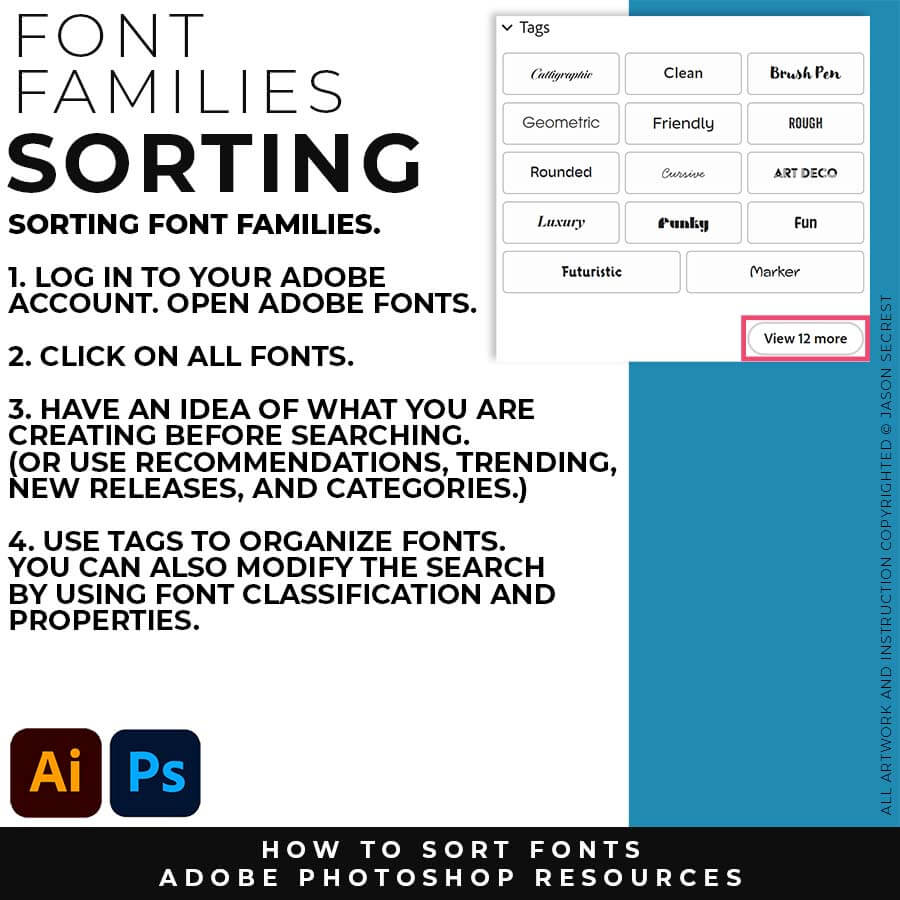
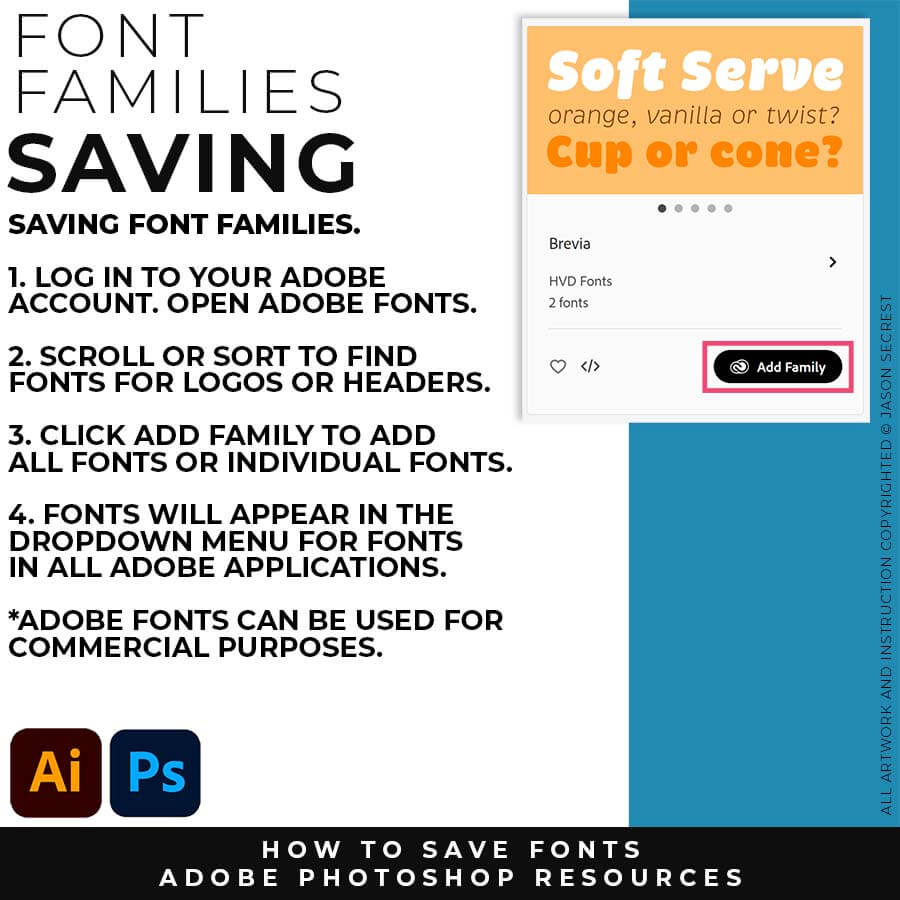
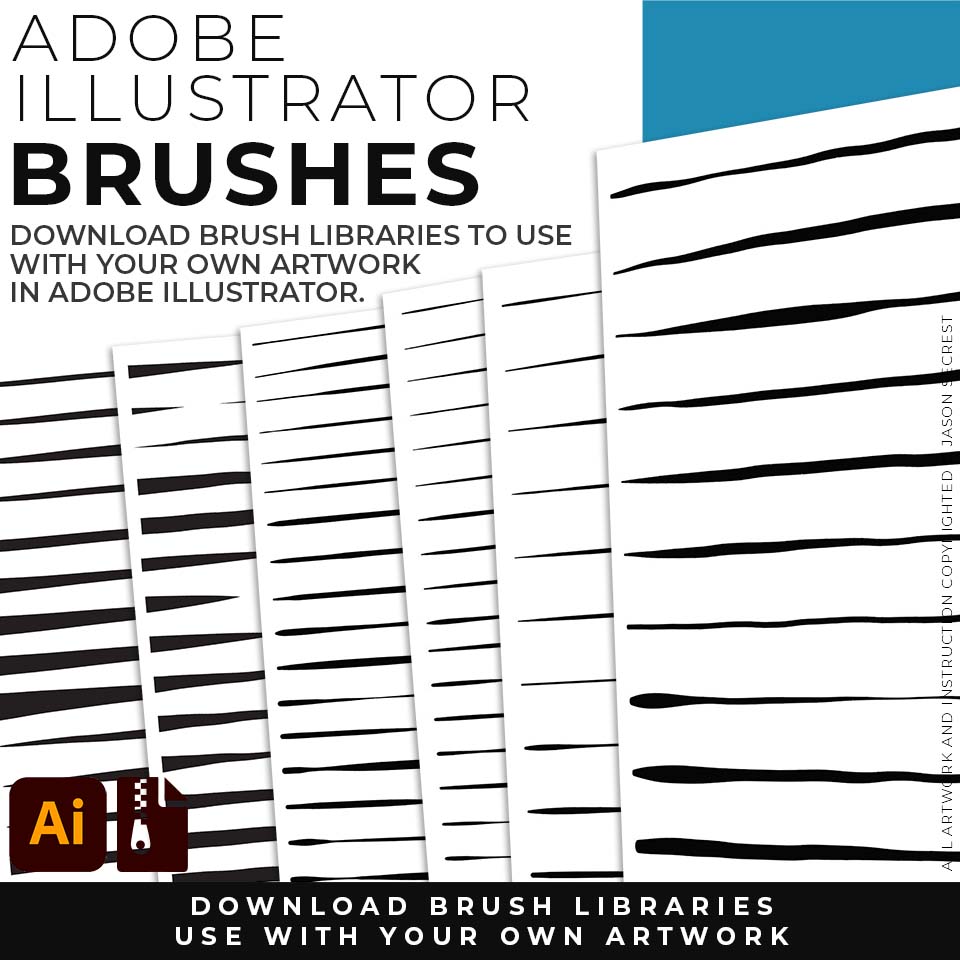
RESOURCE GUIDES: As I create my artwork, pay attention to the resources being used throughout the Workflows, Tutorials, and YouTube Playlists. LEARNING TARGET (1): Download Brushes and Resource Folders to use with your own artwork and designs. LEARNING TARGET (2): Start with our Resource Guides to understand how to download, save, and apply Brush Libraries, Comic Halftones, and T-Shirt Textures in Adobe Illustrator.
BEGINNER: In our Beginner Guides and Tutorials, you will see me give Prompts and Learning Targets. These directions will simplify the process of learning Adobe Illustrator. LEARNING TARGET: Understand the Primary Building Tools and Options in Adobe Illustrator.
ADVANCED: As I am creating my artwork, pay attention to the Sequence of Events, Resources, and Tool Options as it relates to building a "Workflow." LEARNING TARGET: Apply Building, Variation, Editing, and Advanced Color Techniques to your own Artwork.
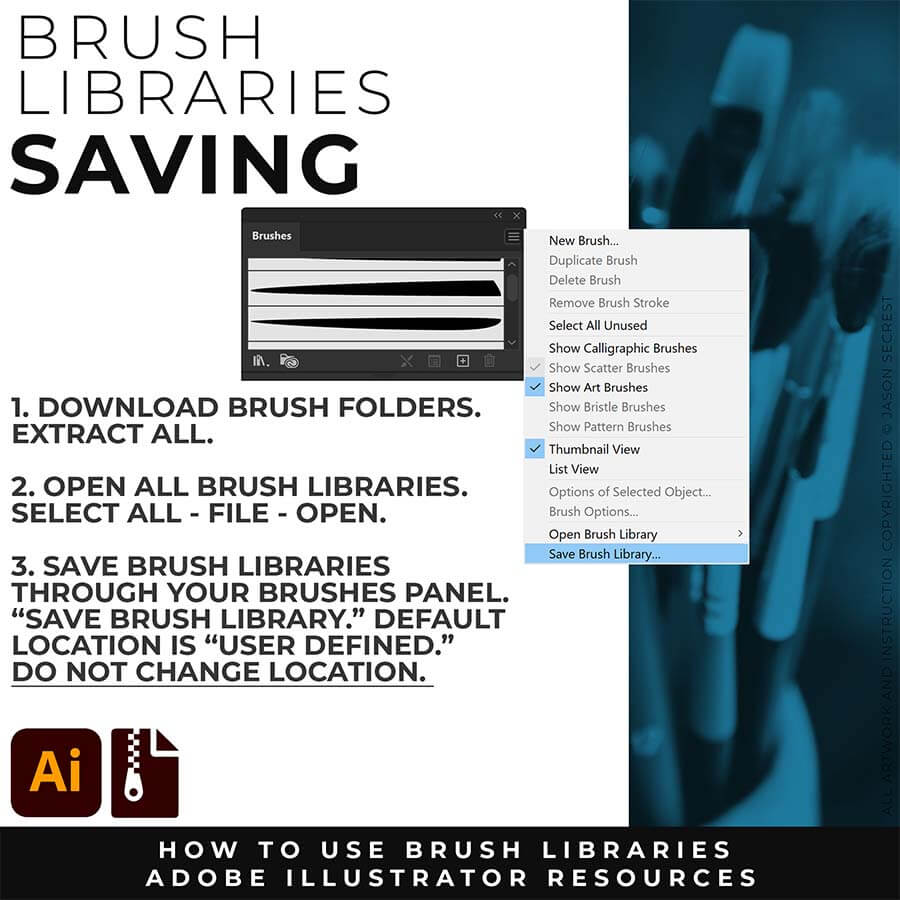
SAVE LIBRARIES. I recommend Saving Brush Libraries to your "User Defined" for Quick Access in Adobe Illustrator. Save Brush Libraries to your "User Defined" by clicking "Save Brush Library" from the dropdown in the Brushes Menu.
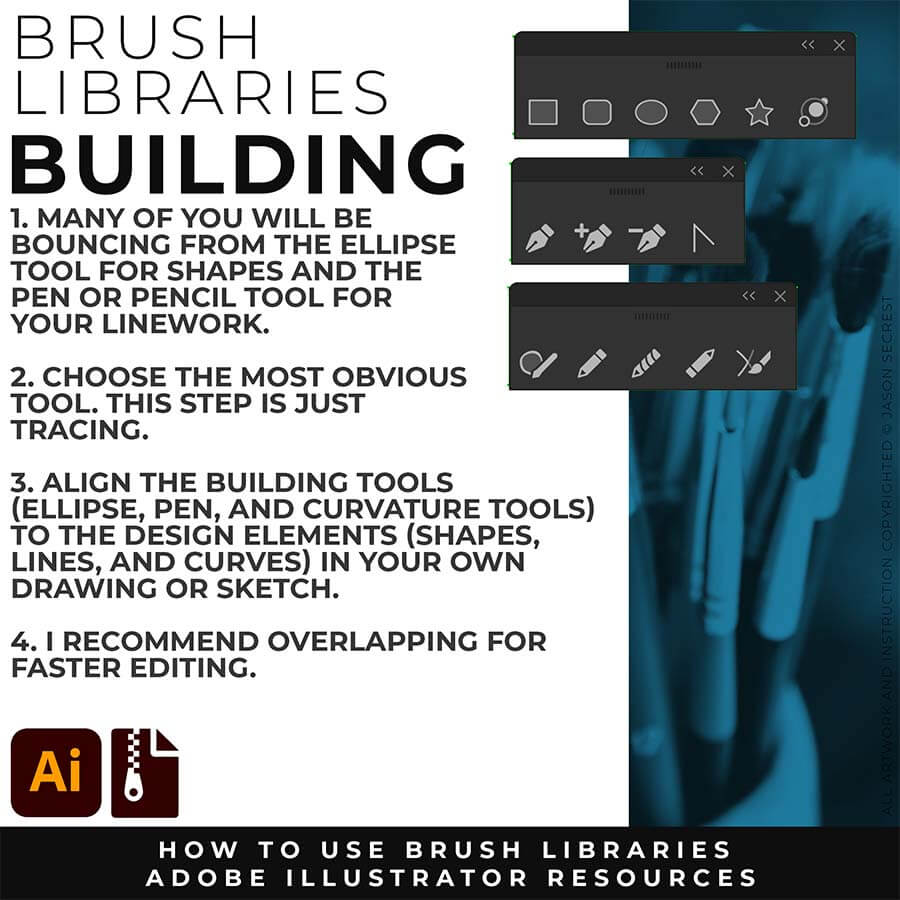
PRIMARY BUILDING: Many of you will use Shape, Pencil, and Pen Tools as your Primary Building Tools. Understand the Building Tools and Options in Adobe Illustrator. Align the Building Tools (Ellipse, Pen, and Curvature Tools) to the Design Elements (Shapes, Lines, and Curves) in your own drawing or sketch.
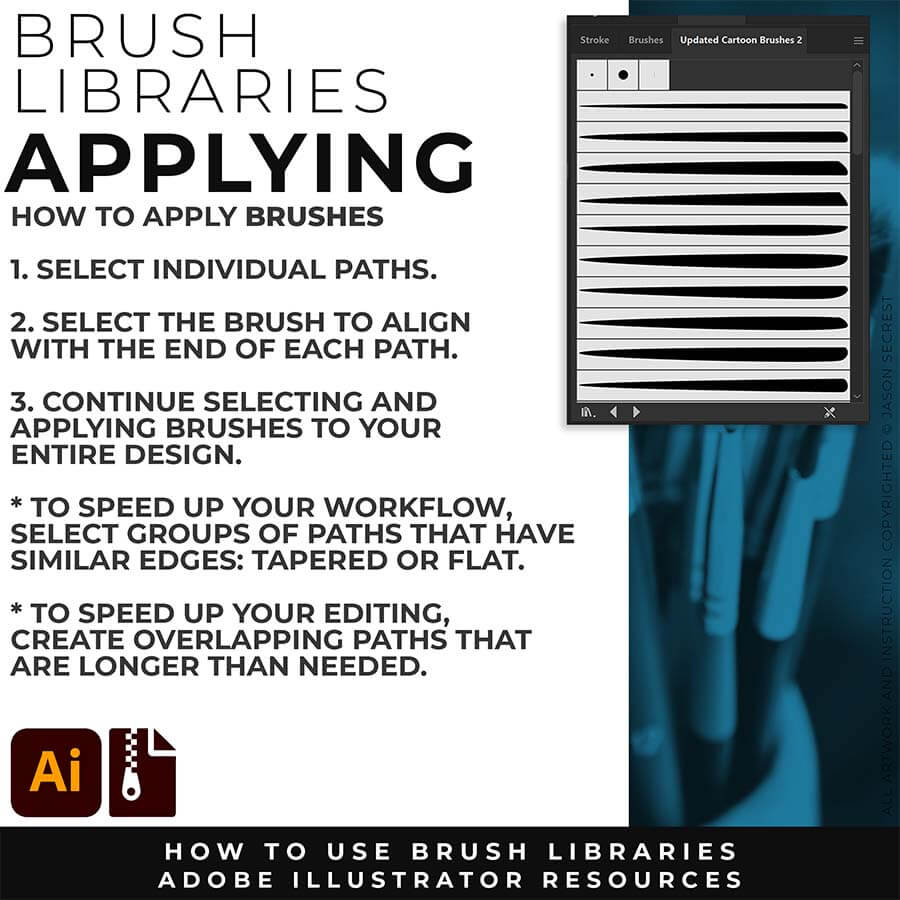
APPLYING BRUSHES: Match the Brushes to the Line Variation. Select the Brushes and Line Weight. The easiest method is to find the ends and visually find the other end to see if it will be floating or hitting another line. If it hits another line that signals a darker value to the end should reflect the change in value. (Thicker End).
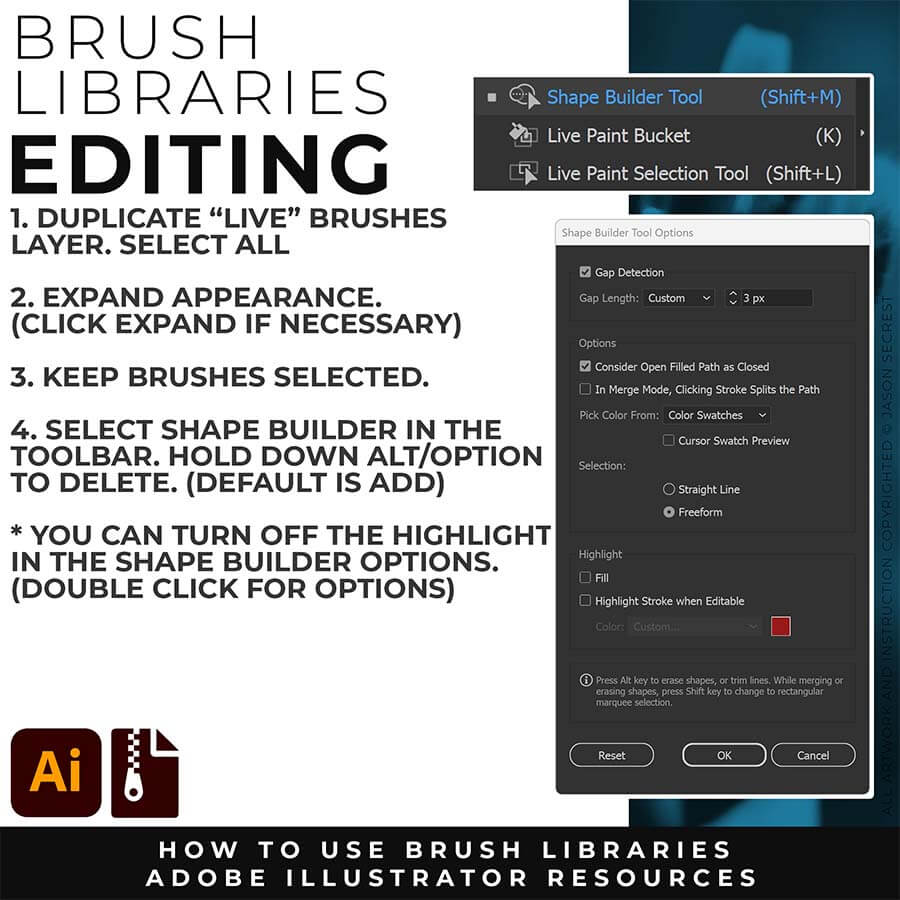
EXPANDED EDITING: To use Shape Builder, you must Duplicate and Expand the Brush Layer. Select All - Expand (Expand Appearance). I recommend duplicating the Brushes Layer to preserve a Live Brush Layer for future edits. Go long with your initial paths to create a larger target for editing with Shape Builder.
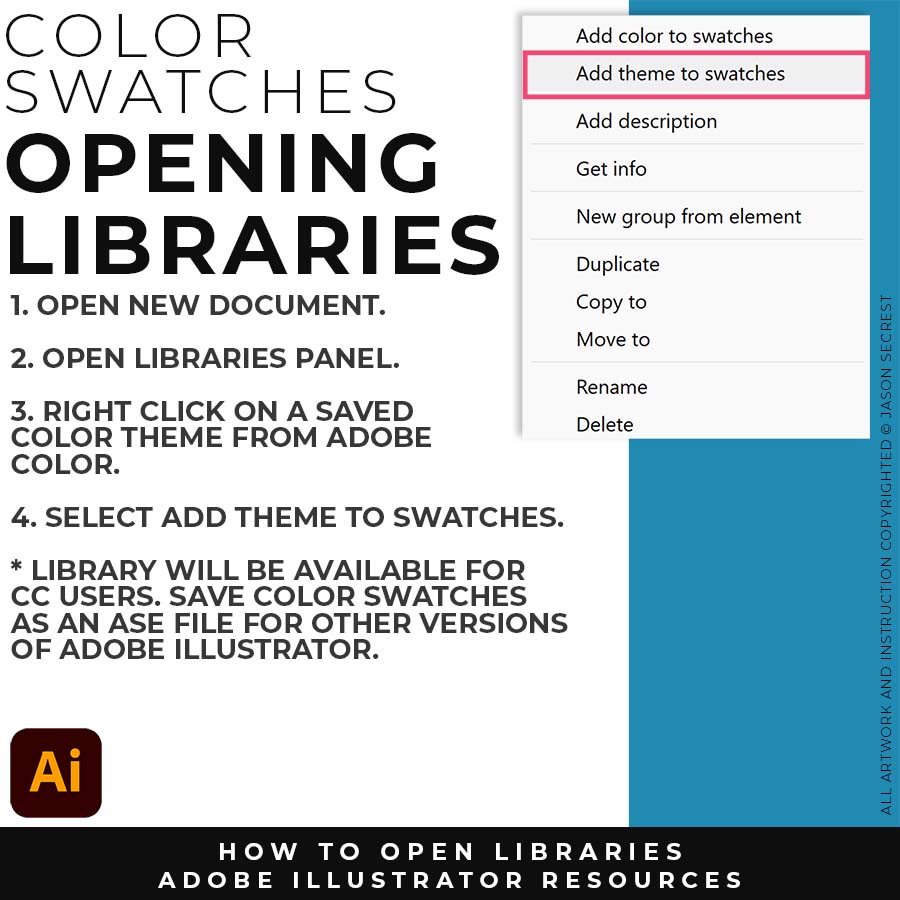
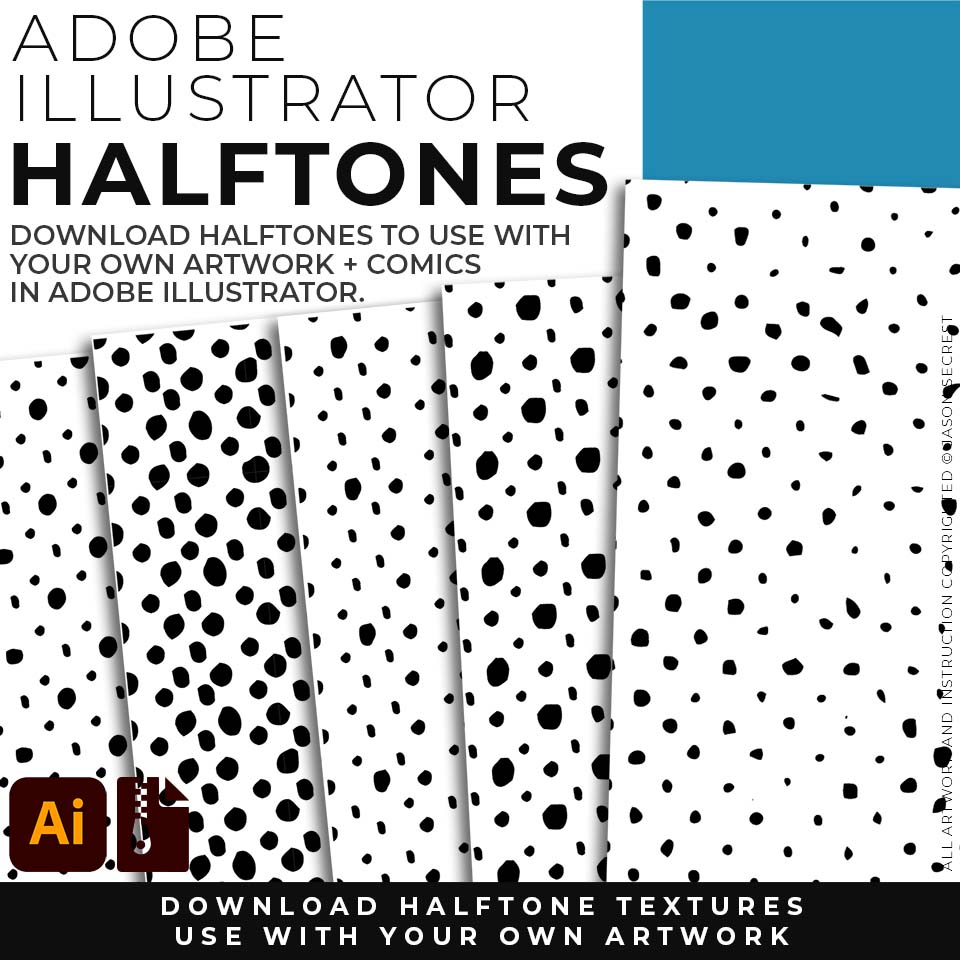
COMIC HALFTONES: Once you have downloaded and extracted the folder, Halftones are ready to be used in Adobe Illustrator. Download our Comic Strip Halftone and Pattern Fills.
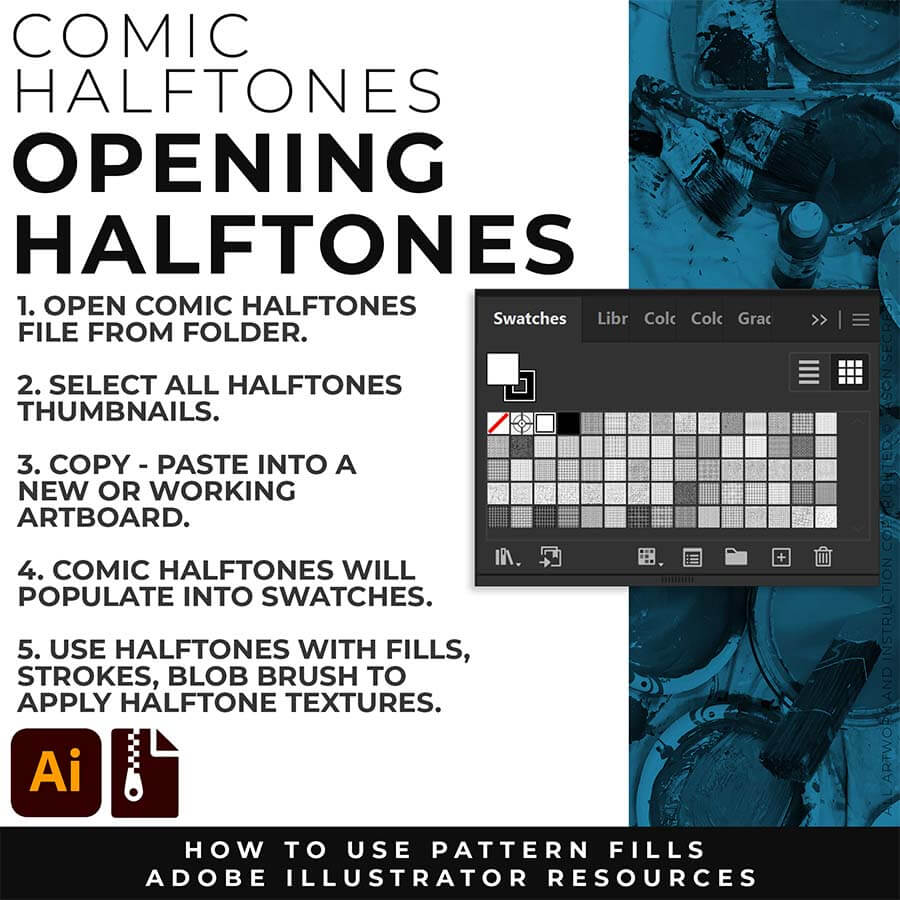
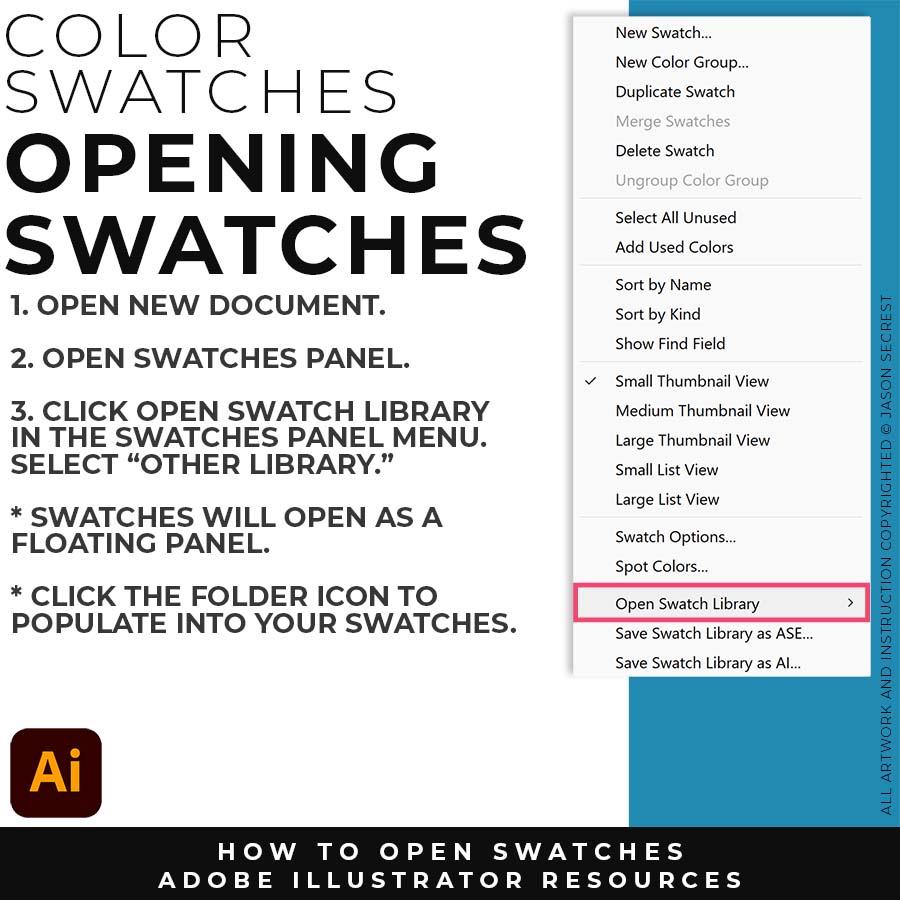
OPEN HALFTONES: Pattern Fills and Halftones are Adobe Illustrator Files. The goal is to Open + Copy + Paste the Swatches into the Working Artboard. The Pattern Fills (Swatches) will automatically populate into your Swatches once you Copy - Paste.
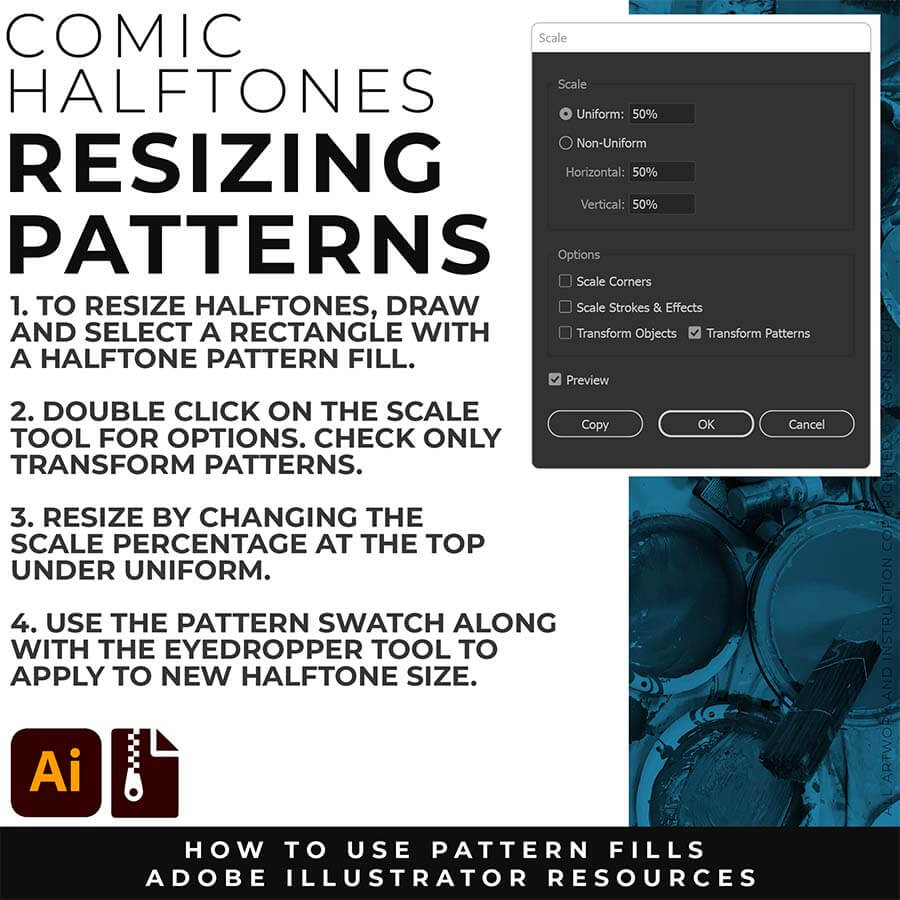
RESIZING PATTERNS: Depending on your artboard size, you might need to Resize Pattern Fills the Halftones in Adobe Illustrator. Simply use the Scale Tool to "Transform Patterns."
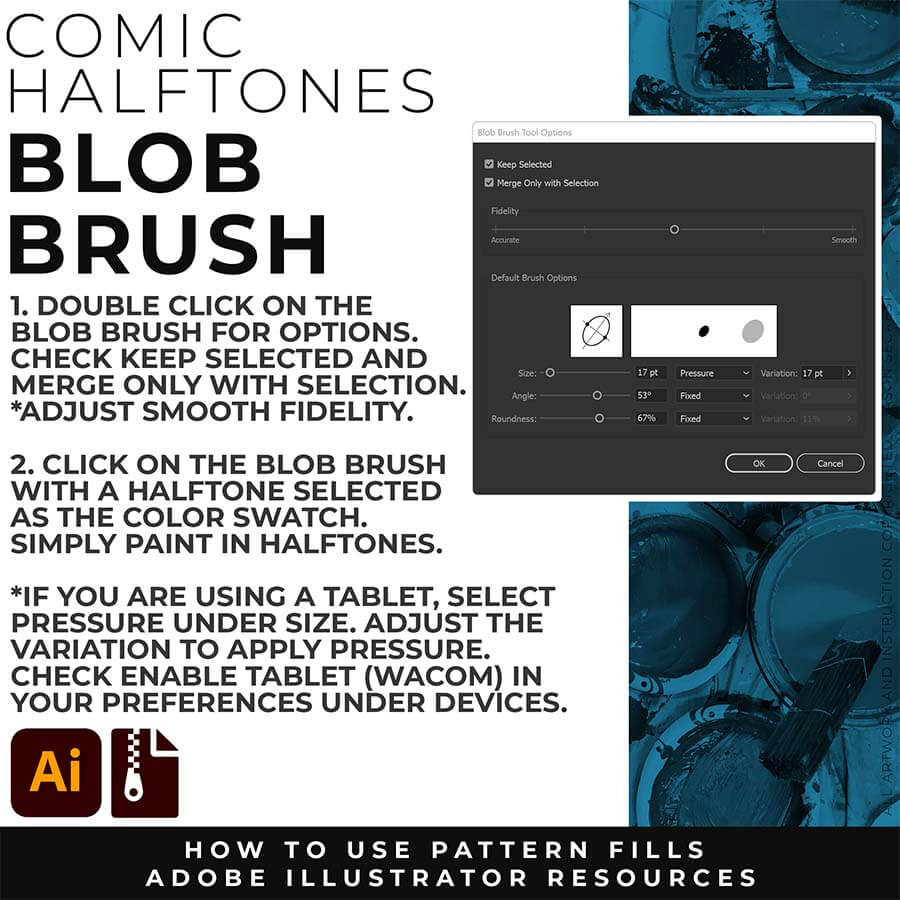
APPLYING HALFTONES: Halftones will behave just like any Color Swatch in Adobe Illustrator. If you are new to Adobe Illustrator, use the Blob Brush to paint in Comic Halftone Patterns.
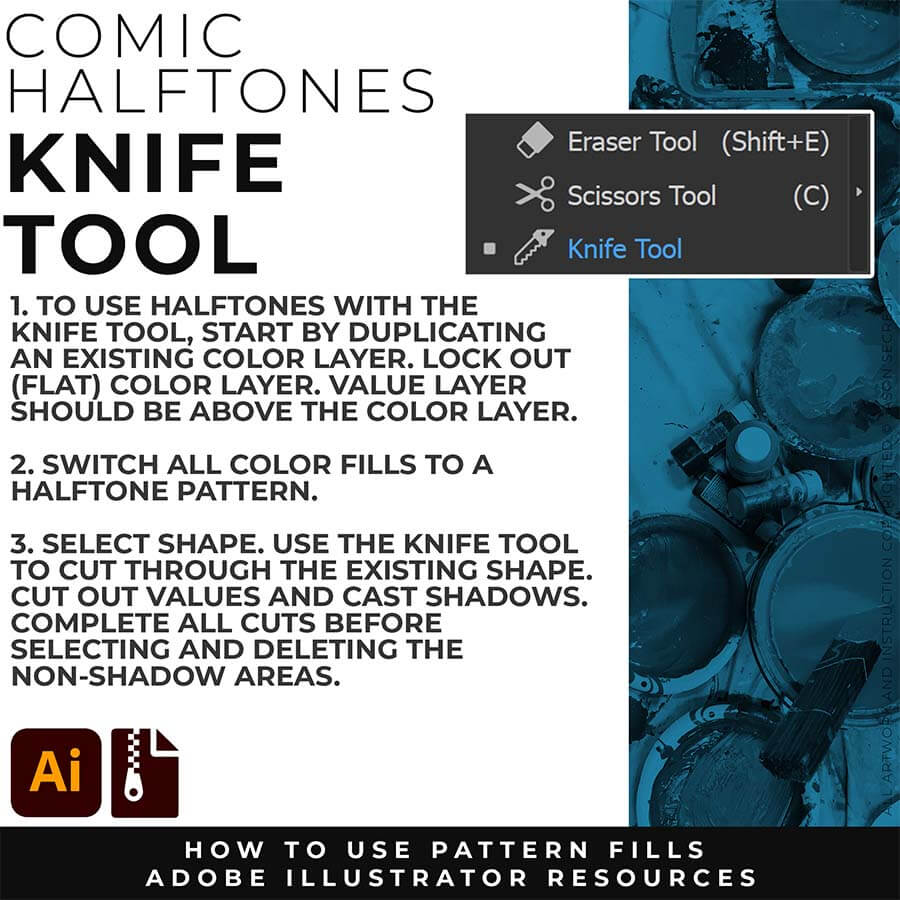
KNIFE TOOL: We will use the Knife Tool to cut the Basic Shape we created, creating values with our Halftones. Troubleshooting: 1. Select the Shape before Cutting. 2. Make sure you cut all the way through the shape (go long with cuts).
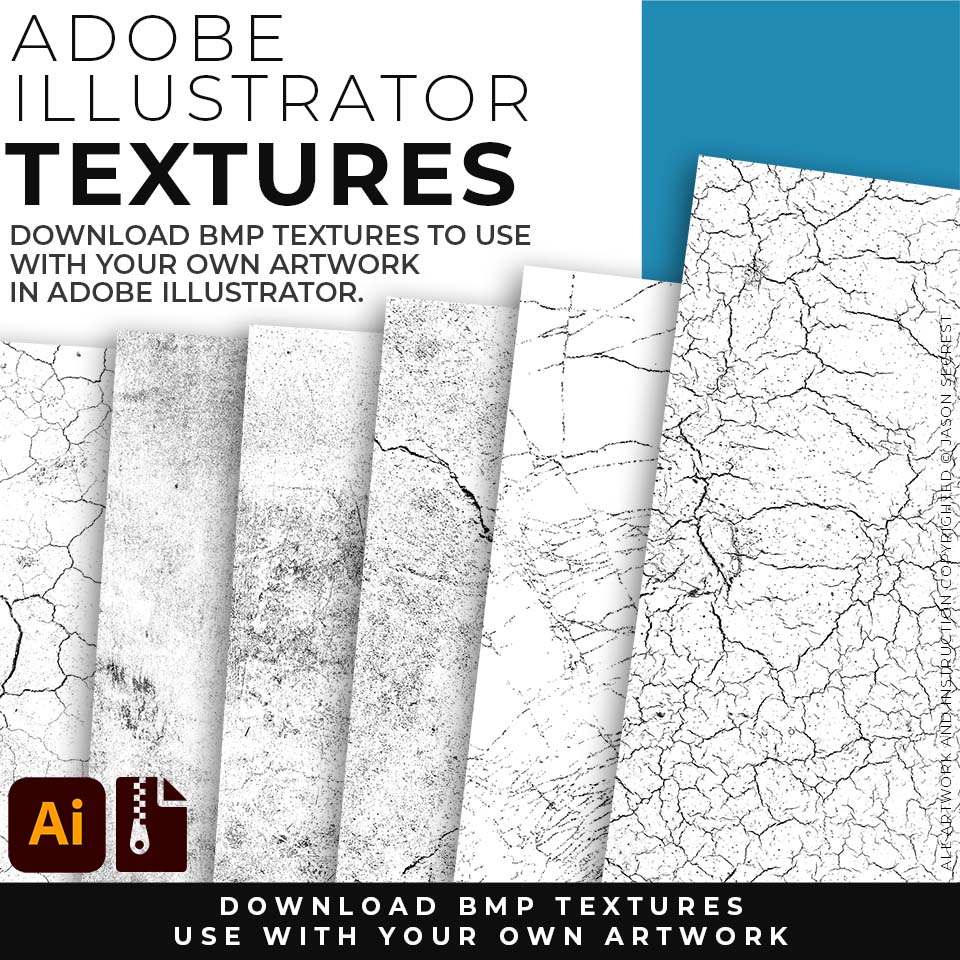
T-SHIRT TEXTURES: Once you have downloaded and extracted the folders, Textures are ready to be used in Adobe Illustrator. Download Crack, Grunge Distressing, Paper, and Paint Splatter BMP Textures.
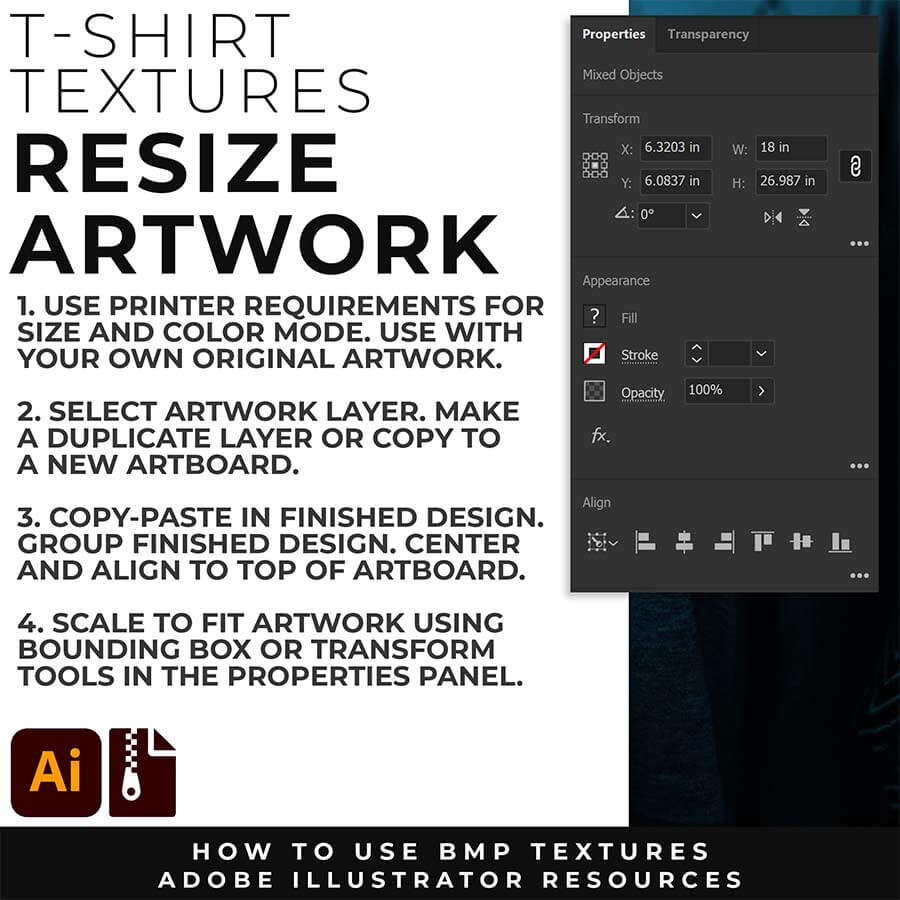
RESIZE ARTWORK: I recommend duplicating the layer or copying and pasting to a new artboard. Select All - Group. Use the Properties Panel to transform your original Artwork or Design to fit Printer Requirements.
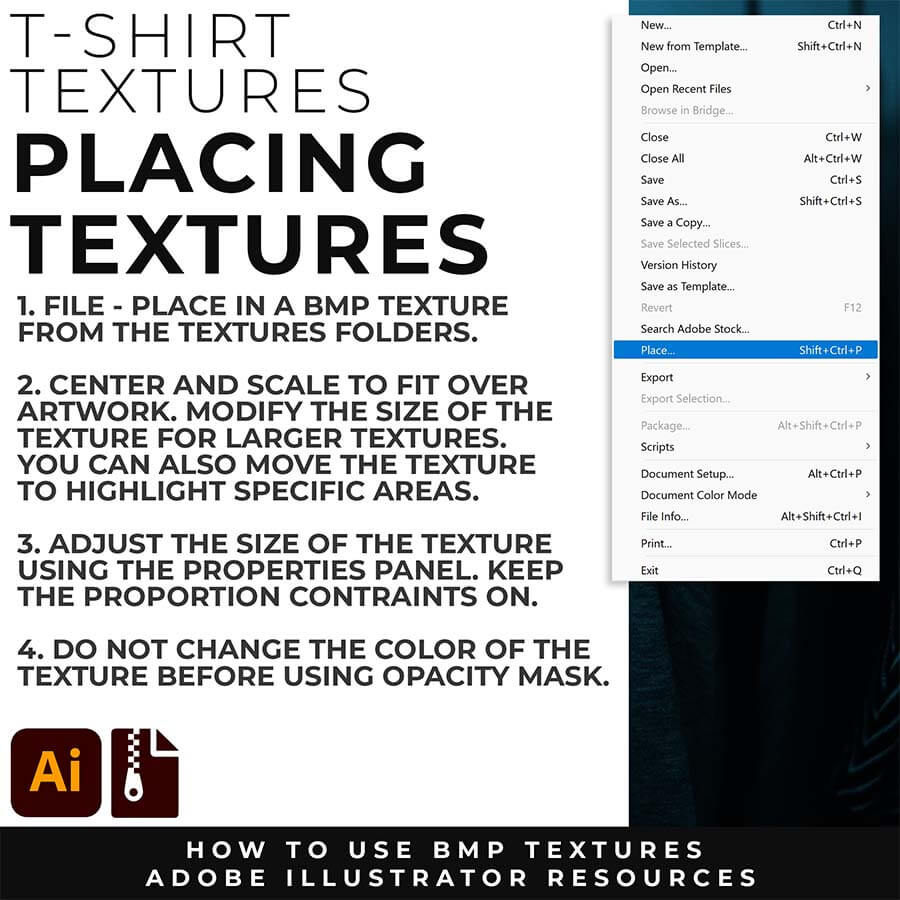
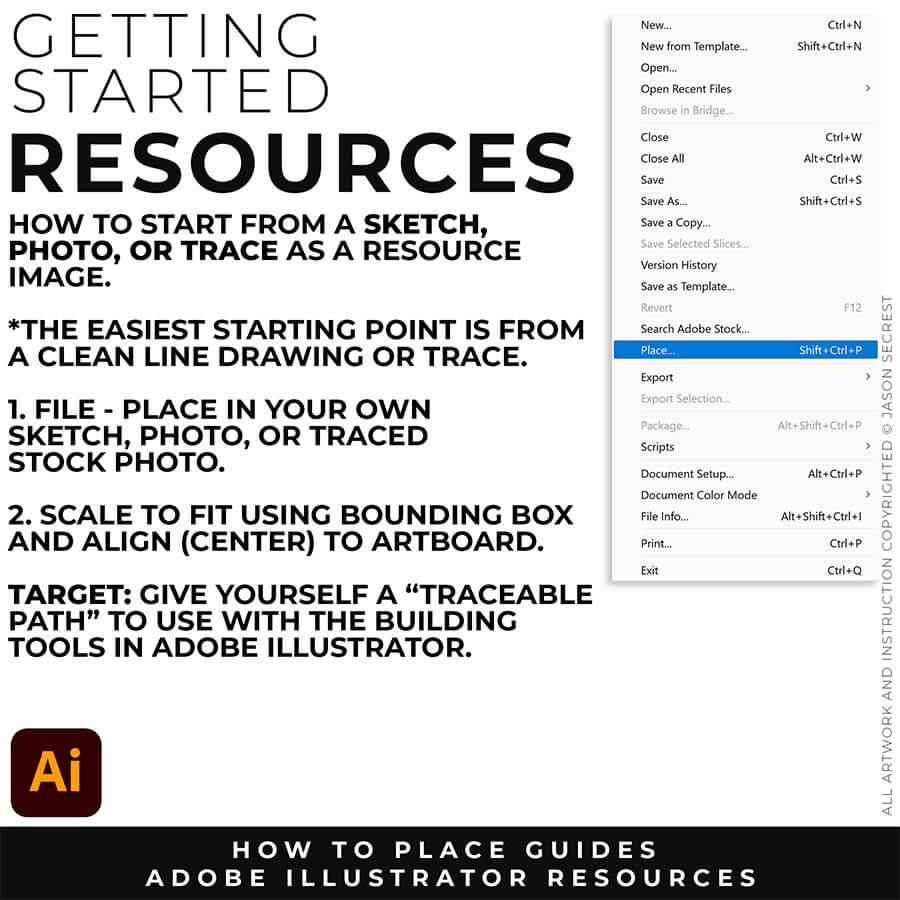
PLACING TEXTURES: To use BMP in Adobe Illustrator, go to File- Place. Select any of the BMP Textures to bring in to your working artboard. Most adjustments will be in the Transparency Panel.
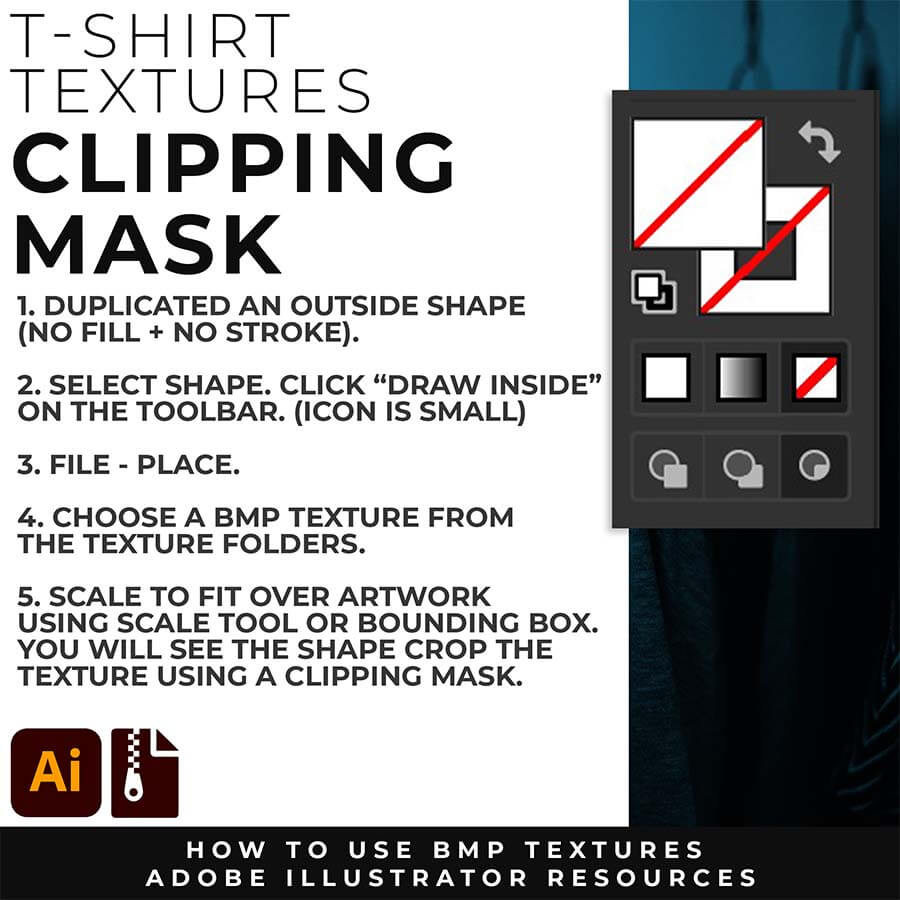
CLIPPING MASKS: Using the "Draw Inside" feature is an easy way to use Clipping Masks in Adobe Illustrator. Simply File - Place in the BMP Texture into the selected "Draw Inside" Shape.

OPACITY MASKS: Using Opacity Masks in Adobe Illustrator is extremely fun. Click on "Make Mask" in the Transparency Panel. This will be for your own original artwork for T-shirt Distressing.