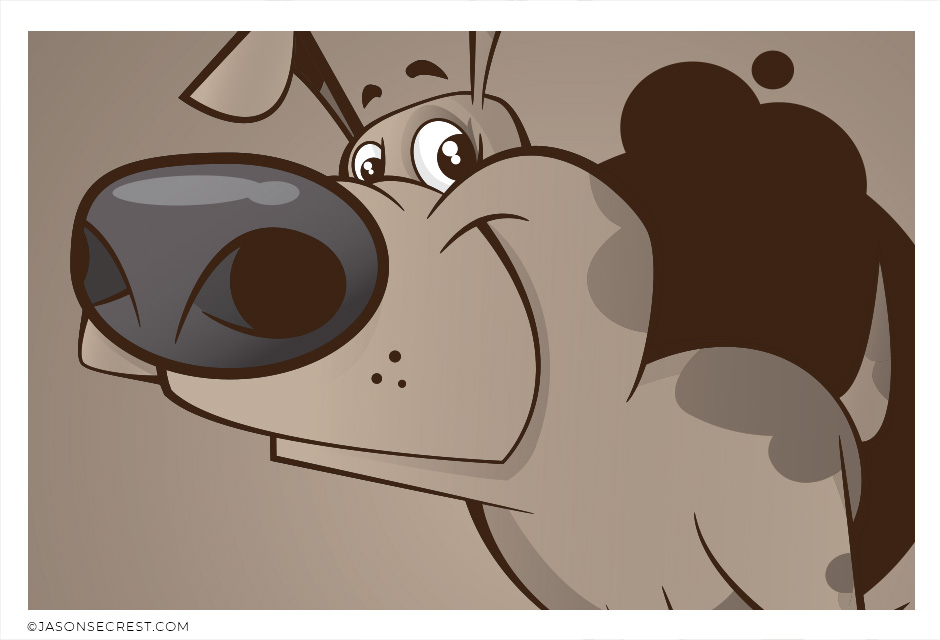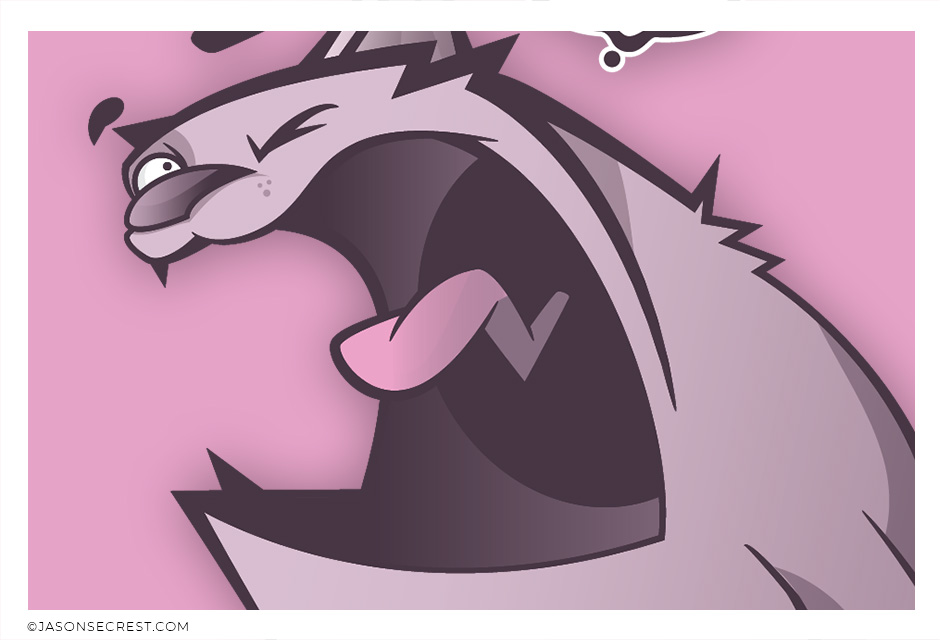
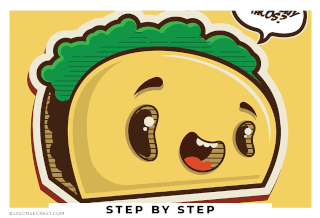
adobe illustrator tutorial using pathfinder taco

Adobe Illustrator CC Tutorial using Pathfinder

In Adobe Illustrator, for Beginners by Jason Secrest

Adobe Illustrator Tutorial for Beginners using Pathfinder.

In this Adobe Illustrator Tutorial for Beginners, we will be using shapes to practice building using the shape tools and the pathfinder panel. Shapes are a great way of building your characters especially as you gain experience with blend, warp, shape builder, and pathfinder to create unique shapes. Shapes are an easy and effective way of building in Illustrator. Use the align panel to align to selection and the artboard to make symmetrical designs. This tutorial will focus on Building Tools, Editing Options, and Basic Coloring Techniques.
adobe illustrator tutorial taco
Image

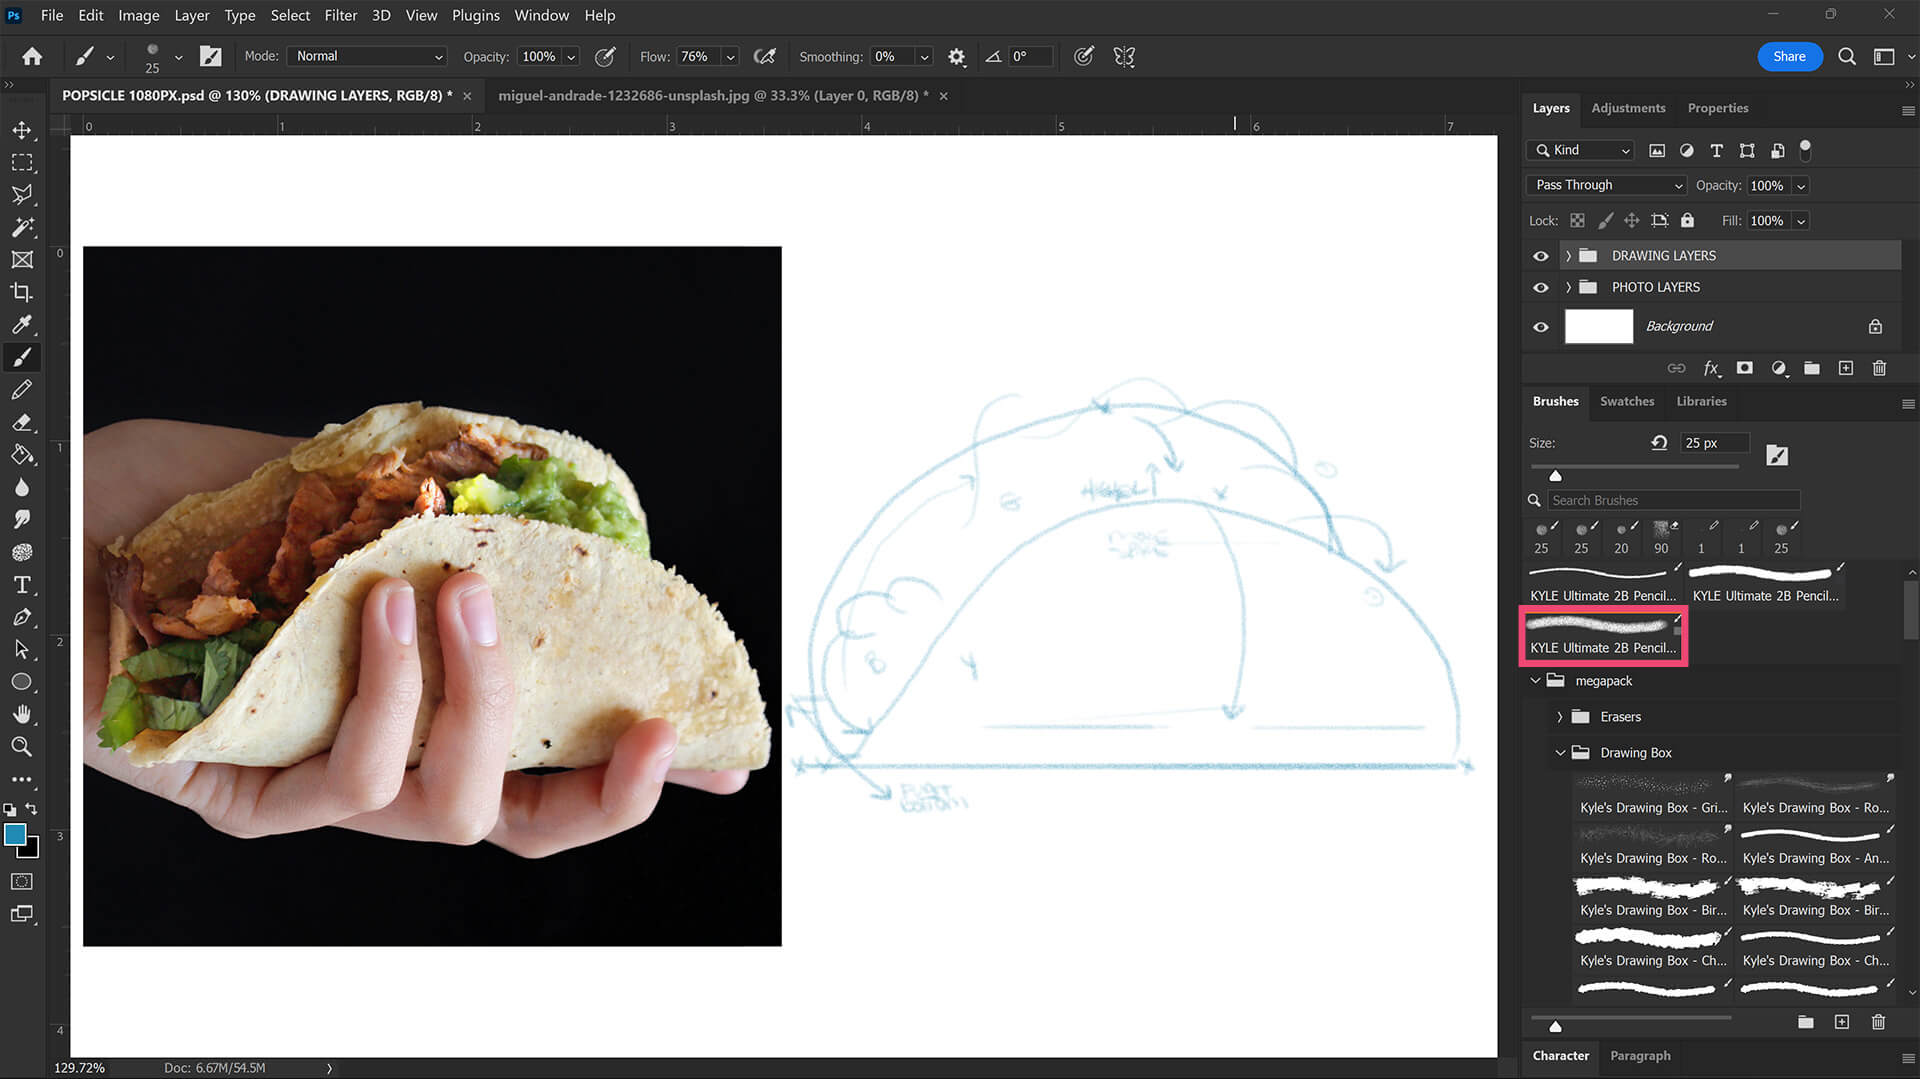
RESOURCES: As I create my artwork, pay attention to the resources used throughout the workflow. BEGINNER: For your own artwork, start from a Drawing, Sketch, or Traced Stock Photo. ADVANCED: I recommend gathering and organizing resources within the same project folder (Stock Photos / Sketches / Thumbnails / Color Swatches). RESOURCE GUIDES

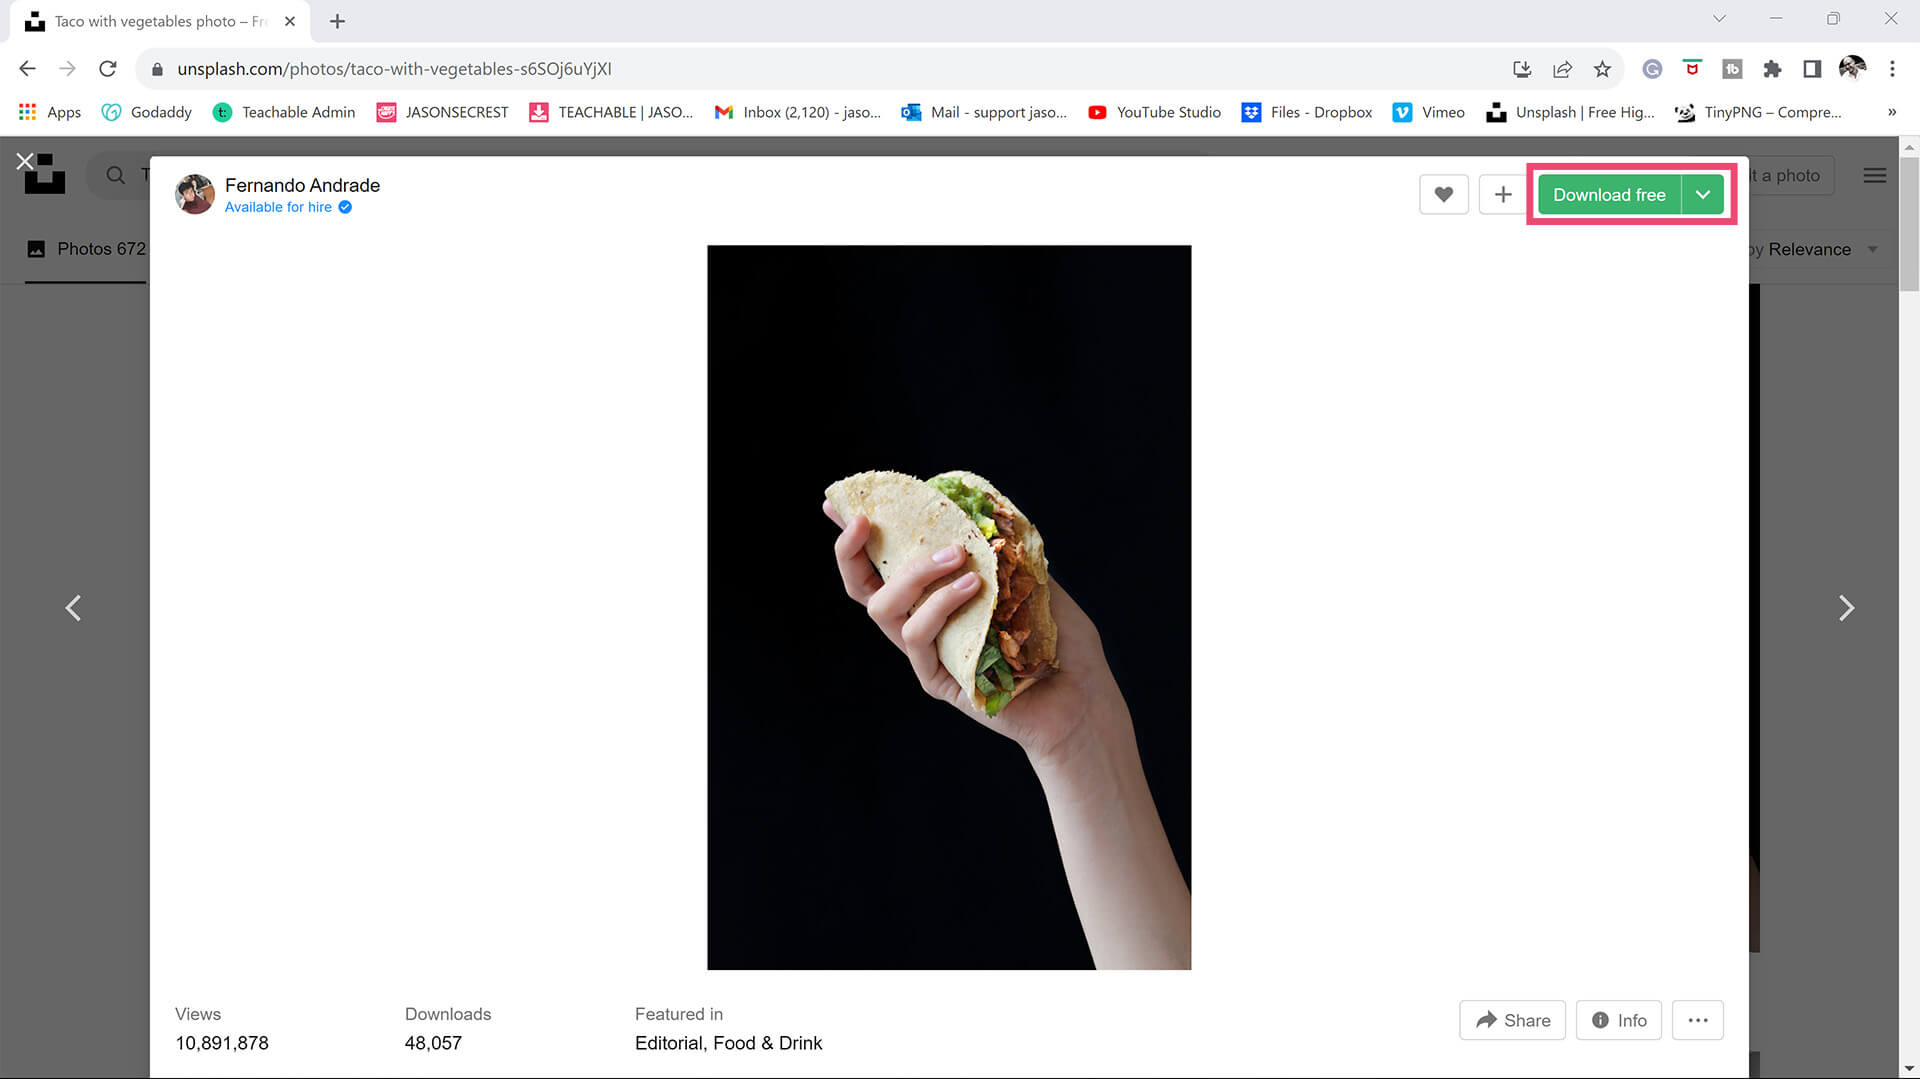
GATHERING PHOTOS: Start with your own photography or a properly licensed stock photo — never a random image pulled from a search engine, since you won't actually know its usage rights. A single, clearly-lit subject with a simple background gives the AI the cleanest signal to work from; a busy, cluttered photo forces it to guess at what in the frame actually matters. Higher-resolution source photos consistently produce better results than anything compressed or blurry, since detail that isn't in your original photo can't be recovered afterward. 

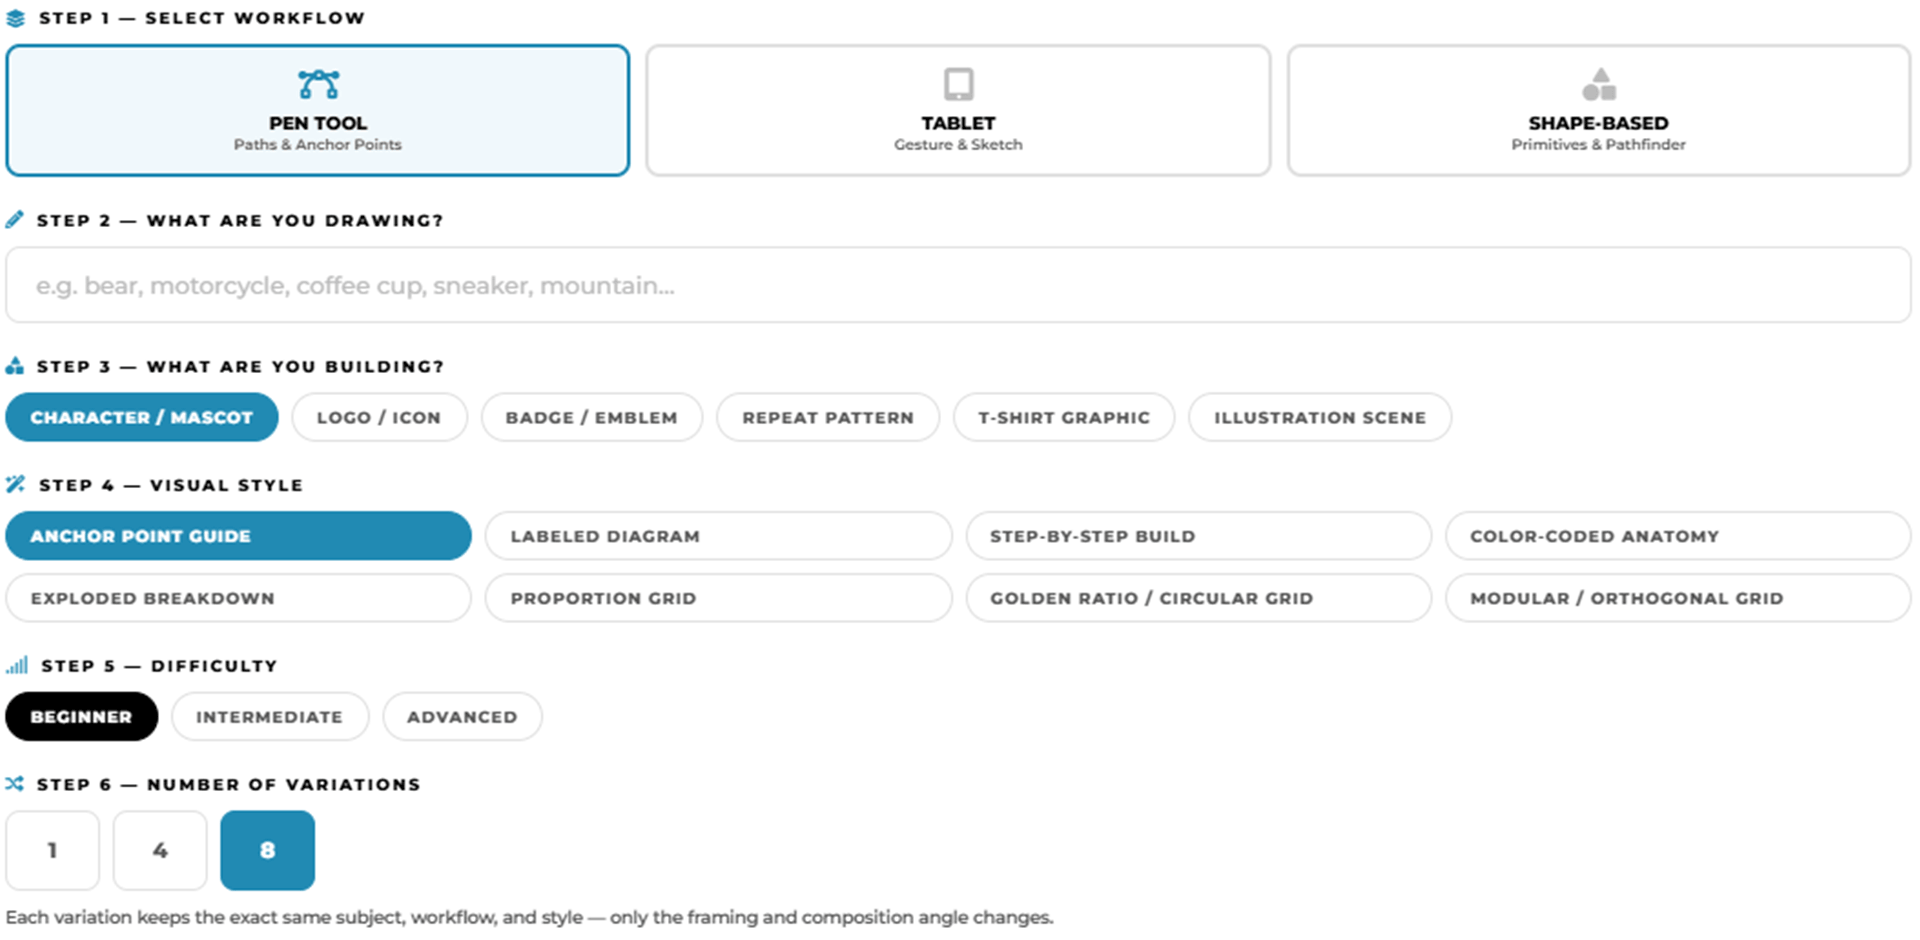
FREE DESIGN TOOLS (UPDATED 8/13/2026): I have created a series of free design tools for you to use with your own artwork and designs. ACTION STEP: Select your workflow, type in your subject, and this tool assembles a detailed AI image generation prompt designed specifically for Adobe Illustrator practice exercises — Choose from anchor point guides, tablet sketch construction diagrams, and shape-based Pathfinder breakdowns, across three difficulty levels.  →  PRACTICE EXERCISE PROMPT BUILDER

STOCK PHOTOS: For your own artwork and designs, I recommend using (Unsplash / Pixabay / Pexels) for Free Stock Photos. ACTION STEP: Quickly bookmark the websites to a Free Resources Folder in your browser. When you are creating your own artwork or design projects, download, gather, and organize resources within the same project folder on your computer (Stock Photos / Sketches / Thumbnails / Color Swatches / Font Families). RESOURCE GUIDES / PRACTICE EXERCISE PROMPT BUILDER

RESOURCES: As I create my artwork, pay attention to the resources being used throughout the workflow. BEGINNER: For your own artwork, I recommend starting from a Drawing, Sketch, or Traced Stock Photo. ADVANCED: Gather and organize resources within the same project folder (Stock Photos / Sketches / Thumbnails / Color Swatches). RESOURCE GUIDES

RESOURCES: As I create my artwork, pay attention to the resources used throughout the workflow. BEGINNER: For your own artwork, I recommend starting from a Drawing, Sketch, or Traced Stock Photo. ADVANCED: Gather and organize resources within the same project folder (Stock Photos / Sketches / Thumbnails / Color Swatches). FREE RESOURCES / RESOURCE FOLDERS / RESOURCE GUIDES

RESOURCES: As I create my artwork, pay attention to the resources being used throughout the Workflows, Tutorials, and YouTube Playlists. BEGINNER: For your own artwork, I recommend starting from a Drawing, Sketch, or Traced Stock Photo. ADVANCED: Gather and organize resources within the same project folder (Stock Photos / Sketches / Thumbnails / Color Swatches). GETTING STARTED GUIDE / RESOURCE GUIDES

RESOURCES: As I create my artwork, pay attention to the resources being used throughout the workflow. BEGINNER: For your own artwork, I recommend starting from a Drawing, Sketch, or Traced Stock Photo. ADVANCED: Gather and organize resources within the same project folder (Stock Photos / Sketches / Thumbnails / Color Swatches). 

RESOURCES: As I create my artwork, pay attention to the resources being used throughout the workflow. BEGINNER: Download Free Stock Photos (Unsplash) to use as Drawing, Design, or Color References. BEGINNER: For your own artwork, I recommend starting from a Drawing, Sketch, or Traced Stock Photo. ADVANCED: I recommend gathering and organizing resources within the same project folder (Stock Photos / Sketches / Thumbnails / Color Swatches). 

REFERENCE IMAGES: For your own artwork, download Free Stock Photos (Unsplash) to use as Drawing, Design, and Color References. I recommend gathering and organizing resources within the same project folder (Stock Photos / Sketches / Thumbnails / Color Swatches).  BEGINNER/ADVANCED: For your own artwork, I recommend starting from a Drawing, Sketch, or Traced Stock Photo.

STOCK PHOTOS: For your own artwork, I recommend downloading Free Stock Photos (Unsplash) to use as Drawing, Design, or Color References. Start from a Drawing, Sketch, or Traced Stock Photo. BEGINNER: As I create my artwork, pay attention to the resources used throughout the workflow. ADVANCED: I recommend gathering and organizing resources within the same project folder (Stock Photos / Sketches / Thumbnails / Color Swatches). 

Image
PREPPING YOUR SKETCH: A clean scan or photo of your sketch matters more than a perfect drawing. Even lighting with no shadows or glare across the paper, and real contrast between your pencil lines and the paper itself, makes a genuine difference in how accurately the AI reads your linework. Photographing with your phone instead of scanning is fine — just shoot straight-on rather than at an angle, and crop out everything except the actual drawing before you attach it. A rough, loose sketch works completely fine, since the AI is built to clean it up, not judge your draftsmanship — but a sketch it genuinely can't see clearly will produce a result that drifts from what you actually drew.DRAWING GUIDE
Image
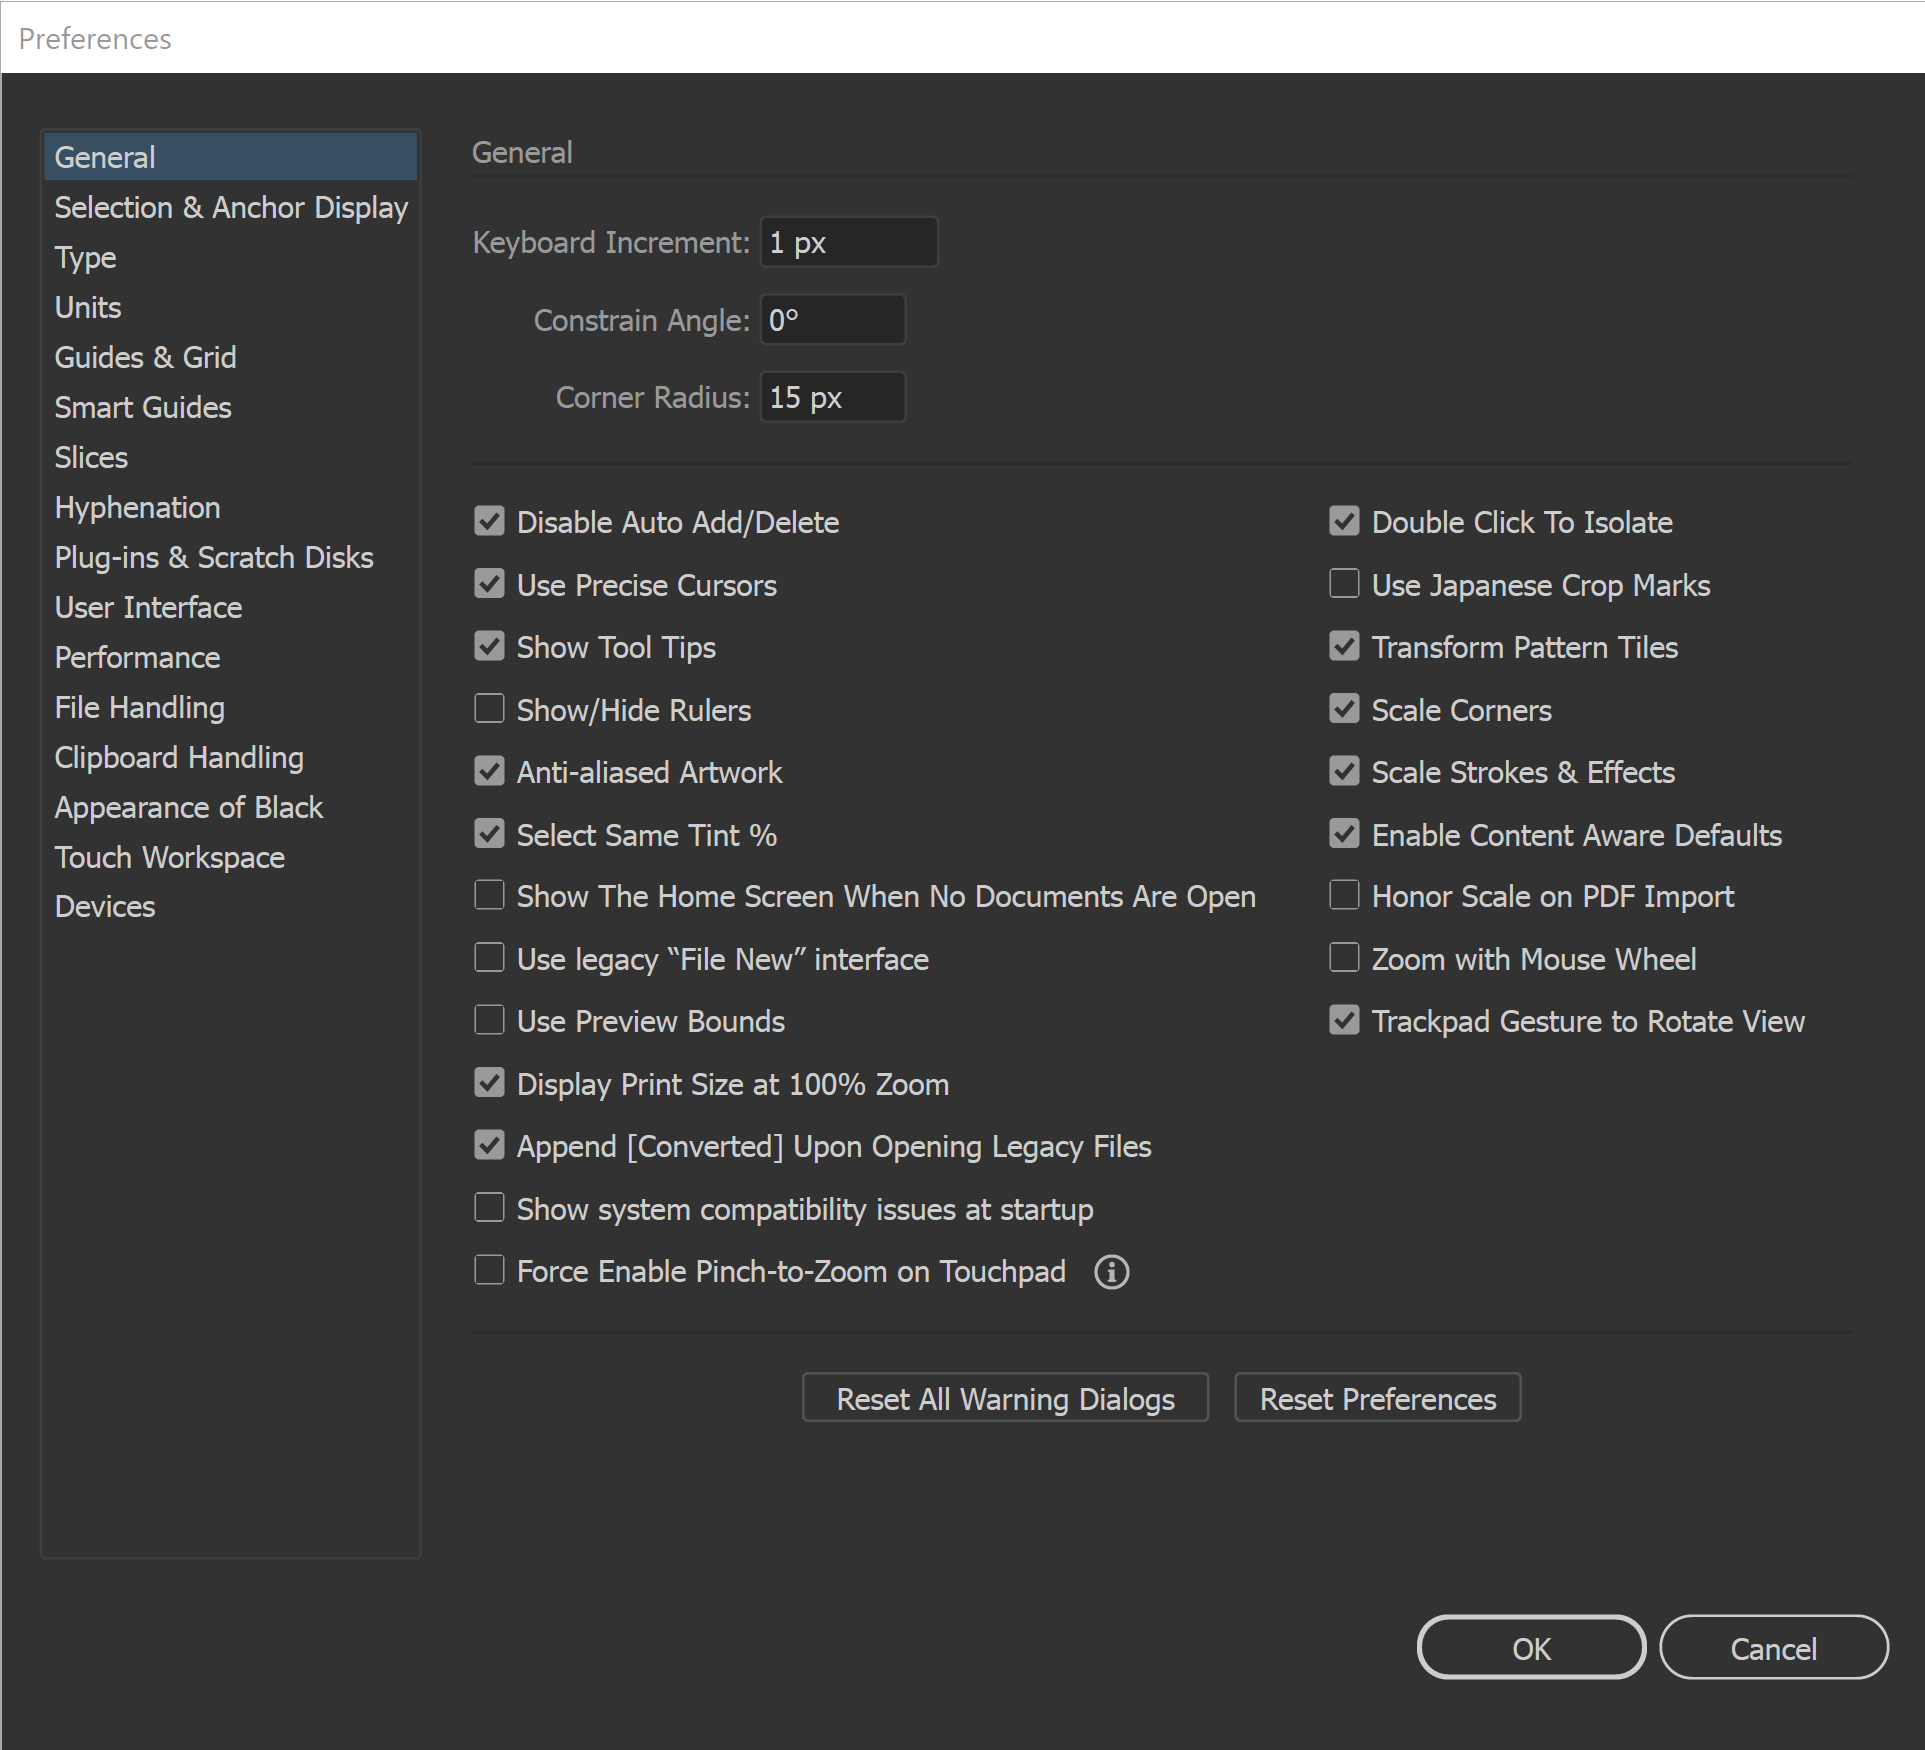
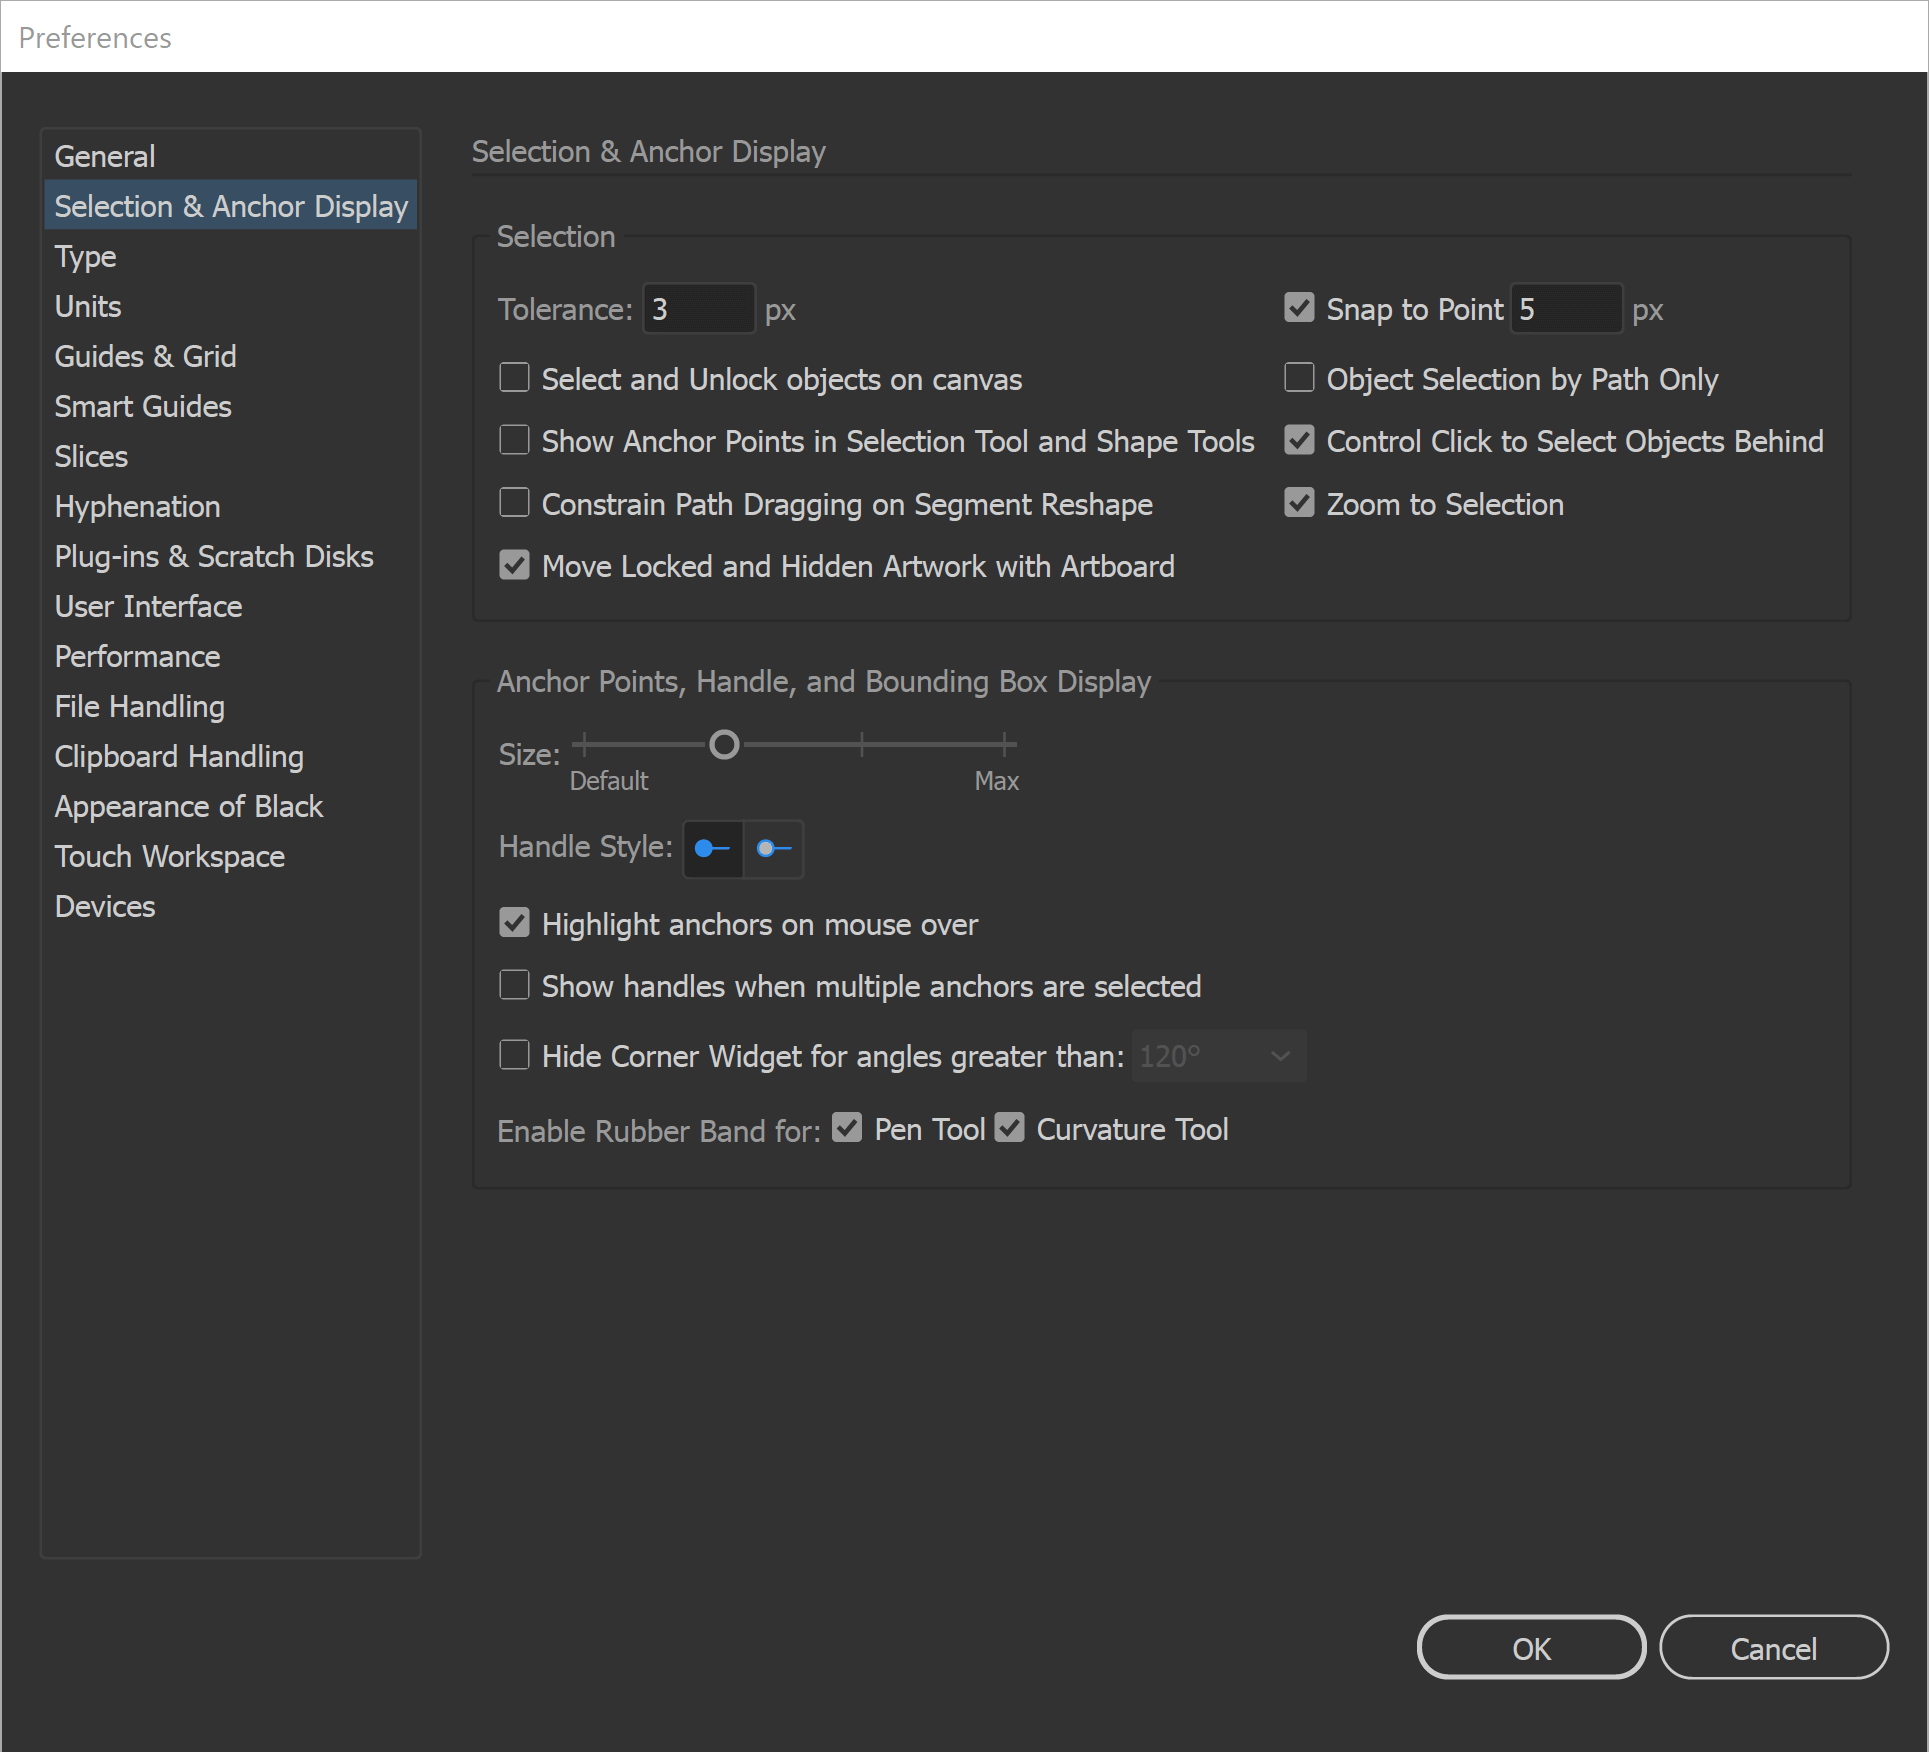
Beginner Preferences: All of our initial preferences are designed to gain more control over what you are clicking on. The more you can zoom in and see your anchors and handles the better. You can adjust the size of your Anchors and Handles under Selection and Anchor Display. Under your General Settings, make sure that Disable Auto Add/Delete is Selected.
Image
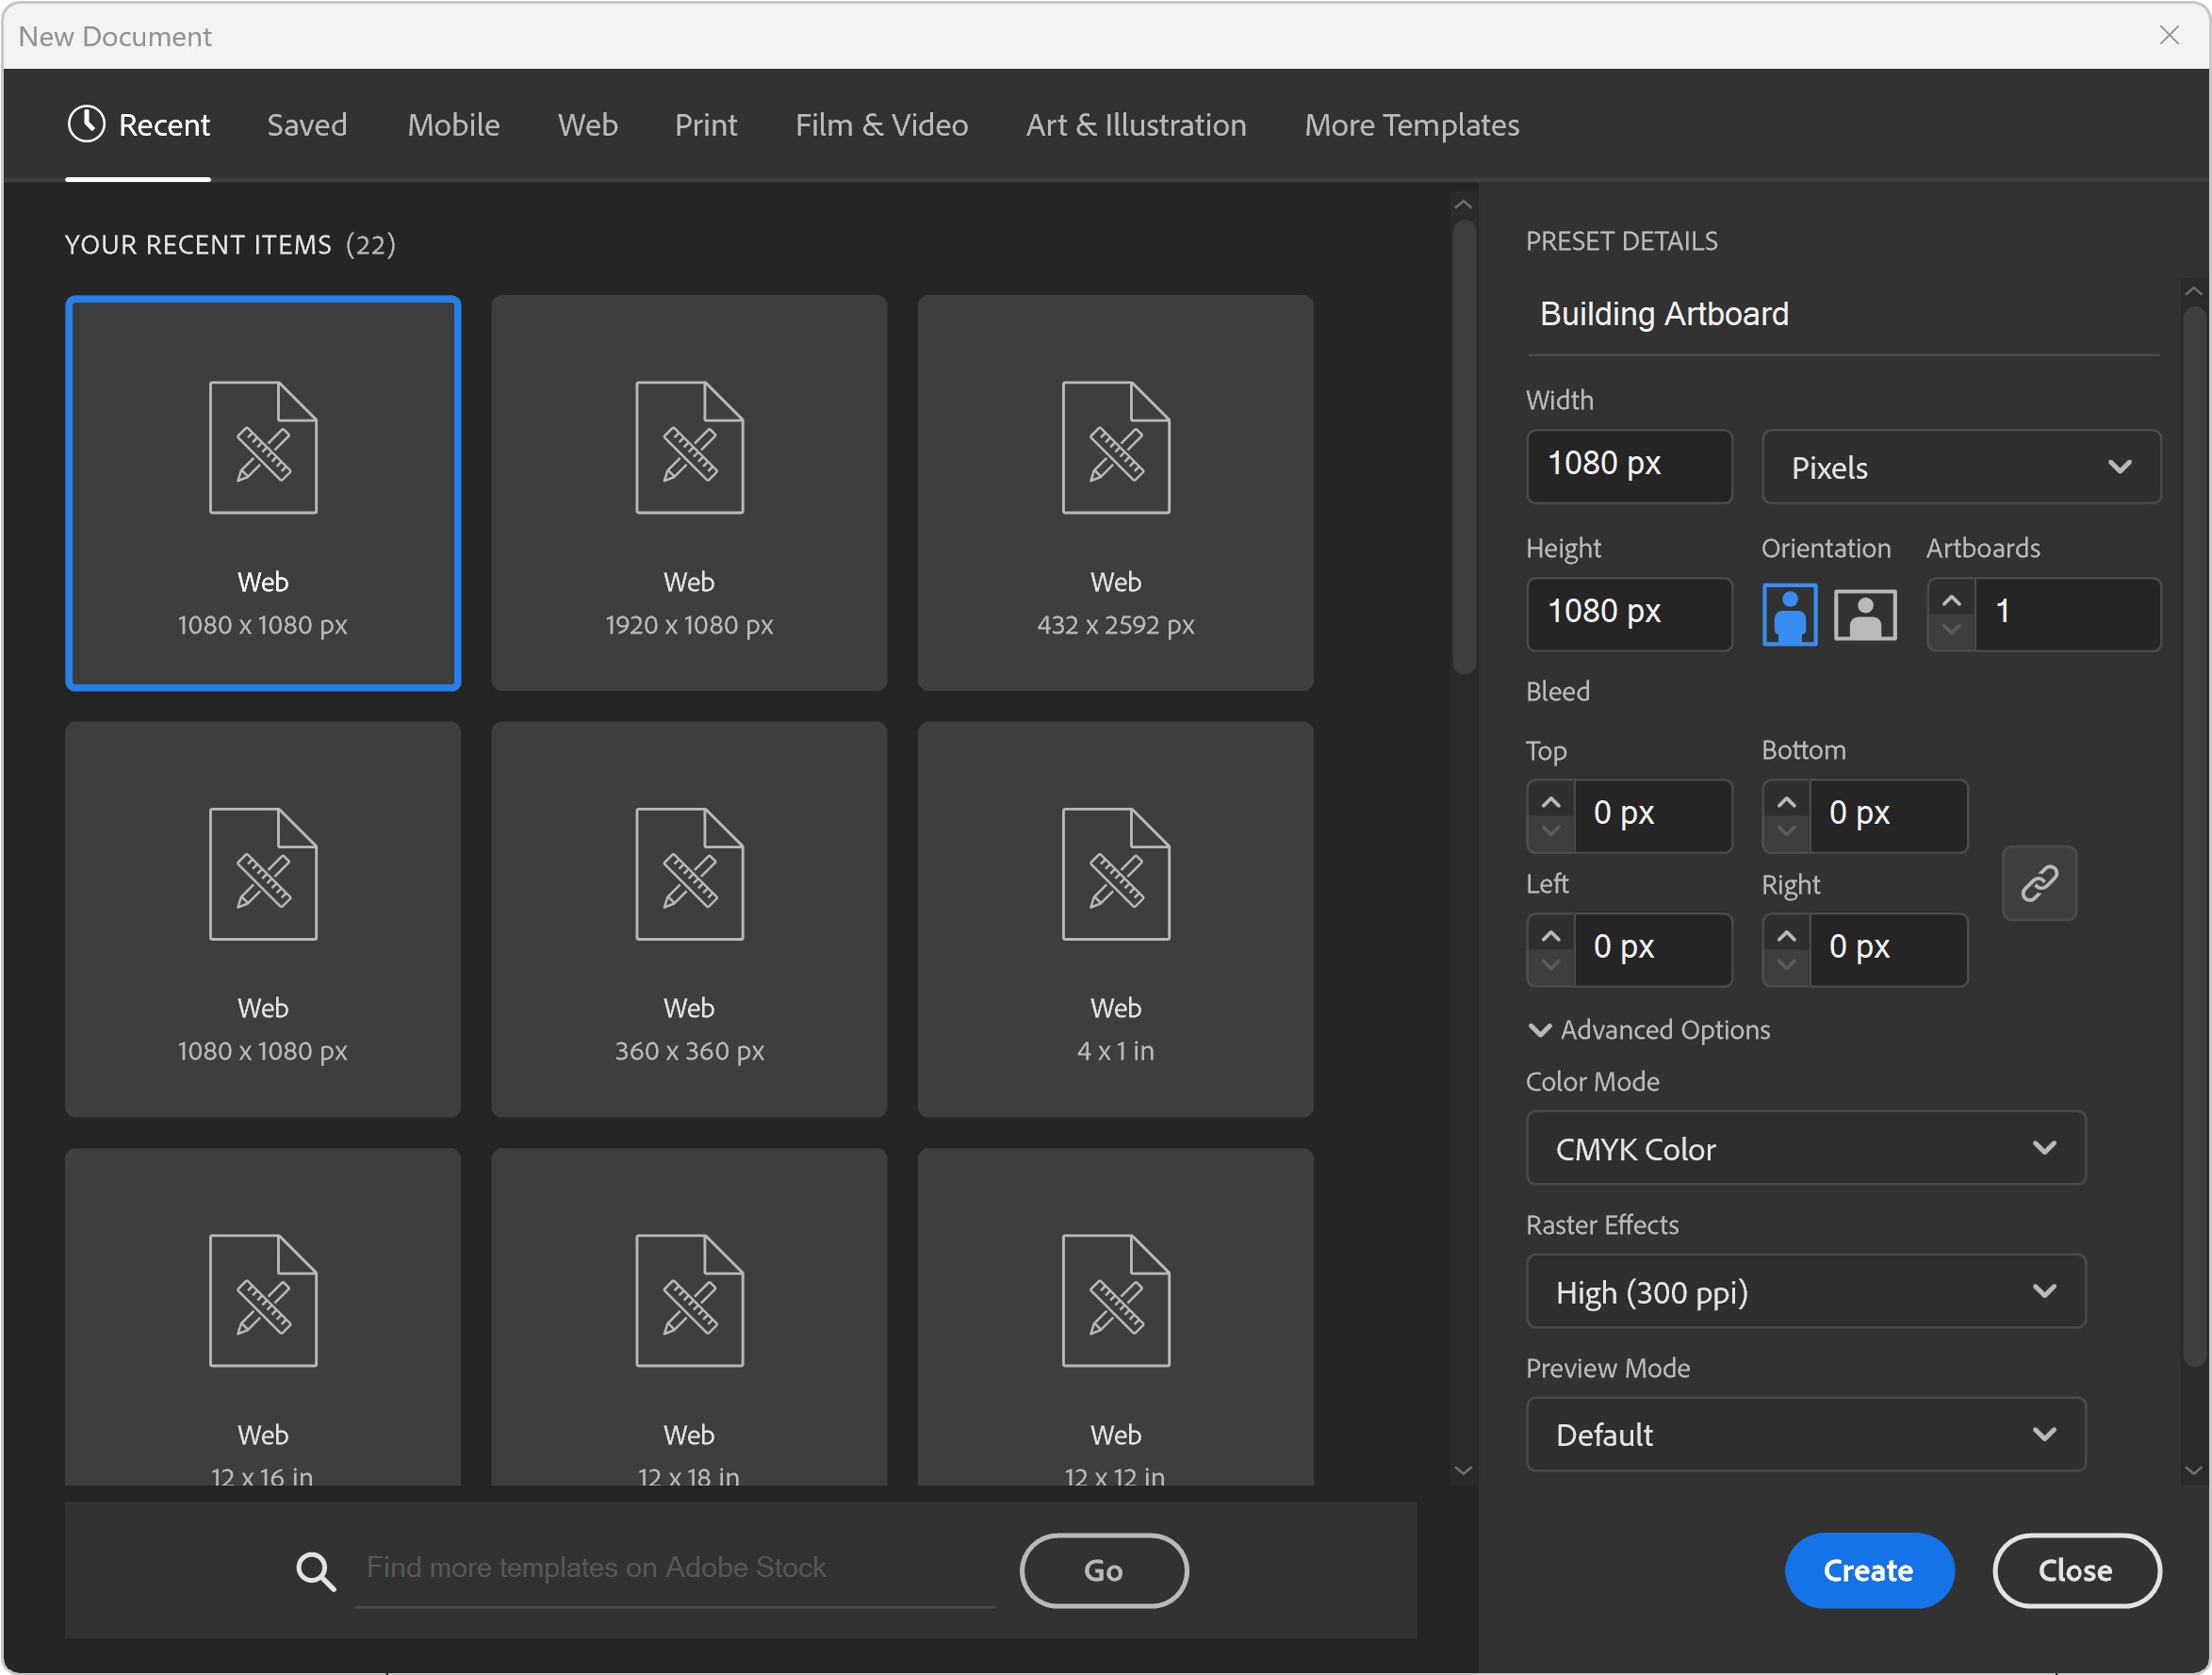
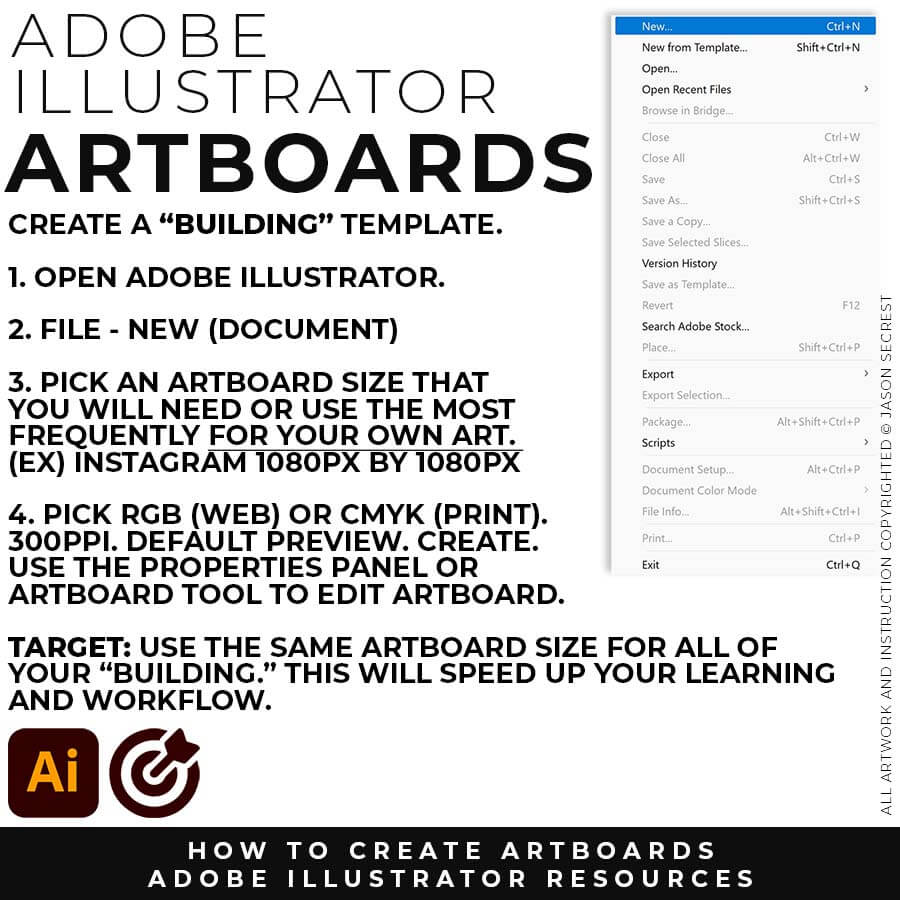
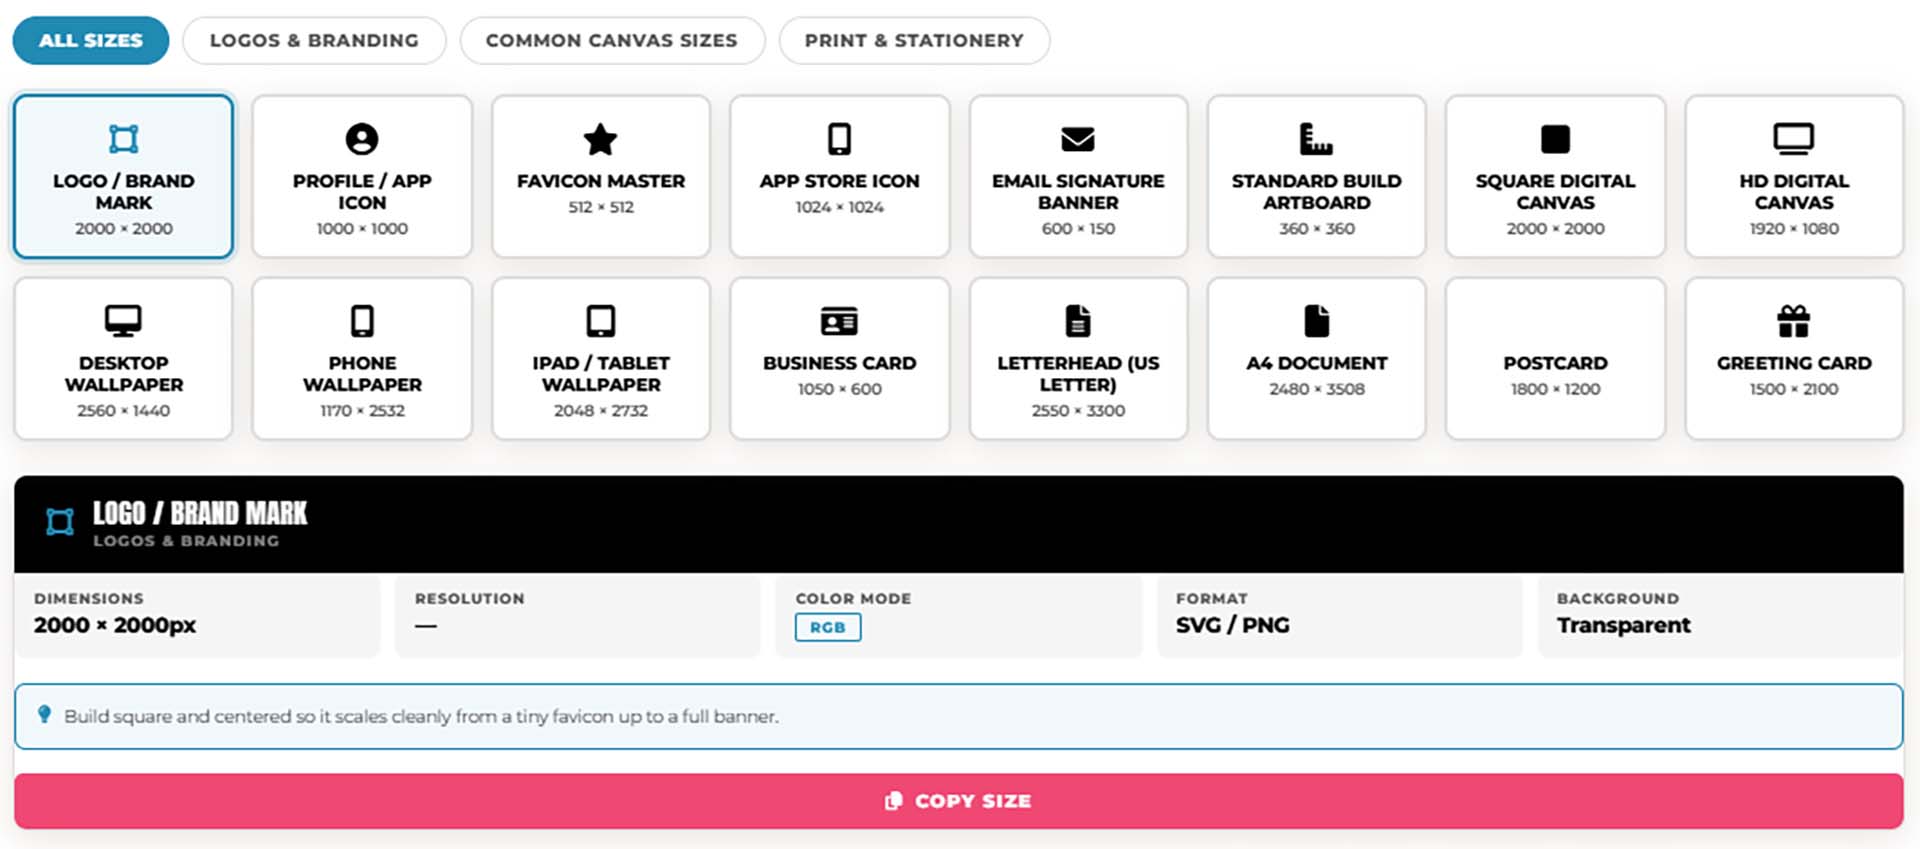
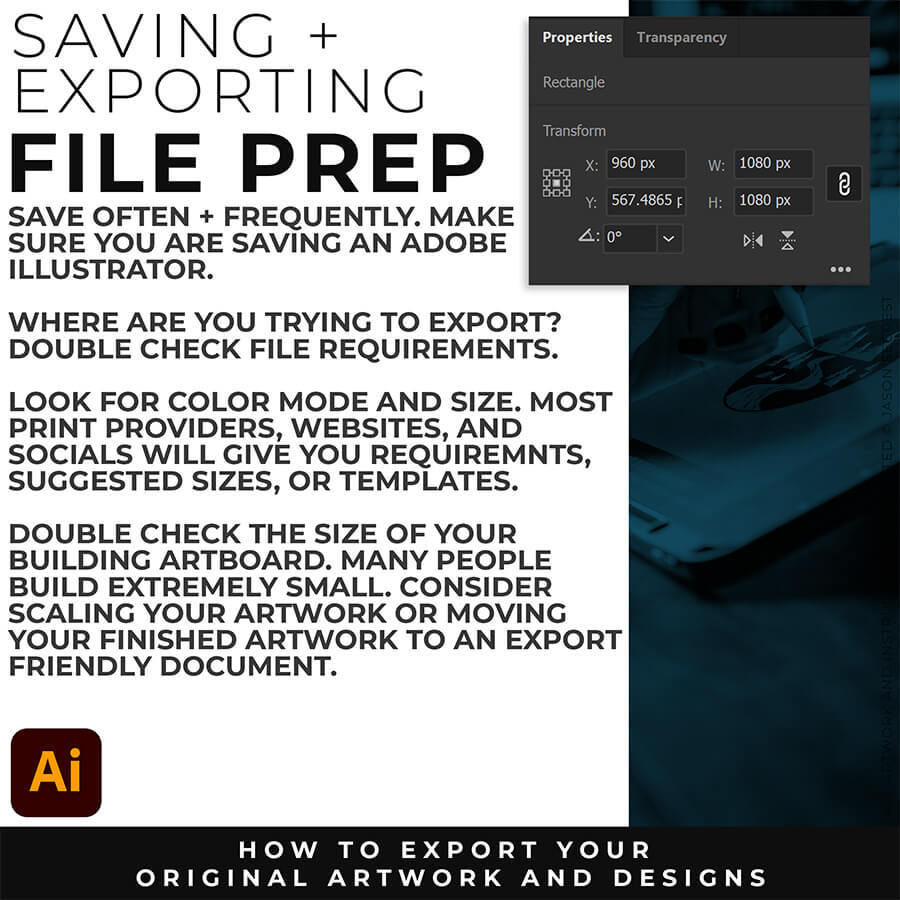
"BUILDING" ARTBOARD: I will recommend a (1080px by 1080px, 300PPI, RGB) as your Initial Artboard Size. The Initial Artboard Size can be changed at any point without ruining your own artwork. Use the Properties Panel to Scale Artwork and Artboards. LEARNING TARGET (1): Create a "Building Template" that includes Artboard Size, Resource Type, and Template Layers. LEARNING TARGET (2): Pick a "Building" Artboard Size you can use for your own Artwork and Social Media Postings. → ARTBOARD SIZE FINDER 
Image
ARTBOARDS: I recommend establishing a "Building Artboard" that you can use for your own artwork. The initial Artboard Size can be changed at any point without ruining your own artwork. LEARNING TARGET: Create a "Building Artboard" you can use for your own Artwork and Social Media Postings (ex. 1080px by 1080px, 300PPI, RGB).
Image
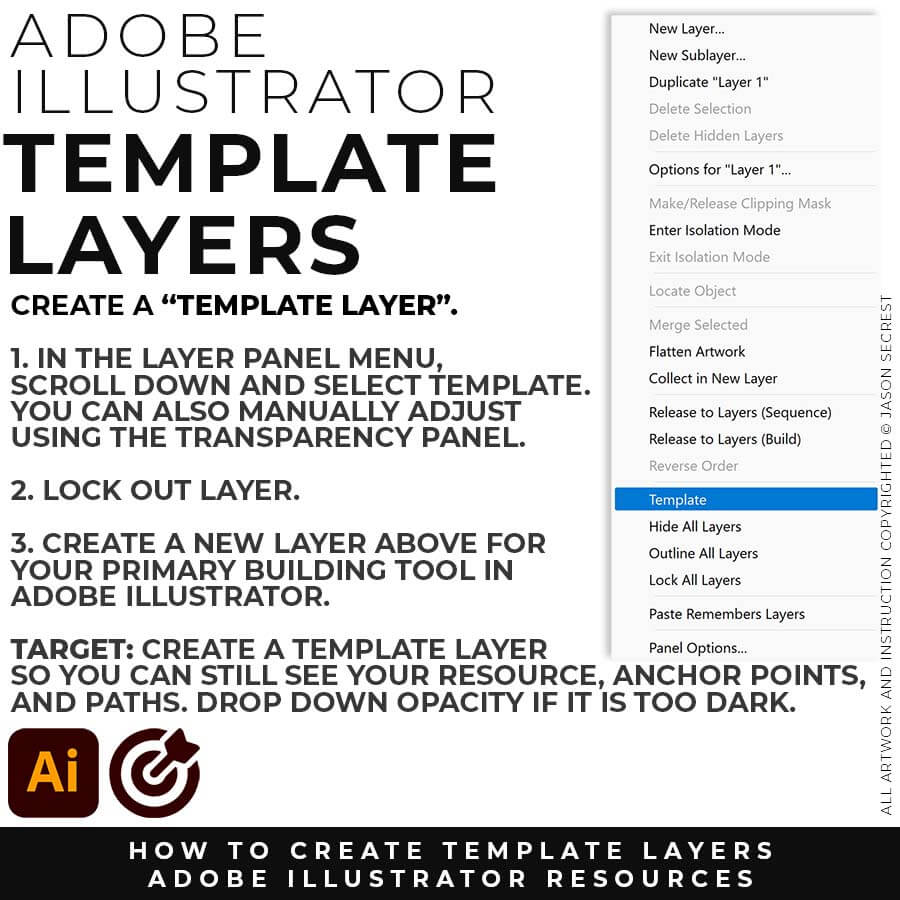
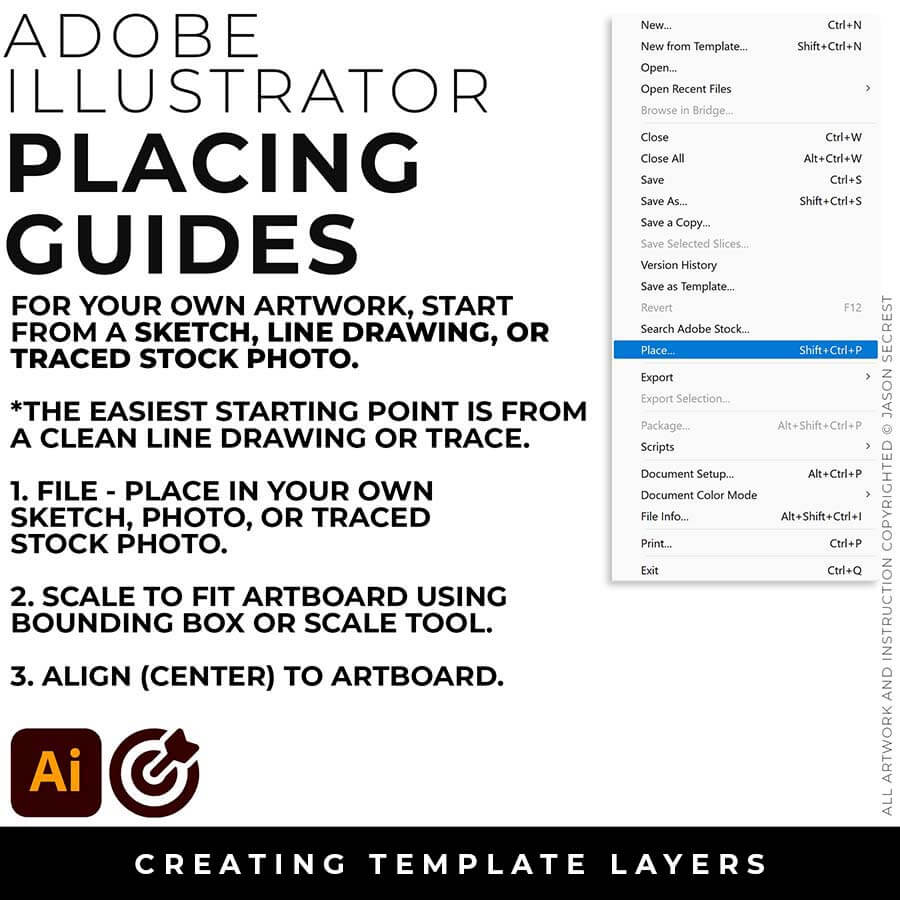
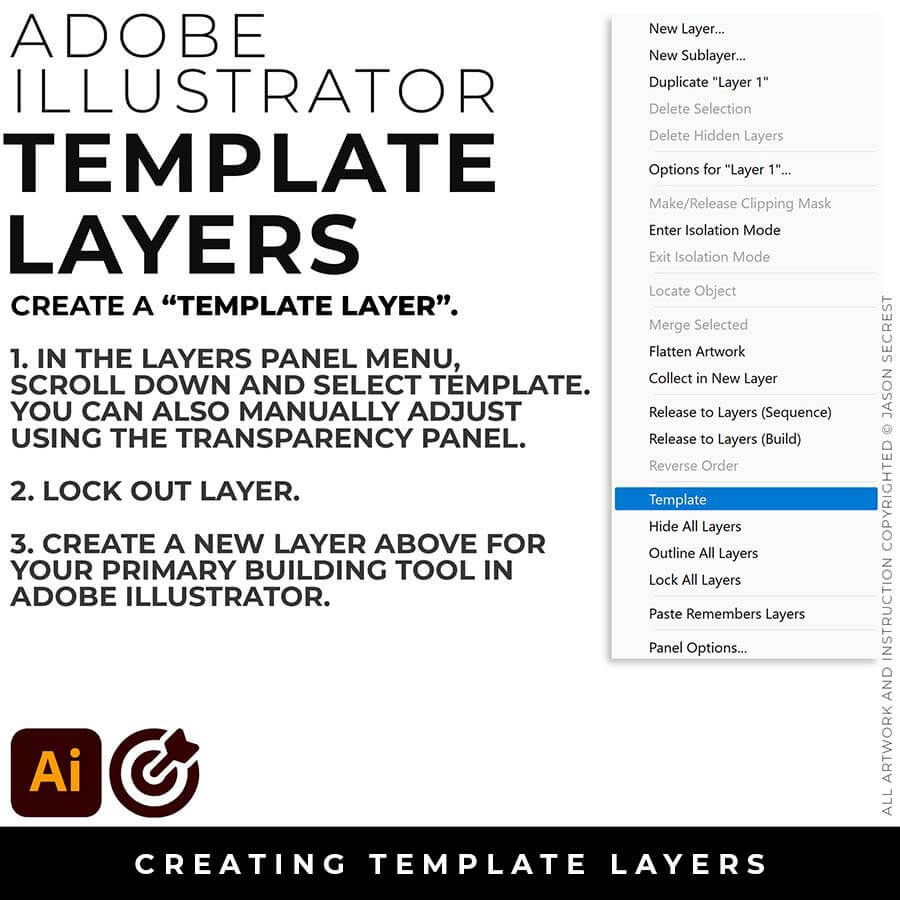
TEMPLATES: File - Place in your Resource Image (Drawing, Sketch, or Traced Photo). Keep Selected. In your Layers Panel, select the Menu in the Upper-Right Hand Corner. Drop down to Template. This will create a 50% Opacity and Lock the Layer. LEARNING TARGET: Create a Template Layer using your Resource Image. Create a New Layer above for "Building." 
Image
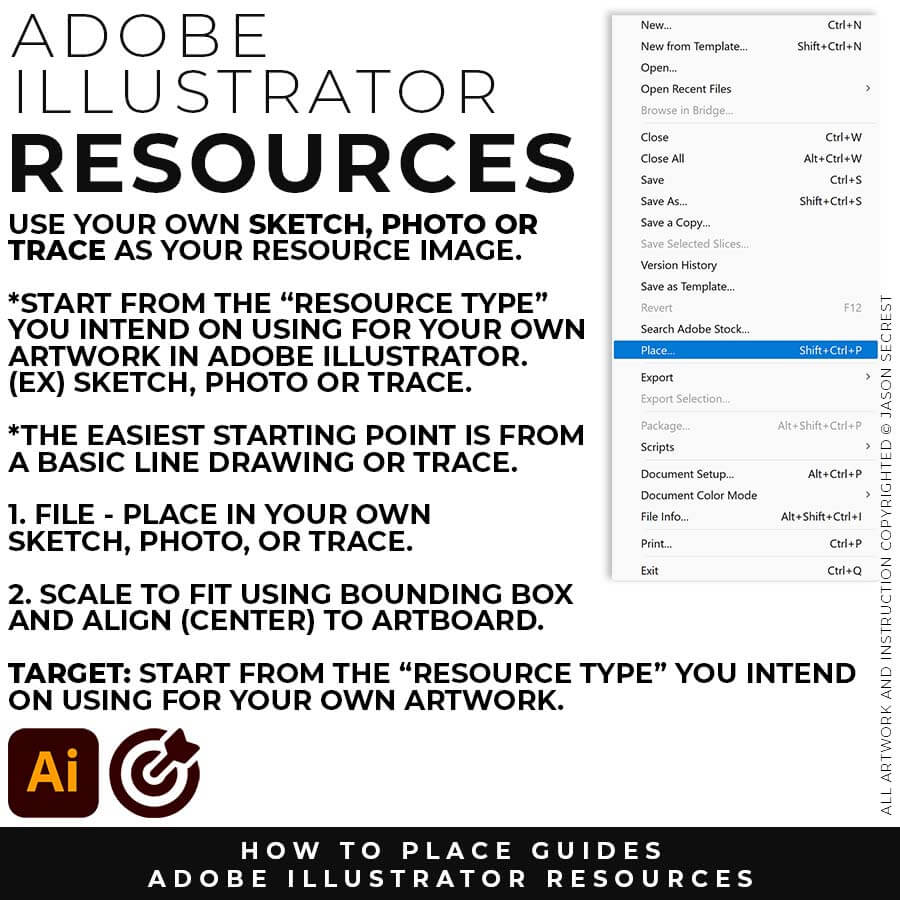
FILE - PLACE: File -Place in your own Drawing, Sketch, or Traced Stock Photo. I recommend starting from a Clean Line Drawing or a simple Traced Stock Photo for your artwork and designs.
Image
SCALE TO FIT: You can modify the size of the artwork using the Bounding Box or Scale Tool. Scale to Fit Artbaord. Align the your Artwork to the center of the Artbaord using the Align Panel. 
Image

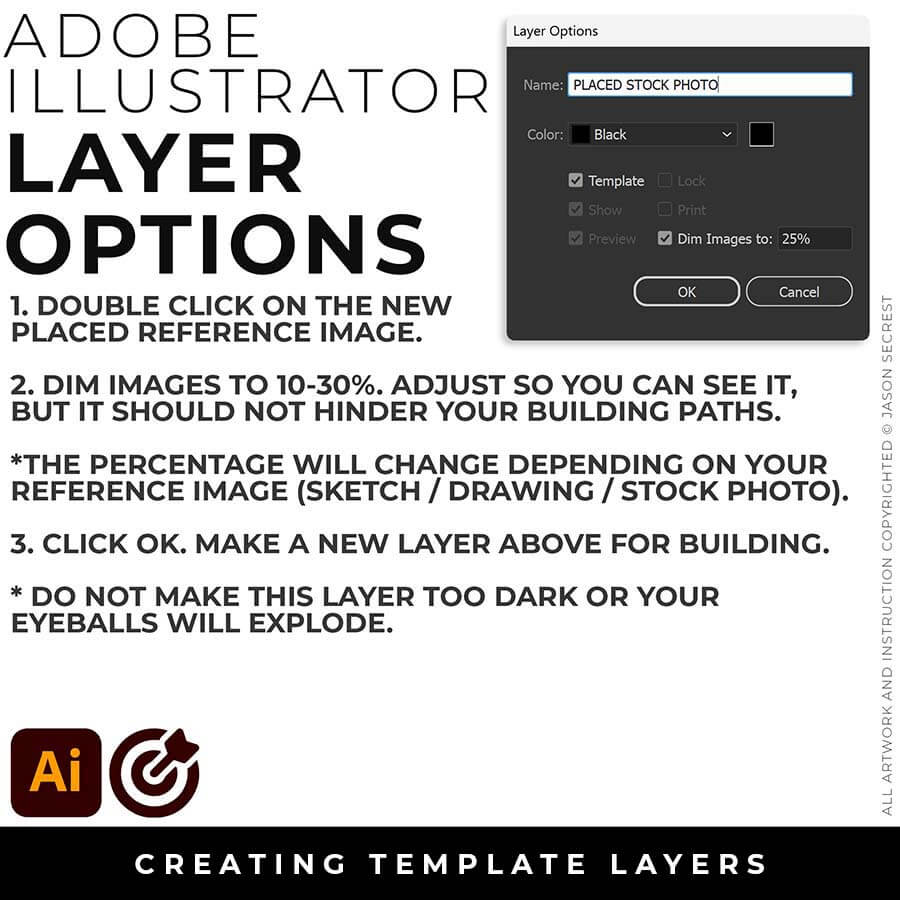
TEMPLATE LAYER:  In the Layers Panel, drop down in the menu for Template (50%) or double click on the layer for properties (Dim 10-30%). Lock Layer. Create a New Layer above for Building.
Image
ARTBOARDS: I recommend establishing a "Building Artboard" that you can use for your own artwork. The initial Artboard Size can be changed at any point without ruining your own artwork. LEARNING TARGET: Create a "Building Artboard" you can use for your own Artwork and Social Media Postings (ex. 1080px by 1080px, 300PPI, RGB).
Image
TEMPLATES: File - Place in your Resource Image (Drawing, Sketch, or Traced Photo). Keep Selected. In your Layers Panel, select the Menu in the Upper-Right Hand Corner. Drop down to Template. This will create a 50% Opacity and Lock the Layer. LEARNING TARGET: Create a Template Layer using your Resource Image. Create a New Layer above for "Building." 
Image
BUILDING ARTBOARD: I recommend establishing an Artboard that you can use for all of your artwork. The initial Artboard Size can be changed at any point without ruining your own artwork. LEARNING TARGET: Create a "Building Template" that includes Artboards, Resources, and Template Layers.
Image
DOWNLOAD RESOURCES: In the Beginner Tutorials and Playlists, I will be using Resource Images, Brush Libraries, and Color Swatches to create my artwork. LEARNING TARGET: Download Photo References, Brush Libraries, and Color Swatches for your own Artwork and Designs. 
Image

DRAWING TEMPLATE: Use the Resource Type you intend to use for your artwork (Drawing, Sketch, or Traced Stock Photo). Give yourself a "Traceable Path" by using a Clean Line Drawing or Traced Photo. LEARNING TARGET: Create a "Drawing Template" that includes Reference Image and Layer Adjustments. 

Image
ARTBOARDS: I recommend establishing a "Building Artboard" that you can use for your own artwork. The initial Artboard Size can be changed at any point without ruining your own artwork. LEARNING TARGET: Create a "Building Artboard" you can use for your own Artwork and Social Media Postings (ex. 1080px by 1080px, 300PPI, RGB).
Image
TEMPLATES: File - Place in your Resource Image (Drawing, Sketch, or Traced Photo). Keep Selected. In your Layers Panel, select the Menu in the Upper-Right Hand Corner. Drop down to Template. This will create a 50% Opacity and Lock the Layer. LEARNING TARGET: Create a Template Layer using your Resource Image. Create a New Layer above for "Building." 
Image
GENERAL PREFERENCES: All of our initial preferences are designed to gain more control over what you are clicking on. The more you can zoom in and see your anchors and handles the better. You can adjust the size of your Anchors and Handles under Selection and Anchor Display. Under your General Settings, make sure that Disable Auto Add/Delete is Selected.
Image
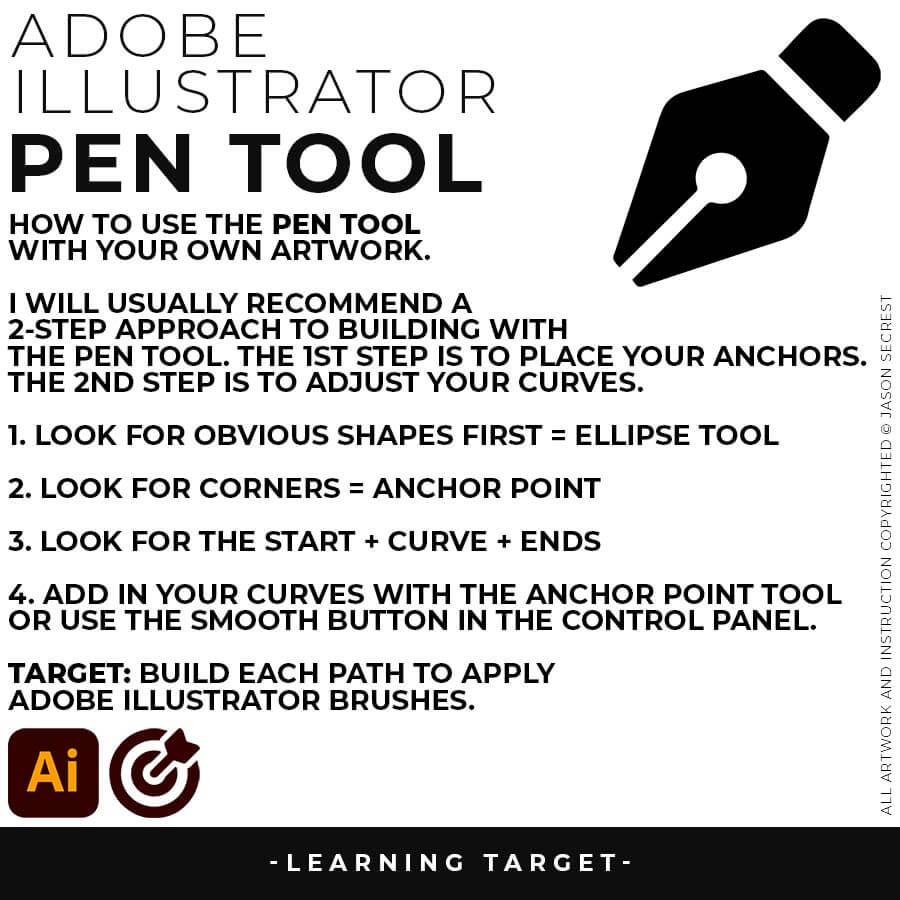
SELECTION TOOLS: The Direct Selection Tool can grab and adjust the Anchors, Handles, and Paths. It is worth having your Smart Guides Path Labels Turned On so you know what the tool is selecting before dragging. The Selection Tool will move and select objects. I like using the Bounding Box for my Transform Tools, Turn On under View. I recommend this for Quick Scaling.
Image
ARTBOARDS: I recommend establishing a "Building Artboard" that you can use for your own artwork. The initial Artboard Size can be changed at any point without ruining your own artwork. LEARNING TARGET: Create a "Building Artboard" you can use for your own Artwork and Social Media Postings (ex. 1080px by 1080px, 300PPI, RGB).
Image
TEMPLATES: File - Place in your Resource Image (Drawing, Sketch, or Traced Photo). Keep Selected. In your Layers Panel, select the Menu in the Upper-Right Hand Corner. Drop down to Template. This will create a 50% Opacity and Lock the Layer. LEARNING TARGET: Create a Template Layer using your Resource Image. Create a New Layer above for "Building." 
Image
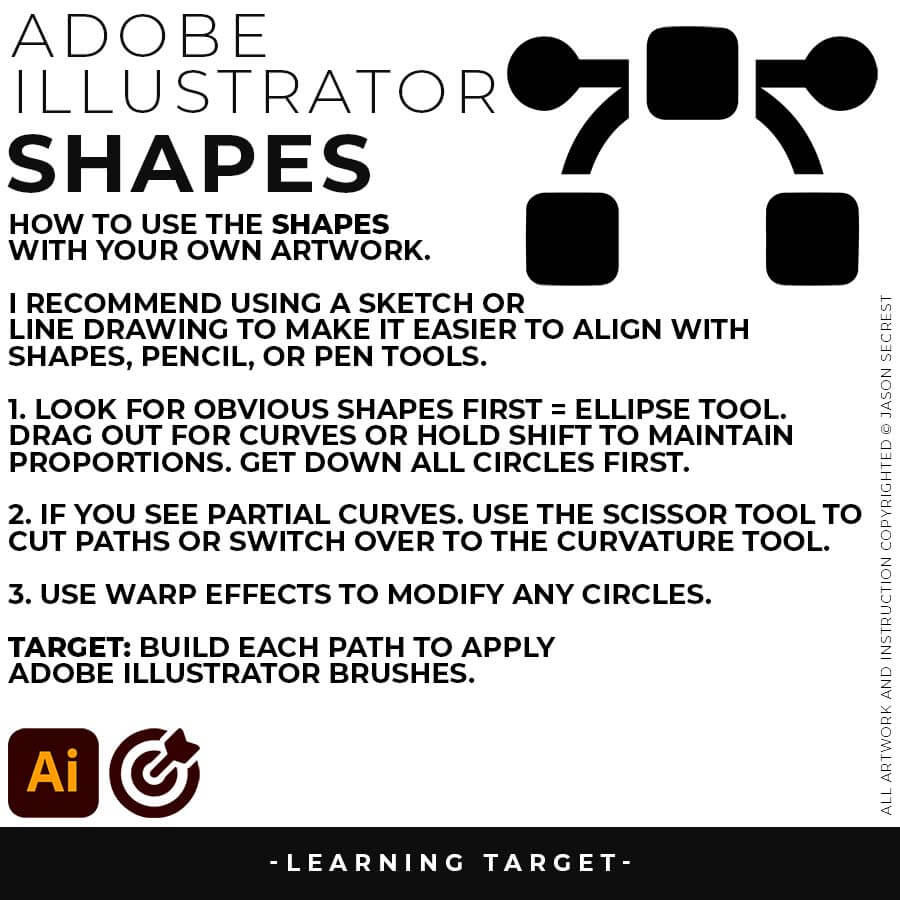
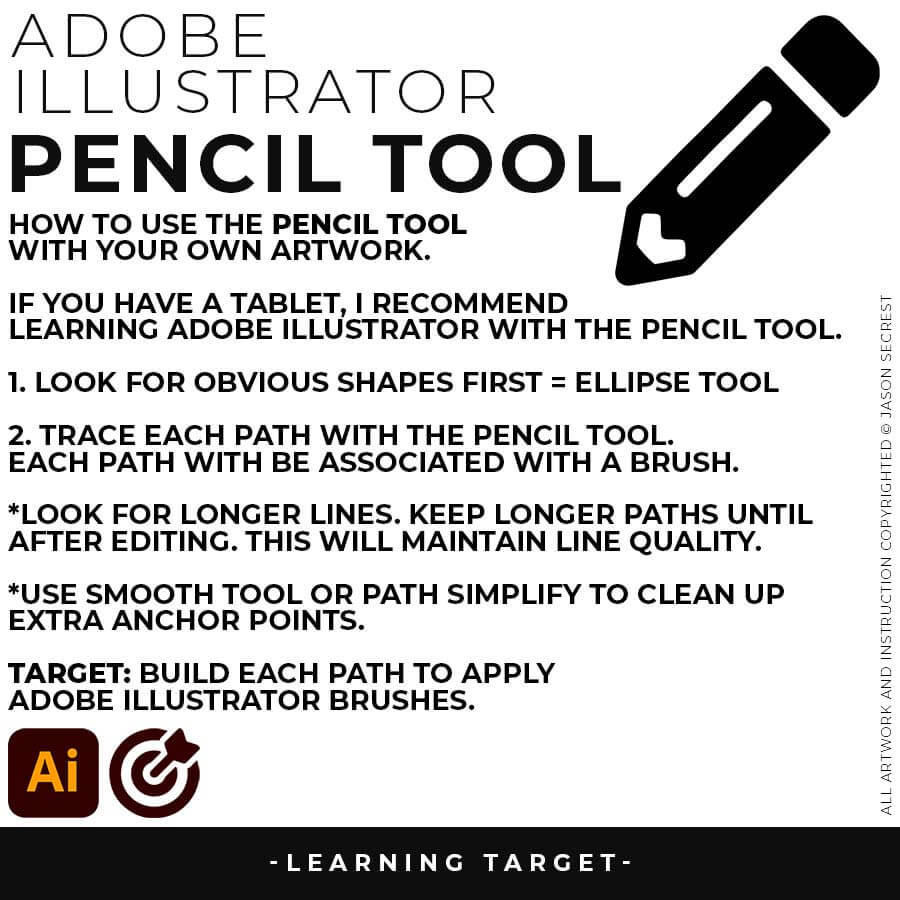
PRIMARY BUILDING: I will use Shapes, Pencil, and Pen Tools in Adobe Illustrator as my Primary Building Tools. Notice I have simplified my drawings and sketches to make this step feel like tracing.  
Image
VARIATION + EDITING: I will apply Brush Libraries for my Line Variation. Notice I am using Expanded Editing Tools to clean up my Paths before moving on to the Coloring Step. 
Image

ADVANCED COLORING: I will use Live Paint and the Live Paint Bucket to create my Basic Fills. Notice I have duplicated out the Flat Color Layer for Highlights, Shadows, Gradients, and Effects. 

Image
ARTBOARDS: I recommend establishing a "Building Artboard" that you can use for your own artwork. The initial Artboard Size can be changed at any point without ruining your own artwork. LEARNING TARGET: Create a "Building Artboard" you can use for your own Artwork and Social Media Postings (ex. 1080px by 1080px, 300PPI, RGB).
Image
TEMPLATES: File - Place in your Resource Image (Drawing, Sketch, or Traced Photo). Keep Selected. In your Layers Panel, select the Menu in the Upper-Right Hand Corner. Drop down to Template. This will create a 50% Opacity and Lock the Layer. LEARNING TARGET: Create a Template Layer using your Resource Image. Create a New Layer above for "Building." 
Image
BUILDING ARTBOARD: I recommend establishing an Artboard that you can use for all of your artwork. The initial Artboard Size can be changed at any point without ruining your own artwork. LEARNING TARGET: Create a "Building Template" that includes Artboards, Resources, and Template Layers.
Image
DOWNLOAD RESOURCES: In the Beginner Tutorials and Playlists, I will be using Resource Images, Brush Libraries, and Color Swatches to create my artwork. LEARNING TARGET: Download Photo References, Brush Libraries, and Color Swatches for your own Artwork and Designs. 
Image

DRAWING TEMPLATE: Use the Resource Type you intend to use for your artwork (Drawing, Sketch, or Traced Stock Photo). Give yourself a "Traceable Path" by using a Clean Line Drawing or Traced Photo. LEARNING TARGET: Create a "Drawing Template" that includes Reference Image and Layer Adjustments. 

Image
ARTBOARDS: I recommend establishing a "Building Artboard" that you can use for your own artwork. The initial Artboard Size can be changed at any point without ruining your own artwork. LEARNING TARGET: Create a "Building Artboard" you can use for your own Artwork and Social Media Postings (ex. 1080px by 1080px, 300PPI, RGB).
Image
TEMPLATES: File - Place in your Resource Image (Drawing, Sketch, or Traced Photo). Keep Selected. In your Layers Panel, select the Menu in the Upper-Right Hand Corner. Drop down to Template. This will create a 50% Opacity and Lock the Layer. LEARNING TARGET: Create a Template Layer using your Resource Image. Create a New Layer above for "Building." 
PRIMARY BUILDING: As I create my artwork, notice I am aligning the Building Tools to the Shapes and Lines within my Sketch or Drawing. Many of you will be using Shape, Pencil, and Pen Tools as your Primary Building Tools. ACTION STEP: Align the Building Tools (Ellipse, Pen, and Curvature Tools) to the Design Elements (Shapes, Lines, and Curves) in your own drawing or sketch. PEN TOOL WORKFLOW / SHAPE BASED WORKFLOW /  PENCIL TOOL WORKFLOW
PRIMARY BUILDING: As I create my artwork, notice I am aligning the Building Tools to the Shapes and Lines within my Sketch or Drawing. Many of you will be using Shape, Pencil, and Pen Tools as your Primary Building Tools. Align the Building Tools (Ellipse, Pen, and Curvature Tools) to the Design Elements (Shapes, Lines, and Curves) in your own drawing or sketch.  CREATIVE SYSTEM: If you want a repeatable system for organizing and building your own artwork from start to finish, the Creative System gives you the complete workflow — resources, structure, and step-by-step guidance in one place. → WORKFLOW GUIDES
Image
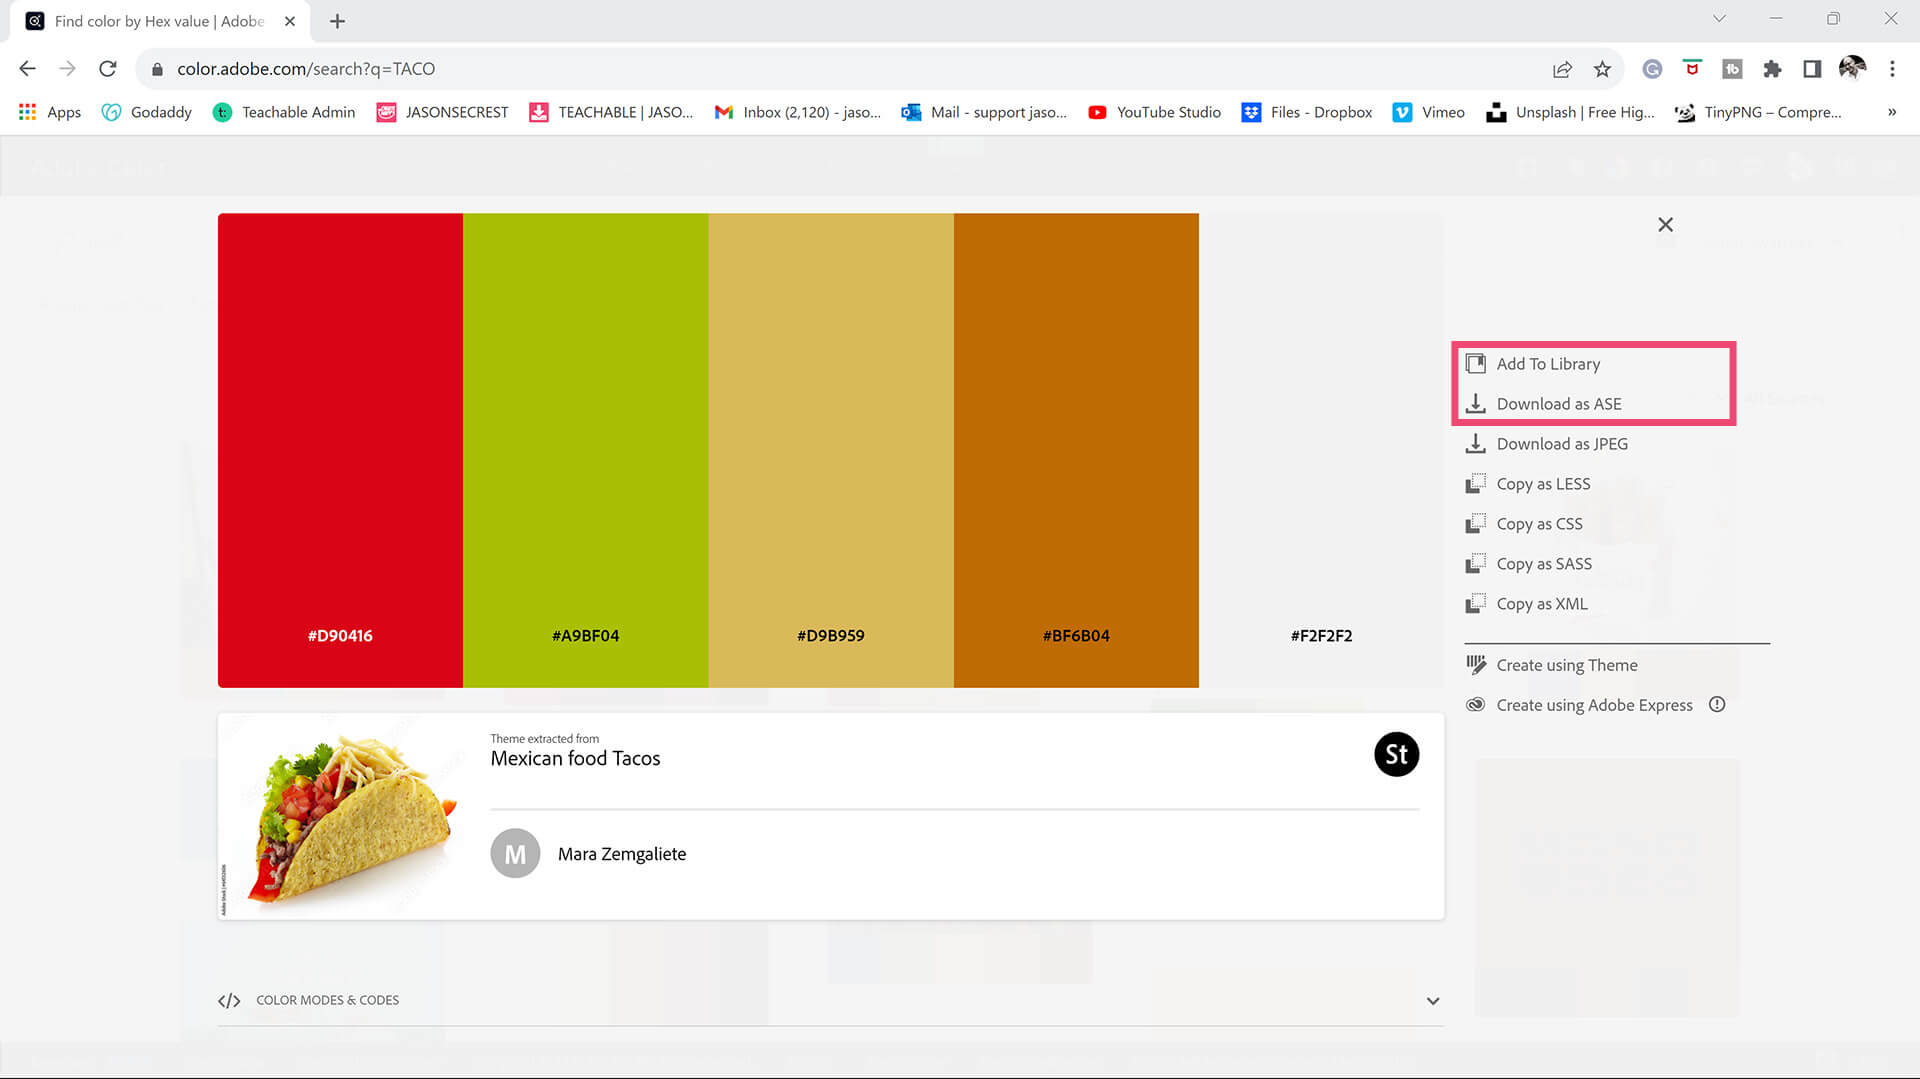
COLOR SWATCHES + THEMES: Download or Save Color Swatches (Adobe Color) for your own artwork and designs. I recommend gathering and organizing resources within the same project folder (Stock Photos / Sketches / Thumbnails / Color Swatches).
SAVE OR DOWNLOAD SWATCHES.  You can save Color Themes for your own artwork and designs. If you have CC, click add to Library. You can also download Color Swatches as an .ASE File to open through "Other Library" in the Swatches Panel Menu.
adobe illustrator pathfinder taco

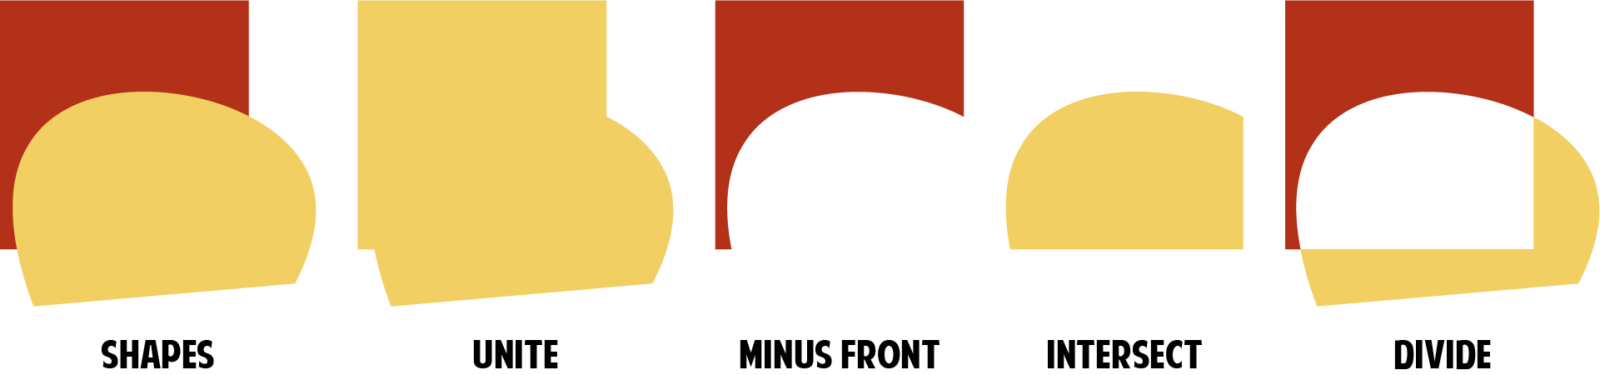
Learning Pathfinder in Illustrator

  • Order: What's in front?

    Minus Front and Intersect are the easiest to understand when the shape you are cutting is in front so you can see it.

  • What shape am I looking to create?

    This will determine which option of minus front, intersect, or divide you will choose. Divide allows more control over what you are deleting and is a great alternative to intersect and minus front.

  • Do I want to keep any shapes before cutting?

    Note that one of the shapes disappears after using pathfinder. If you want to keep a shape copy - paste in front/back.

DIGITAL DOWNLOADS: Digital Downloads will come as Zipped Folders. Once you have downloaded and extracted the Resource Folders, they are ready to be used in Adobe Illustrator. BEGINNER: Start with our Resource Guides and Illustrator Tutorials to learn how to apply Brush Libraries, Comic Halftones, and T-Shirt Textures. BRUSH LIBRARIES / COMIC HALFTONES / T-SHIRT TEXTURES 

DIGITAL DOWNLOADS: Digital Downloads will come as Zipped Folders. Once you have downloaded and extracted the Resource Folders, they are ready to be used in Adobe Illustrator. BEGINNER: Start with our Resource Guides and Illustrator Tutorials to learn how to apply Brush Libraries, Comic Halftones, and T-Shirt Textures. BRUSH LIBRARIES / COMIC HALFTONES / T-SHIRT TEXTURES 

DIGITAL DOWNLOADS: Digital Downloads will come as Zipped Folders. Once you have downloaded and extracted the Resource Folders, they are ready to be used in Adobe Illustrator. BEGINNER: Start with our Resource Guides and Illustrator Tutorials to learn how to apply Brush Libraries, Comic Halftones, and T-Shirt Textures. BRUSH LIBRARIES / COMIC HALFTONES / T-SHIRT TEXTURES / RESOURCE BUNDLE

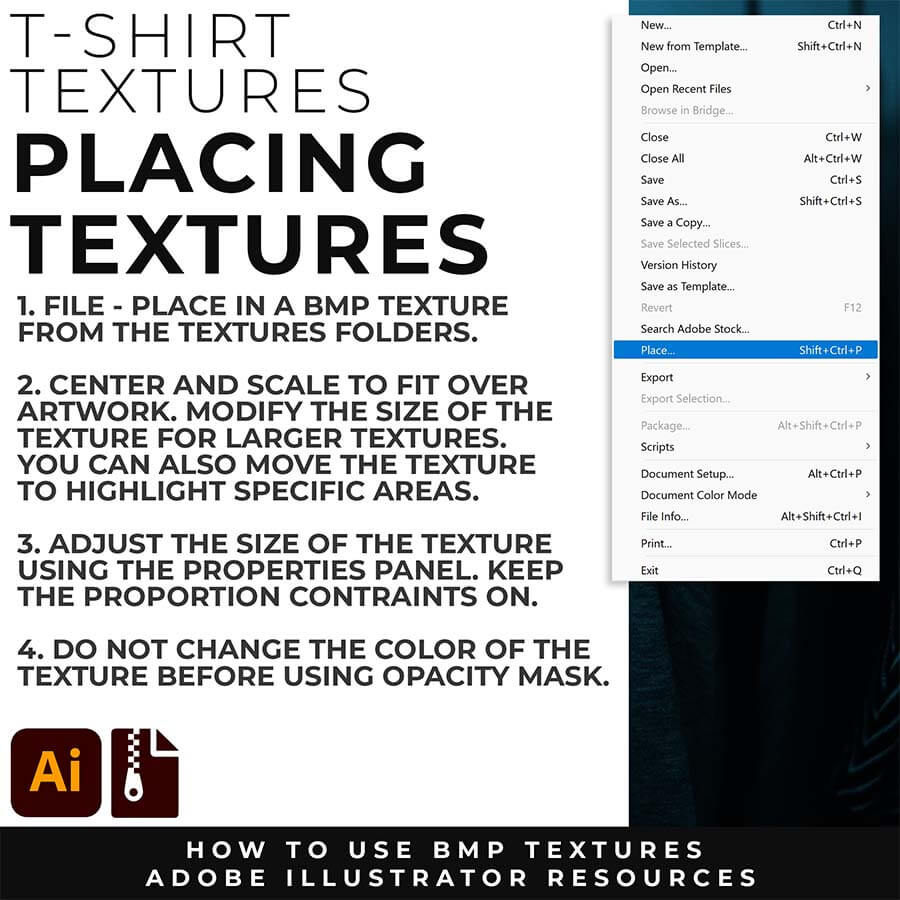
T-SHIRT TEXTURES: BMP Textures will come to you as Zipped Folders. Once you have downloaded and extracted the folders, Textures are ready to be used in Adobe Illustrator. Download Crack, Grunge Distressing, Paper, and Paint Splatter BMP Textures. → DOWNLOAD TEXTURES / TEXTURES GUIDE

Image
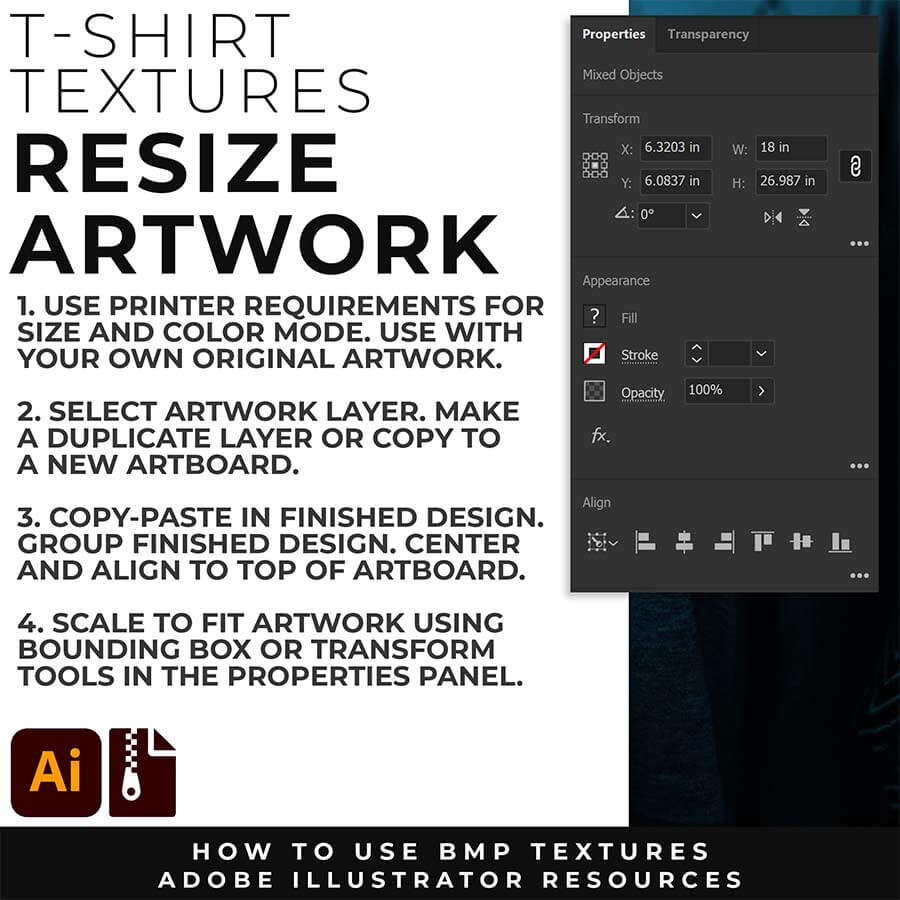
RESIZE ARTWORK: If you are building in a smaller scale you will need to resize your artwork before applying textures. I recommend duplicating the layer or copying and pasting to a new artboard. Select All - Group. Use the Properties Panel to transform your original Artwork or Design to fit Printer Requirements.
Image
FILE - PLACE: Once you have grouped and resized (if needed) your own finished original artwork, you are ready to bring in the BMP Textures. Under File - Place Textures into your working Artboard. Scale to Fit over your entire design. To use Textures with Opacity Masks you will need to Group and Scale your Finished Artwork before Applying.
beginner adobe illustrator tutorial whale
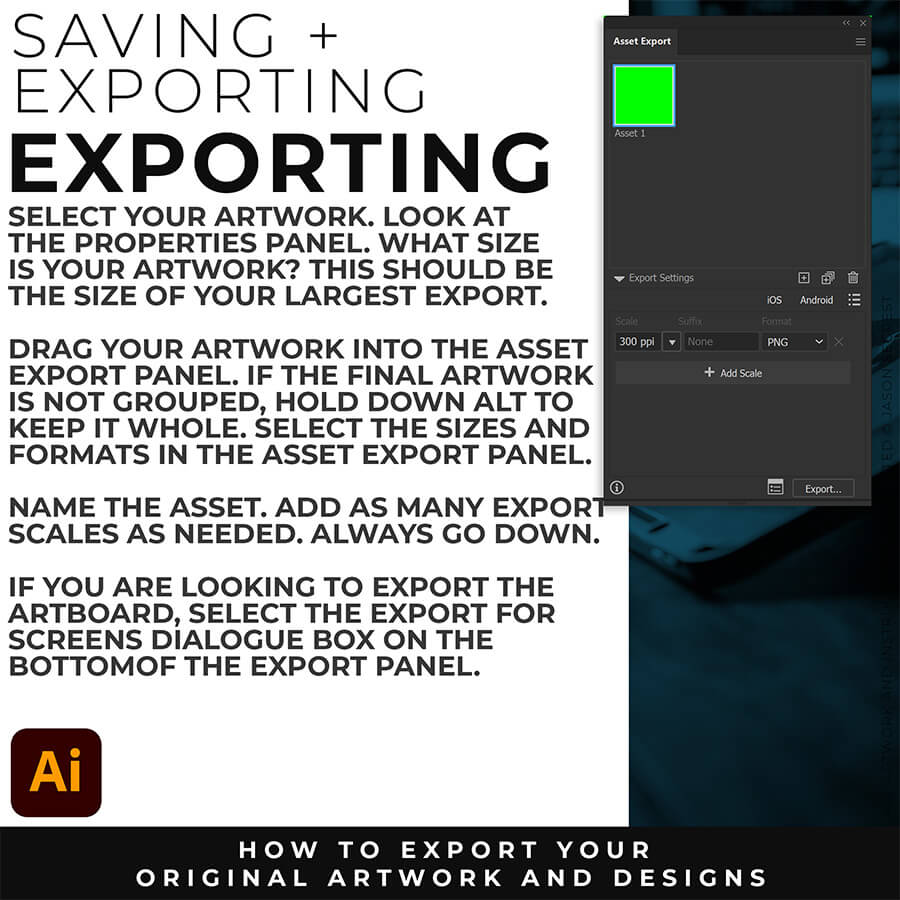
FILE PREP: An exported PNG looks blurry when the document is saved at a low resolution or when the anti-aliasing drops processing frames. To fix blurry PNG exports, verify that your export resolution is set to 300 PPI. Additionally, change the anti-aliasing option from "Type Optimized" to Art Optimized. This instructs Adobe Illustrator to prioritize smooth line work and vector curves rather than prioritizing text rendering.
beginner adobe illustrator tutorial pug
EXPORTING: The best export settings for a high-quality PNG are found by navigating to File > Export > Export for Screens. Set the format to PNG, choose a scale multiplier of 2x or 300 ppi for high-resolution displays, and ensure the anti-aliasing setting is explicitly set to Art Optimized (Supersampling). This combination guarantees that crisp vector outlines remain perfectly smooth when converted into a raster image file.
NEW: START HERE

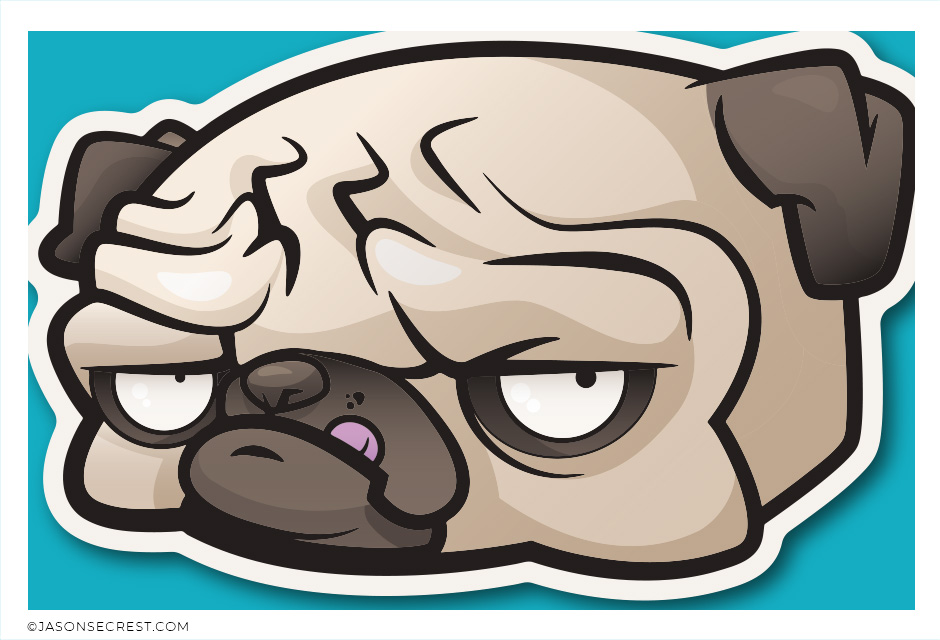
Pug mascot illustration — Adobe Illustrator Pen Tool beginner tutorial
PENCIL TOOL WORKFLOW: Beginner Tablet Workflow using Pencil Tool and Live Paint Bucket. Understand the Building, Variation, and Advanced Coloring Methods. VIEW BEGINNER GUIDE
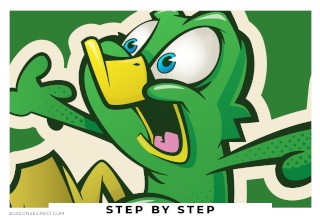
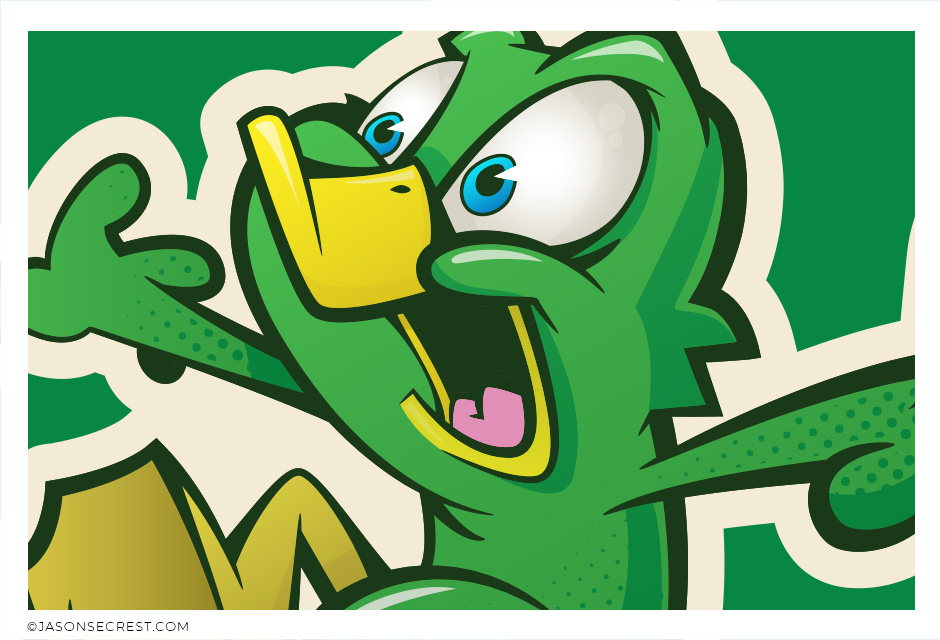
Cartoon duck illustration — Adobe Illustrator beginner tutorial
PENCIL TOOL WORKFLOW: Beginner Tablet Workflow using the Pencil Tool and Cartoon Brushes. Understand the Building, Variation, and Basic Coloring Methods. VIEW BEGINNER GUIDE
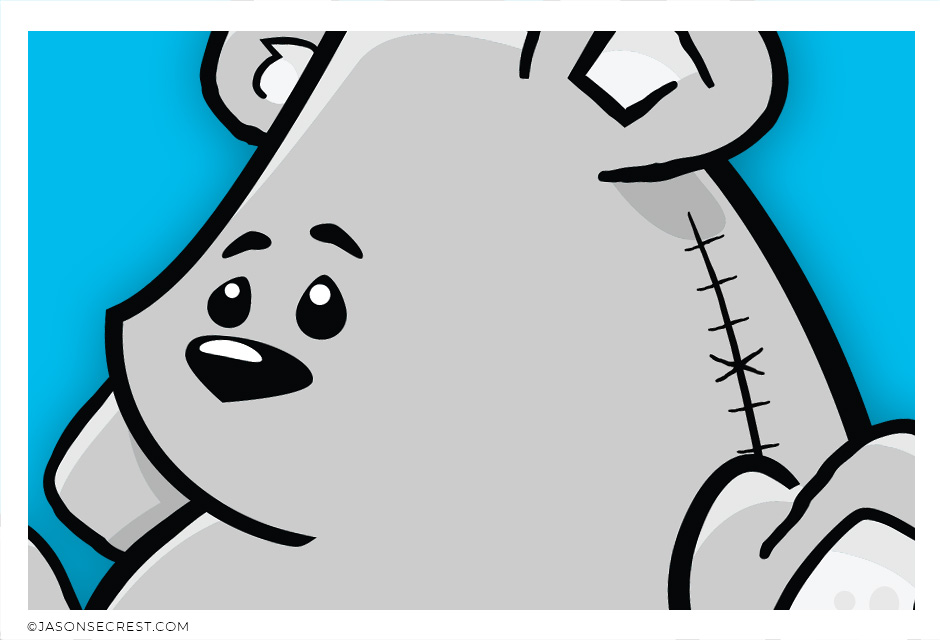
Teddy bear illustration with Comic Strip Brush line work — Adobe Illustrator beginner tutorial
PEN TOOL WORKFLOW: Beginner Pen Tool Workflow using Comic Strip Brushes and Live Paint. Understand the Building, Variation, and Basic Coloring Methods. VIEW BEGINNER GUIDE 
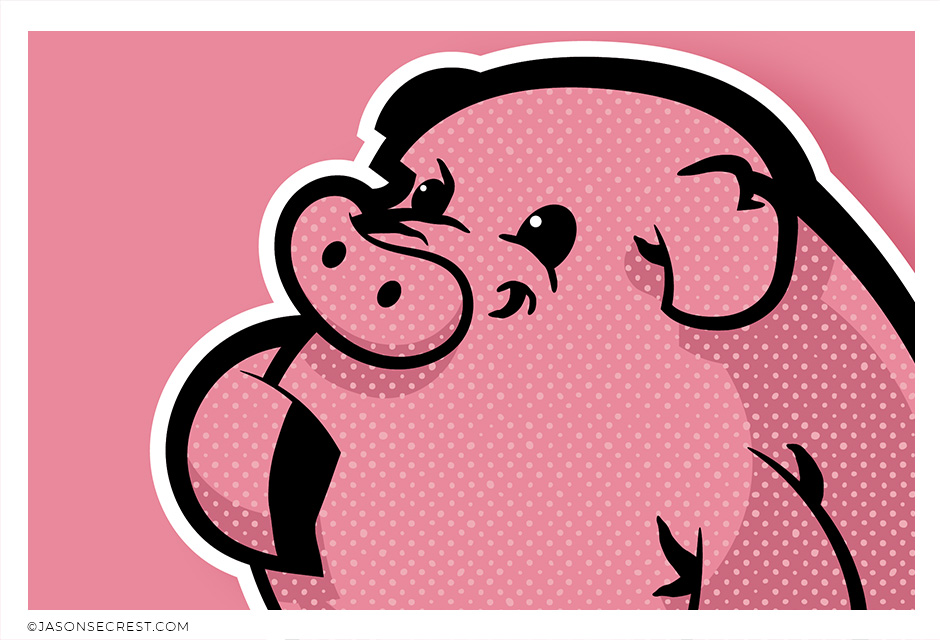
Cartoon pig illustration — Adobe Illustrator beginner tutorial
PEN TOOL WORKFLOW: Beginner Workflow using Pen Tool Shapes, Halftones, and Knife Tool. Understand the Building, Variation, and Basic Value Methods. VIEW BEGINNER GUIDE
Cartoon dog illustration — Adobe Illustrator beginner tutorial
PEN TOOL WORKFLOW: Beginner Pen Tool Workflow using Live Paint Bucket. Understand the Building, Variation, and Basic Coloring Methods. VIEW BEGINNER GUIDE
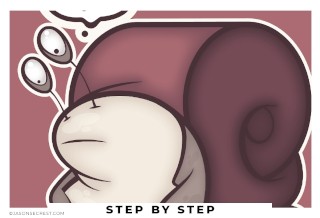
Cartoon snail illustration — Adobe Illustrator beginner tutorial
PEN TOOL WORKFLOW: Beginner Pen Tool Workflow using Shapes and Cartoon Brushes. Understand Building, Applying, and Editing Brush Libraries. VIEW BEGINNER GUIDE
Sad cartoon cat illustration — Adobe Illustrator beginner tutorial
SHAPE TOOL WORKFLOW: Beginner Shape Tool Workflow using Fills and Brushes. Understand the Building, Variation, and Basic Coloring Methods. VIEW BEGINNER GUIDE
Cartoon bunny illustration — Adobe Illustrator beginner tutorial
PEN TOOL WORKFLOW: Beginner Pen Tool Workflow using Cartoon Brushes. Understand Building, Applying, and Editing Brush Libraries. VIEW BEGINNER GUIDE
Cartoon puppy illustration — Adobe Illustrator beginner tutorial
PEN TOOL WORKFLOW: Beginner Pen Tool Workflow using Live Paint and Knife Tool. Understand the Building, Live Paint, and Advanced Value Methods. VIEW BEGINNER GUIDE
Startled cartoon cat illustration — Adobe Illustrator beginner tutorial
PEN TOOL WORKFLOW: Beginner Pen Tool Workflow using Live Paint and Knife Tool. Understand the Building, Variation, and Advanced Coloring Methods. VIEW BEGINNER GUIDE
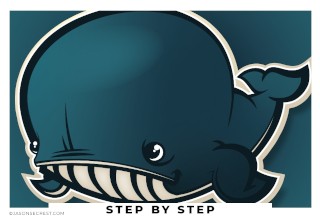
Cartoon whale illustration — Adobe Illustrator beginner tutorial
PEN TOOL WORKFLOW: Beginner Pen Tool Workflow using Live Paint and Knife Tool. Understand the Building, Variation, and Advanced Coloring Methods. VIEW BEGINNER GUIDE
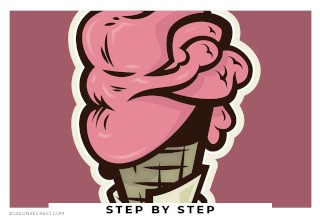
Cartoon ice cream character illustration — Adobe Illustrator beginner tutorial
PEN TOOL WORKFLOW: Advanced Pen Tool Workflow using Pen Tool, Blend, and Live Paint. Understand Building, Variation, Editing, and Basic Coloring Methods. VIEW BEGINNER GUIDE
Image
Image
Image
Image
Image
Image
I appreciate your videos. I have been an illustrator user for years and have my own ways of doing things. It's great to see other ways of using tools and learning tricks I didn't know were available! It's also good to see you doing the same thing as me in other instances, confirming I'm on the right track!Andy Zenz
Awesome tutorial! I don't think I've picked up something so easily from someone who knows what they are doing. I managed to draw my first vector art and it was a joy! Great work keep it up!blitz145
Thank you loads! Compared to other tutorials, yours are just really well-explained and easy-to-follow. Can totally see that you've got a passion for what you're doing and that's just wonderful! 🙂 Keep it up, you're doing an amazing job. Yulia Kachurova
Love your video thanks so much. you blow Lynda.com out of the water!!!!Steve Yensel
Brilliant video. So much great info packed in here. I'm just getting started drawing cartoons with my Wacom tablet, and this was a huge help. Thumbs up and thanks!Dorian Staten
Wow Thanks Jason...was really struggling with making images with basic shapes. Your tutorial is helping me out!!Kishor Rajani
thanks a lot you are really one of my favorites, I like the steps you give us, and I'm so thankful for that effort you do for helping us :)Wessam Lotfi
Keep up the good work Jason. I’ve been doing Lynda.com tutorials for a few months now and I got more out of your videos than what I’ve received at Lynda. Keep it up and Thank You!!bobby jacobs • 1 year ago
These tutorials are amazing. Just started using illustrator and really glad I found your channel. The only videos that explain everything step by stepAida Stan
You are definitely one of the best teachers I've found dealing with start to finish creative process. Great work!!!Jasen Fisher
Thank you so much man, I loved the way you explain this, I spent days looking for a good tutorial vid, thanks a lot, gonna keep watching your videos!!!Karel Marccenaro
Awesome tutorial! I don't think I've picked up something so easily from someone who knows what they are doing. I managed to draw my first vector art and it was a joy! Great work keep it up!blitz145
Thank you loads! Compared to other tutorials, yours are just really well-explained and easy-to-follow. Can totally see that you've got a passion for what you're doing and that's just wonderful! 🙂 Keep it up, you're doing an amazing job. Yulia Kachurova
Love your video thanks so much. you blow Lynda.com out of the water!!!!Steve Yensel
Brilliant video. So much great info packed in here. I'm just getting started drawing cartoons with my Wacom tablet, and this was a huge help. Thumbs up and thanks!Dorian Staten
Keep up the good work Jason. I’ve been doing Lynda.com tutorials for a few months now and I got more out of your videos than what I’ve received at Lynda. Keep it up and Thank You!!bobby jacobs • 1 year ago
These tutorials are amazing. Just started using illustrator and really glad I found your channel. The only videos that explain everything step by stepAida Stan
You are definitely one of the best teachers I've found dealing with start to finish creative process. Great work!!!Jasen Fisher