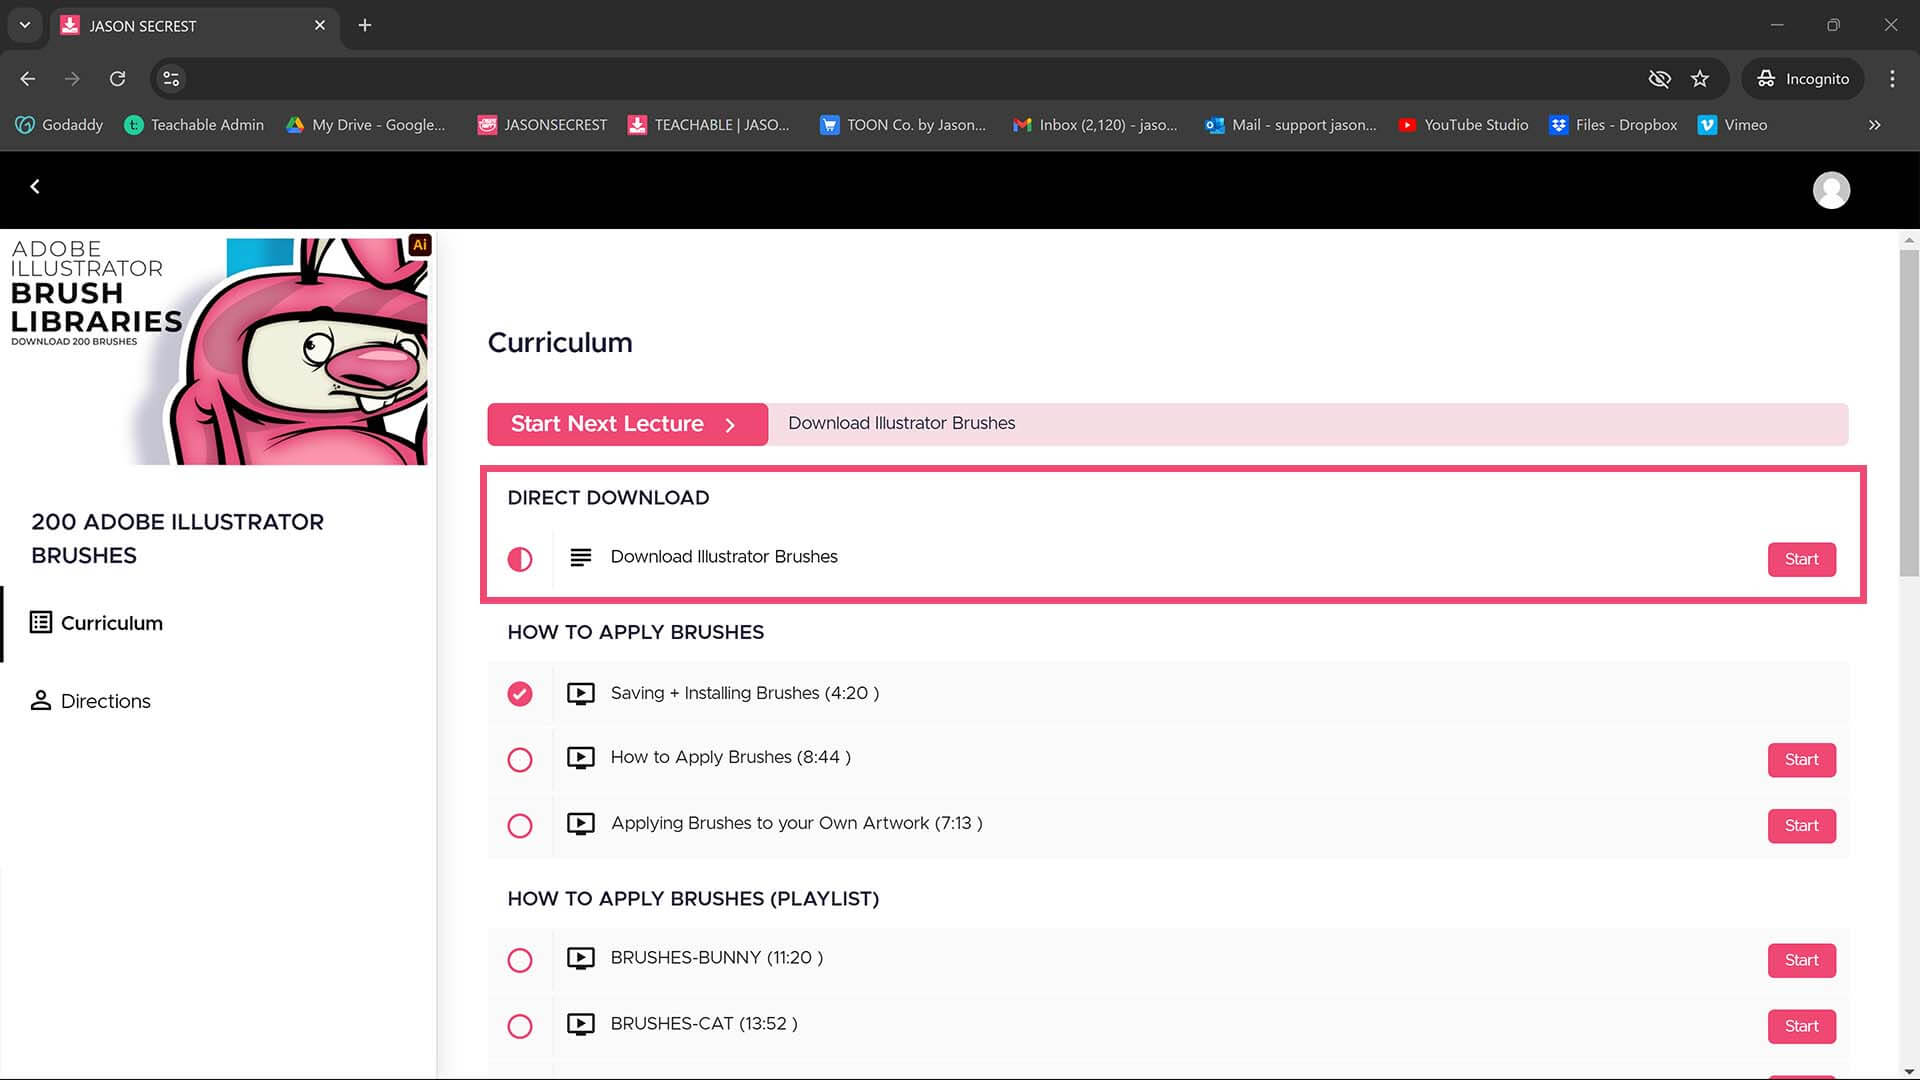
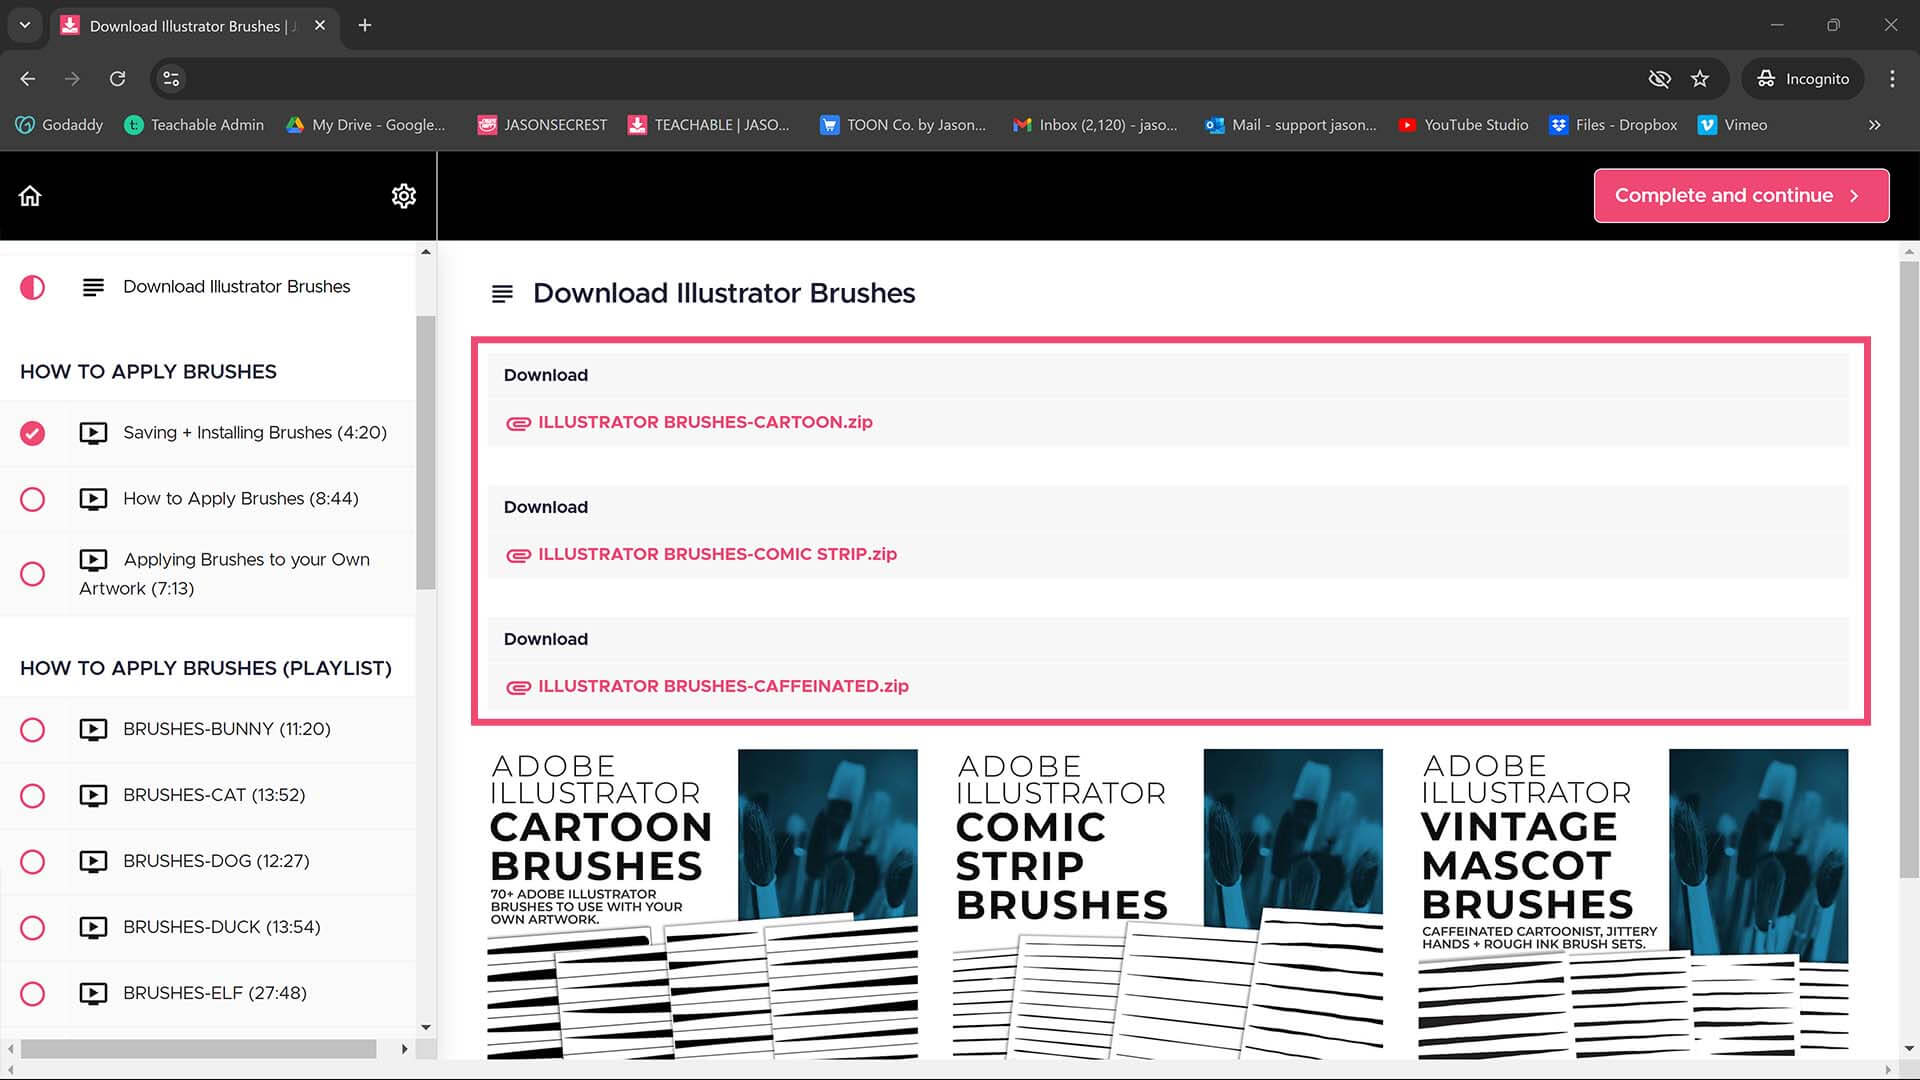
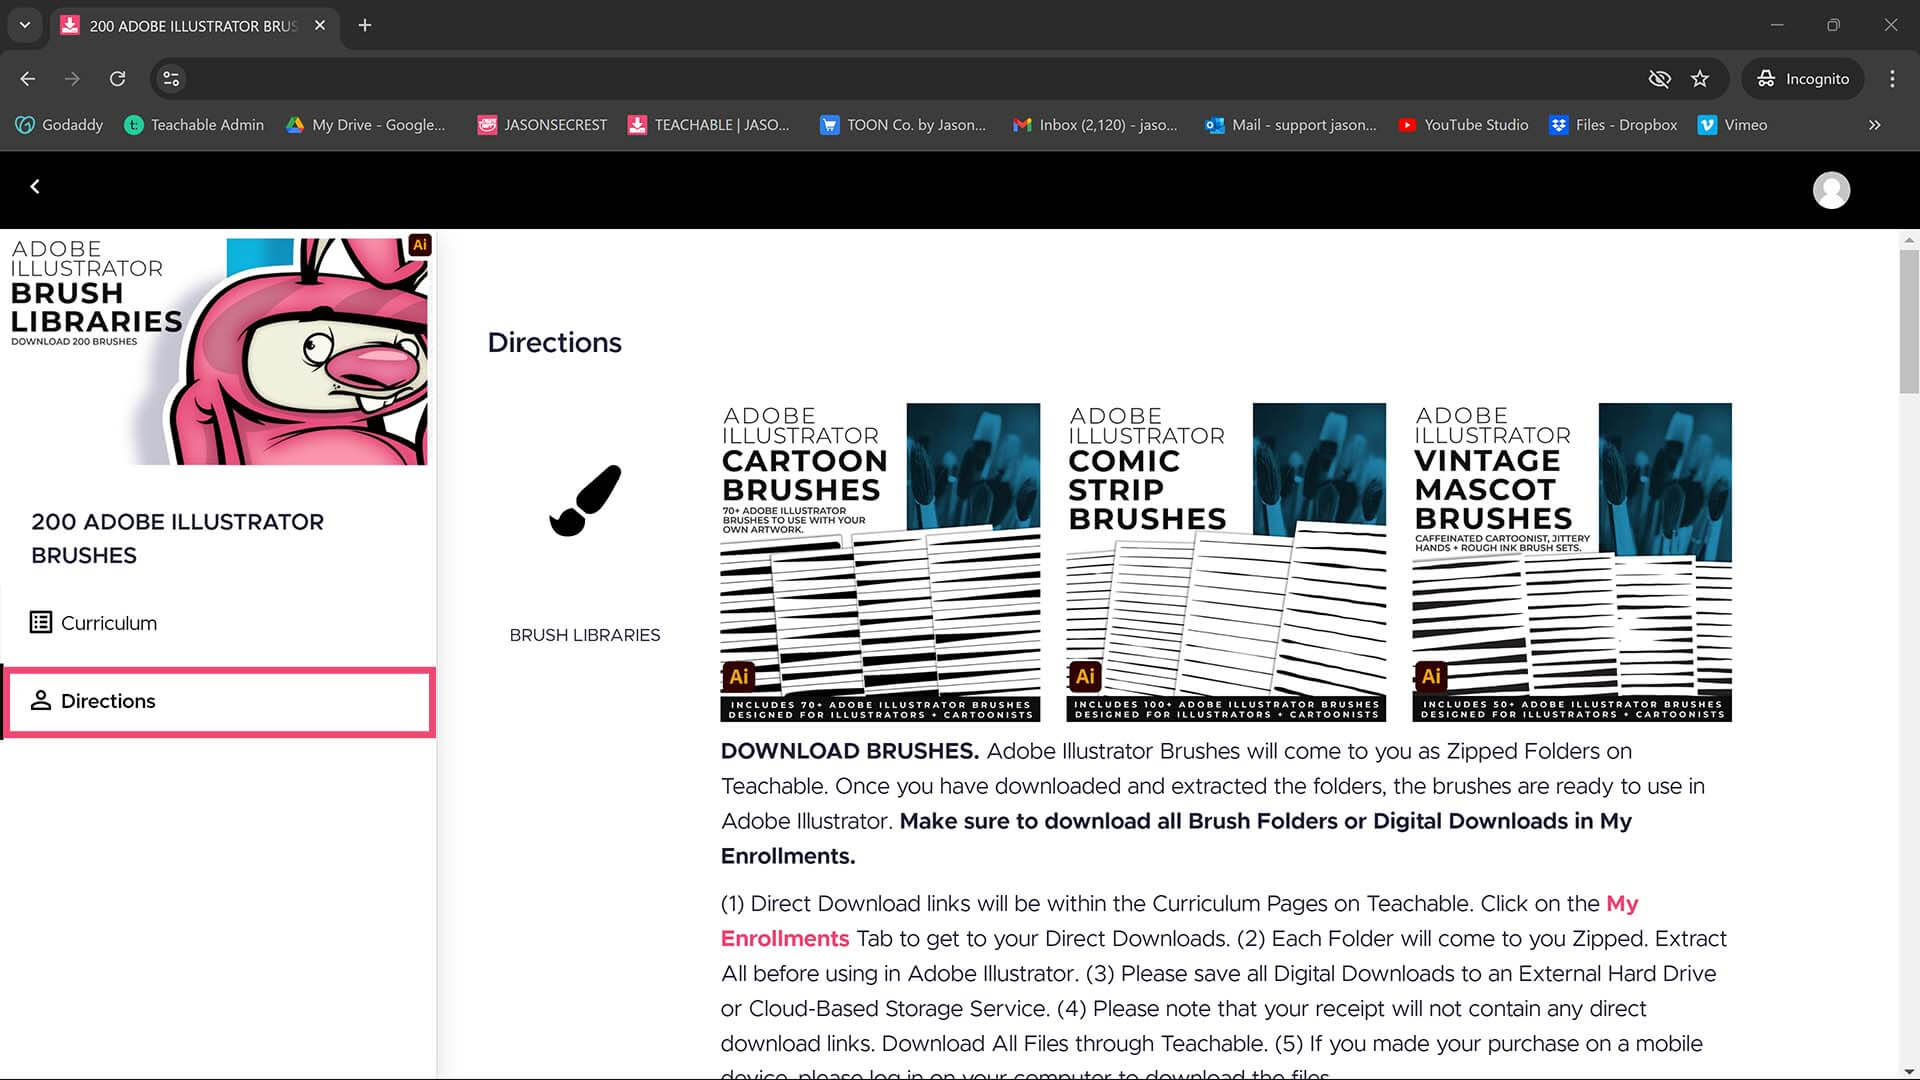
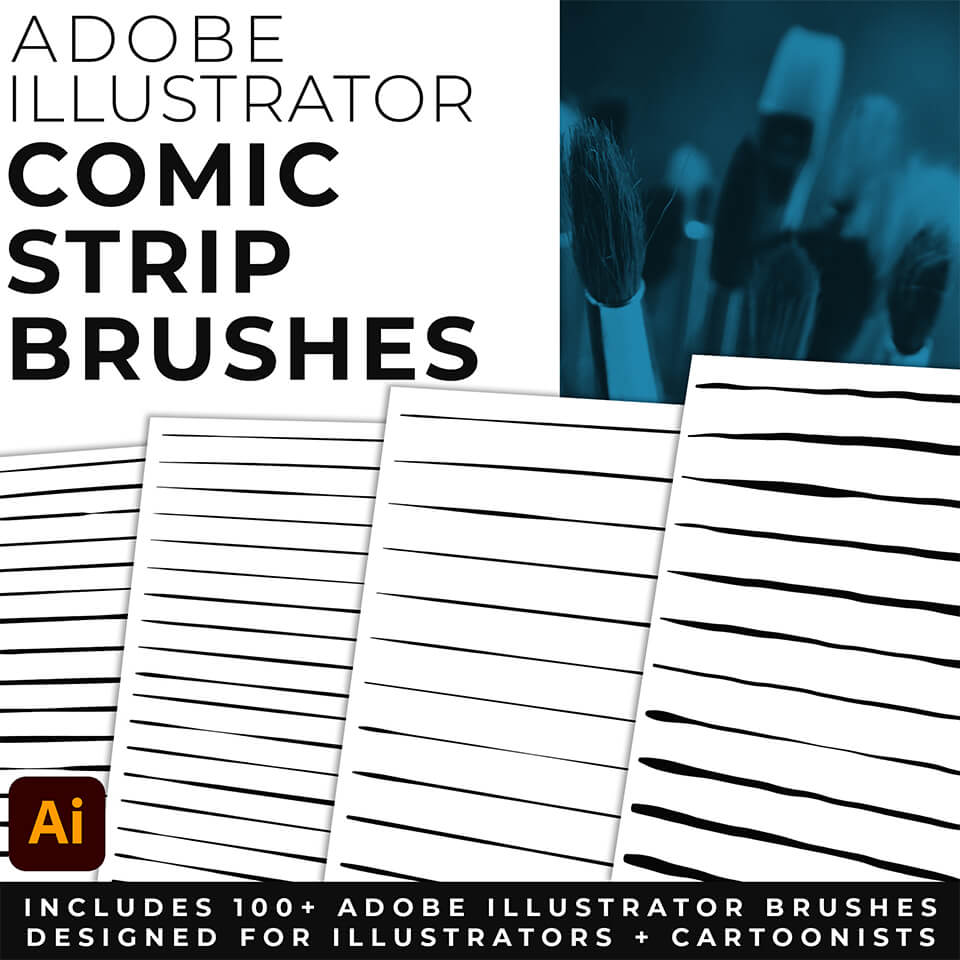
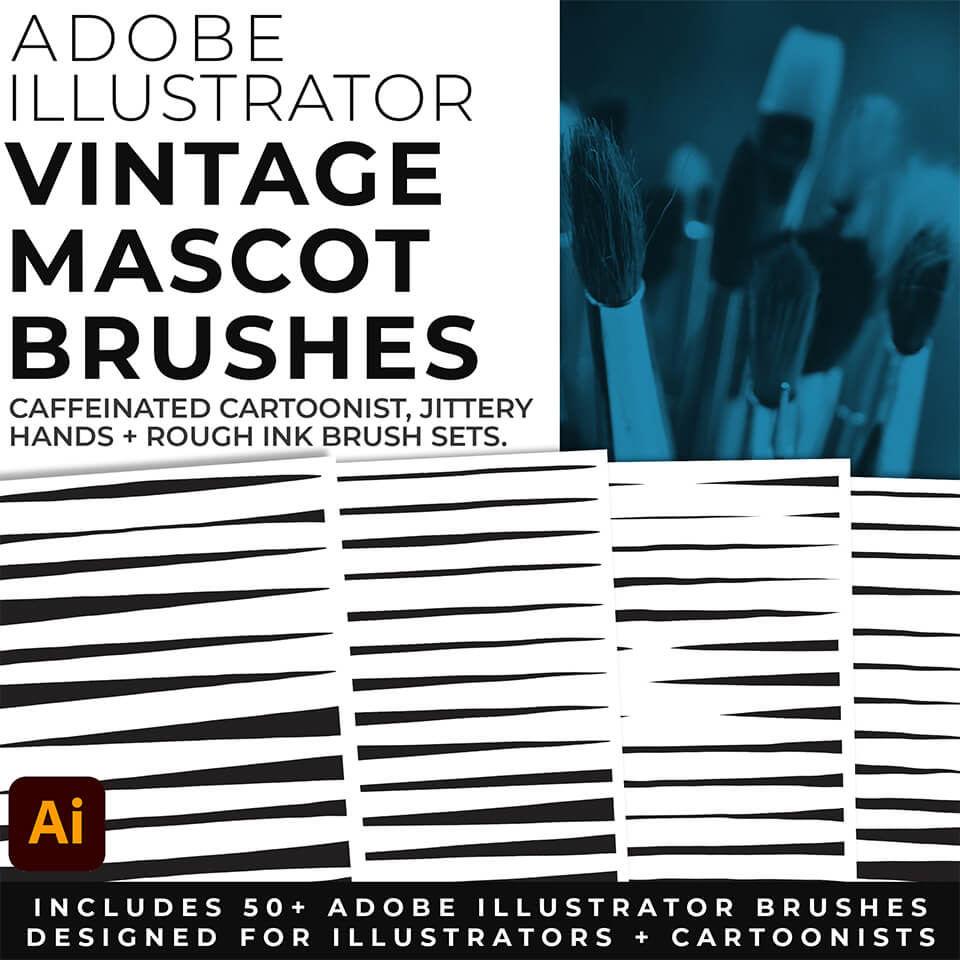
STEP #1: DOWNLOAD BRUSHES. Adobe Illustrator Brushes will come to you as Zipped Folders. Once you have downloaded and extracted the Folders, Brushes are ready to be used in Adobe Illustrator. Brushes include our Cartoon, Comic Strip, and Vintage Mascot Libraries.
STEP #2: SAVE LIBRARIES. I recommend Saving Brush Libraries to your "User Defined" for Quick Access in Adobe Illustrator. Save Brush Libraries to your "User Defined" by clicking "Save Brush Library" from the dropdown in the Brushes Menu.
STEP #3: OPEN BRUSHES. Adobe Illustrator Brushes have been organized into Brush Libraries for easy application and to maintain consistency with your Line Variation. In the Brushes Panel Menu, select “Open Brush Library.” Open Brush Libraries through the “User Defined” or “Other Library” Options.
DOWNLOADING BRUSHES
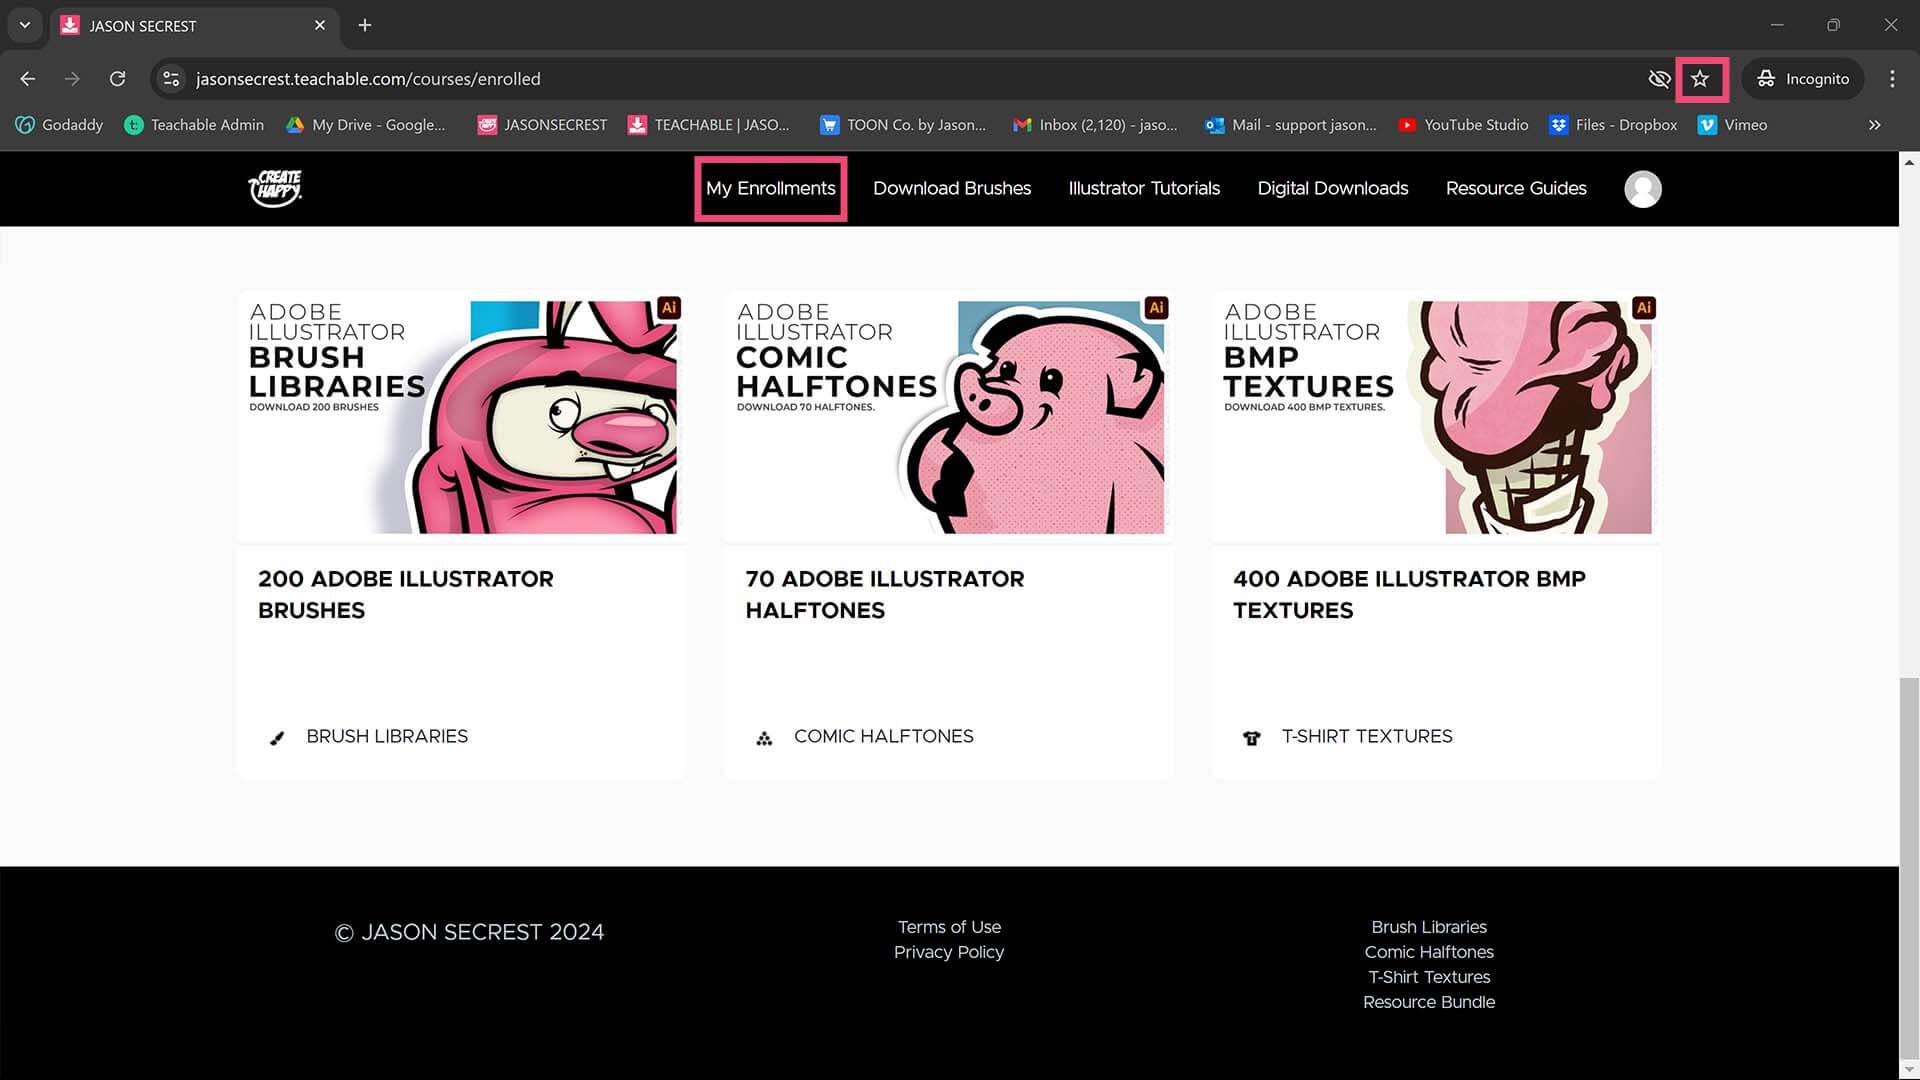
Brush Libraries will come to you as Zipped Folders. Once you have downloaded and extracted the folders, Brushes are ready to be used in Adobe Illustrator. Download our Cartoon, Comic Strip, and Vintage Mascot Brushes. BRUSH LIBRARIES / COMIC HALFTONES / T-SHIRT TEXTURES / RESOURCE BUNDLE
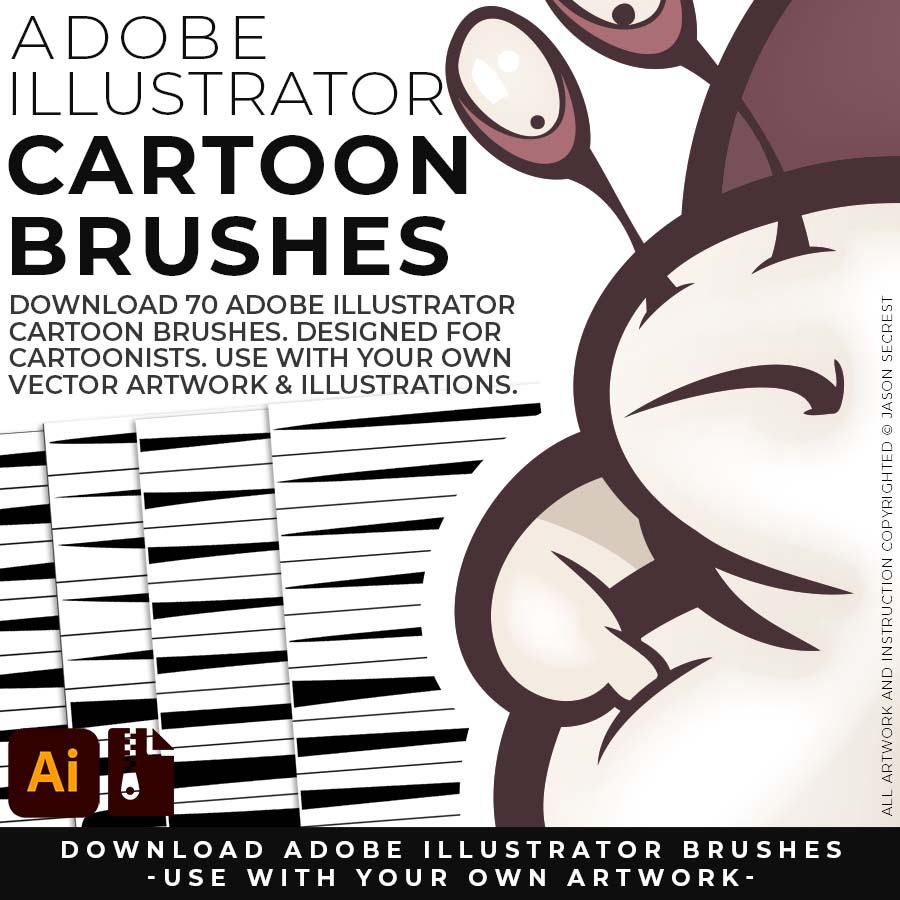
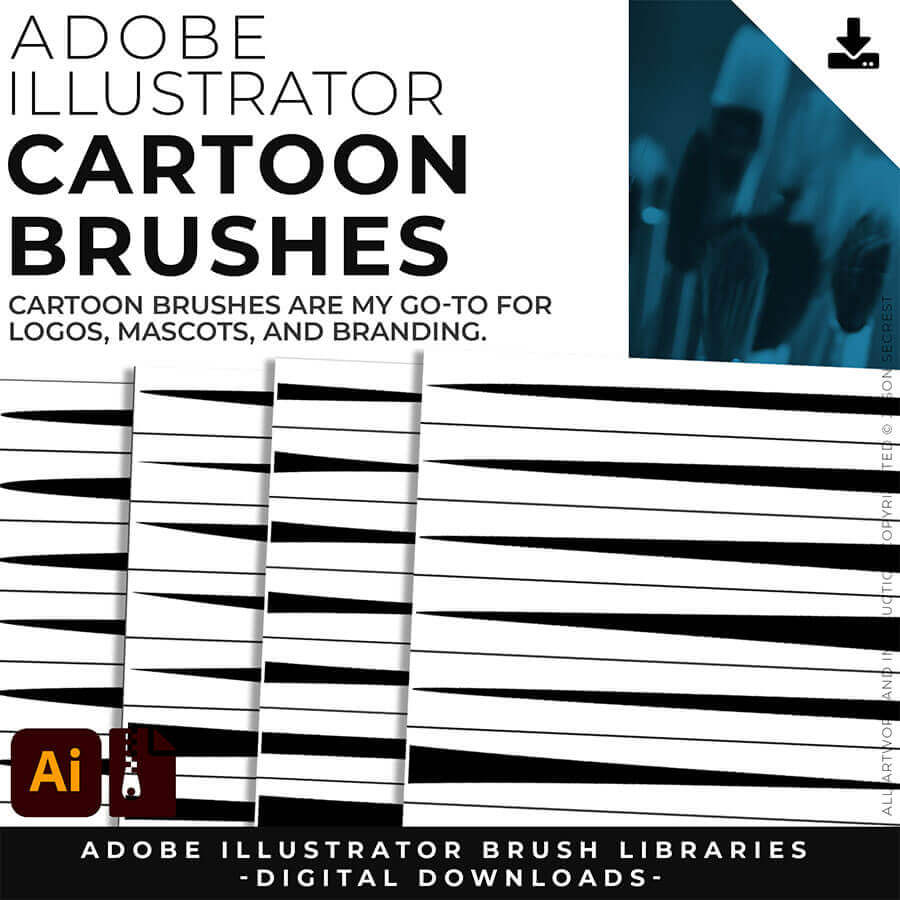
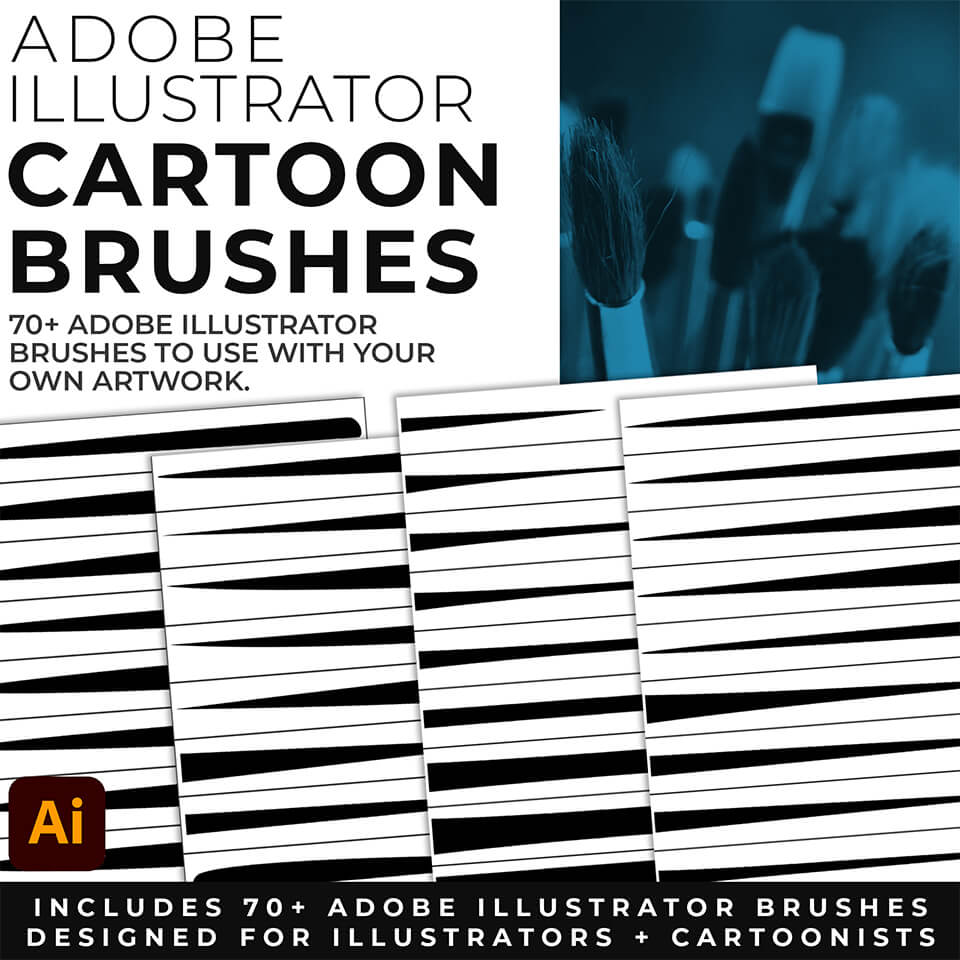
Cartoon Brushes are my go-to brushes for Logos, Mascots, and Branding. (Updated Cartoon, Cartoon 2, and Original Cartoon Brush Libraries).
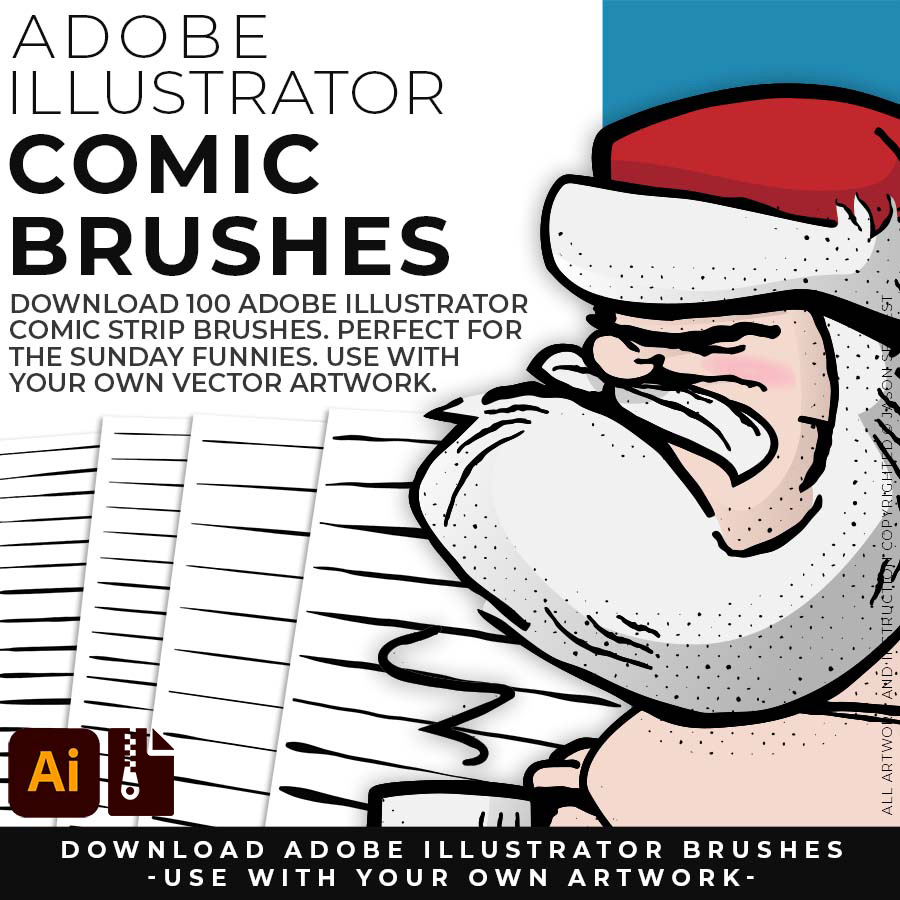
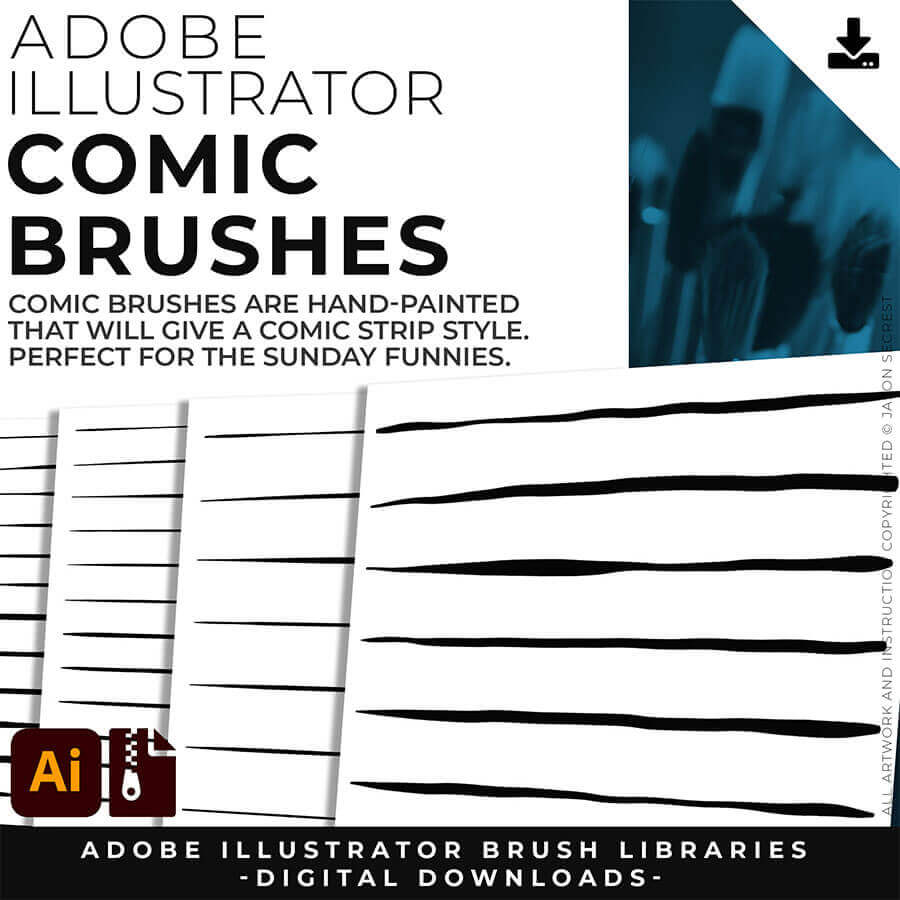
Comic Strip Brushes are my Hand Drawn Brushes that will give a Comic Strip Style. (Updated Comic Strip, Hand-Painted, Paintbrush, and Fine Liner Brush Libraries).
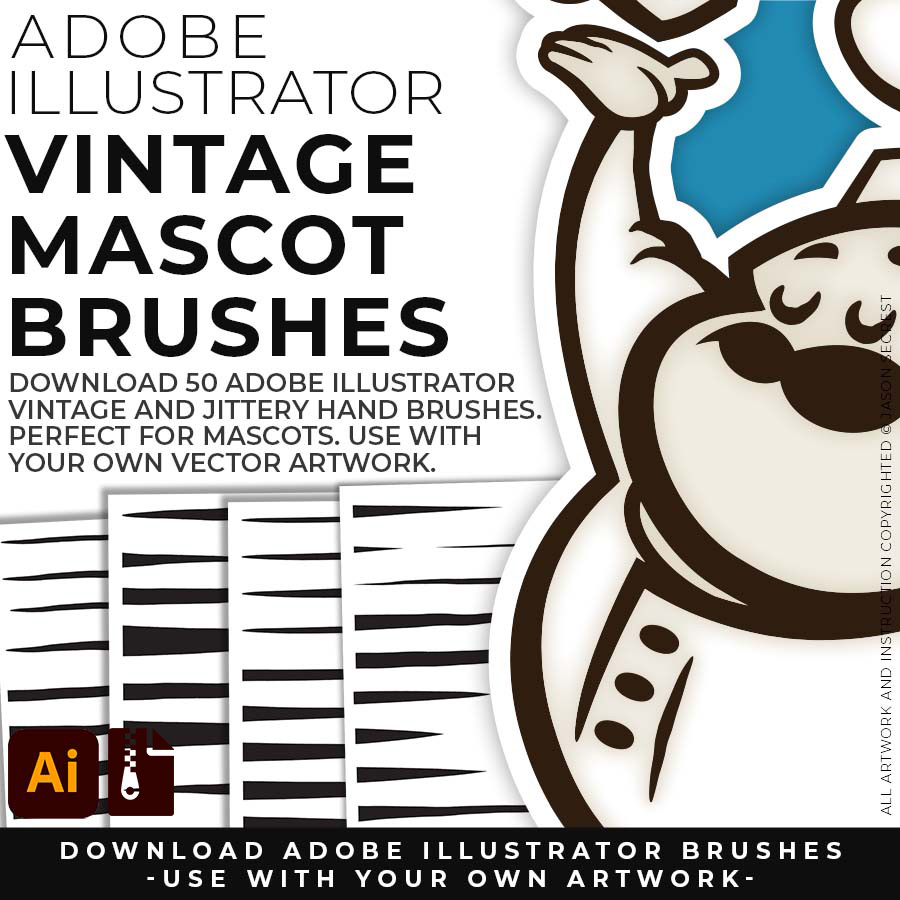
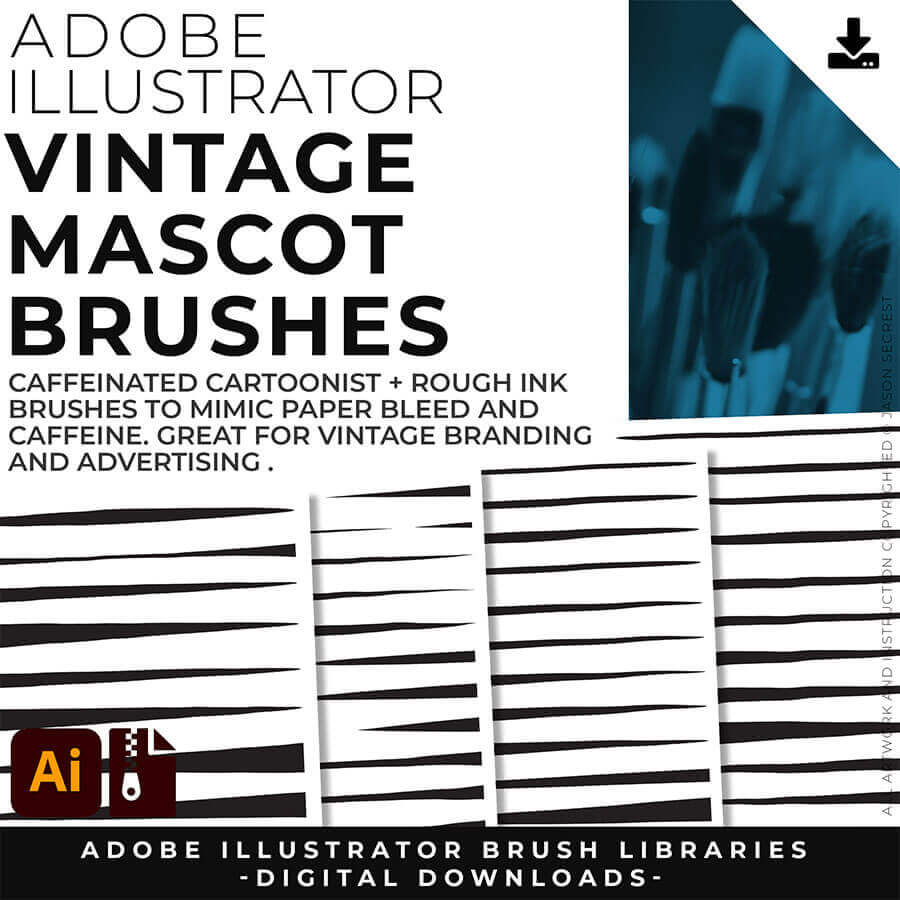
Mascot Brushes are great for Vintage Advertising and Branding. (Updated Caffeinated Cartoonist, Rough Ink, and Jittery Hand Brush Libraries).
OPENING BRUSHES
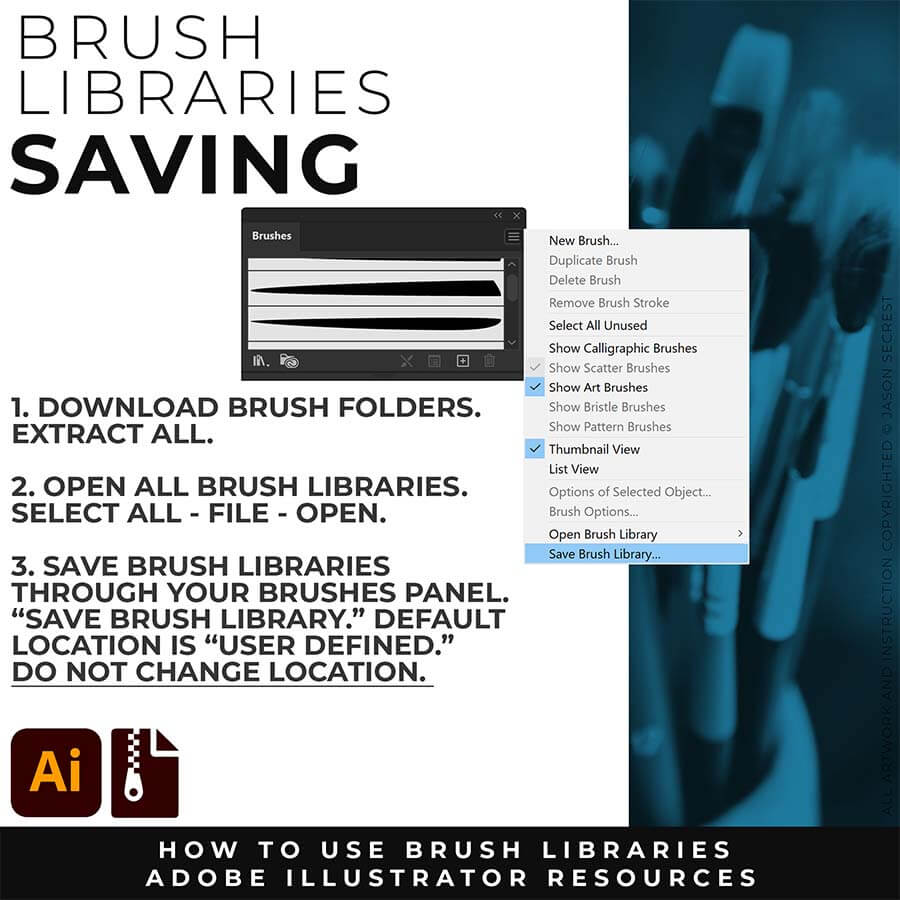
SAVING BRUSHES: Open All of the Brushes Libraries in Adobe Illustrator. (File - Open). Have your Brushes Panel Open. Under Window - Brushes. Click on Each Illustrator Document and Open the Brushes Menu in the Brushes Panel. Scroll down to Click on Save Brush Library. Default Location = User Defined. Repeat for each Brush Library.
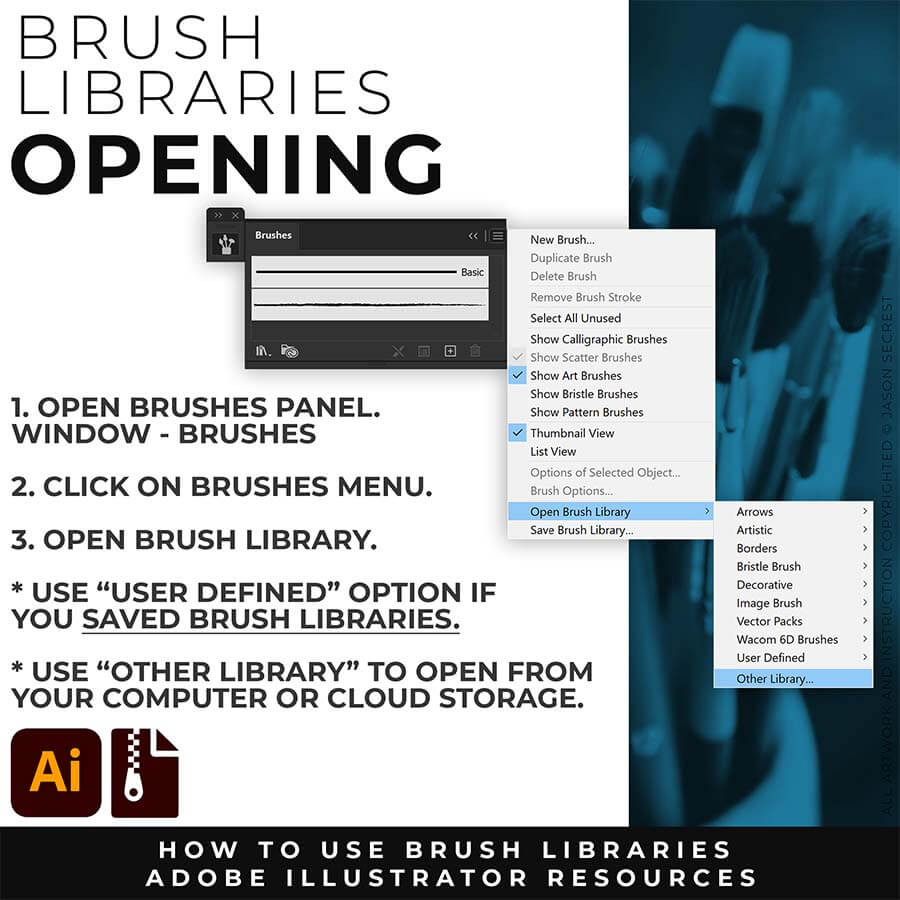
OPENING BRUSHES: Under Window - Select Brushes. In the Brushes Menu, drop-down to Open Brush Library. Hover over it and select "Other Library." A Normal Open Dialogue Box will appear to select any Brush Library to use in Illustrator. Almost all of our step-by-step tutorials on YouTube use this method.
APPLYING BRUSHES
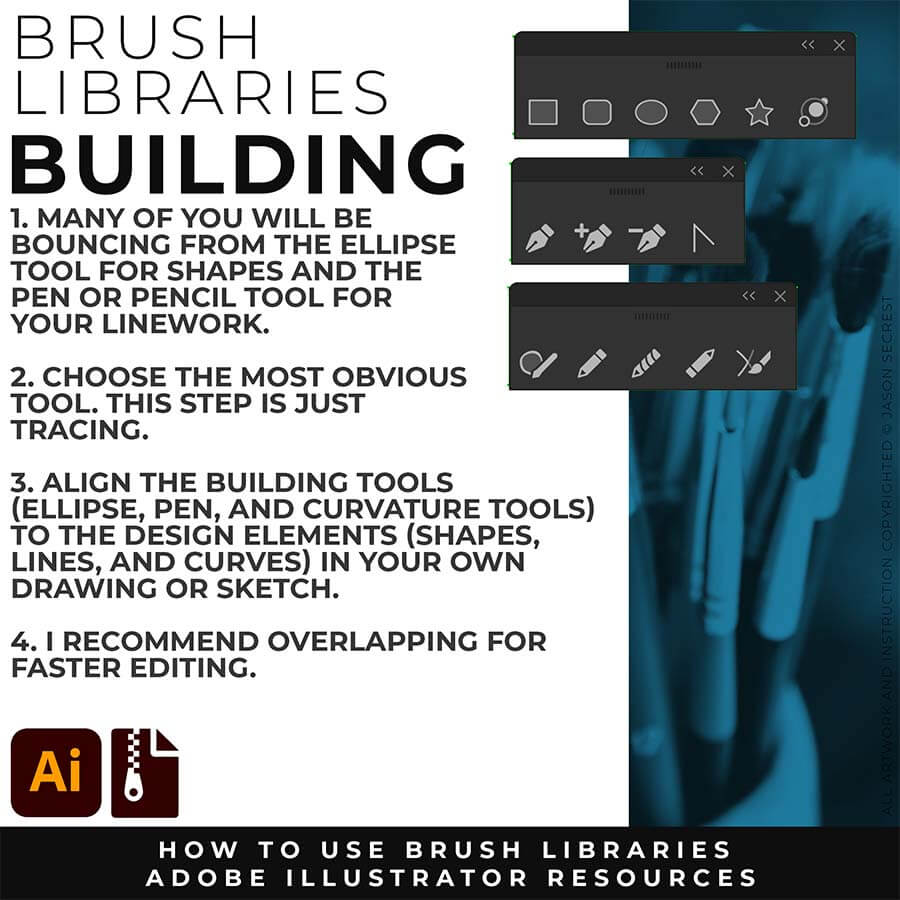
PRIMARY BUILDING: Many of you will use Shape, Pencil, and Pen Tools as your Primary Building Tools. Understand the Building Tools and Options in Adobe Illustrator. Align the Building Tools (Ellipse, Pen, and Curvature Tools) to the Design Elements (Shapes, Lines, and Curves) in your own drawing or sketch.
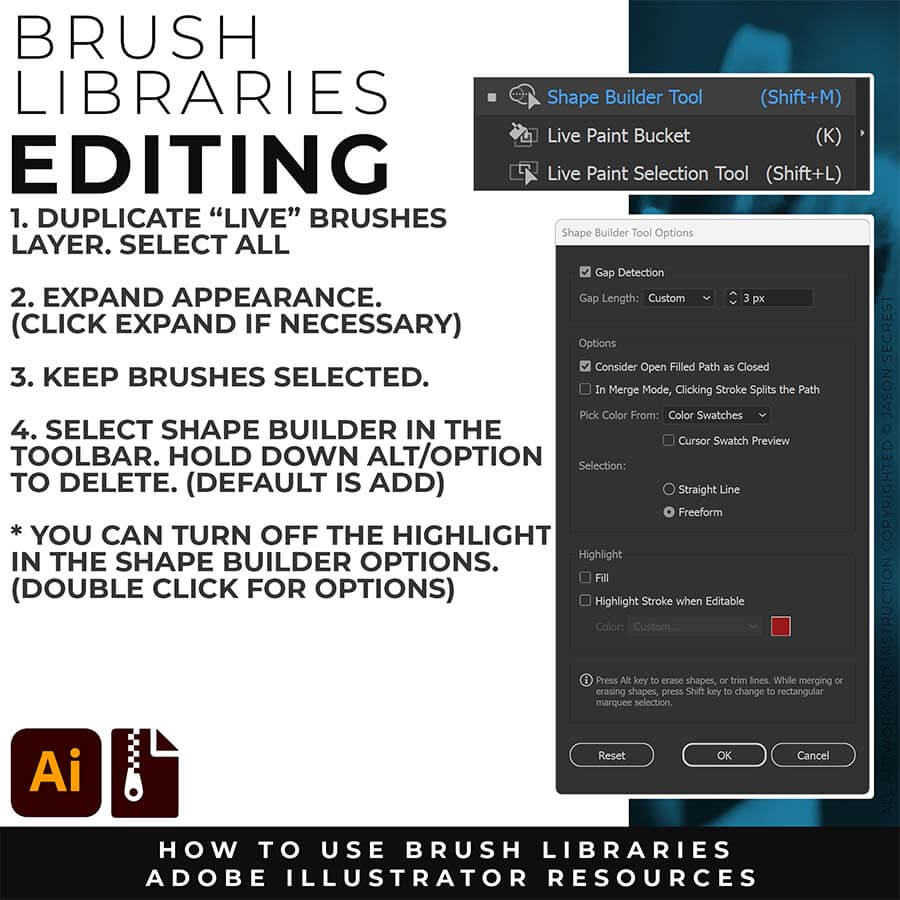
EXPANDED EDITING: To use Shape Builder, you must Duplicate and Expand the Brush Layer. Select All - Expand (Expand Appearance). I recommend duplicating the Brushes Layer to preserve a Live Brush Layer for future edits. Go long with your initial paths to create a larger target for editing with Shape Builder.
APPLYING BRUSHES: Our Adobe Illustrator Brushes are organized in Brush Libraries for easy access. They have been organized for specific design styles that relate to your line quality. Brushes are extremely easy to use. Align the End with the desired thickness or taper.
STEP #1: Match the Brushes to the Line Variation. If you planned out your lines in your own drawing, this step is much easier. Select the Brushes and Line Weight. The easiest method is to find the ends and visually find the other end to see if it will be floating or hitting another line. If it hits another line that signals a darker value to the end should reflect the change in value. (Thicker End).
STEP #2: Moving towards Editing your Brushes. Duplicate Live Brush Layer before Expanding. Expand All. Object - Expand Appearance + Expand. You really only need to Expand the Strokes. Path Simplify Option: Once the Brushes have been Expanded hit the selection with a Simplify Path ( Object - Path - Simplify) to clean up extra Anchor Points.
STEP #3: Editing using Shape Builder. Select All. Select your Shape Builder Tool. Hold down Alt/Option on your Keyboard to Delete. Hit all of the overlapping lines to clean up any of the extra lines. You can Turn Off the Highlighting feature in Shape Builder. If you have busy or detailed areas, I will recommend zooming in to delete smaller areas.
SHAPE BUILDER: A tool that serves as an alternative to the Eraser Tool while editing is the Shape Builder. You will need to Expand the Brush Layer. Select All - Expand (or Expand Appearance + Expand). I recommend duplicating the Brushes Layer to preserve a Live Brush Layer for future edits. Once the Brushes are Expanded, Select All + click on the Shape Builder Tool.
EXPAND APPEARANCE: I do recommend Expanding your Brushes Layer before using Shape Builder. This will prevent bouncing of the Brushes and Line Variation. It will also move toward an efficiency model to save time so you are not stopping and editing while you are still building.
SELECT ALL: In order to use the Shape Builder Tool, you will need to select an Object or All Objects so the Tool knows what it should interact with. You can modify what is selected by choosing smaller areas if selecting all becomes too overwhelming. Only edit one layer or object at a time.
HOLD ALT/OPTION: Hold down your Alt/Option Key while using the Shape Builder Tool to Delete Mode. I do recommend turning off the Highlighting when in this mode. Drag or click on any of the overlapped or stray marks to delete using the Shape Builder Tool. Notice that if you go long with strokes it will give you a larger target to edit faster.
