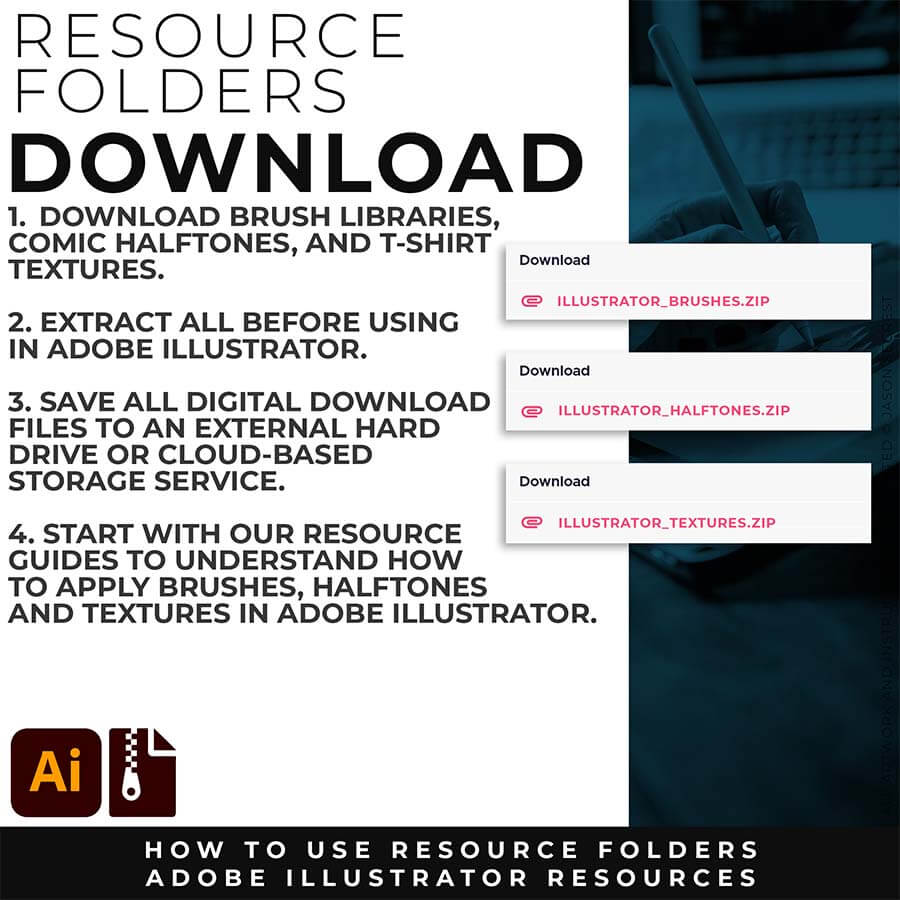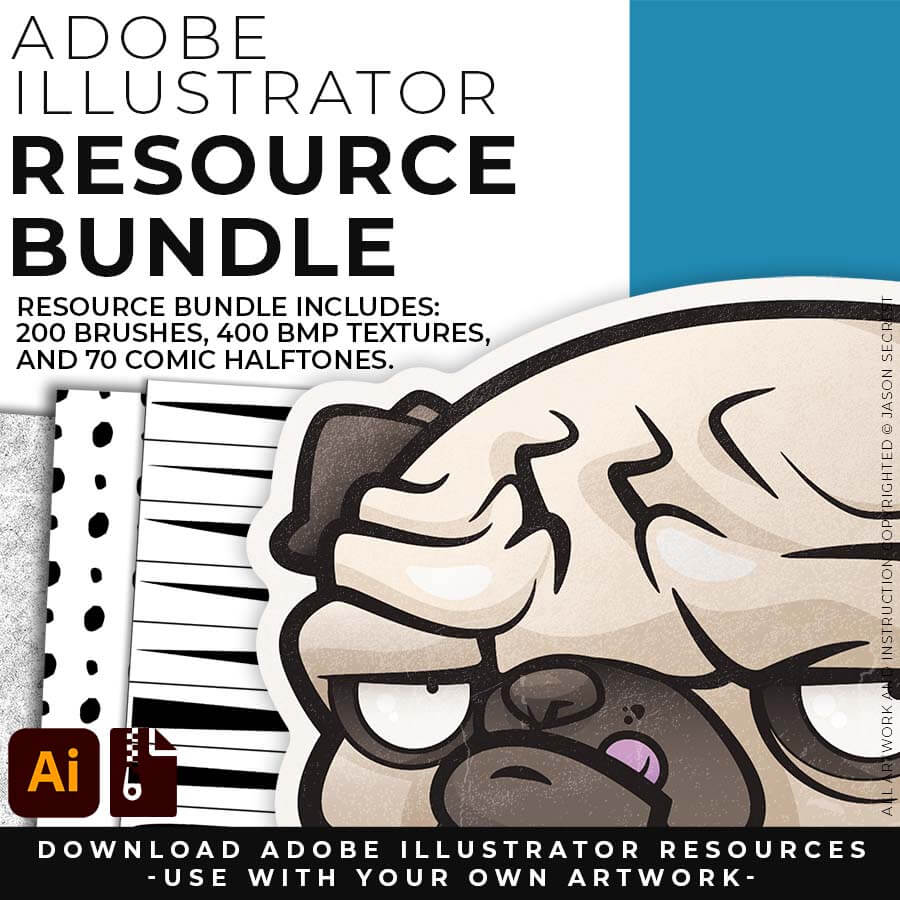
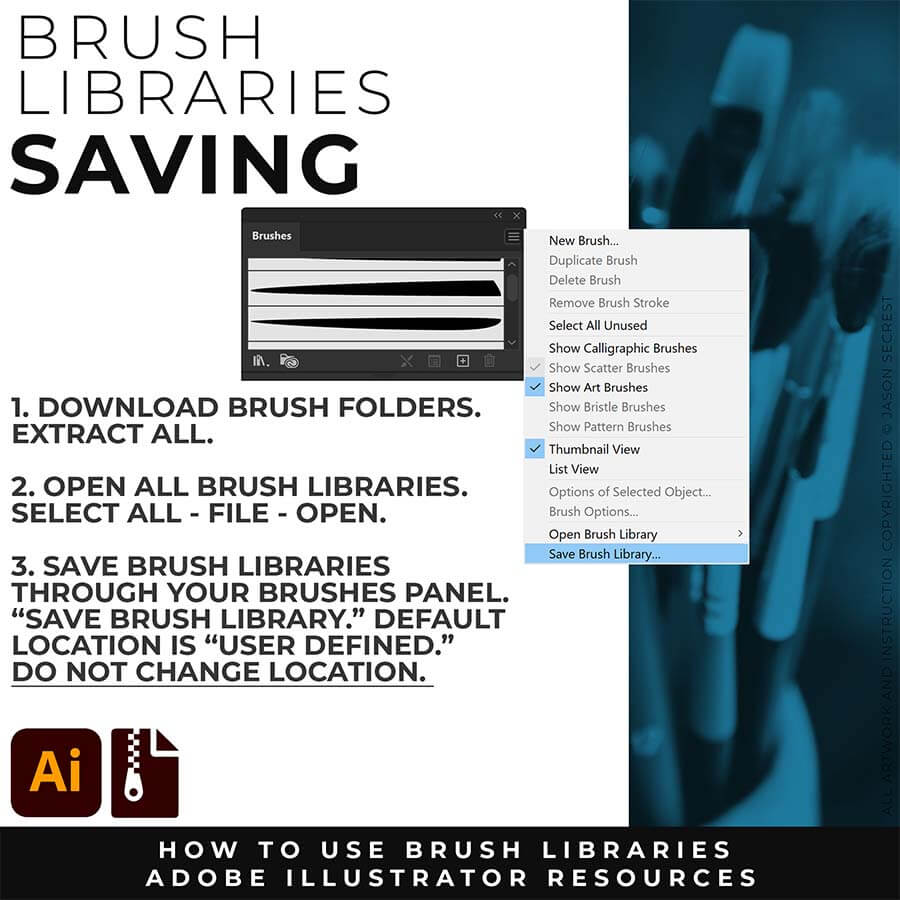
STEP #1: Download our Brush Libraries, Comic Halftones, and BMP Textures. Adobe Illustrator Brushes, Halftones, and Textures will come to you as Zipped Folders. Extract All before using in Adobe Illustrator.
STEP #2: Once you have downloaded and extracted the folders, Brushes, Halftones, and Textures are ready to be used in Adobe Illustrator. Save all files to an external hard drive or cloud-based storage.
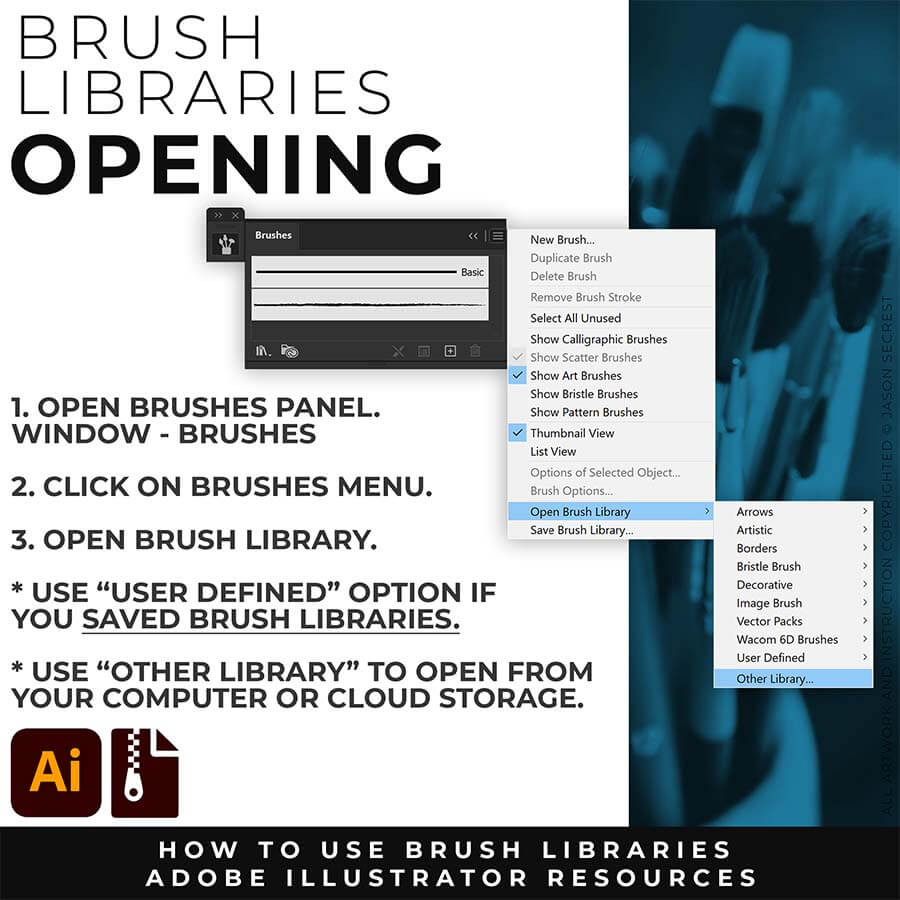
STEP #3: After downloading, start with our Beginner Tutorials and Resource Guides to understand how to apply Brush Libraries, Comic Halftones, and T-shirt Textures in Adobe Illustrator.
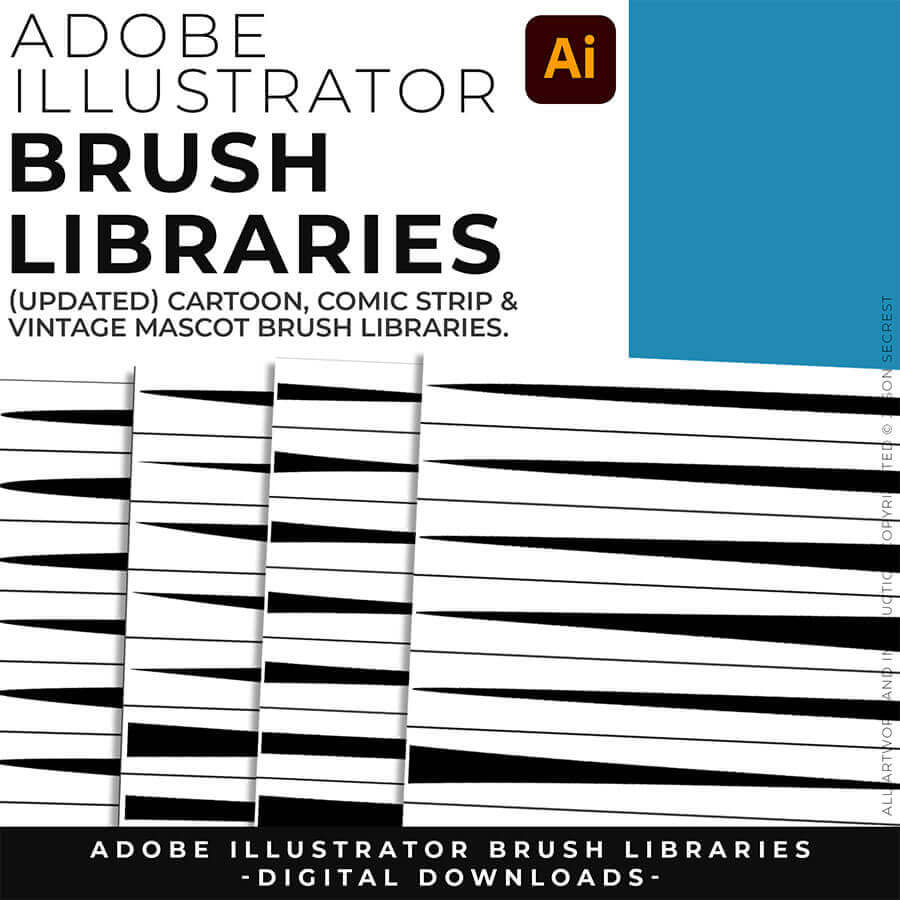
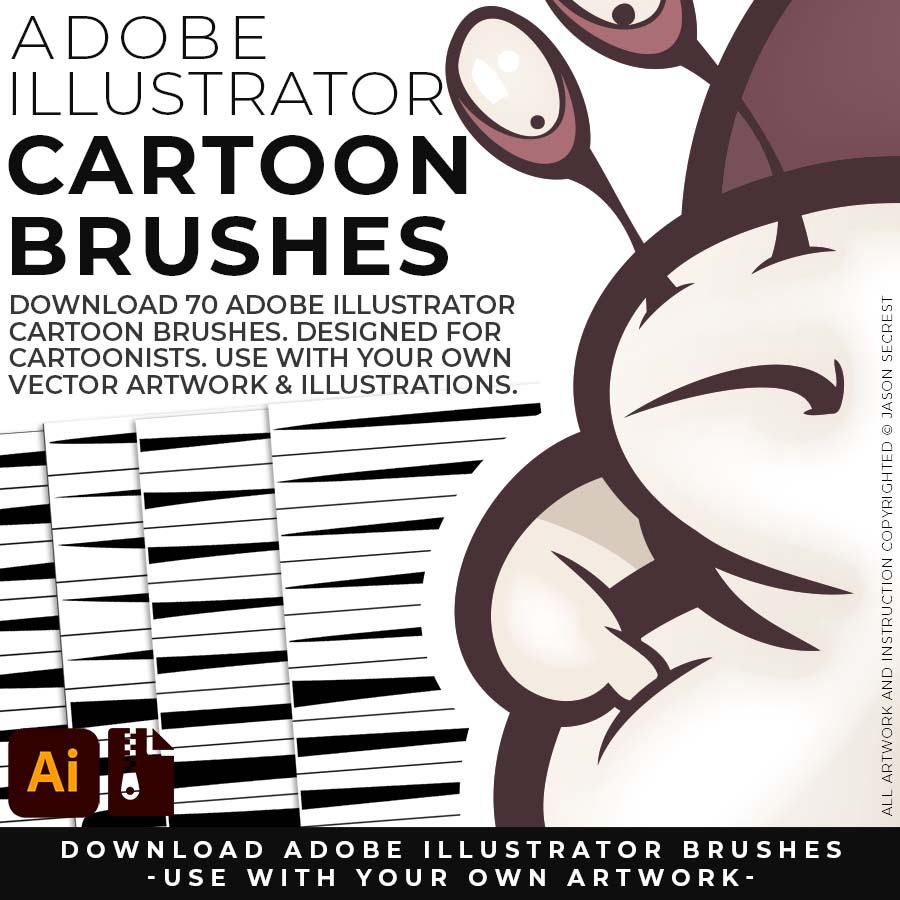
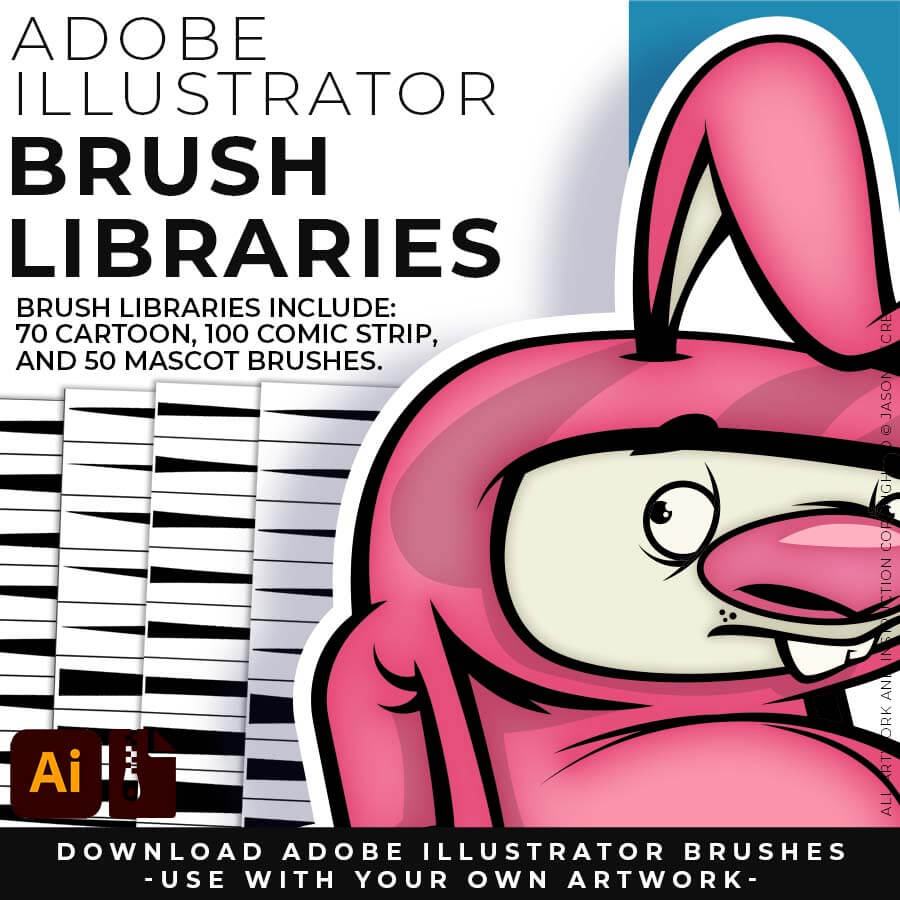
CARTOON BRUSHES: Cartoon Brushes are my go-to for Professional Logos, Cartoons, Mascots, and Branding. Use Cartoon Illustrator Brushes with the Pen, Pencil or Paint Brush Tools to Apply different Line Variation to your Vector Artwork. (includes Updated Cartoon, Cartoon 2, and Original Cartoon Brush Libraries).
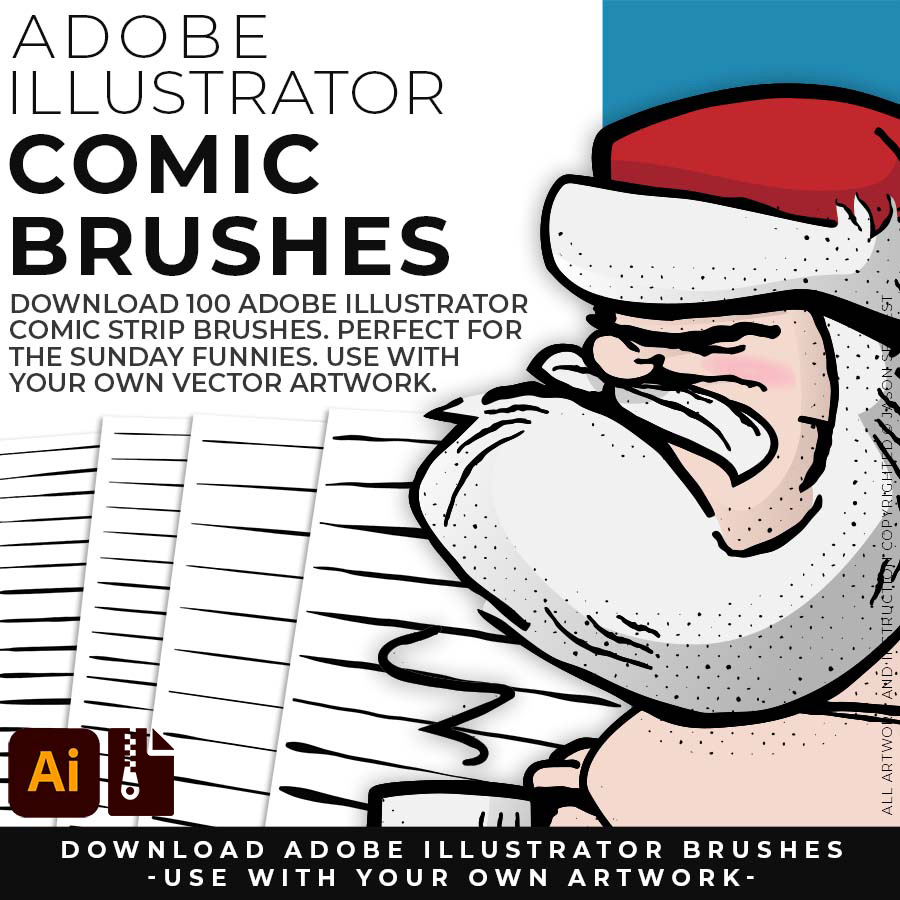
COMIC STRIP BRUSHES: Hand Painted + Comic Strip Brushes to get a lived-in feel back into your Vector Art. Comic Strips and Hand Painted are painted based on some of my favorite artists and cartoonists. These brushes are designed to look ready for the Sunday Paper. (includes Updated Comic Strip, Hand-Painted, Paintbrush, and Fine Liner Brush Libraries).
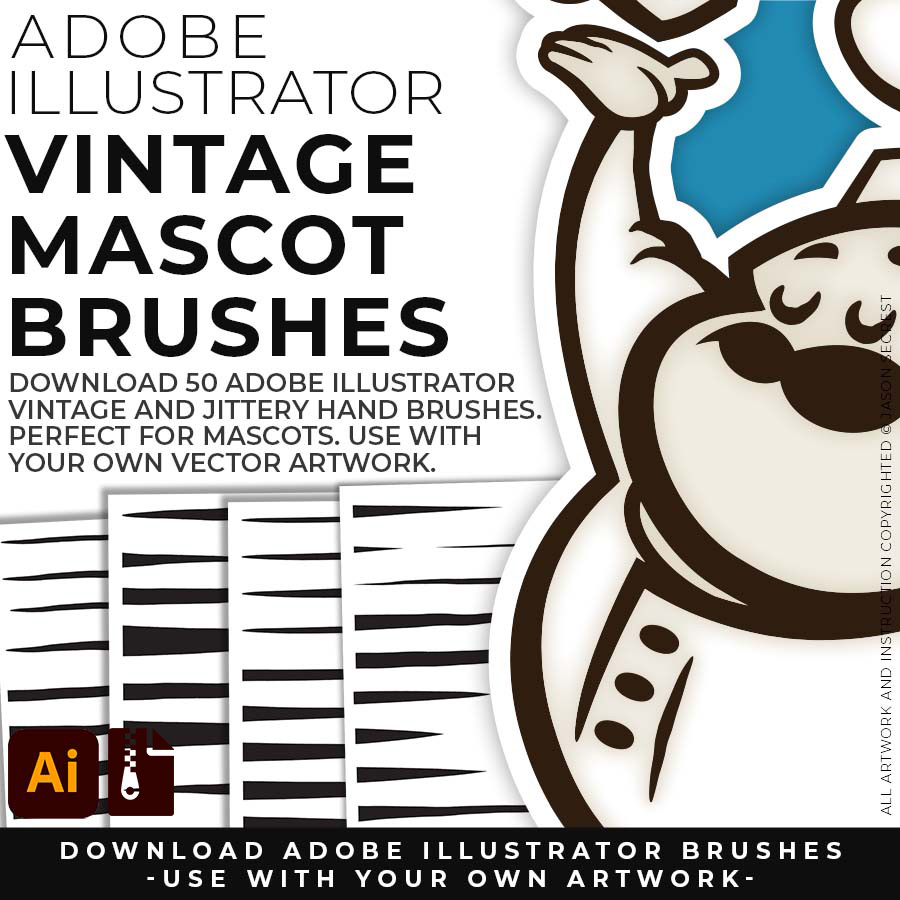
MASCOT BRUSHES: Jittery Hand, Caffeinated Cartoonist + Rough Ink Brushes to Mimic Paper Bleed and Caffeine. Designed to be a little less stiff with your vector art. Use these Brush Libraries to get more of a distressed look or ink bleed back in your own Vector Artwork. (includes updated Caffeinated Cartoonist, Rough Ink, and Jittery Hand Brush Libraries).
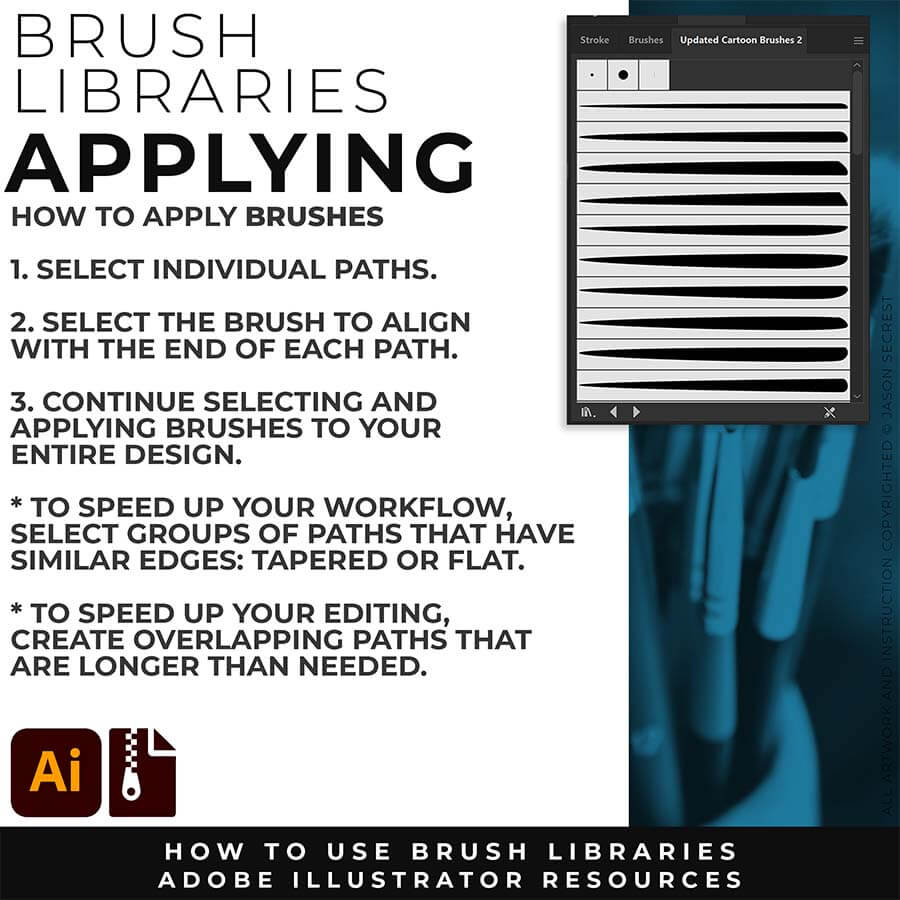
APPLYING BRUSHES: Match the Brushes to the Line Variation. Select the Brushes and Line Weight. The easiest method is to find the ends and visually find the other end to see if it will be floating or hitting another line. If it hits another line that signals a darker value to the end should reflect the change in value. (Thicker End).
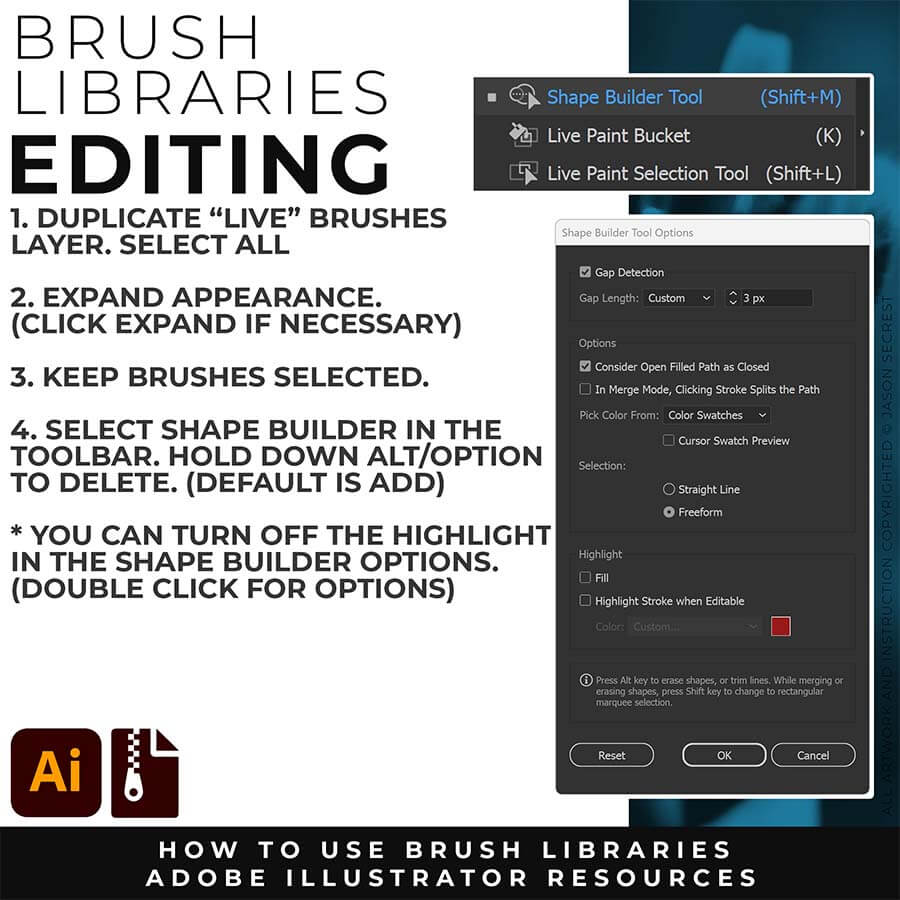
EXPANDED EDITING: To use Shape Builder, you must Duplicate and Expand the Brush Layer. Select All - Expand (Expand Appearance). I recommend duplicating the Brushes Layer to preserve a Live Brush Layer for future edits. Go long with your initial paths to create a larger target for editing with Shape Builder.
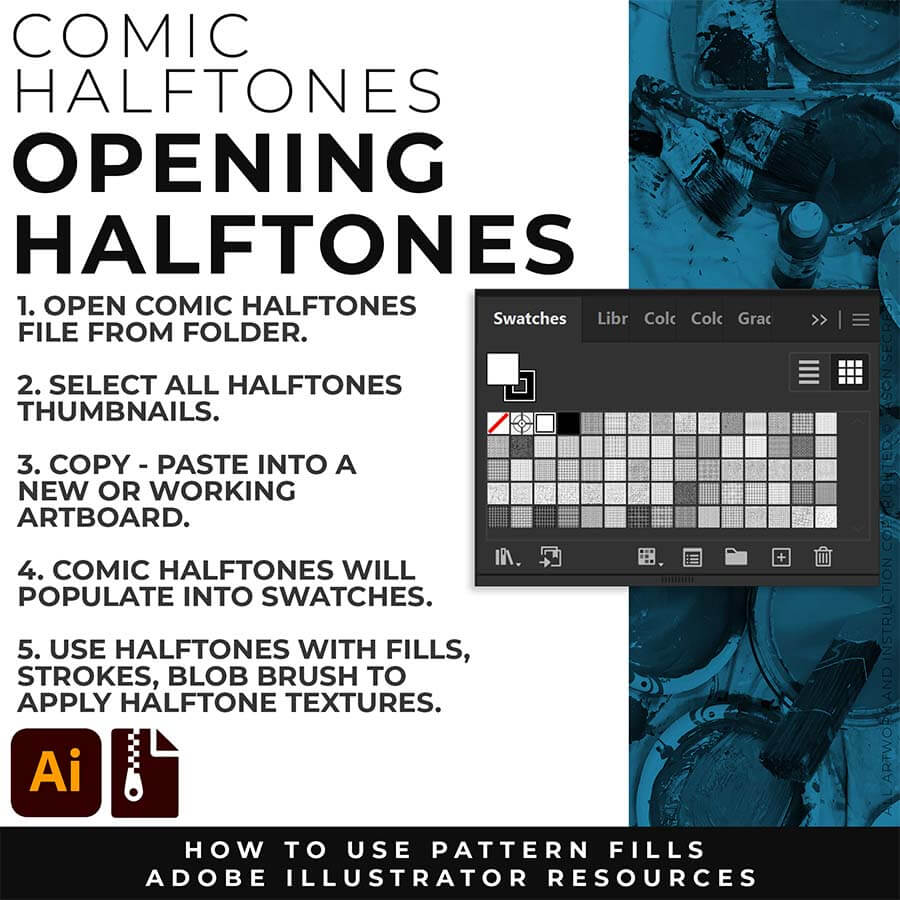
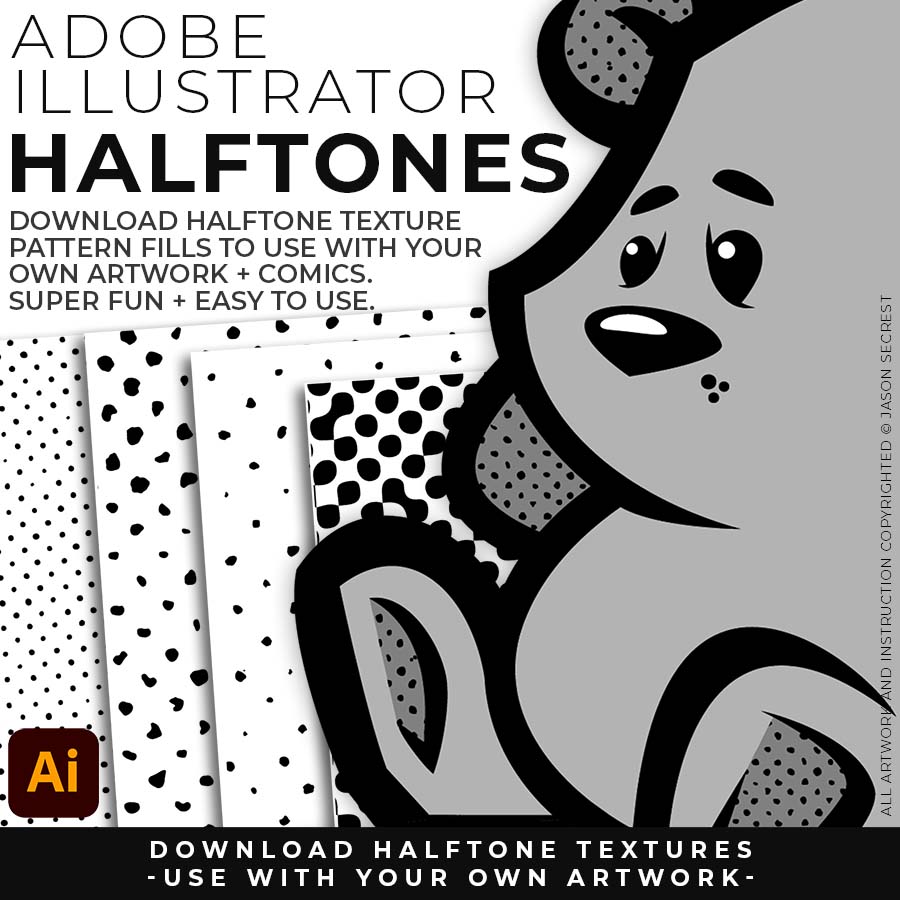
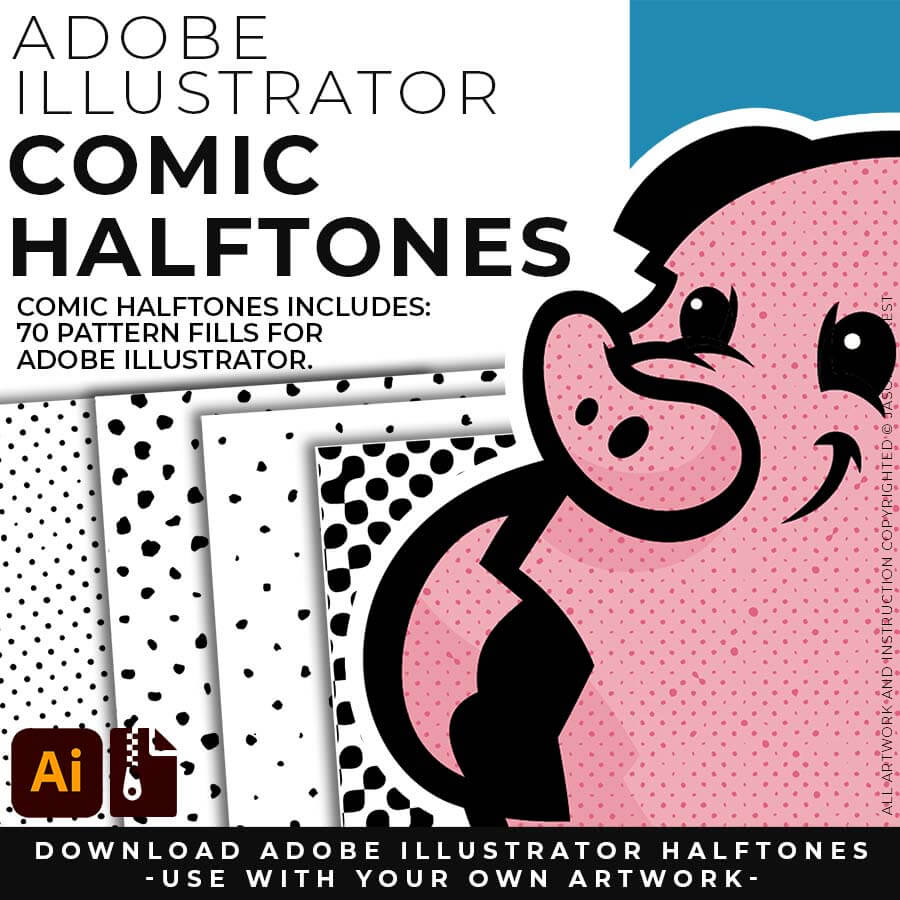
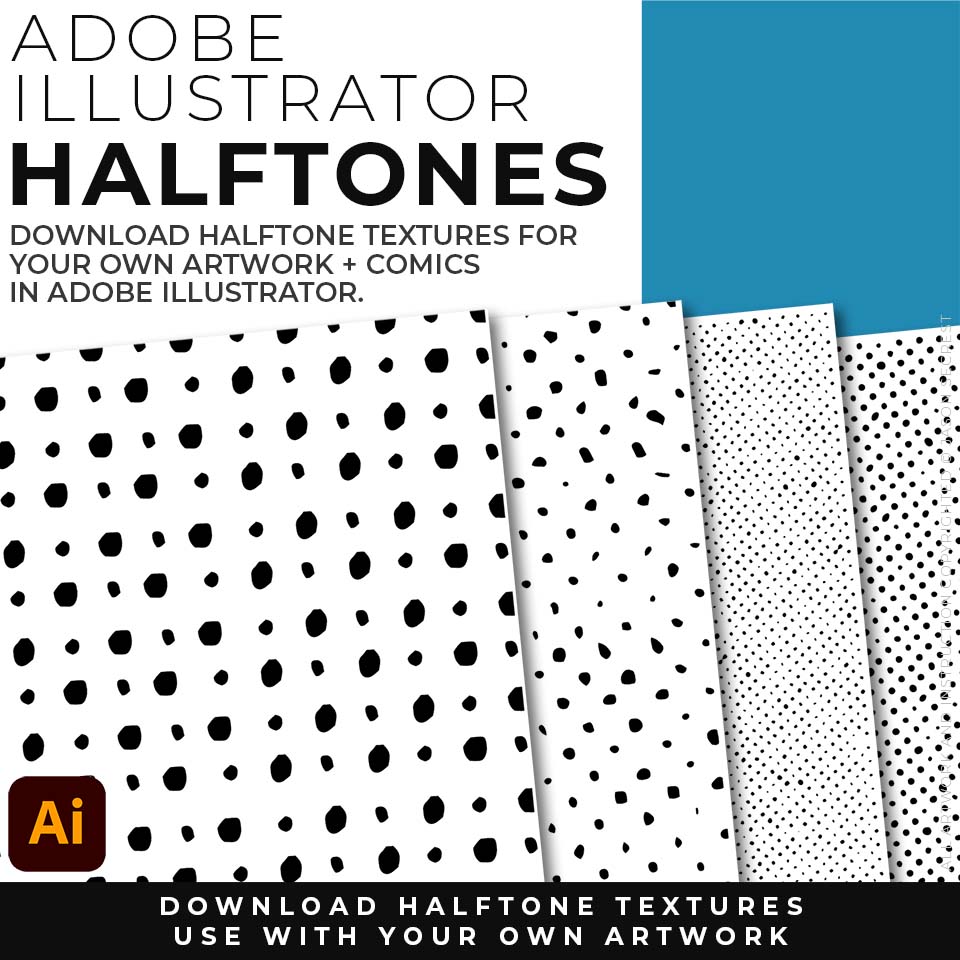
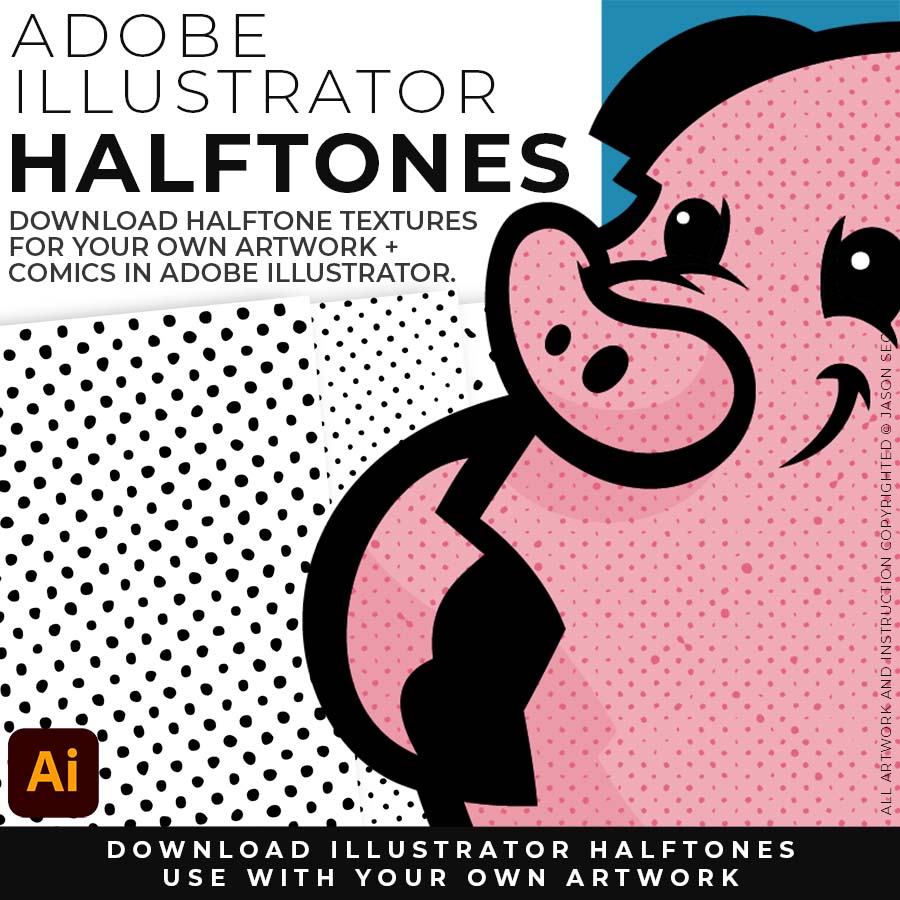
ADOBE ILLUSTRATOR HALFTONES: If you are new to Adobe Illustrator, Halftones and Pattern Fills are extremely easy to use. They are designed for easy application just like any basic color fill but they have Halftones. Distressed Halftone Textures and Pattern Fills to use in Adobe Illustrator to use for spot textures within your artwork or comics.
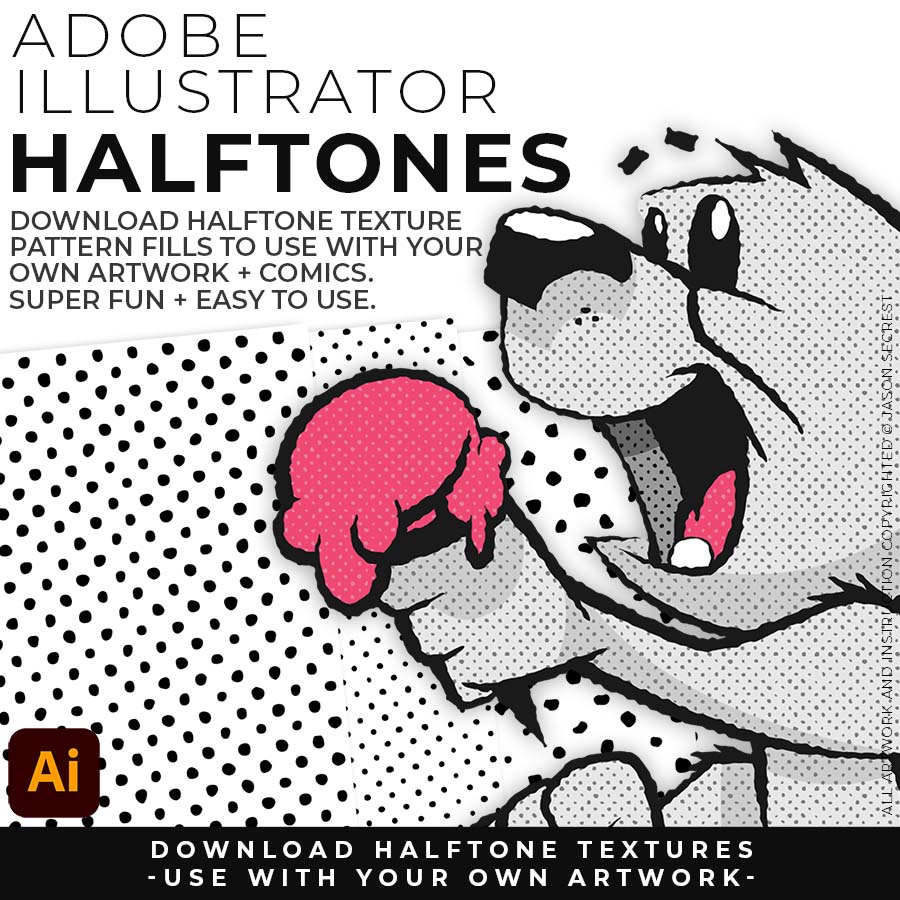
ADOBE ILLUSTRATOR HALFTONES: They are designed for easy application by simply clicking on a Halftones Pattern Fills just like you would on a regular Color Swatch. Apply the Halftones using the Blob Brush and Live Paint on your Designs or Comics. Halftone Pattern Fills are extremely easy to use even for a Beginner.
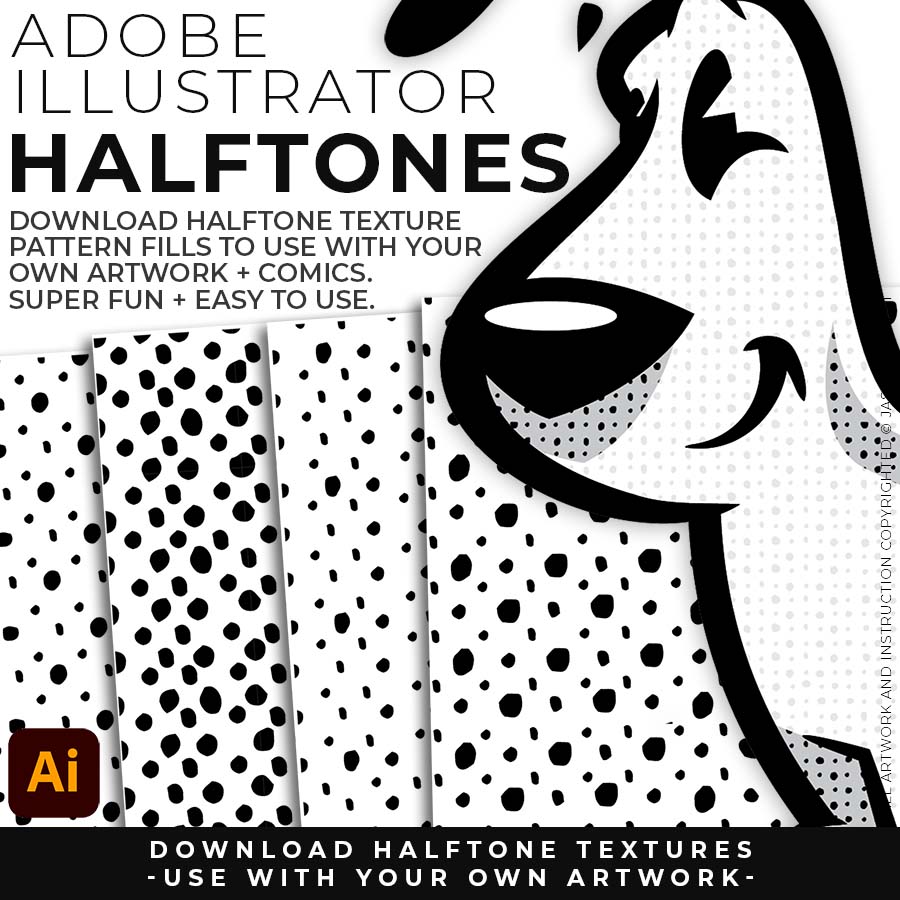
ADOBE ILLUSTRATOR HALFTONES: Halftones and Pattern Fills to use with your value layers. You can simply duplicate the Layer and Click on a Halftone Fill to apply Textures. The Halftones and Pattern Fills do have a transparent background. Comic Halftones can be recolored in the Patterns Panel to match the desired look of your artwork.
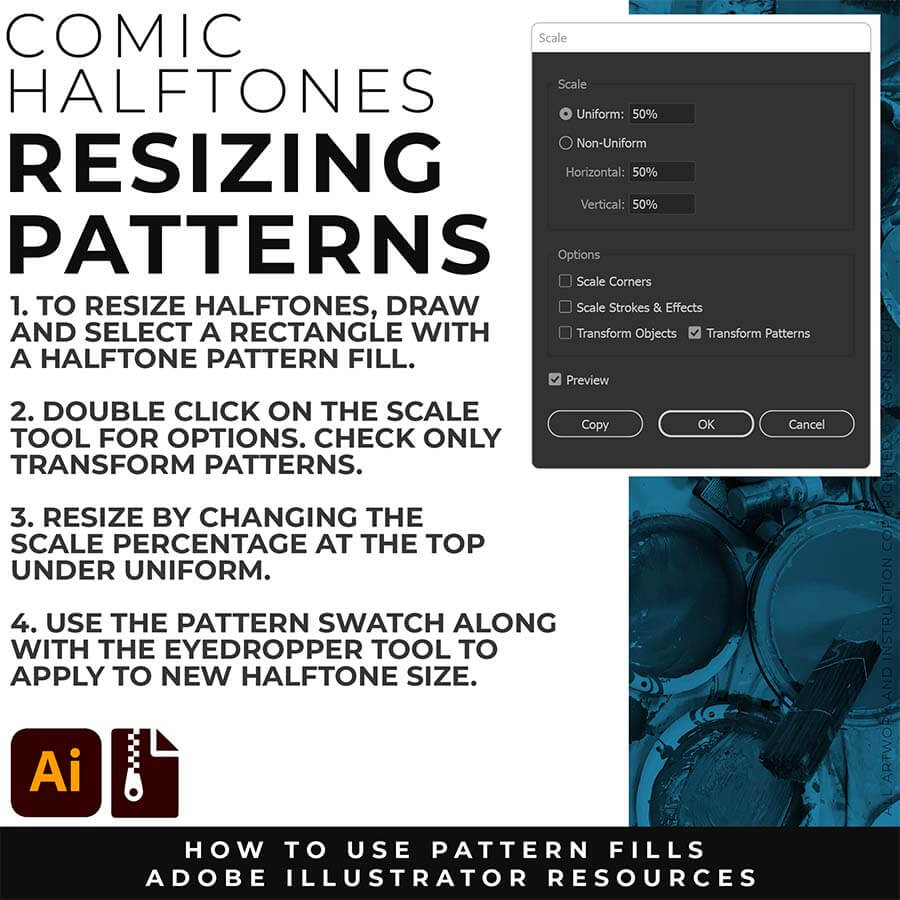
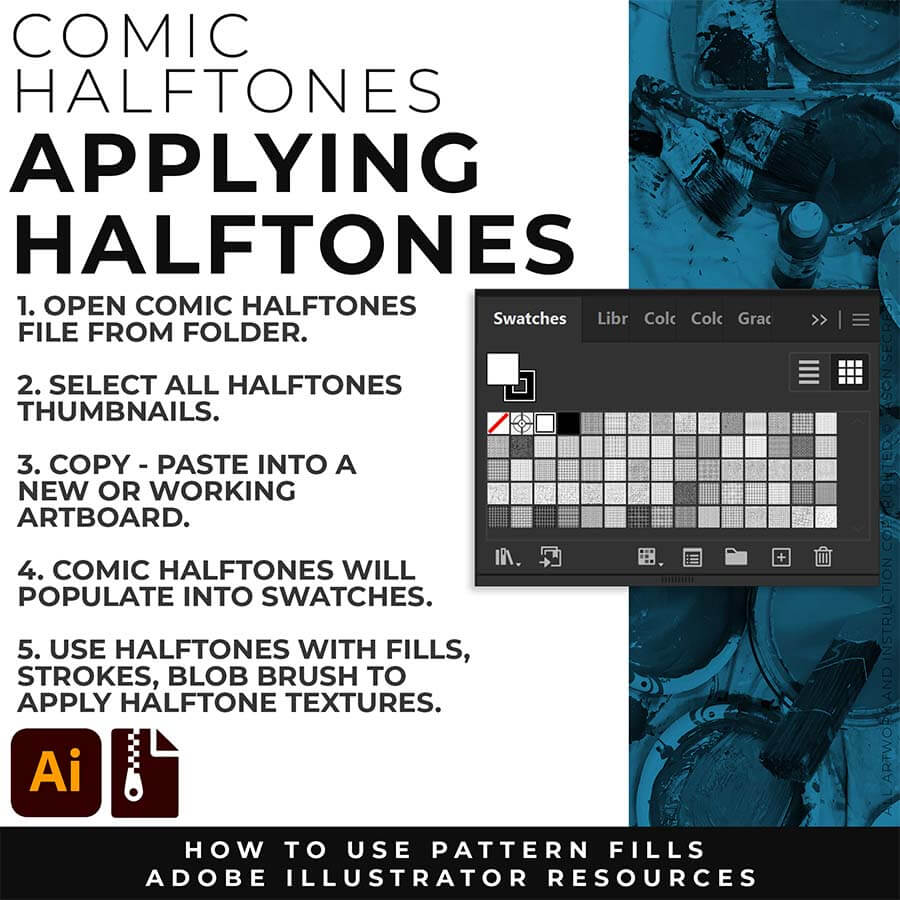
APPLYING HALFTONES: Halftones will behave just like any Color Swatch in Adobe Illustrator. If you are new to Adobe Illustrator, use the Blob Brush to paint in Comic Halftone Patterns.
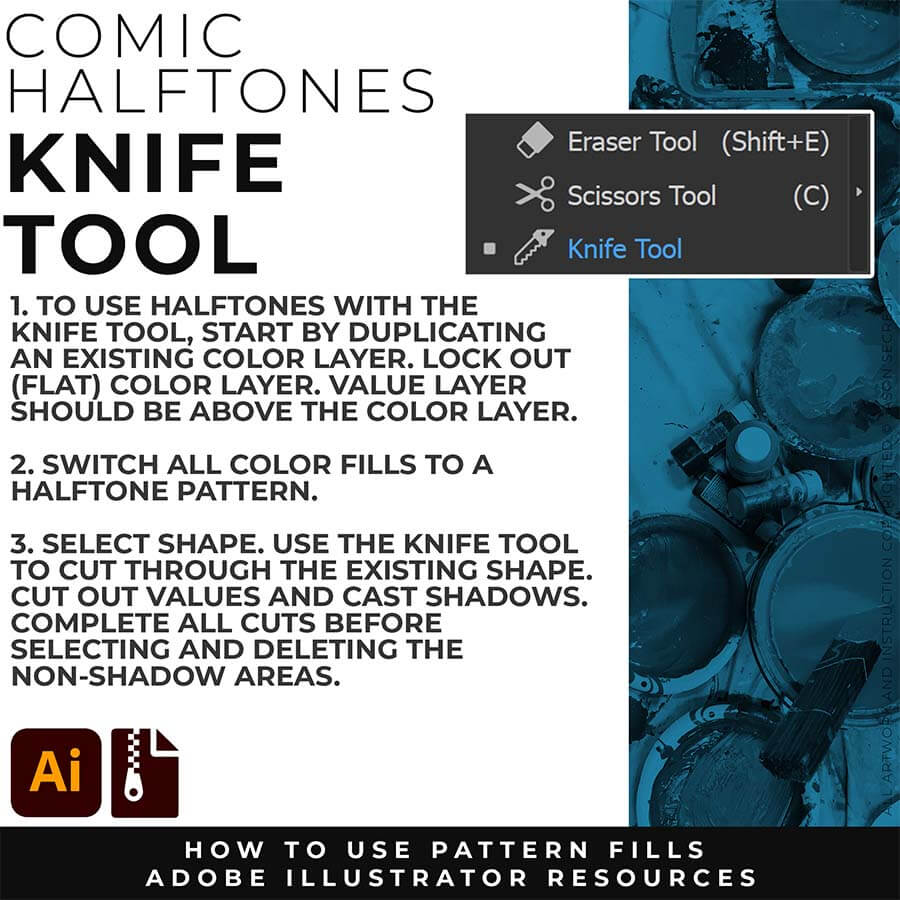
KNIFE TOOL: We will use the Knife Tool to cut the Basic Shape we created, creating values with our Halftones. Troubleshooting: 1. Select the Shape before Cutting. 2. Make sure you cut all the way through the shape (go long with cuts).
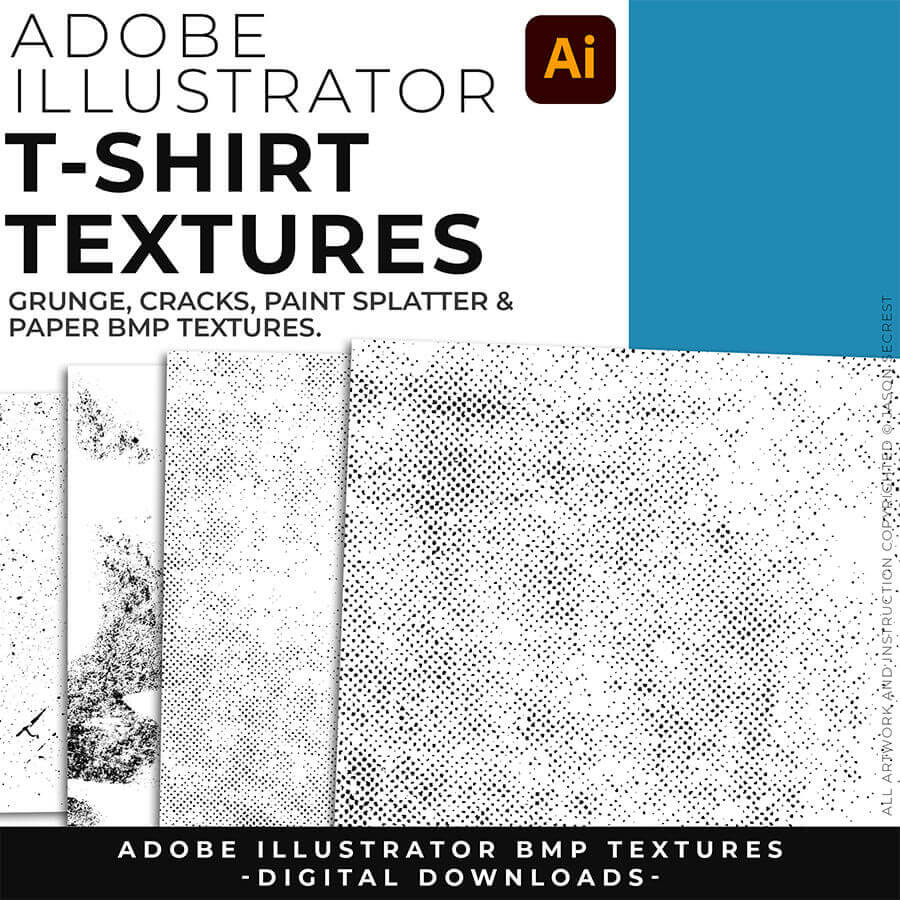
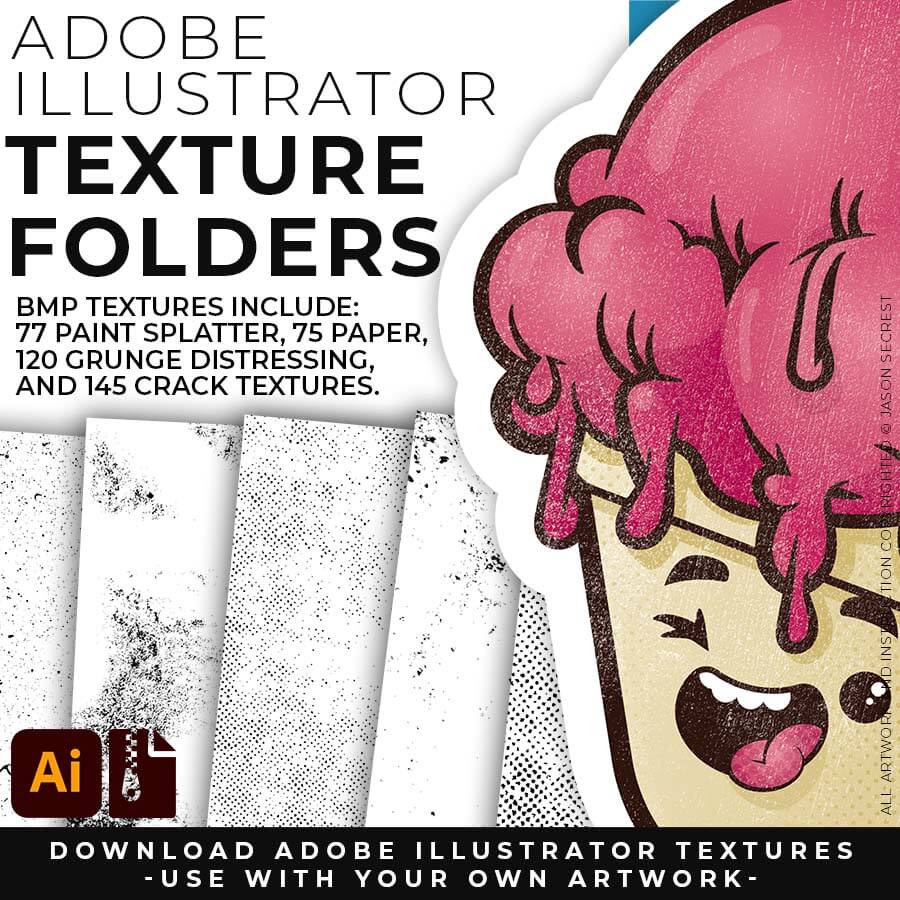
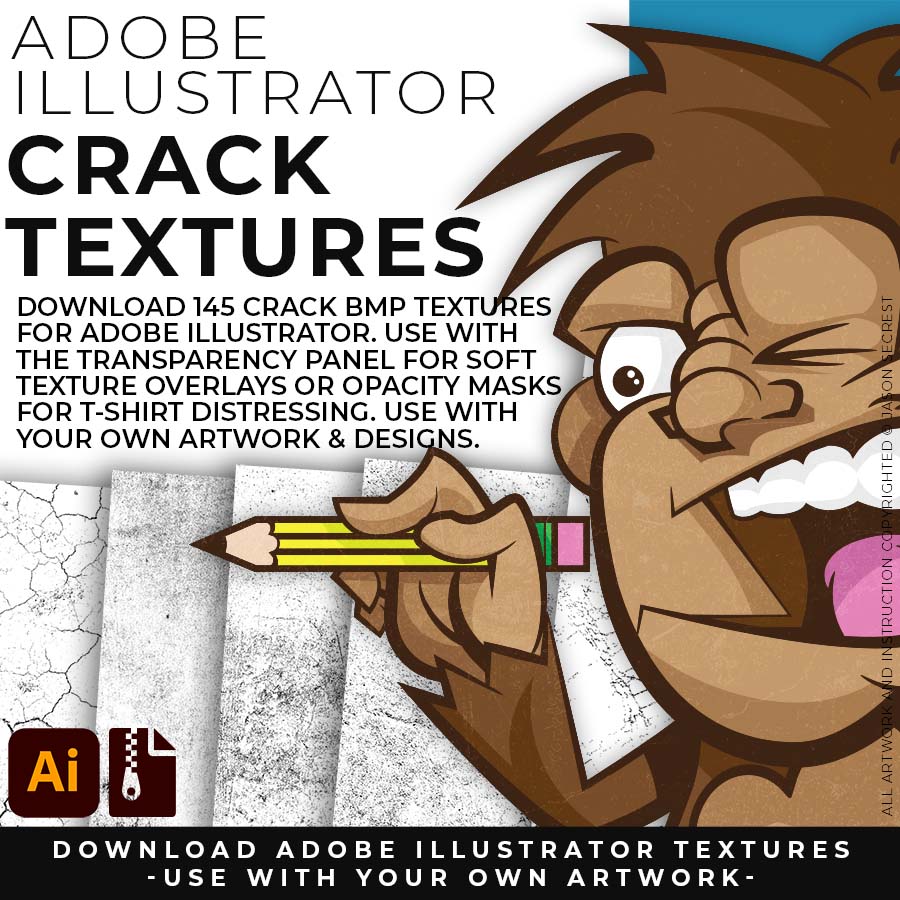
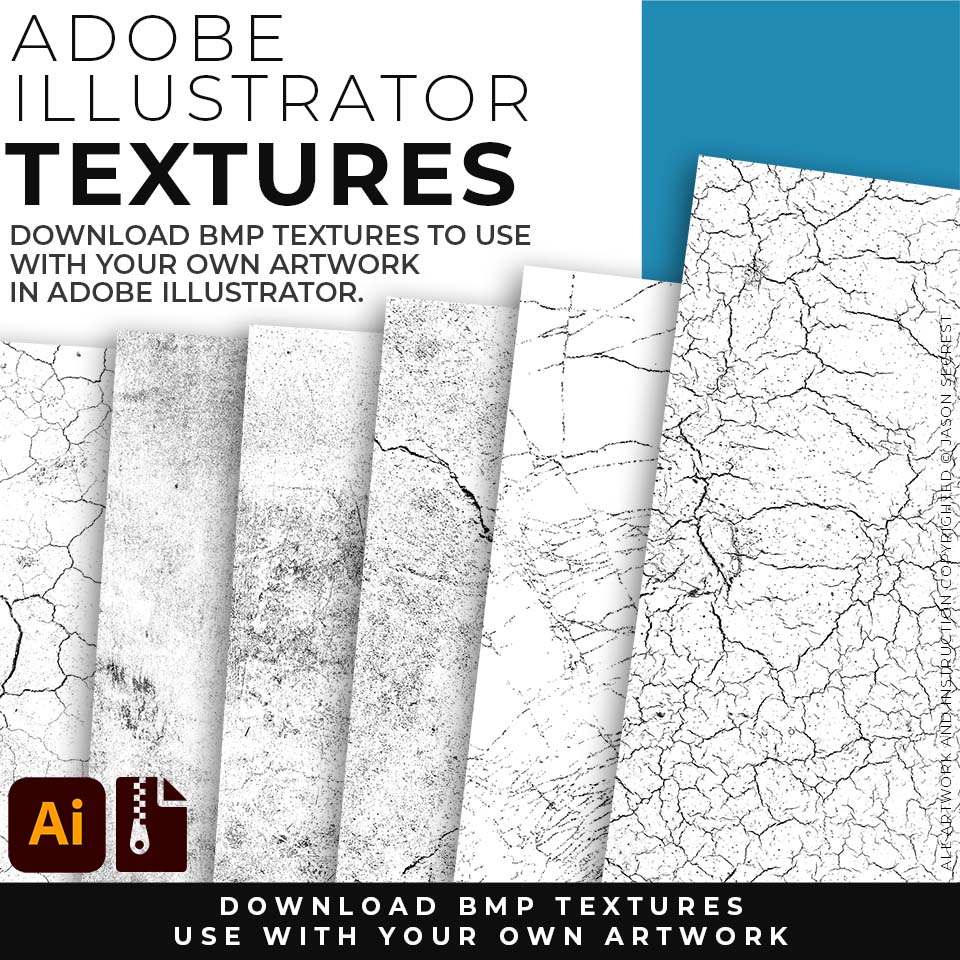
CRACK BMP TEXTURES: Cracks and Distressing Textures to Apply Opacity Masks to your Own Original Artwork and T-shirt Designs. Use BMP Textures to apply Cracks and Distressing Effects to your Artwork and Designs by Applying Opacity or Transparency Masks for Adobe Illustrator. (includes Crack BMP Textures for T-Shirts.)
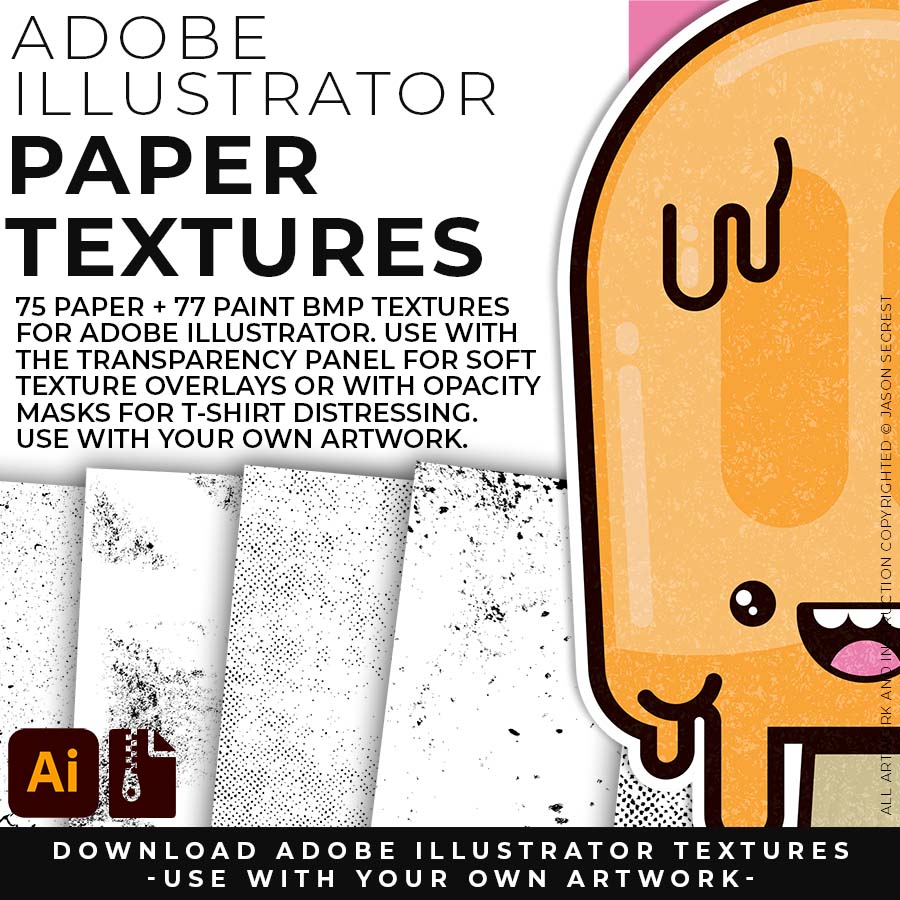
PAPER + PAINT BMP TEXTURES: Paper + Paint Textures to use along with the Transparency Panel to create soft texture overlays for your own original artwork. Use Textures with a combination of Color Swatches, Transparency, Blending Modes, and Clipping Masks to create a subtle texture overlay on your print or web exports. (includes Paper and Paint BMP Textures for Social Media Posts.)
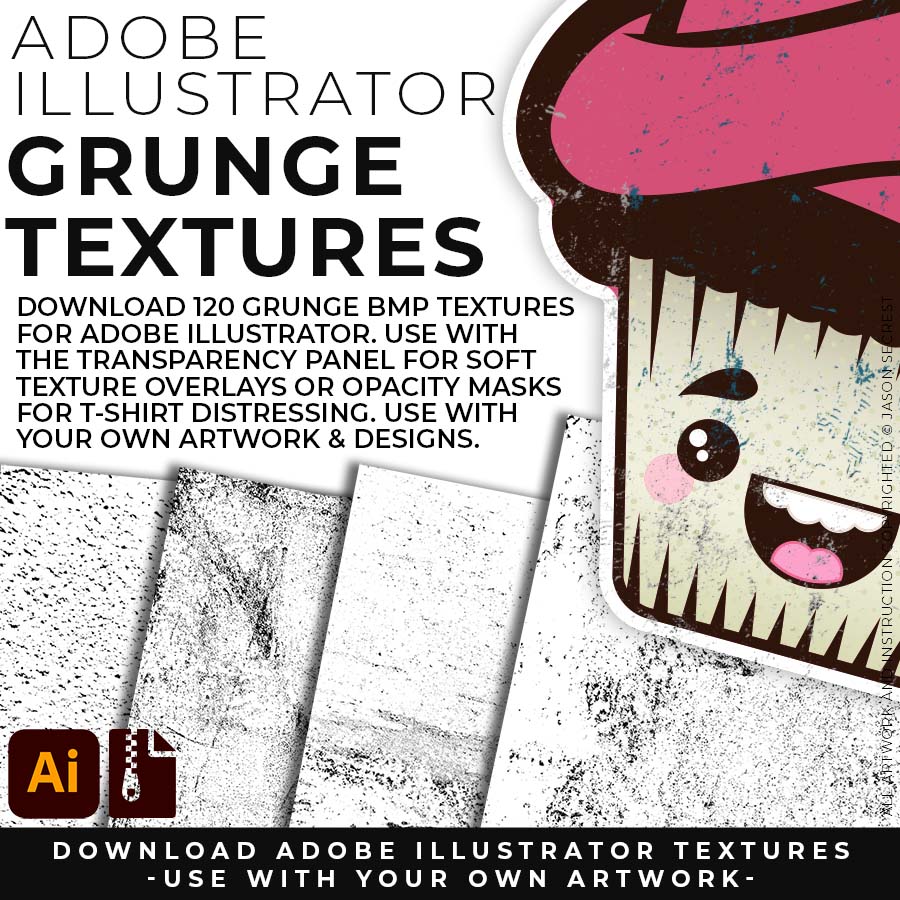
GRUNGE BMP TEXTURES: Grunge Distressing Textures to Apply Opacity Masks to your Own Original Artwork and T-shirt Designs. Use BMP Textures to apply Grunge and Distressing Effects to your Artwork and Designs to use with the Transparency Panel and Opacity Masks for Adobe Illustrator. (includes 120 Grunge BMP Textures for T-Shirts.)
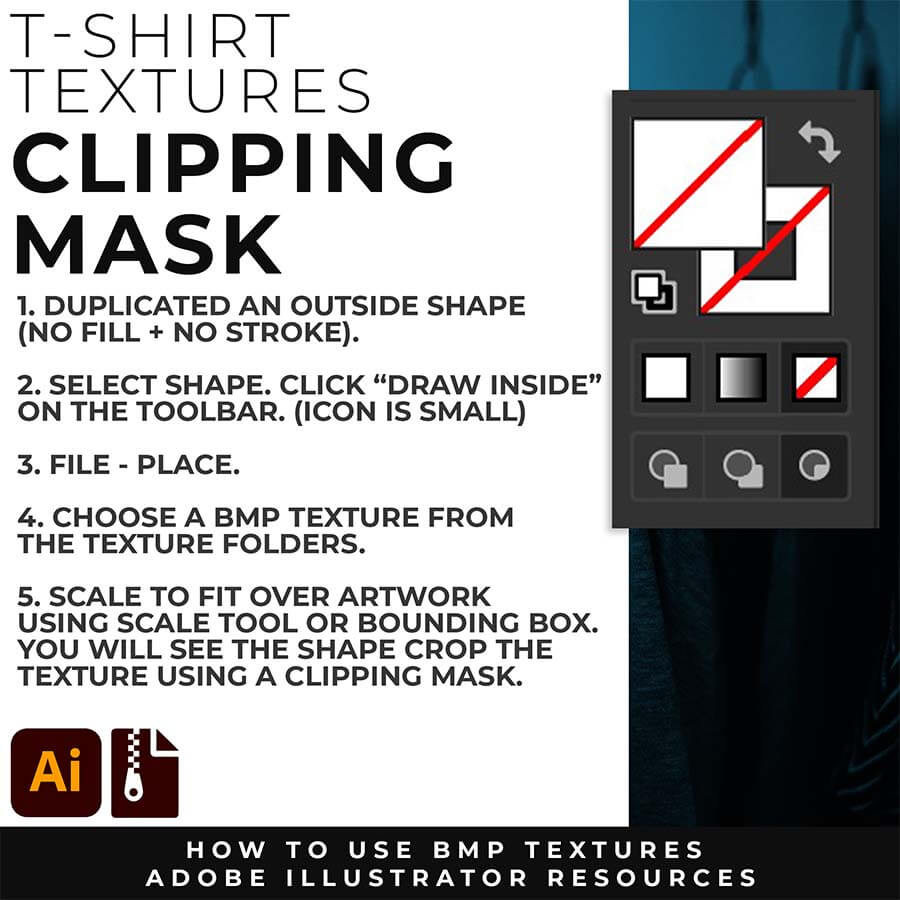
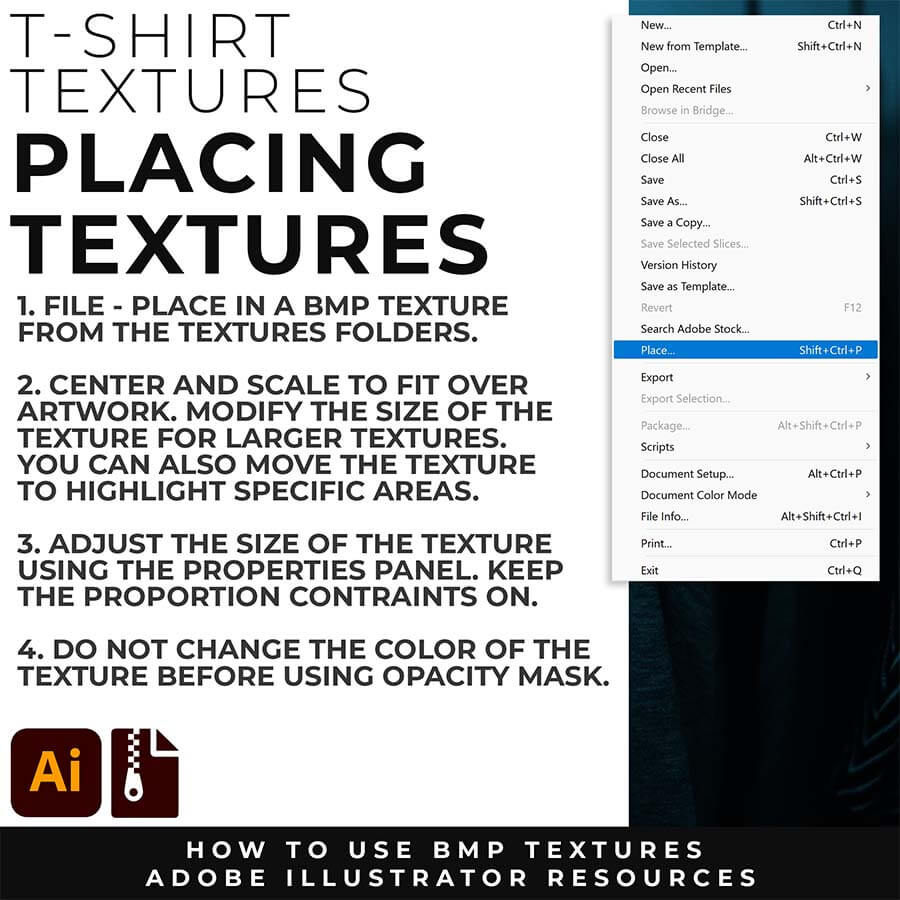
CLIPPING MASKS: Using the "Draw Inside" feature is an easy way to use Clipping Masks in Adobe Illustrator. Simply File - Place in the BMP Texture into the selected "Draw Inside" Shape.

OPACITY MASKS: Using Opacity Masks in Adobe Illustrator is extremely fun. Click on "Make Mask" in the Transparency Panel. This will be for your own original artwork for T-shirt Distressing.