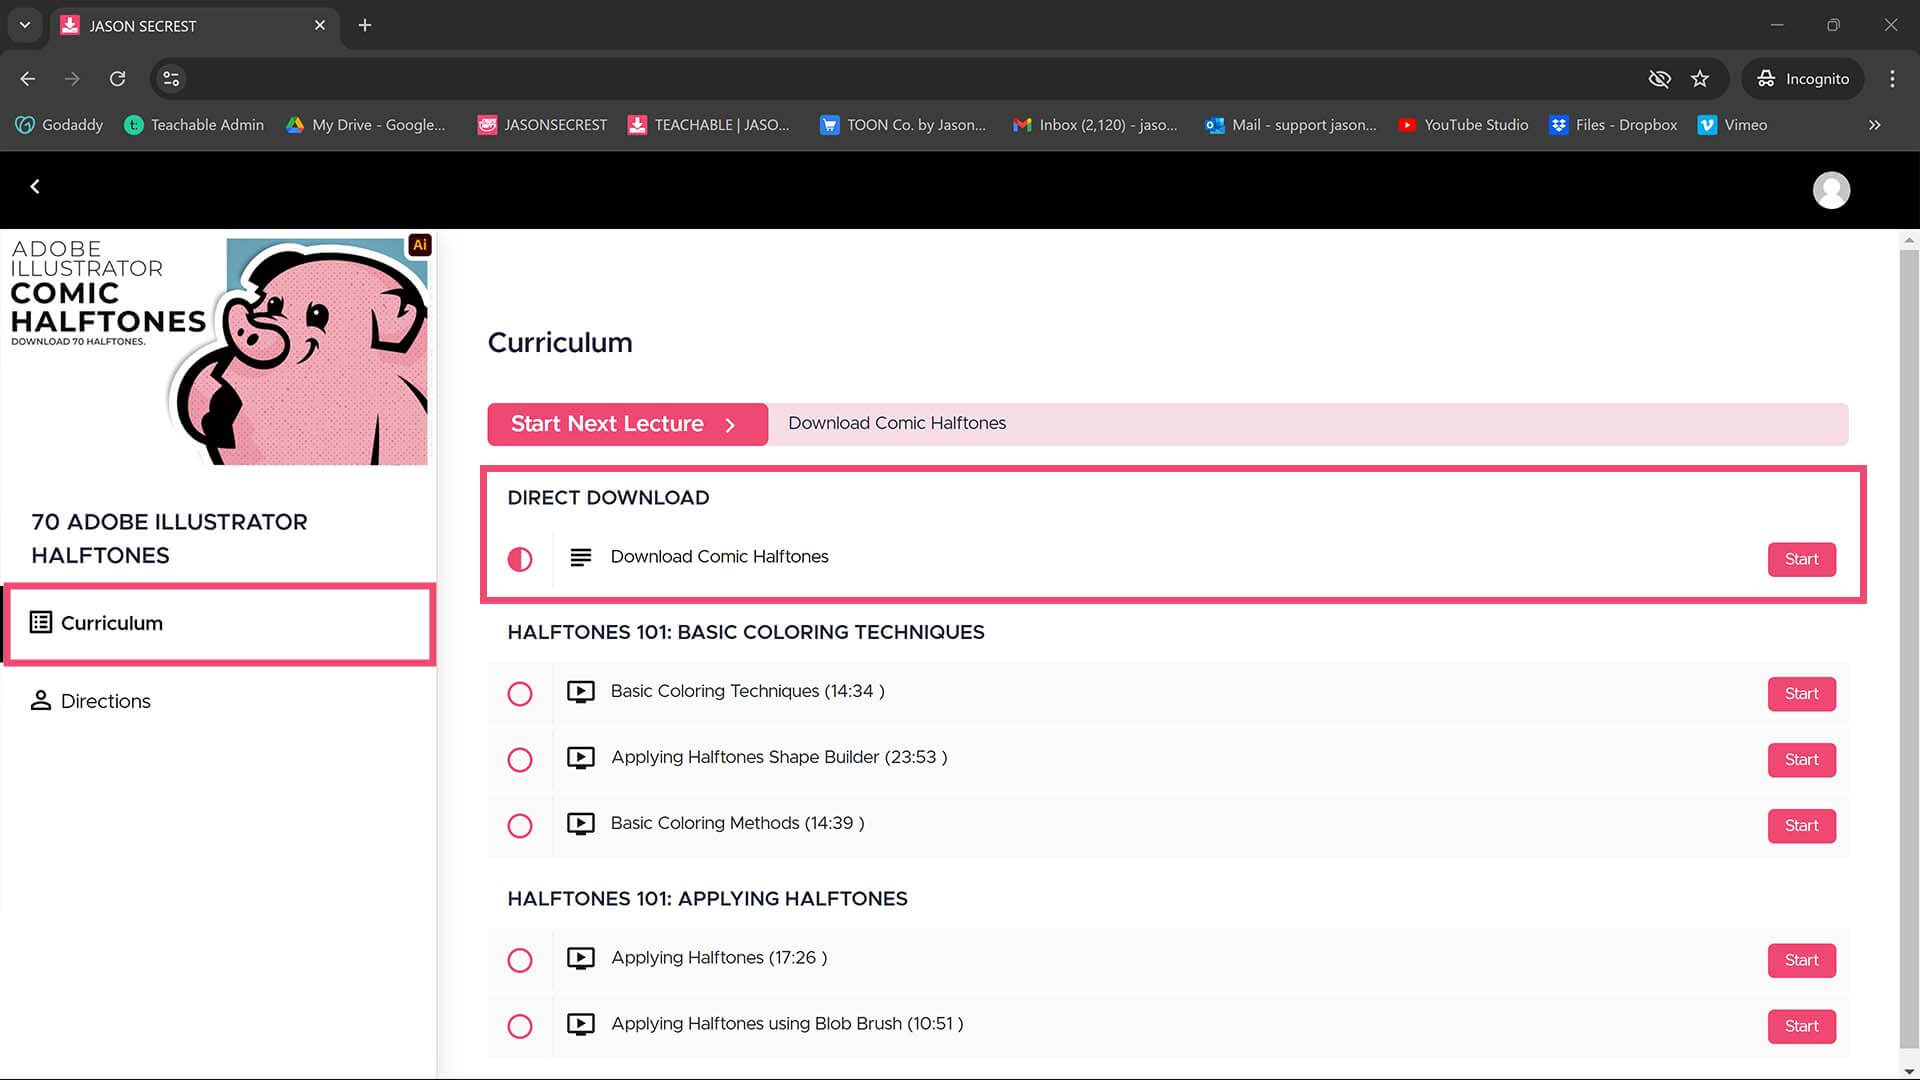
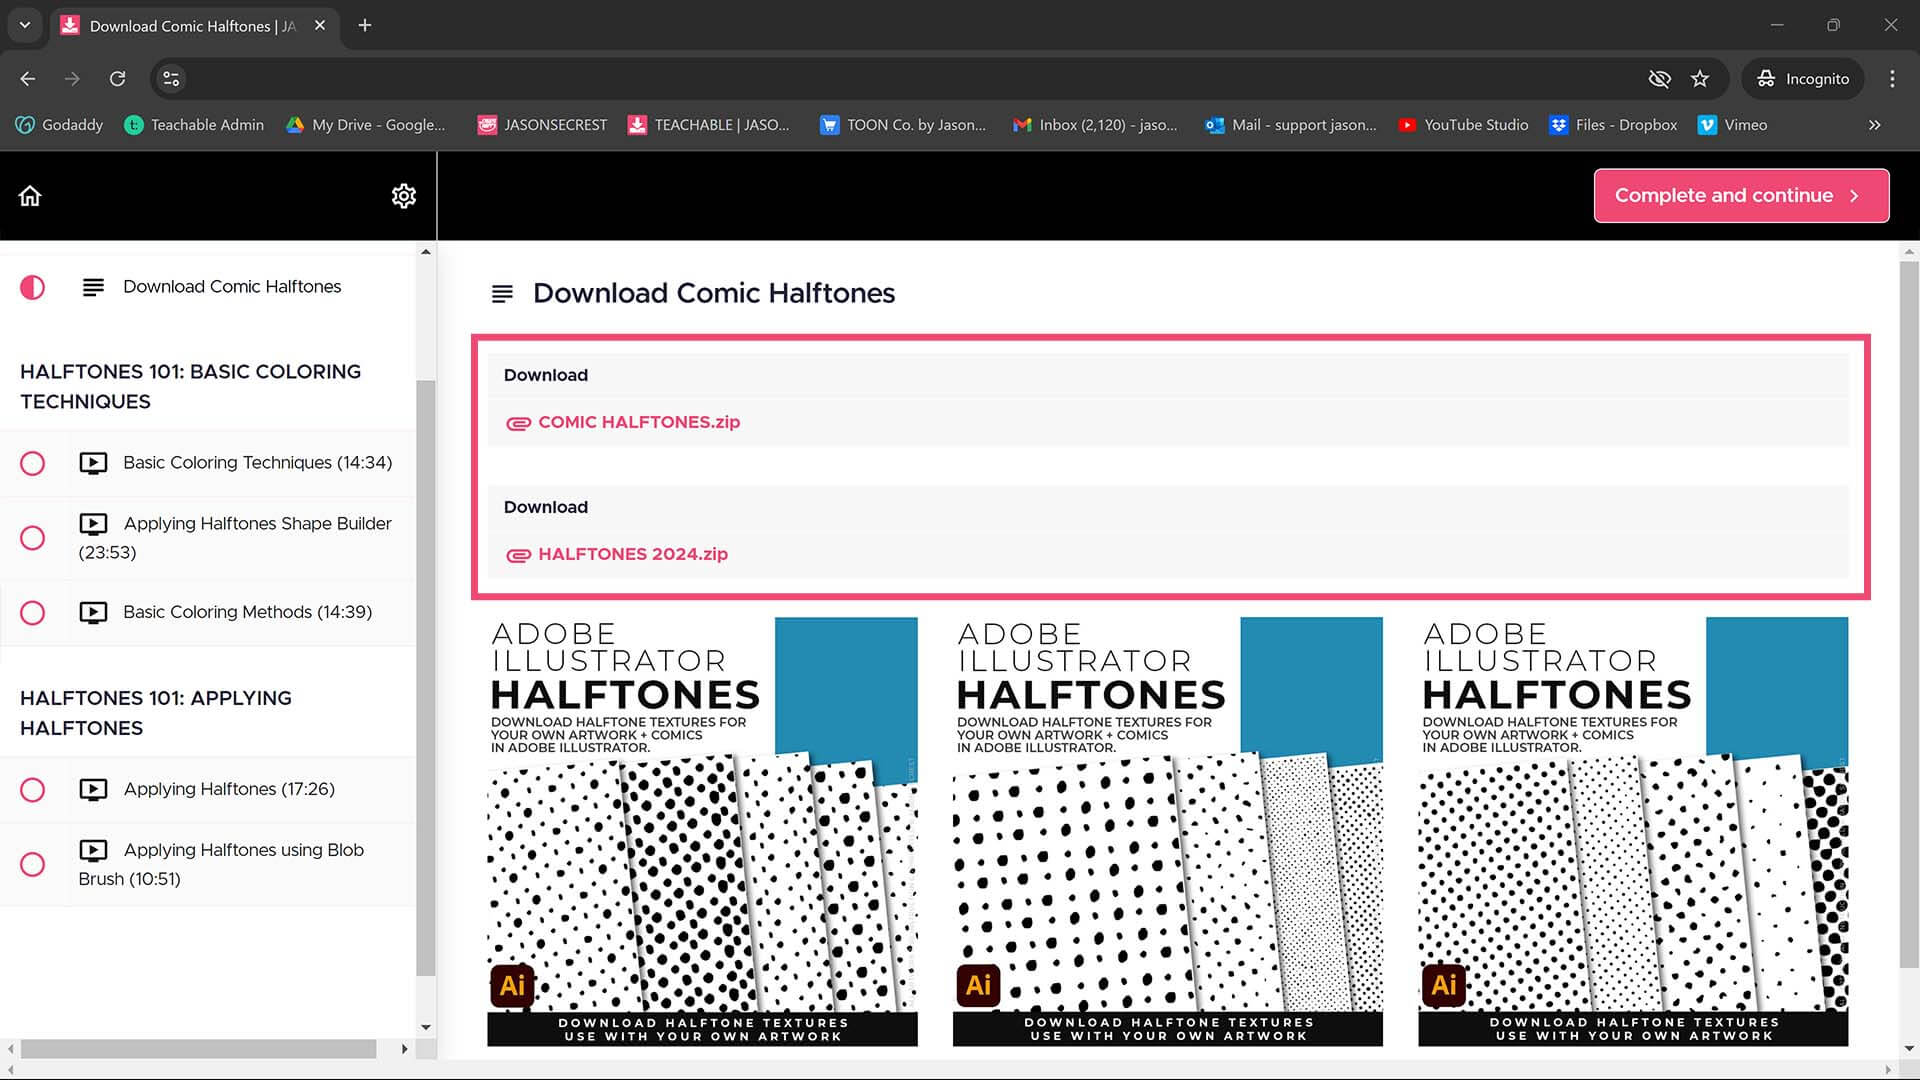
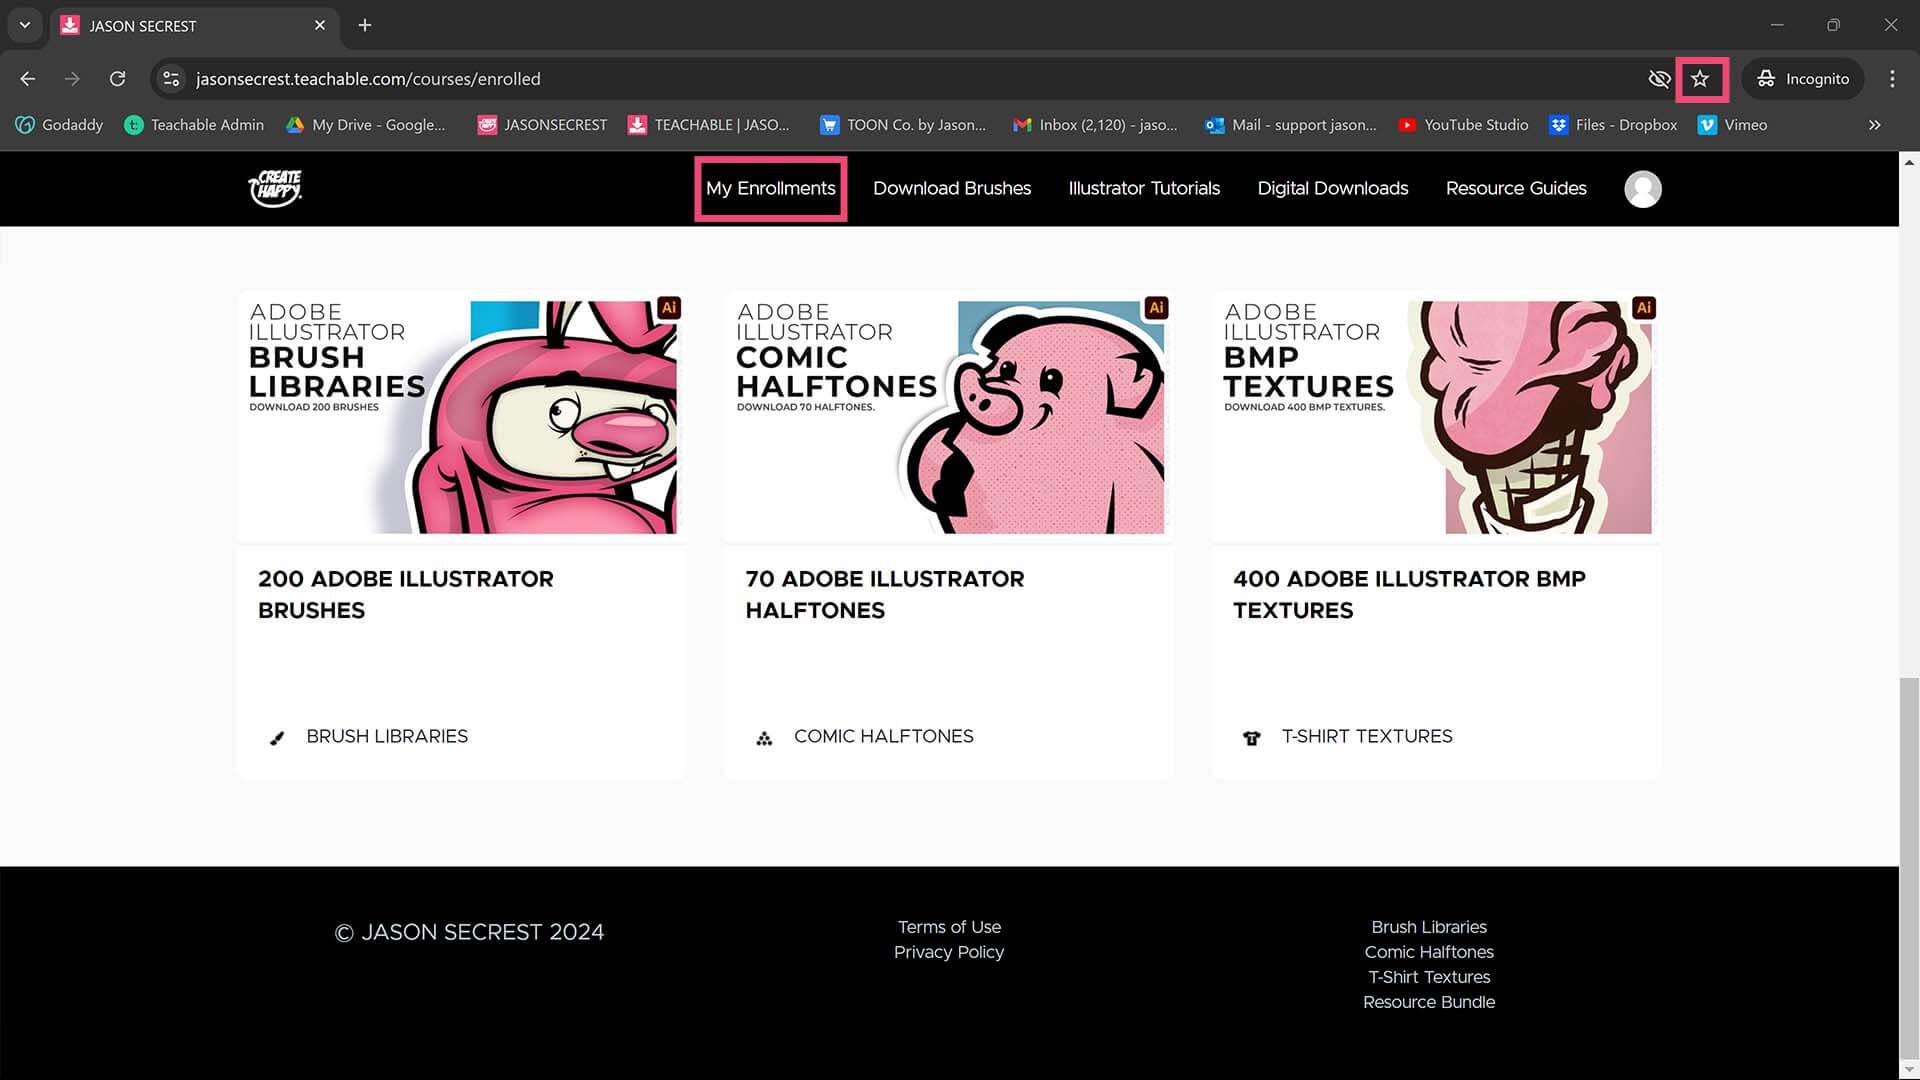
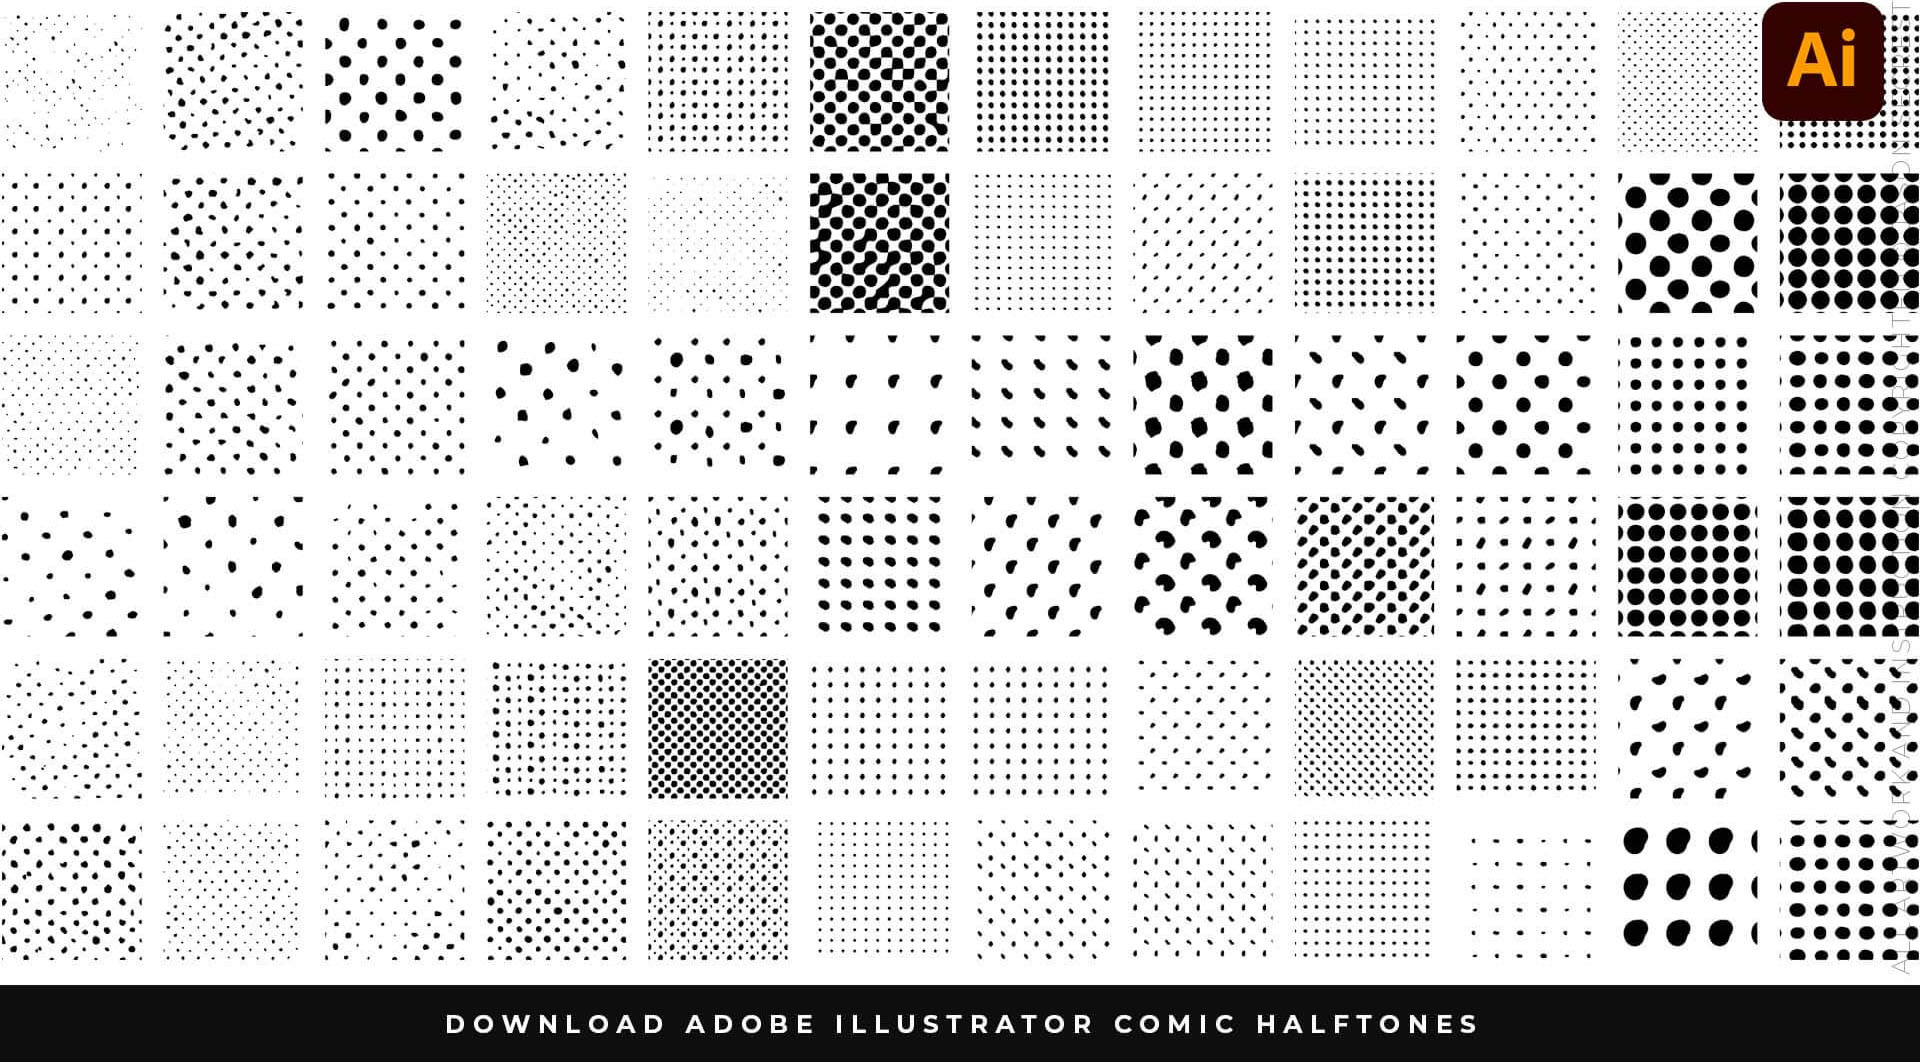
STEP #1: DOWNLOAD HALFTONES. Our Comic Halftones will come as a Zipped Folder. Once you have downloaded and extracted the Folder, the Halftones Fills are ready to be used in Adobe Illustrator. Halftones include our 70 Comic Strip Halftone Fills.
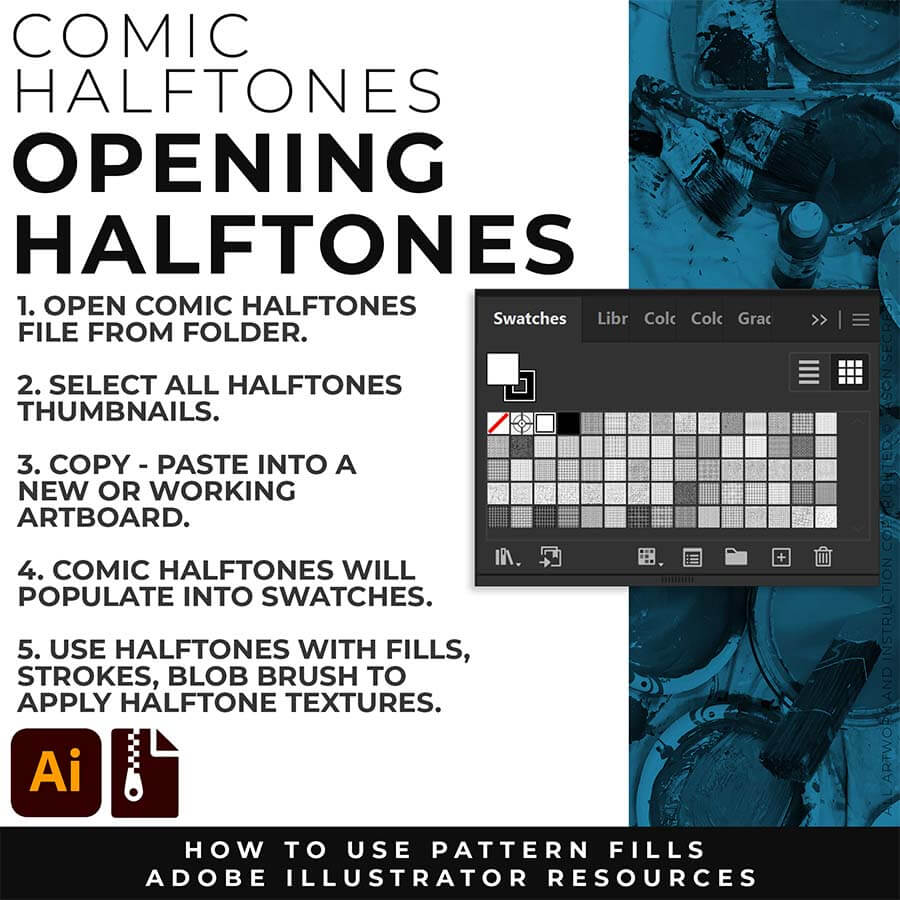
STEP #2 COPY-PASTE: The goal of this step is to get the Halftones into your design so they populate into your Swatches. All you have to do is Copy and Paste them over into the Artboard you are currently working on. The Halftones will automatically populate into the Swatches Panel for use.
STEP #3: APPLY PATTERN FILLS. The Comic Halftones will act just like any other Color Swatch. You can simply Select a Shape to apply a basic Fill. If you are new to Adobe Illustrator, I will recommend using the Live Paint Bucket to apply your Flat Color Layer first. The next step will be to duplicate the color layer to apply Halftones.
COMIC HALFTONES
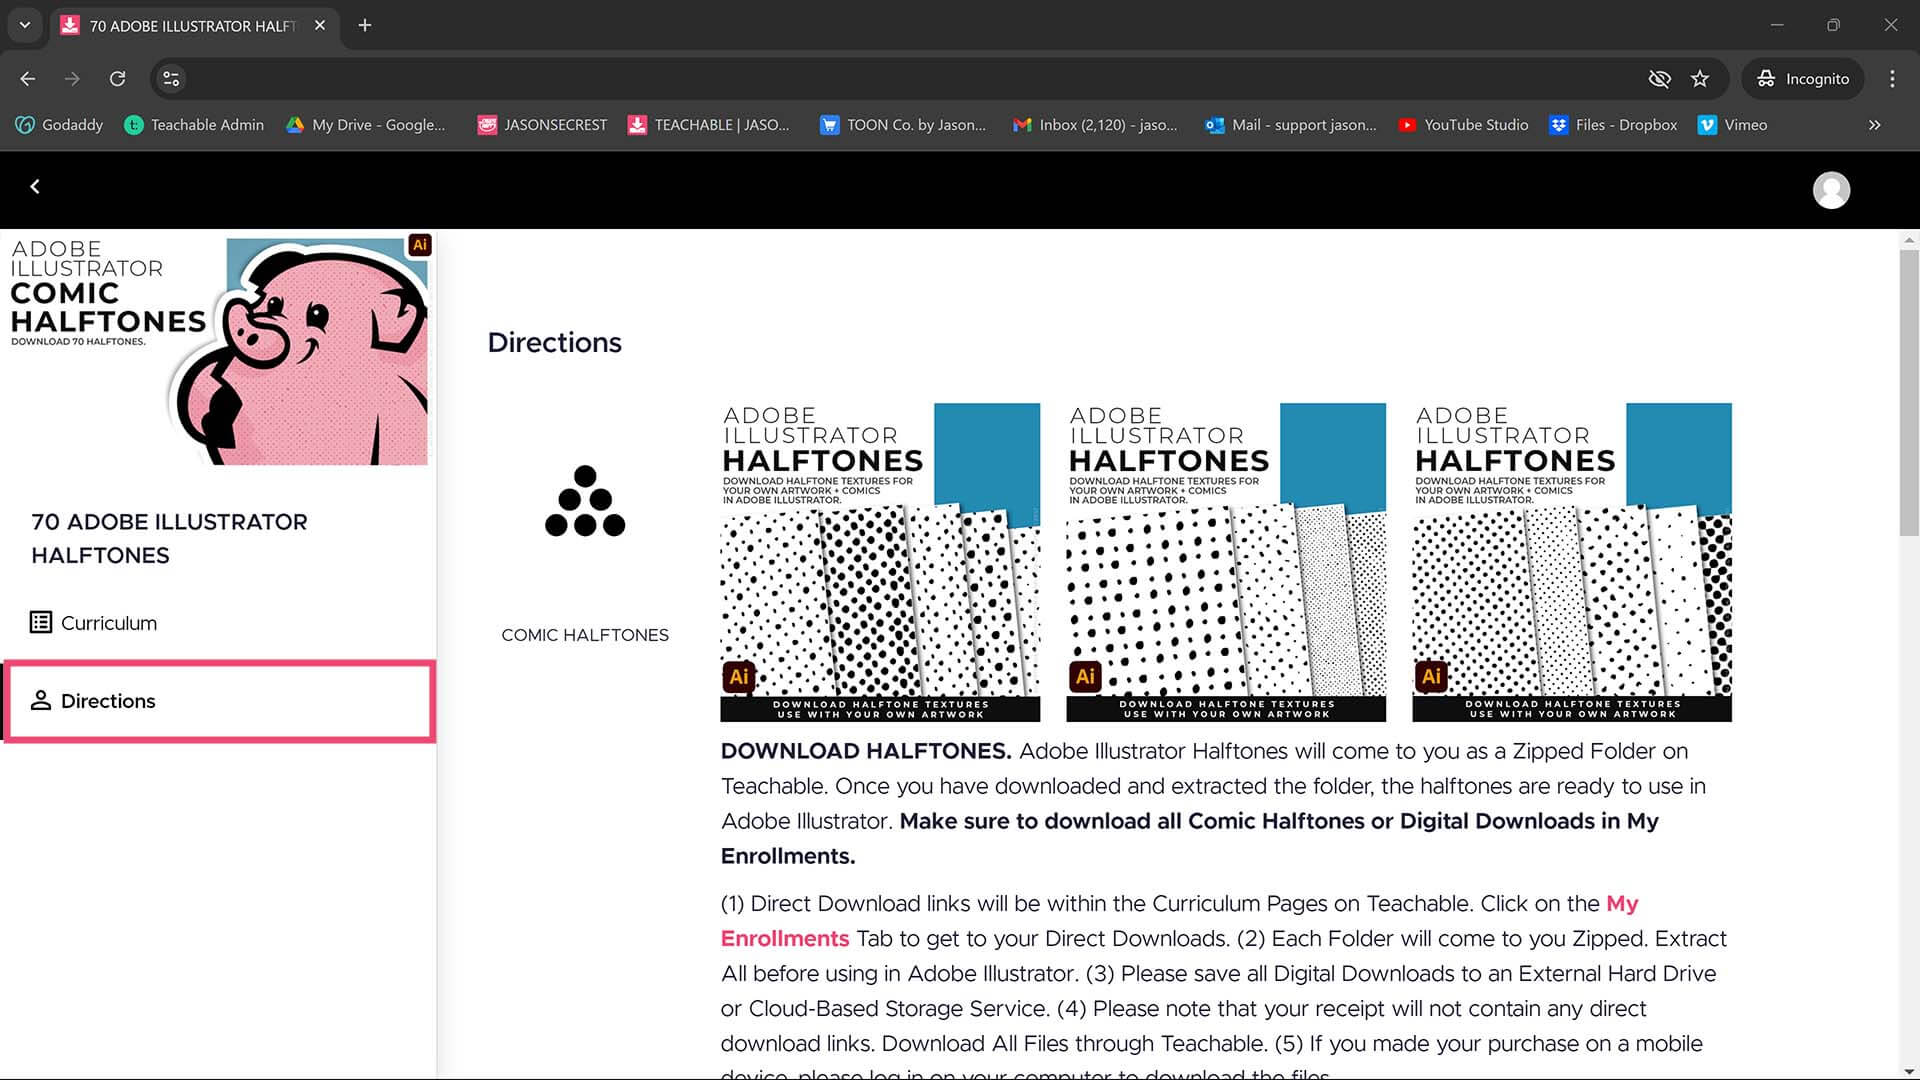
Adobe Illustrator Halftones will come to you as a Zipped Folder on Teachable. Once you have downloaded and extracted the Folder, the Halftones are ready to be used in Adobe Illustrator. Halftones include our Comic Strip Halftone and Pattern Fills.
Halftone Textures and Pattern Fills to use in Adobe Illustrator to spot textures within your artwork or comics. They are designed for easy application just like any basic color fill but they have Halftones.
APPLYING HALFTONES
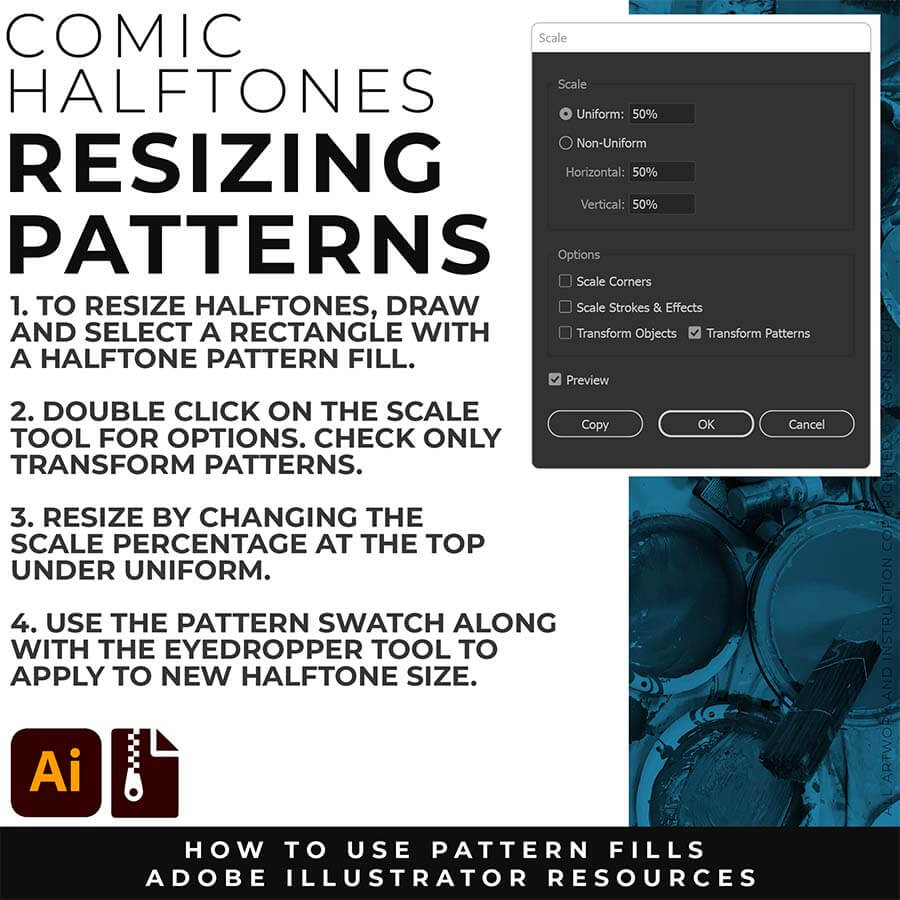
Simply Open from File -Open: Pattern Fills and Halftones are Adobe Illustrator Files. You can simply open them or Double Click from the Folder. The goal is to Open + Copy + Paste the Swatches into the Working Artboard. The Pattern Fills (Swatches) will automatically populate into your Swatches once you Copy - Paste. Resize Patterns using the Scale Tool.
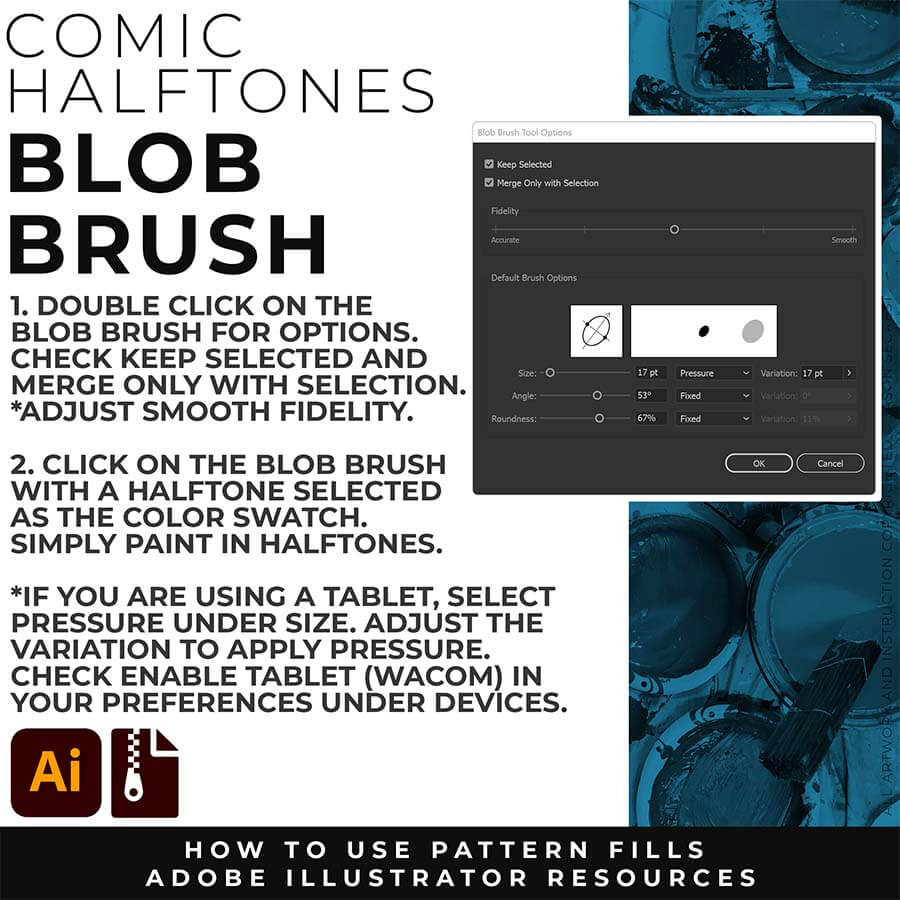
Using the Blob Brush: We will be using the Pattern Fills with the Blob Brush and your Tablet or Mouse. Double Click on the Blob Brush to Open the Options. Select Keep Selected and Merge with Selection. Both ON or Both OFF will be OK. Paint in Pattern Fills just like a coloring book with the Blob Brush. You can switch Halftones by clicking on a new Pattern Fill.
USING PATTERN FILLS: Pattern Fills are just a normal Adobe Illustrator File, so there is no wrong way to Open the File. Once you have opened the Pattern Fill file, Select the Patterns you would like to bring over to your working document. Simply Copy-Paste the Pattern Fills into your Working Artboard. The Pattern Fills will auto-populate within your Swatches Panel. Simply Click to Use.
USING WITH THE BLOB BRUSH: You can get a similar look with a few different options, but the Blob Brush is really user-friendly. Select the Blob Brush and a Pattern Fill. Adjust the size of the Brush and check the Keep Selected and Merge with Selection in the Blob Brush Options (double click). Just paint in the Halftones with the Blob Brush and the Eraser Tool for cleanup.
RESIZING HALFTONES: Draw out a rectangle and select a Halftone Pattern Fill from the Swatches Panel. With the Shape Selected, double click on the Scale Tool. Check Transform Patterns Only and adjust the Scale up or down under Uniform %.
COLORING HALFTONES: Double Click on a Pattern Swatch. Use the Magic Wand to select all of the Halftones in the Pattern Options. Change the Fill Color to a Shade or Tint. Click Save a Copy. You can save multiple colors. Click Cancel to Exit.
USING HALFTONES WITH BASIC FILLS: Halftones Textures will behave the same way as a normal Color Swatch. So the basic goal is to create a Shape so we can Fill it with a Swatch (Halftone). We will go through a super fun and fast coloring method using a simple Shape and Shape Builder to Fill using our Halftone Pattern Fills.
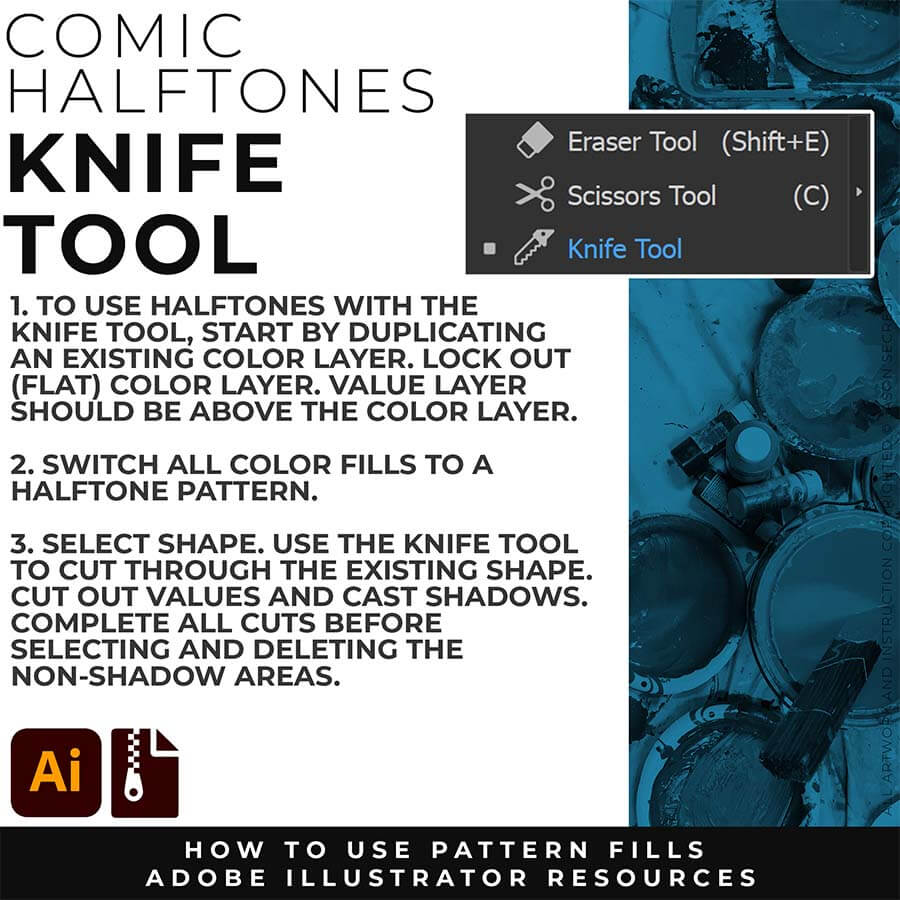
USING WITH THE KNIFE TOOL: In the video before we used the Blob Brush to apply Halftones Textures. What we will be doing is cutting the Basic Shape we created with the Knife Tool to create Values with our Halftones. Troubleshooting: 1. Select the Shape before Cutting. 2. Make sure you cut all the way through the shape (go long with cuts).