TUTORIALS: Our Adobe Illustrator Tutorials will focus on the core areas of your workflow: building, editing, and coloring. LEARNING TARGET (1): Understand the Building Tools and Options. LEARNING TARGET (2): Understand Line Variation along with Live and Expanded Editing Tools. LEARNING TARGET (3): Understand Color, Values, and Gradients using Advanced Coloring Techniques.
BEGINNER: In our Beginner Guides and Tutorials, you will see me give Prompts and Learning Targets. These directions will simplify the process of learning Adobe Illustrator. LEARNING TARGET: Understand the Primary Building Tools and Options in Adobe Illustrator.
ADVANCED: As I am creating my artwork, pay attention to the Sequence of Events, Resources, and Tool Options as it relates to building a "Workflow." LEARNING TARGET: Apply Building, Variation, Editing, and Advanced Color Techniques to your own Artwork.
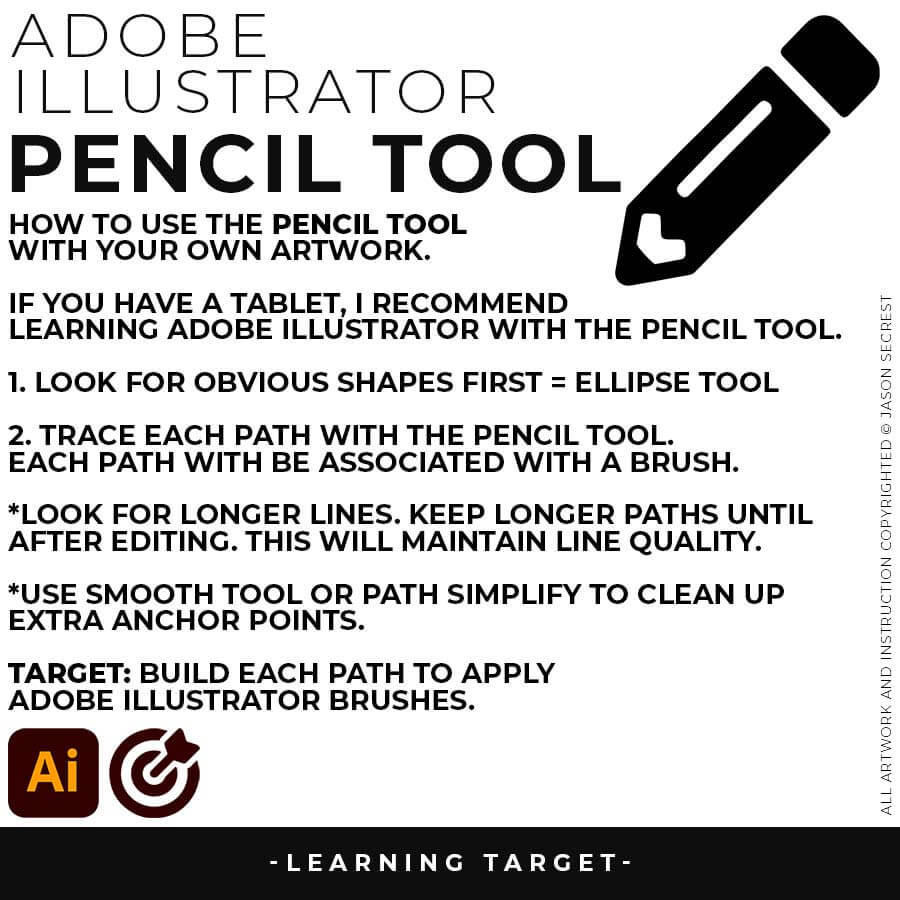
PRIMARY BUILDING: I will use Shapes, Pencil, and Pen Tools in Adobe Illustrator as my Primary Building Tools. Notice I have simplified my drawings and sketches to make this step feel like tracing. LEARNING TARGET: Understand the Building Tools in Adobe Illustrator. BEGINNER GUIDE / BEGINNER GUIDE 1 / BEGINNER GUIDE 2
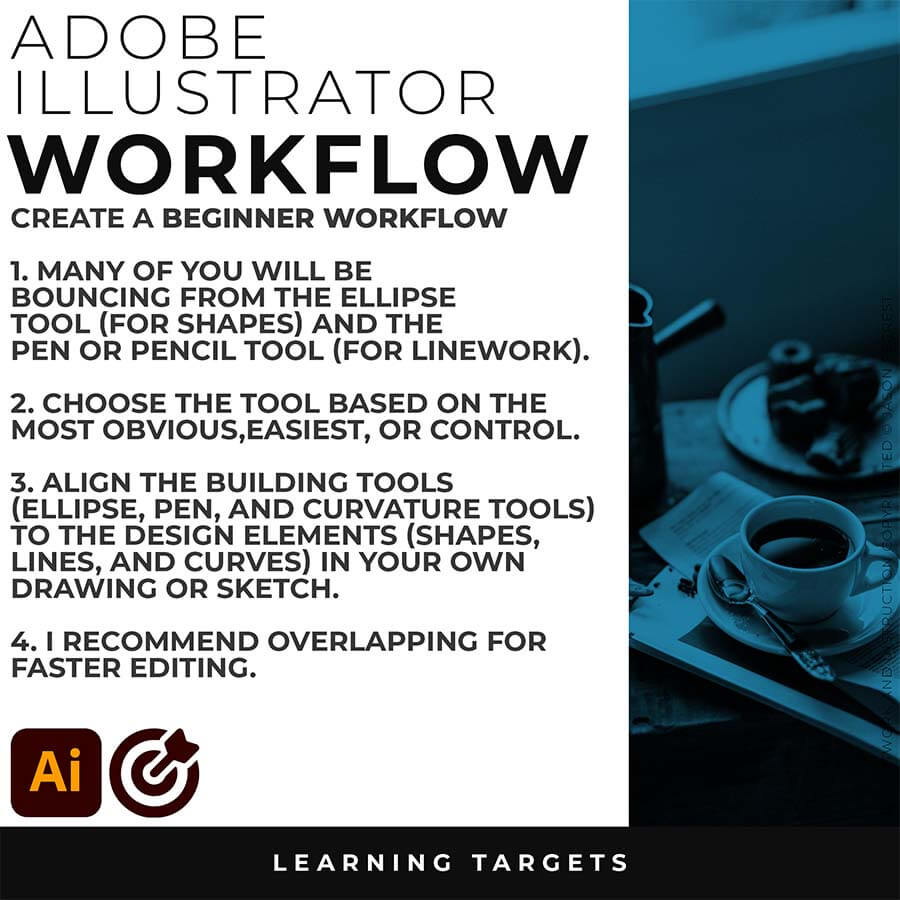
ADVANCED: As I create my artwork, pay attention to how I align Building Tools to the Design Elements within my drawing or sketch. LEARNING TARGET: For your own artwork, use Shapes, Pen, or Pencil tools to lay down your initial paths and objects. PRIMARY BUILDING TUTORIALS
PENCIL TOOL: Many of you are looking to use your Tablet with Adobe Illustrator. I am going to recommend breaking down your current tablet workflow into multiple steps. I do see a lot of mistakes when people try to combine too many steps all at once with their new tablets.
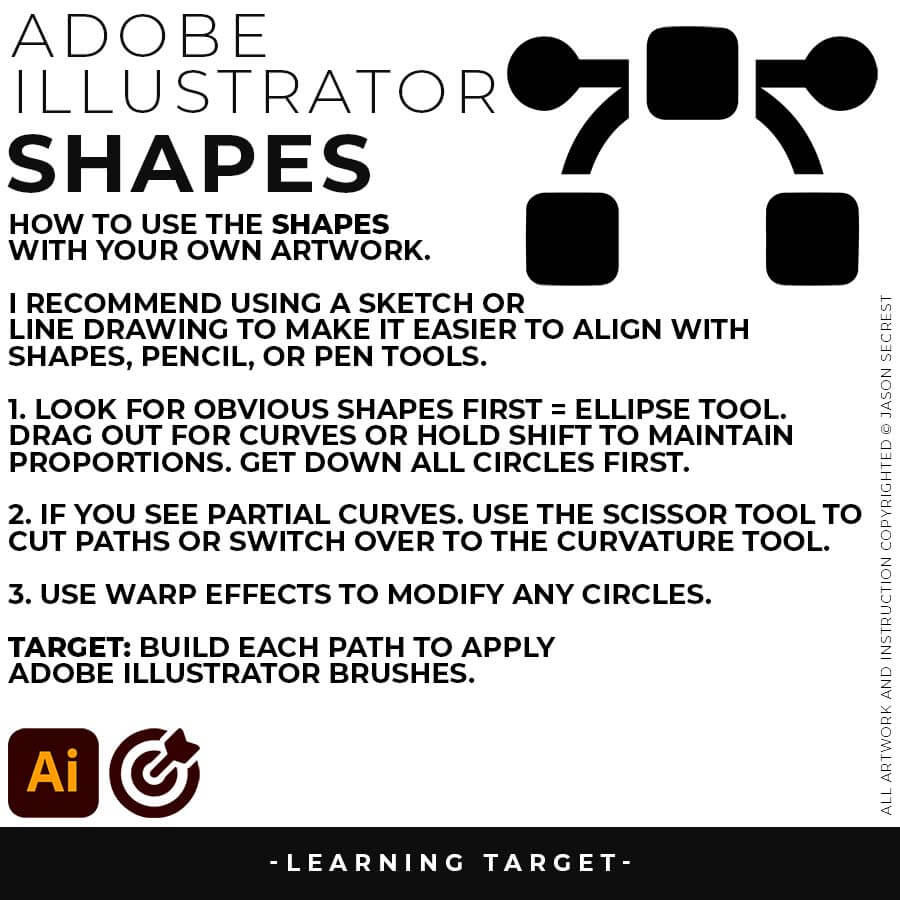
ELLIPSE TOOL: A good place to start if you are new to Adobe Illustrator is our Beginner Guide (Shapes). We will be going through Building with Shapes, Align Panel, Pathfinder, and Basic Color Fills. There are Beginner Guides for the Pen Tool and Tablet if you are new to the website or Adobe Illustrator.
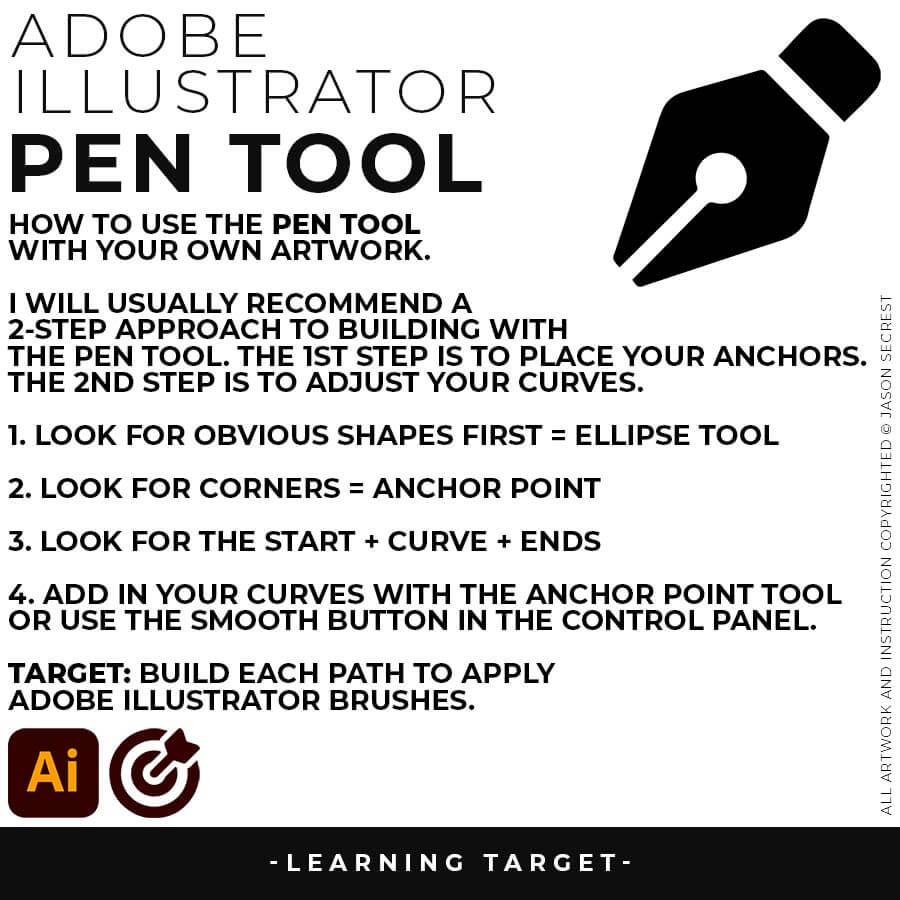
PEN TOOL: If you are frustrated with the Pen Tool, a simple tip is to break down the process into 2 Steps. The first step is to just apply Anchor Points to the start-curve-end of a line or path. The second step is to adjust the Curves with the Anchor Point Tool or Smooth Curve Button in the Control Panel.
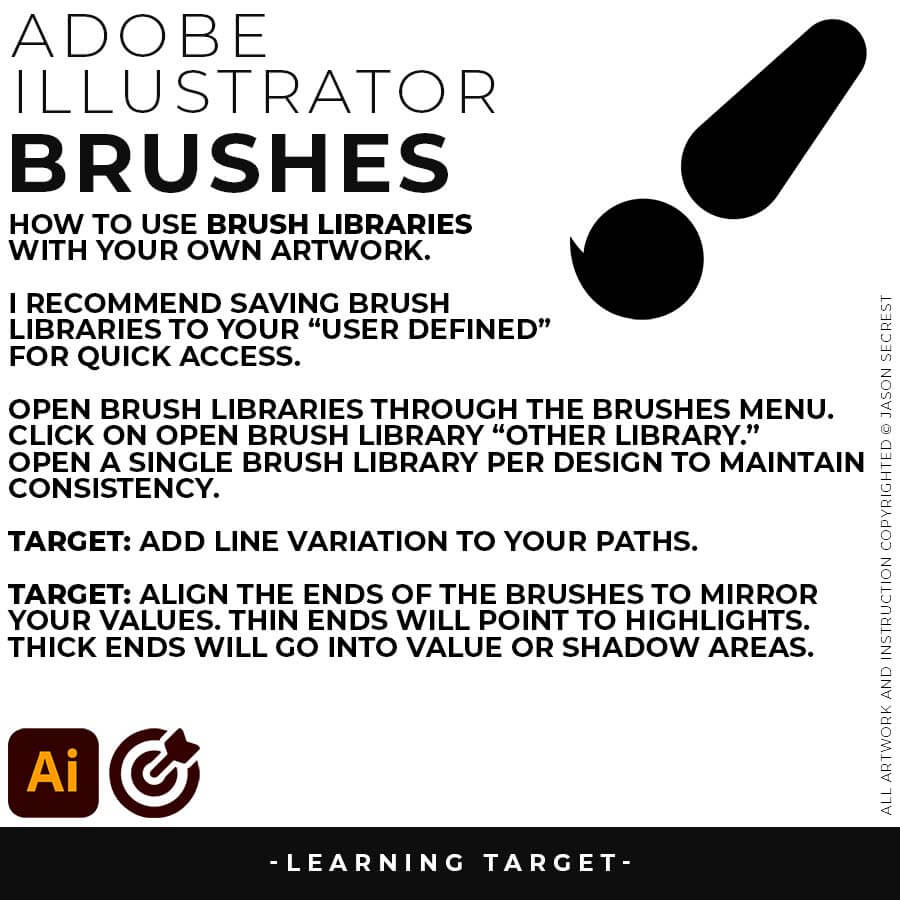
VARIATION + EDITING: I will apply Brush Libraries for my Line Variation. Notice I am using Expanded Editing Tools to clean up my Paths before moving on to the Coloring Step. LEARNING TARGET: Understand and Apply Live and Expanded Editing Tools in Adobe Illustrator. BEGINNER GUIDE 3 / BEGINNER GUIDE 6 / BEGINNER GUIDE 8
ADVANCED: As I create my artwork, pay attention to duplicating layers as I move from Expanded Editing to Advanced Coloring Techniques. LEARNING TARGET: For your own artwork, use Brush Libraries and Expanded Editing Tools to clean up your finalized linework and value layer. LINE VARIATION AND EDITING TUTORIALS
LIVE EDITING: While you are building in Adobe Illustrator, you can use the “Live” Editing Tools to Cut and Edit Paths. Some of the basic tools will be the Scissor Tool, Path Eraser, or Shape Builder. I do recommend going long with your initial Paths.
VARIATION: Many of you will be applying our Brush Libraries. To Open Brushes, open the Brushes Panel. Click on Open Brush Library. Scroll down to “Other Library.” Select one of the Brush Libraries to apply. If you saved Brushes, you can Open from “User Defined.”
EXPANDED EDITING: After completing the Line Variation, I will recommend keeping the “Live” Layer from future Editing. Duplicate and Lock Out. We will be Expanding this New Layer to use with Shape Builder for Fast Editing. Hold down Alt/Option while Editing.
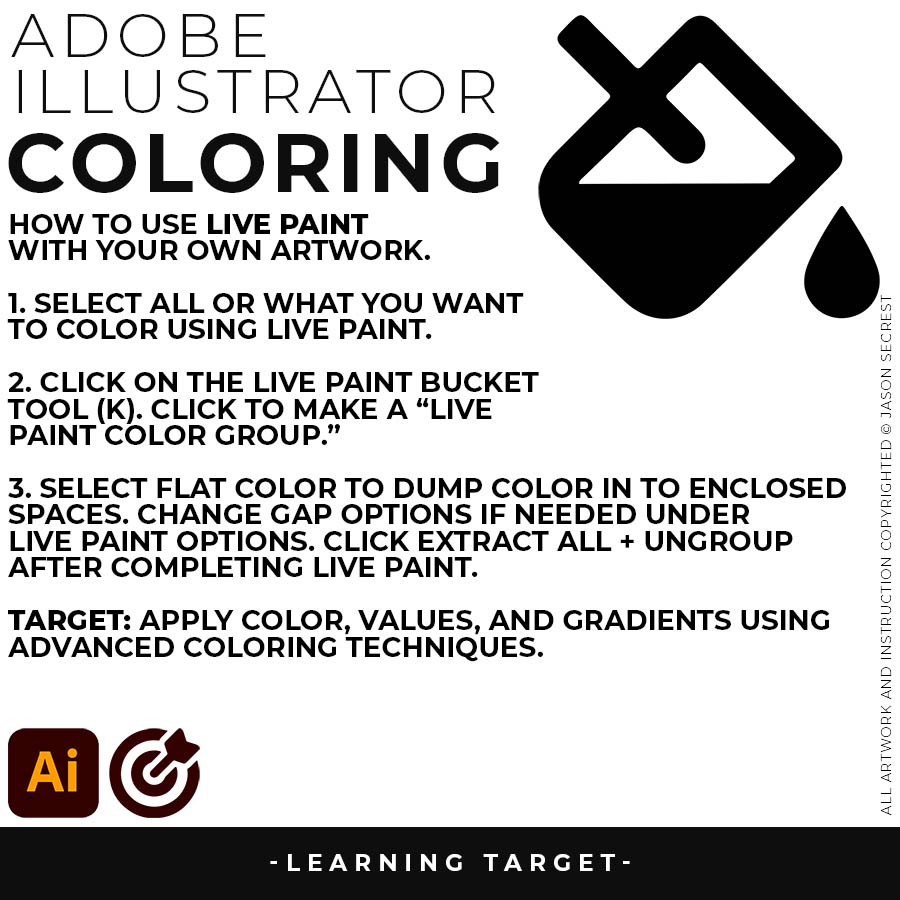
BASIC COLORING: I will use Live Paint to create my Basic Fills or Flat Color Layer. Notice the steps to select and create a Live Paint Group. LEARNING TARGET: Understand Basic to Advanced Coloring Techniques in Adobe Illustrator. BEGINNER GUIDE 4 / BEGINNER GUIDE 7 / BEGINNER GUIDE 10
ADVANCED: As I color my artwork, pay attention to the ordering of flat color, value, and gradient layers. LEARNING TARGET: For your own artwork, use the Live Paint Bucket, Knife Tool, and Gradients to apply Advanced Coloring Techniques. ADVANCED COLORING TUTORIALS
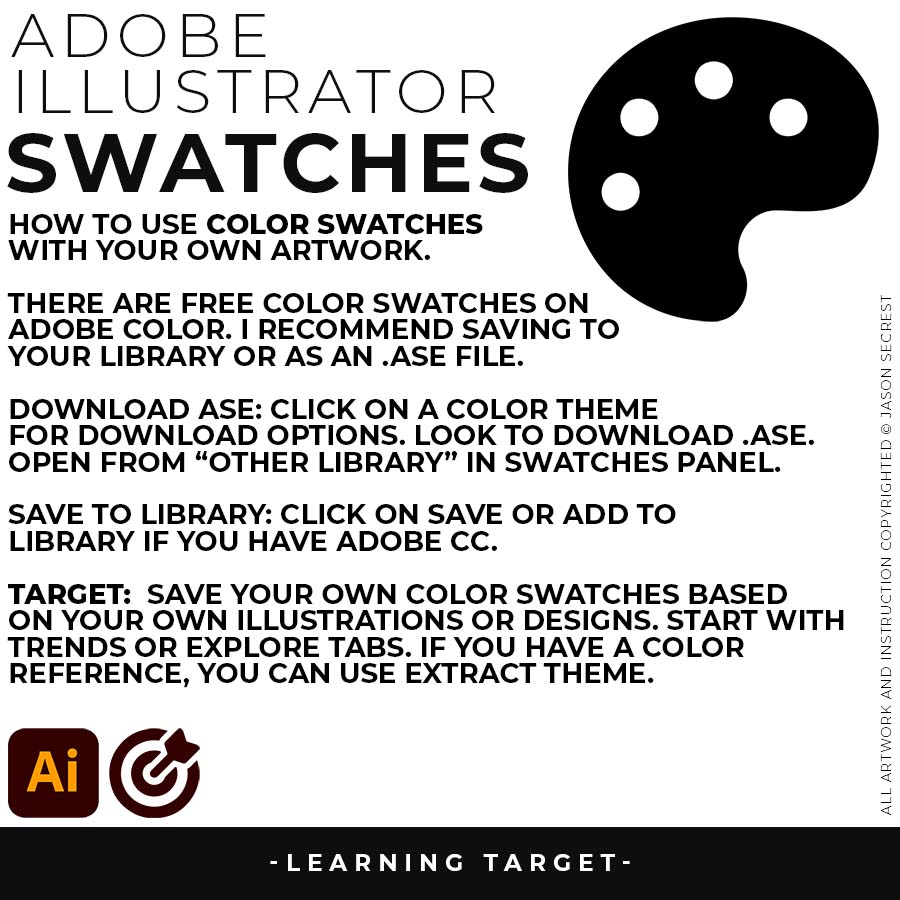
COLOR SWATCHES: Use Color Swatches from your Library or save them from Adobe Color as an .ASE File. Open Swatch Library from the “Other Library” Option. Most Color Themes will use Hues as the Base Color. We will be using Live Paint to create our Basic Fills or Flat Color Layer.
LIVE PAINT: Coloring will be extremely easy using Live Paint Bucket. The goal of Live Paint is to create Shapes that we can color using Fills. Once you have completed the Live Paint Group, it is important to Expand and Upgroup. We will leverage these shapes for our Values and Gradients.
KNIFE TOOL: After using Live Paint, Expand and Ungroup. Use a Duplicated Flat Color Layer for your Value Layers. The Knife Tool will cut Shapes. I recommend cutting out all of the shapes first before deleting them. You can use this technique for Highlights, Shadows, or Cast Shadows.