RESOURCE GUIDES: As I create my artwork, pay attention to the resources being used throughout the Workflows, Tutorials, and YouTube Playlists. LEARNING TARGET: Bookmark websites or sign in to your Adobe Creative Cloud Account for Assets, Templates, Color Swatches, and Font Families.
BEGINNER: In our Beginner Guides and Tutorials, you will see me give Prompts and Learning Targets. These directions will simplify the process of learning Adobe Illustrator. LEARNING TARGET: Understand the Primary Building Tools and Options in Adobe Illustrator.
ADVANCED: As I am creating my artwork, pay attention to the Sequence of Events, Resources, and Tool Options as it relates to building a "Workflow." LEARNING TARGET: Apply Building, Variation, Editing, and Advanced Color Techniques to your own Artwork.
TEMPLATES: I recommend (Adobe Express / Canva) for Templates and (Adobe Photoshop / Adobe Illustrator) for File Presets. Bookmark websites or Sign in to your Adobe Creative Account for Assets, Templates, Color Swatches, and Font Families.
BEGINNER WORKFLOW: As I create my artwork, pay attention to the tool options and sequence of events as it relates to building a "Workflow." BEGINNER GUIDE / BEGINNER GUIDE 1 / BEGINNER GUIDE 2
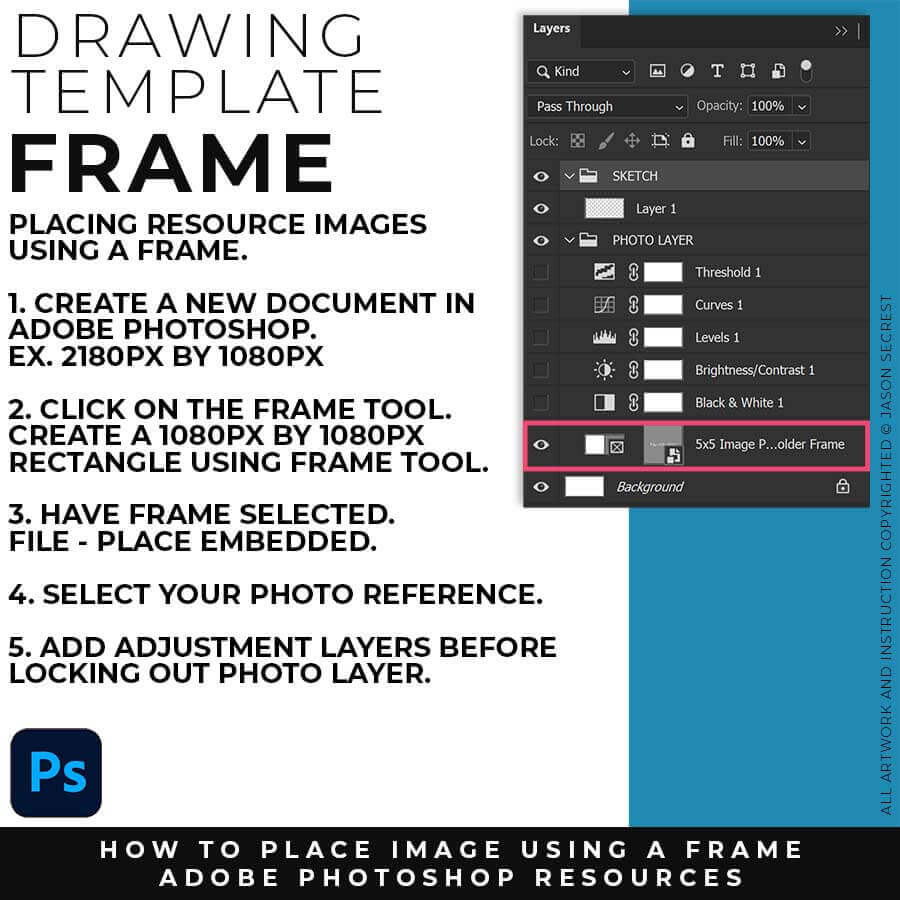
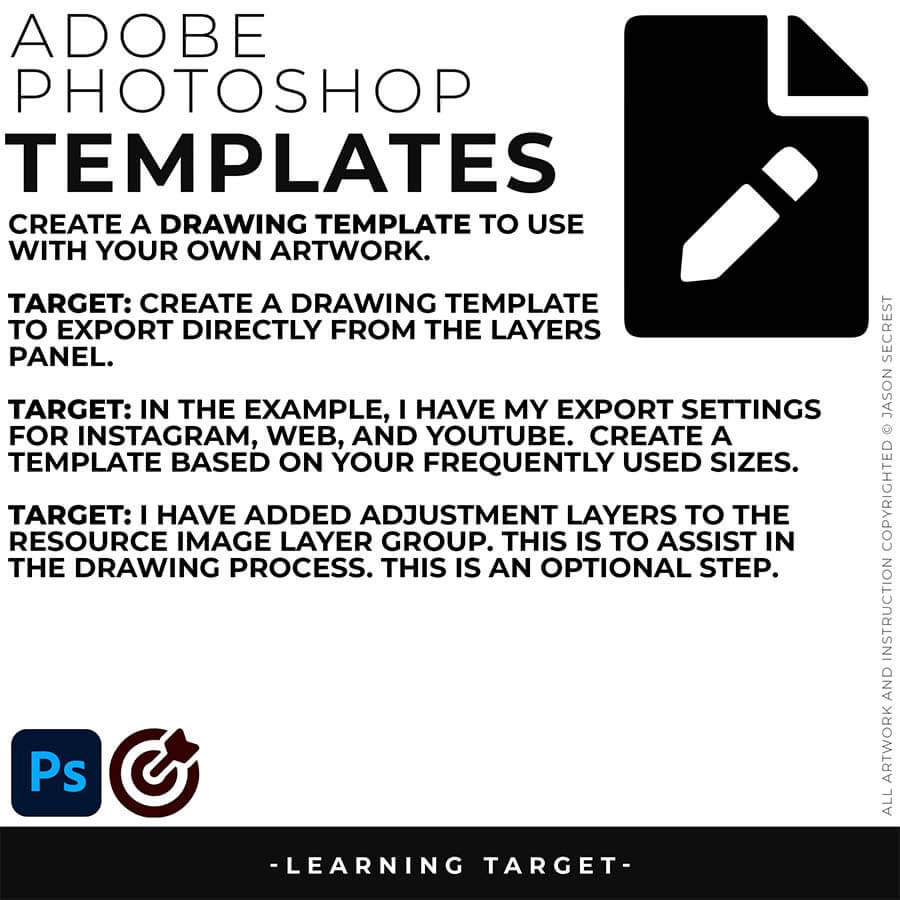
DRAWING TEMPLATE: File - New. Create a Adobe Photoshop Document 2160px by 1080px. You can adjust the size to match your Export Size (1080px by 1080px). Select the Frame Tool. Create a Frame half of the size of the Document. File - Place Embedded to insert Photo.
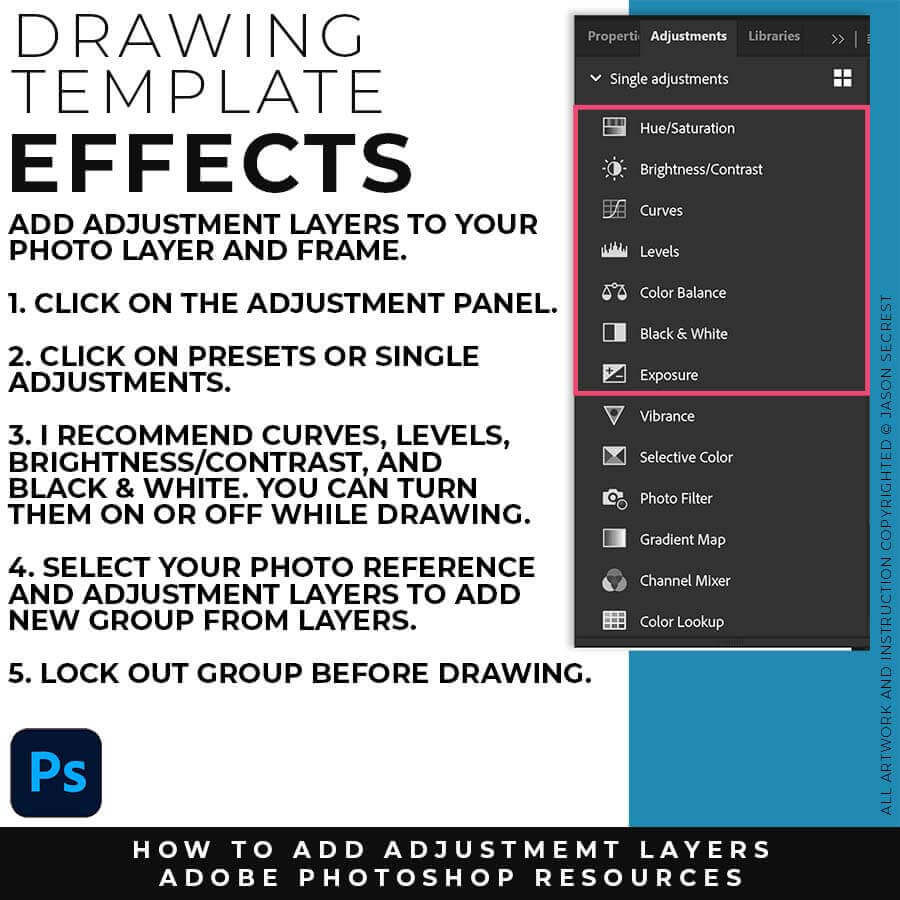
ADJUSTMENT LAYERS: Once you have placed in your Photo Reference, you can add Adjustment Layers. This will assist you in looking at the Photo Reference. This is not required. I recommend adding Brightness/Contrast, Levels, Curves, and Black & White.
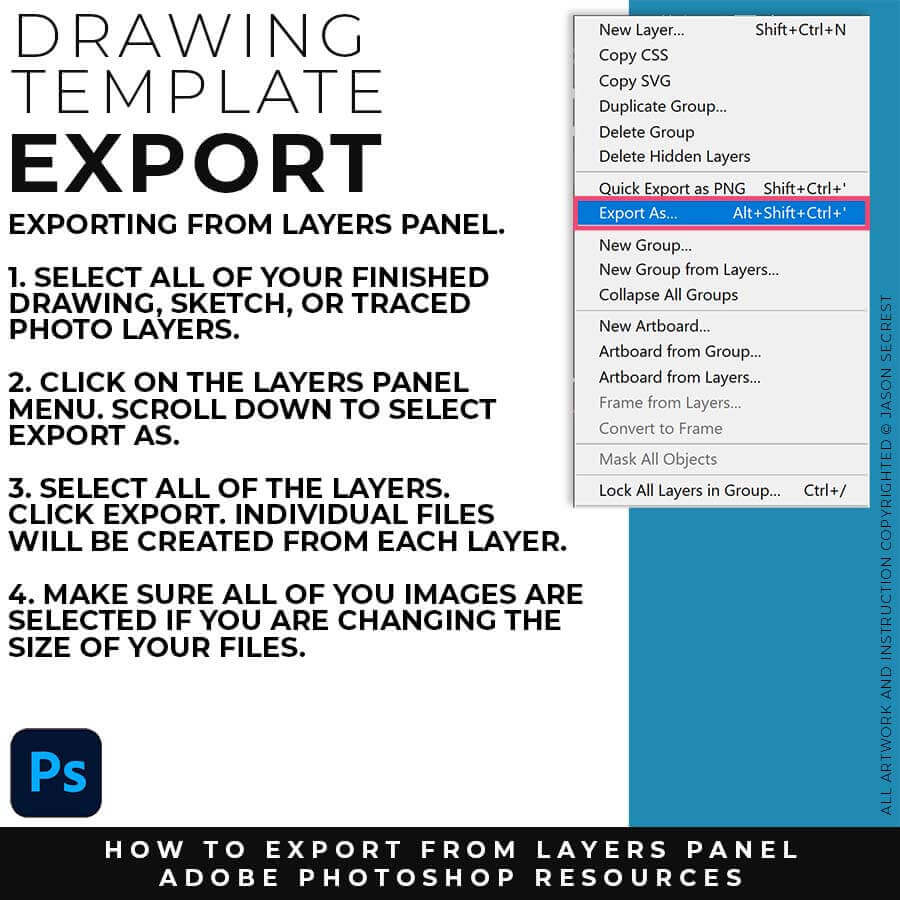
EXPORTING FROM LAYERS: When you are all done with your Sketches, Drawings, or Traced Stock Photos, I recommend Exporting from the Layers Panel. Select All of your Drawing Layers. Click on Export As from the Layers Panel Menu. This will Export All of your Drawing Layers.
STOCK PHOTOS: I recommend using (Unsplash / Pixabay / Pexels) for your Sketch, Drawing, and Color References. Bookmark websites or Sign in to your Adobe Creative Account for Assets, Templates, Color Swatches, and Font Families.
BEGINNER WORKFLOW: As I create my artwork, pay attention to the tool options and sequence of events as it relates to building a "Workflow." BEGINNER GUIDE 3 / BEGINNER GUIDE 4 / BEGINNER GUIDE 5
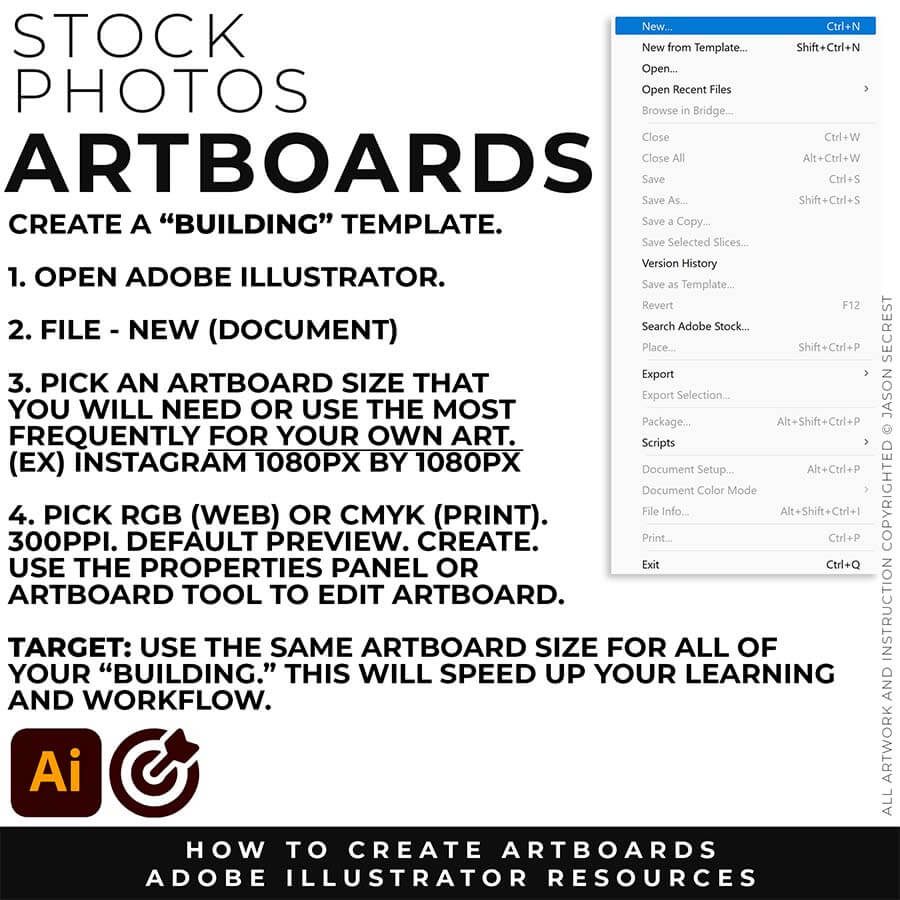
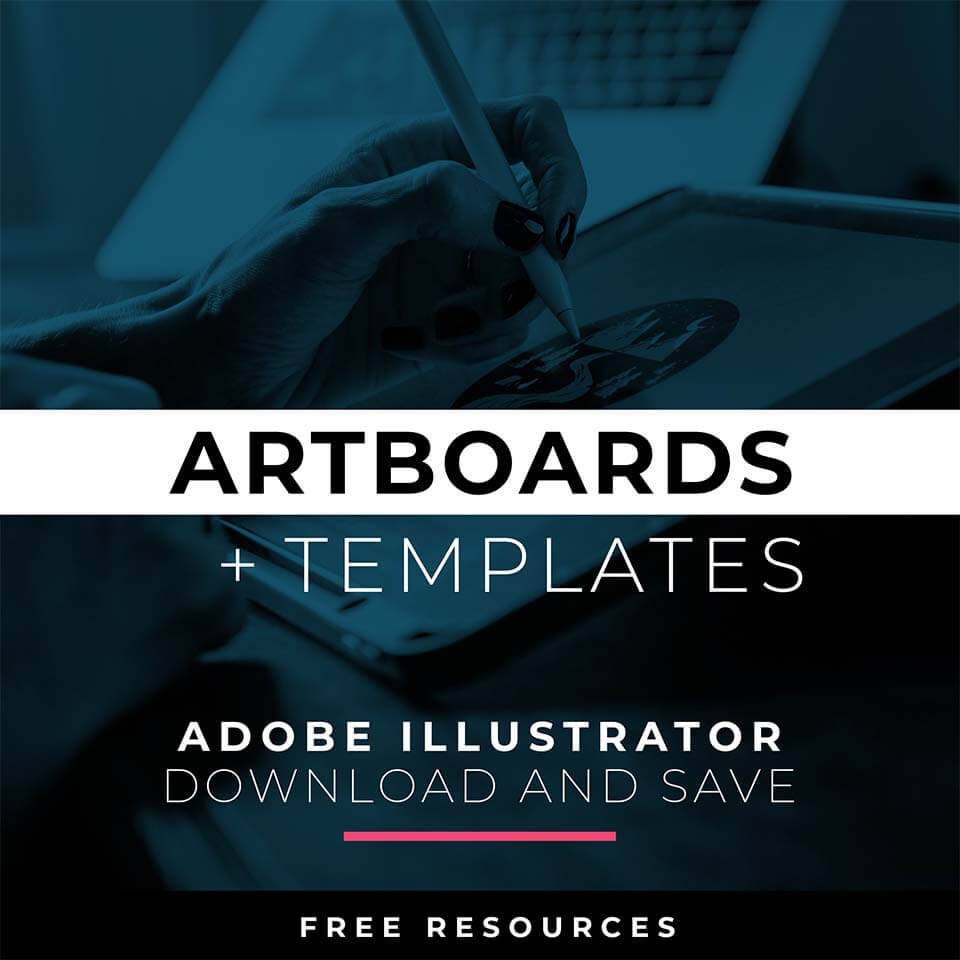
ARTBOARDS: File-New. Use a size or ratio that you can use for all of your own artwork. I recommend a 1080px by 1080px artboard for websites and social postings. Many of you will be looking to export your own artwork to Instagram. You can modify the size of the artwork or artboard with the Artboard Tool or Properties Panel.
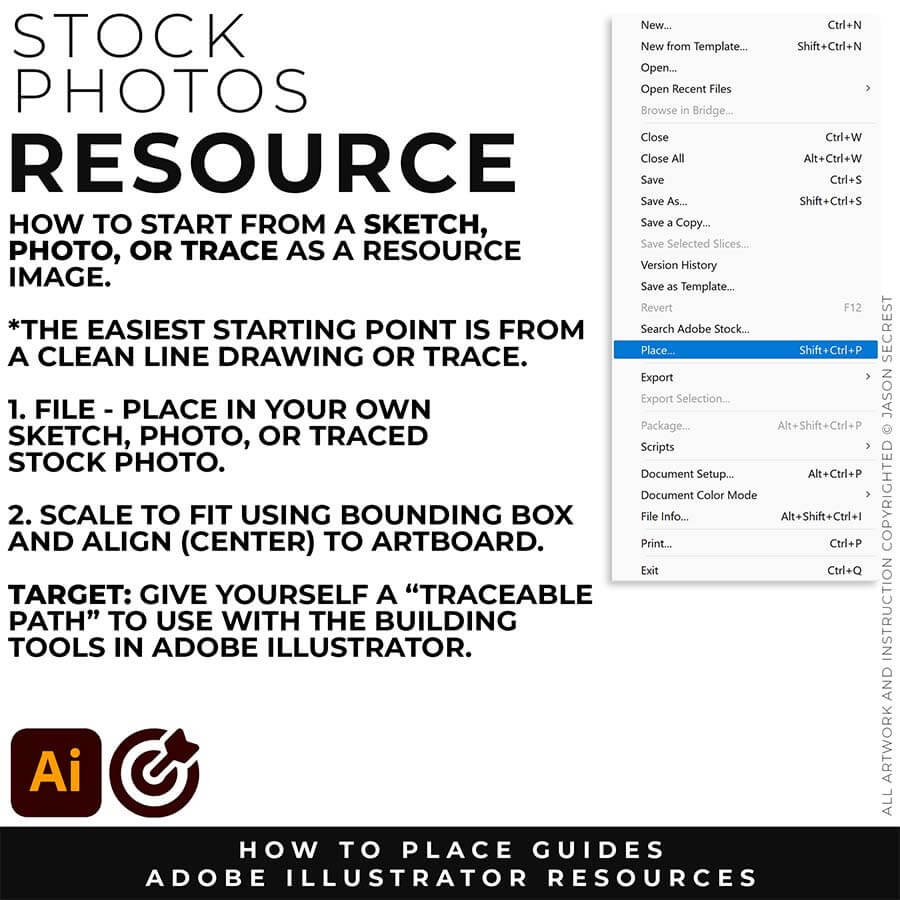
SKETCH OR TRACED PHOTO: I recommend starting from a Clean Line Drawing or a simple Traced Stock Photo for your artwork and designs. Create a "Traceable Path" to align with the Building Tools in Adobe Illustrator. You can speed up your workflow by using a Quick Sketch when you become more advanced.
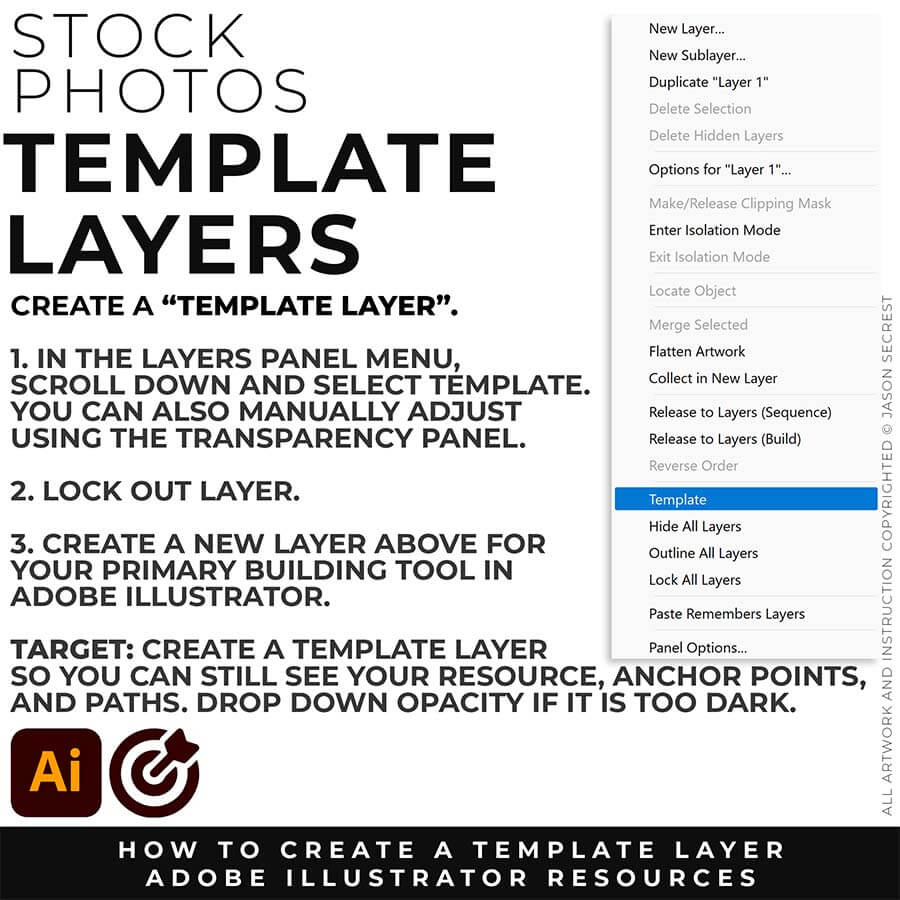
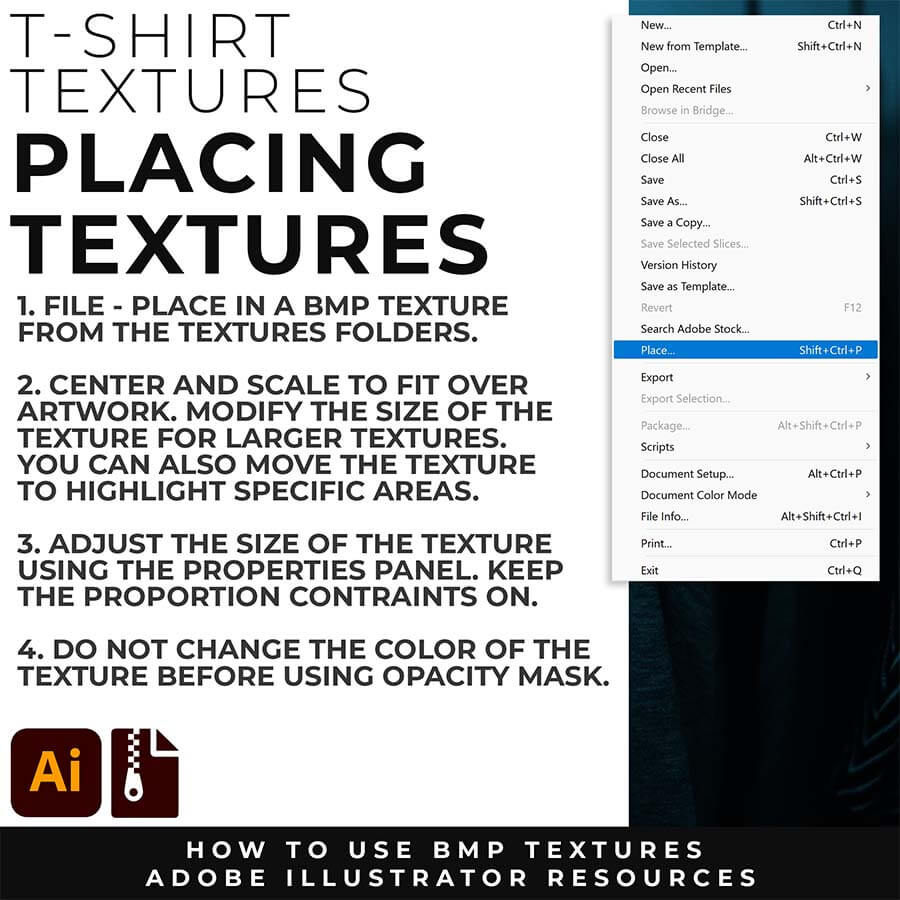
TEMPLATES: File -Place in your own Drawing, Sketch, or Traced Stock Photo. Select your Resource Layer. (It will usually be your only layer) In your Layers Panel, select the Menu in the Upper-Right Hand Corner. Drop down to Template. This will create a 50% Opacity and Lockout the Layer. Create a New Layer above to start "Building".
COLOR SWATCHES: I recommend using (Adobe Color / Canva Colors) for your Color Themes. Bookmark websites or Sign in to your Adobe Creative Account for Assets, Templates, Color Swatches, and Font Families.
BEGINNER WORKFLOW: As I create my artwork, pay attention to the tool options and sequence of events as it relates to building a "Workflow." BEGINNER GUIDE 6 / BEGINNER GUIDE 7 / BEGINNER GUIDE 8
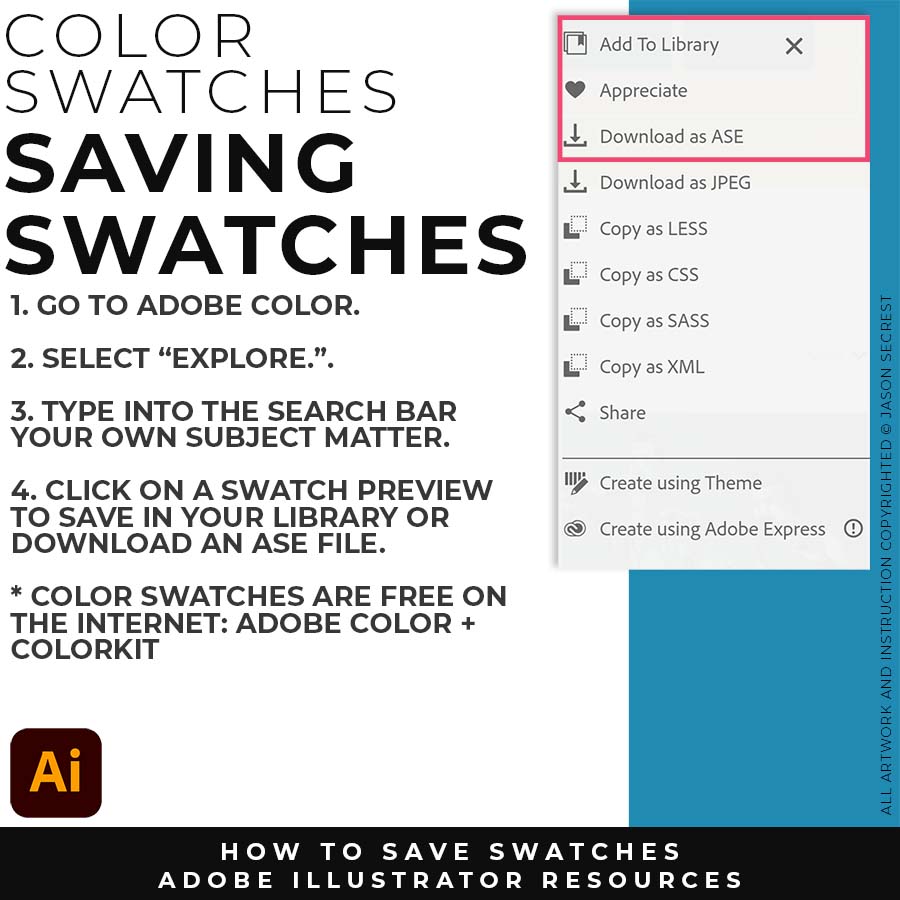
SAVING SWATCHES: For those of you using Adobe Color, I recommend starting from the Explore Tab. If you have CC, you can Add to your Library. If you have an older version, download as an ASE File.
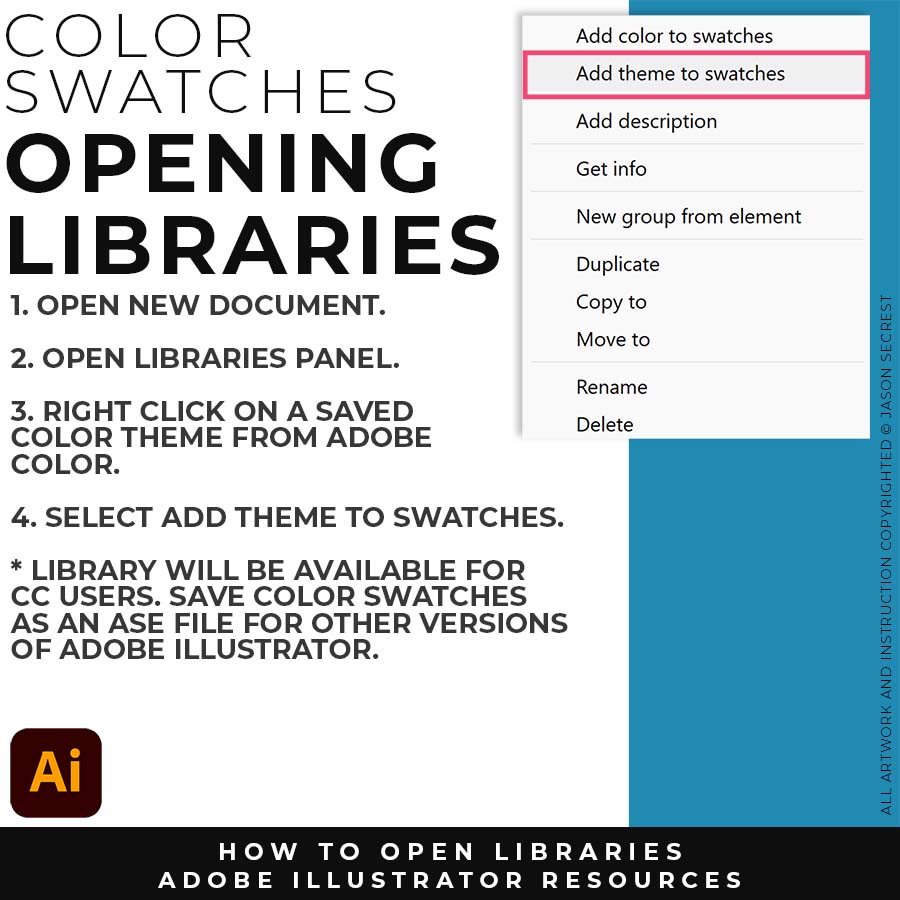
OPENING LIBRARIES: Open your Library Panel. Select the Color Theme you would like to use. Right Click on the Color Theme to Add Theme to your Swatches Panel.
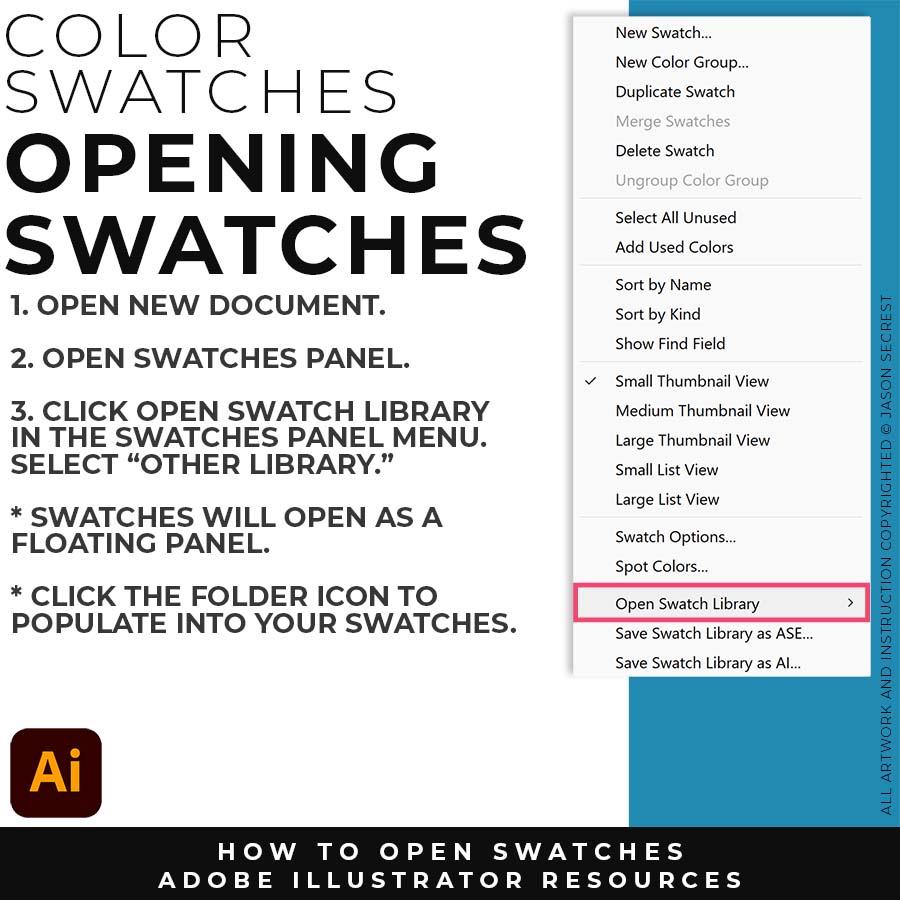
OPENING SWATCHES: Open your Swatches Panel. In the Swatches Menu, drop down to Open Swatch Library. Select "Other Library" to open an ASE File saved on your computer.
FONT FAMILIES: I recommend using (Adobe Fonts / Google Fonts / Font Squirrel / Dafont) for Fonts. Bookmark websites or Sign in to your Adobe Creative Account for Assets, Templates, Color Swatches, and Font Families.
BEGINNER WORKFLOW: As I create my artwork, pay attention to the tool options and sequence of events as it relates to building a "Workflow." BEGINNER GUIDE 9 / BEGINNER GUIDE 10 / BEGINNER GUIDE 11

FINDING FONTS: For those of you using Adobe Fonts, I recommend starting from the Browse All, Trending, and Recommendations. I do recommend testing out the new Variable Fonts.
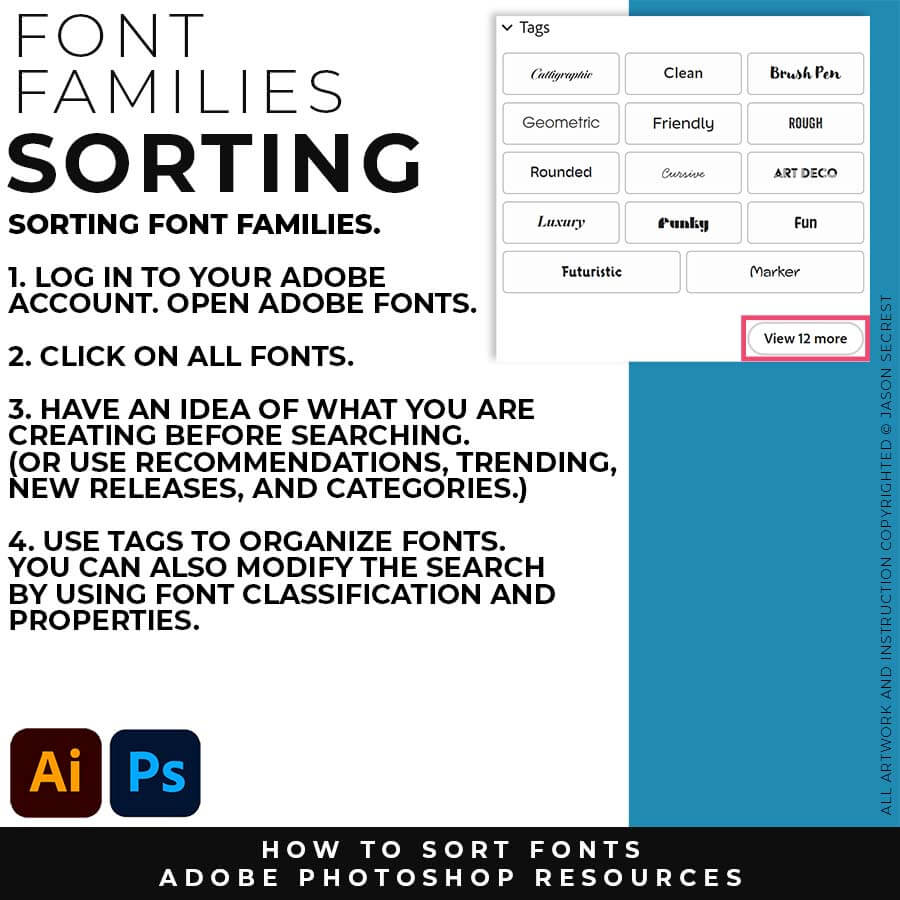
SORTING FONTS: Have an idea of what you are looking for before looking for Fonts. Use the Categories and Tabs to sort through the Font Families.
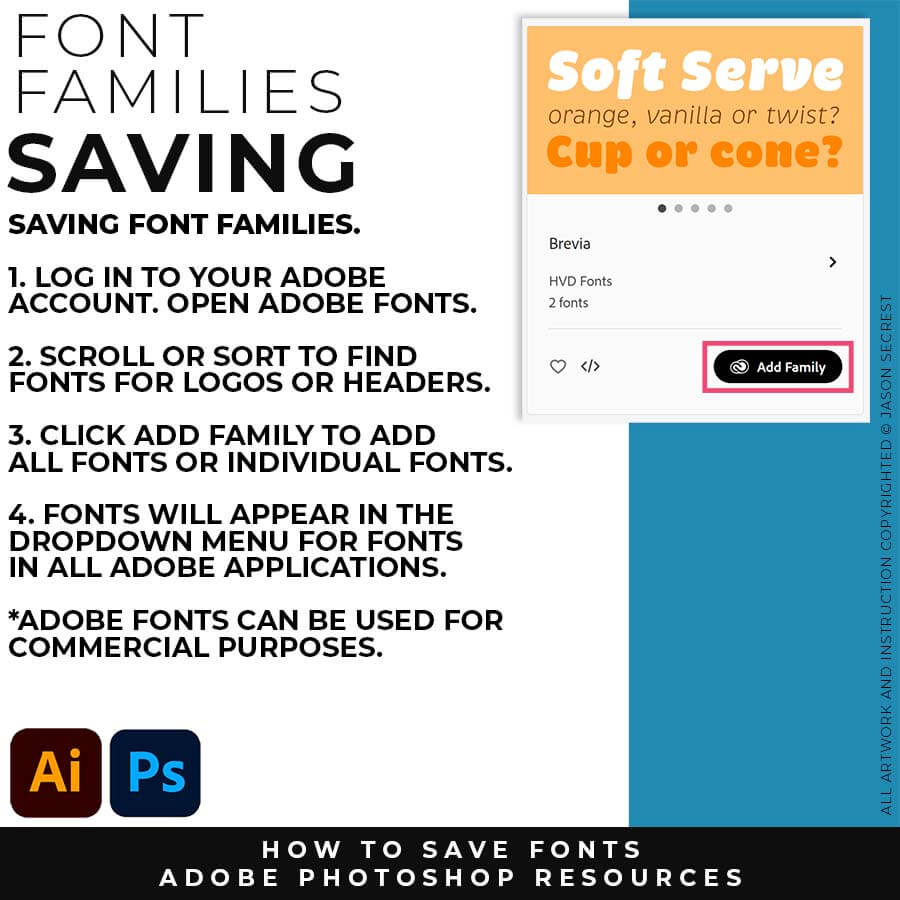
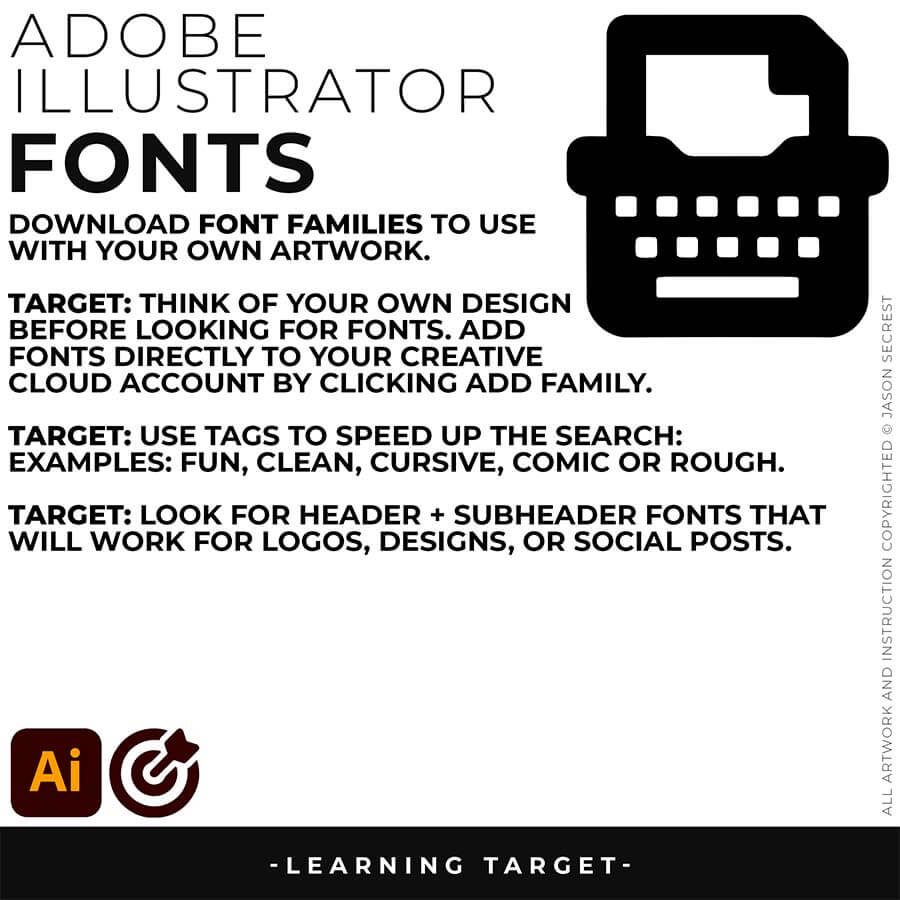
SAVING FONTS: When you find a Font or Family you like, you can simply click the Add Family to your Account. The Fonts will be available across your Adobe Programs.