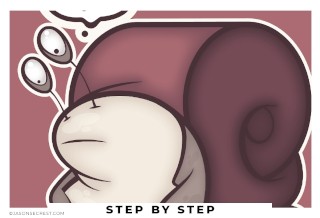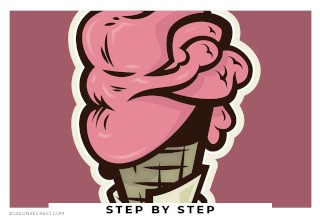
Adobe Illustrator Cartoon Tutorial: NERD
Adobe Illustrator Tutorial using Colored Lines and Gradients.
In this easy to follow tutorial we will be going through our resource document to build our character and practice using the pen tool and cartoon brushes.

Anchor Point Guides
Anchor point guides are designed to make life easier as you are learning where to place anchors and how to adjust handles.
Adding Cartoon Brushes
We will be using our cartoon brushes tinted brush library found in our resource folder. Tinted is a color mode that can be added to your new art brushes.
Highlights & Shadows
We will be adding flat color using Live Paint to build our flat color areas. We will add a light source by adding transparent gradients and cast shadows using the knife tool.
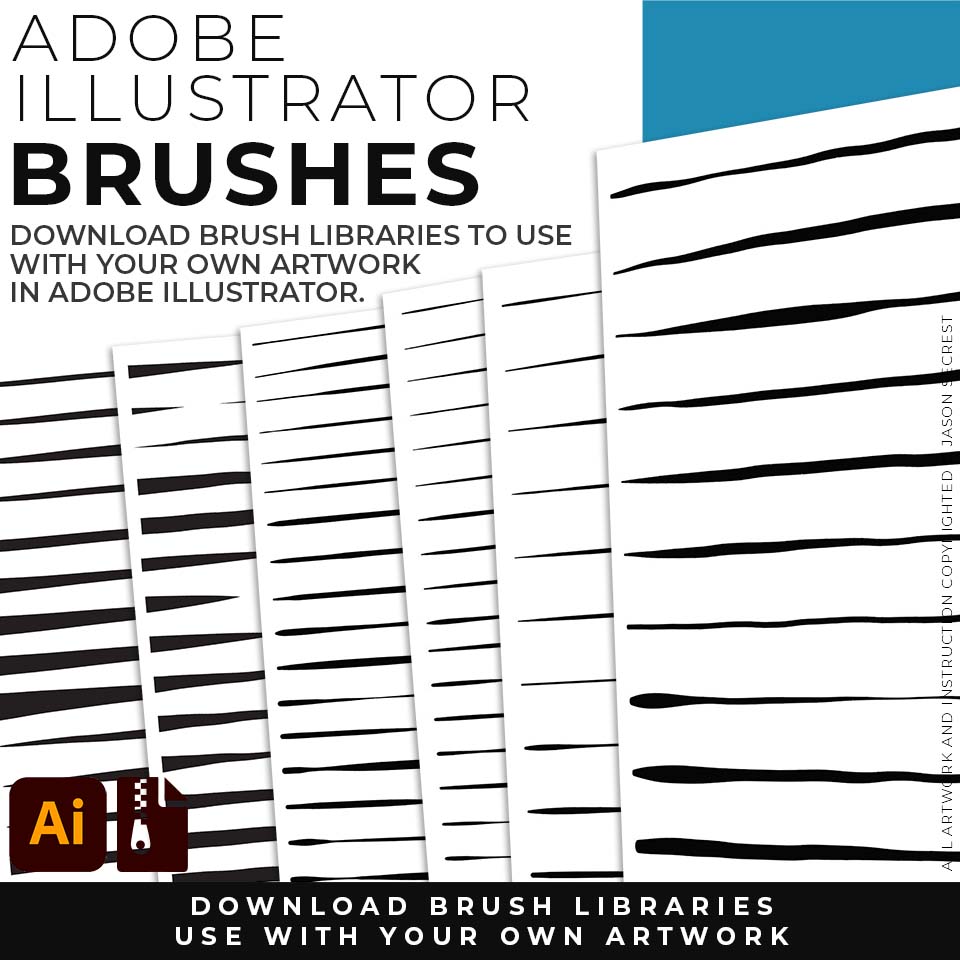
Download Brushes
1. The Direct Download will make it very easy to download the zipped brushes file. Simply Extract All of the contents and follow along with the rest of the video.
Open Other Library
2. In your Brushes Panel, Window - Brushes. In the Bottom Left Hand Corner you will see a Brushes Library icon that looks like books. Click on it and scroll down to Other Library. Open Brush Library from folder.
Adding Line Weight
3. Depending on your own Style or preference, I would recommend adding a little more line weight to your artwork. The mistake I see a lot of beginners make is keeping the line weight at 1pt.
Cartoon Brushes
4. We have 17 Brush Libraries in our folder. You can use any one of them during this tutorial. All you have to do is line up the thin edge which will be floating in space. The Thick ends will represent our values which will be merging into other areas and strokes.
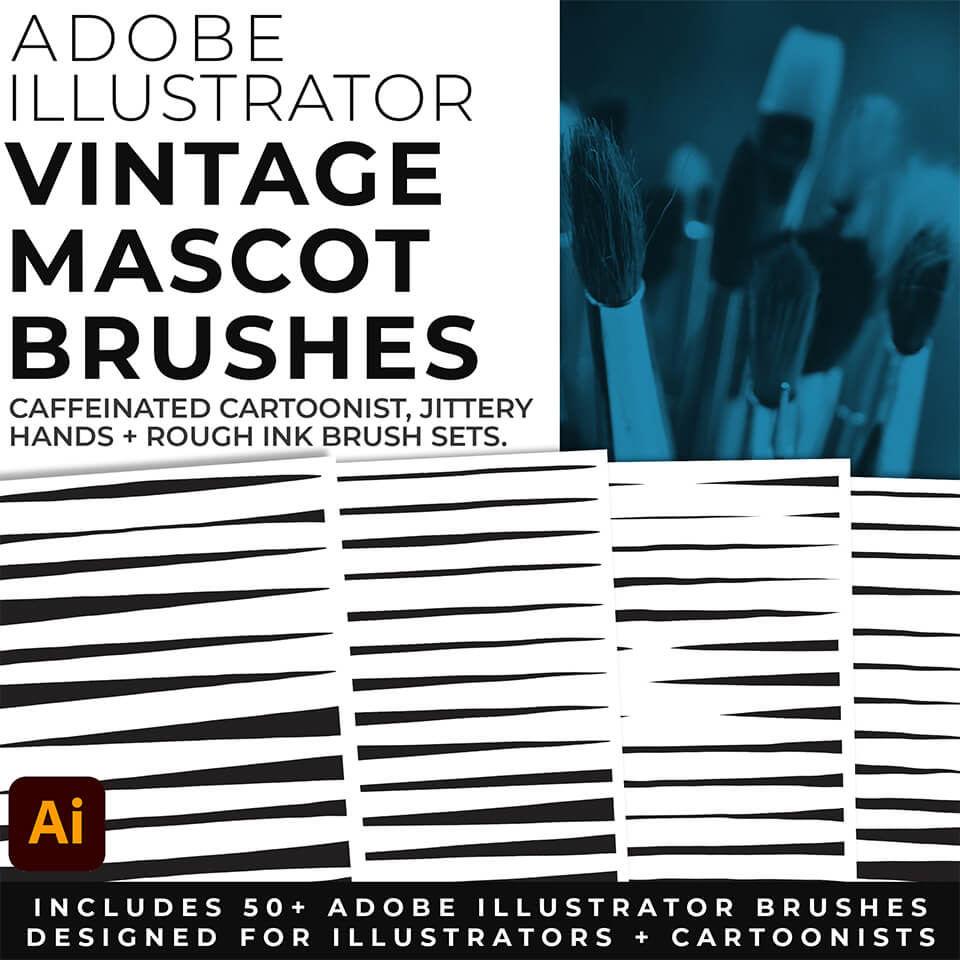
BRUSHES + RESOURCES
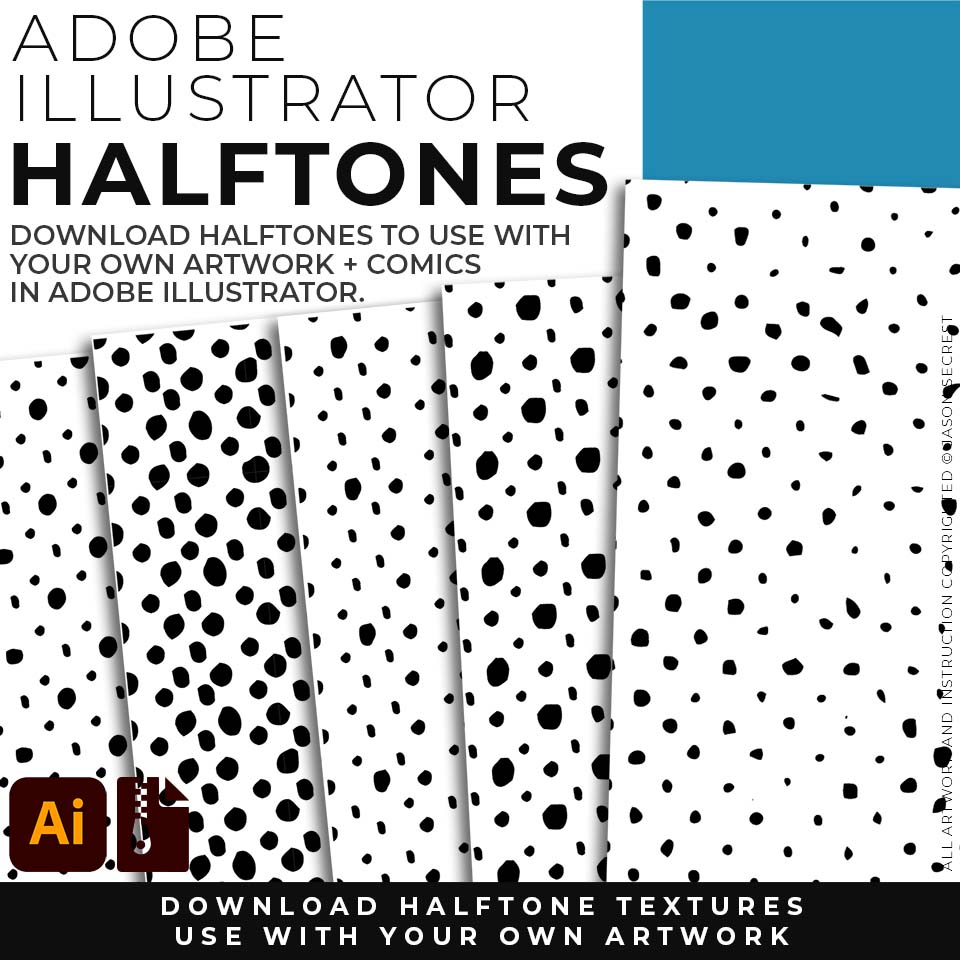
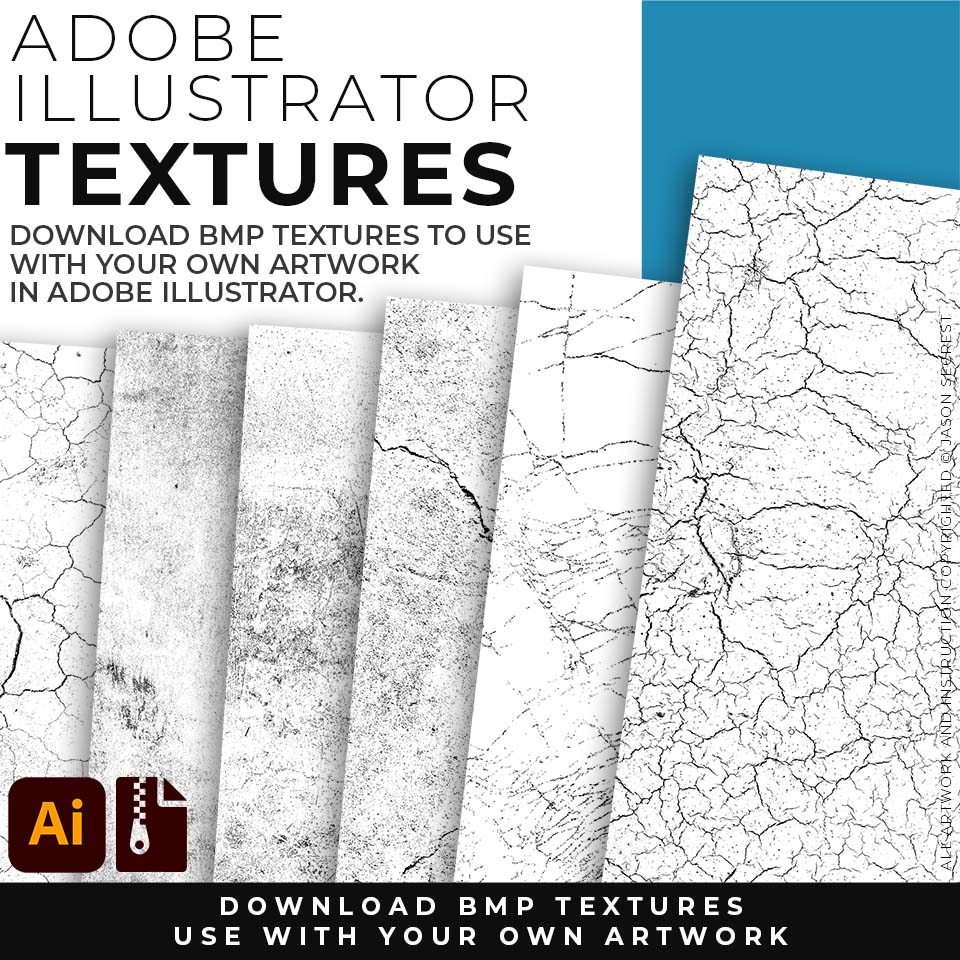
ADD HALFTONES + TEXTURES
DOWNLOAD 200 ADOBE ILLUSTRATOR BRUSHES. + ADD ON OUR 50 HALFTONES AND 360 BMP TEXTURES.
BRUSHES + RESOURCES
Opening Color Swatches
Open the Swatch Window. On the bottom left hand corner you will see the Open Swatch Libraries icon. At the bottom of the drop-down menu you will see Open Other Library. Go to our resource folder in the Color Palettes folder to Open ASE files. The ASE files have been created to make your life easier while going through the Challenge Series. Once you open the Library- click on the folder icon next to the swatches to move them from the library to the swatches.
Live Paint
One of the easiest and fastest ways of filling in your color is through Live Paint. Live Paint is a part of the Shape Builder Tools which builds the shapes in the exact shape you need it without having to use pathfinder. Once you are in Live Paint just point and click to create new shapes. Remember to Expand and Ungroup before moving to the next steps.
Gradient Panel
Select each color using the Magic Wand Tool (Adjust to Tolerance 5) each color. Add on a Radial Gradient to the frosting layers (3). Use the lightest and Darkest Color Swatch from the color set of 3. Adjust the slider to control where the values hit. Troubleshooting: Double check your fill is in front and not your stroke.
Gradient Tool
You can use the Gradient Tool to gain some control over where the gradient hits on your shapes. The tool will control the same features that are in the panel. I use the tool when I don't want to guess and check angle degrees or aspect ratio percentages.


