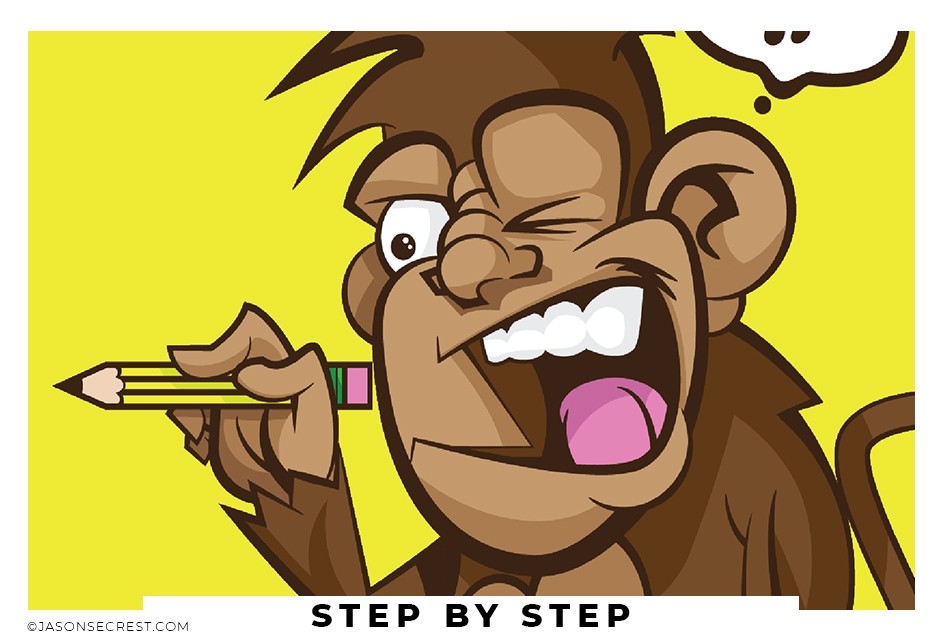
Beginner Adobe Illustrator Coloring Cartoon Tutorial
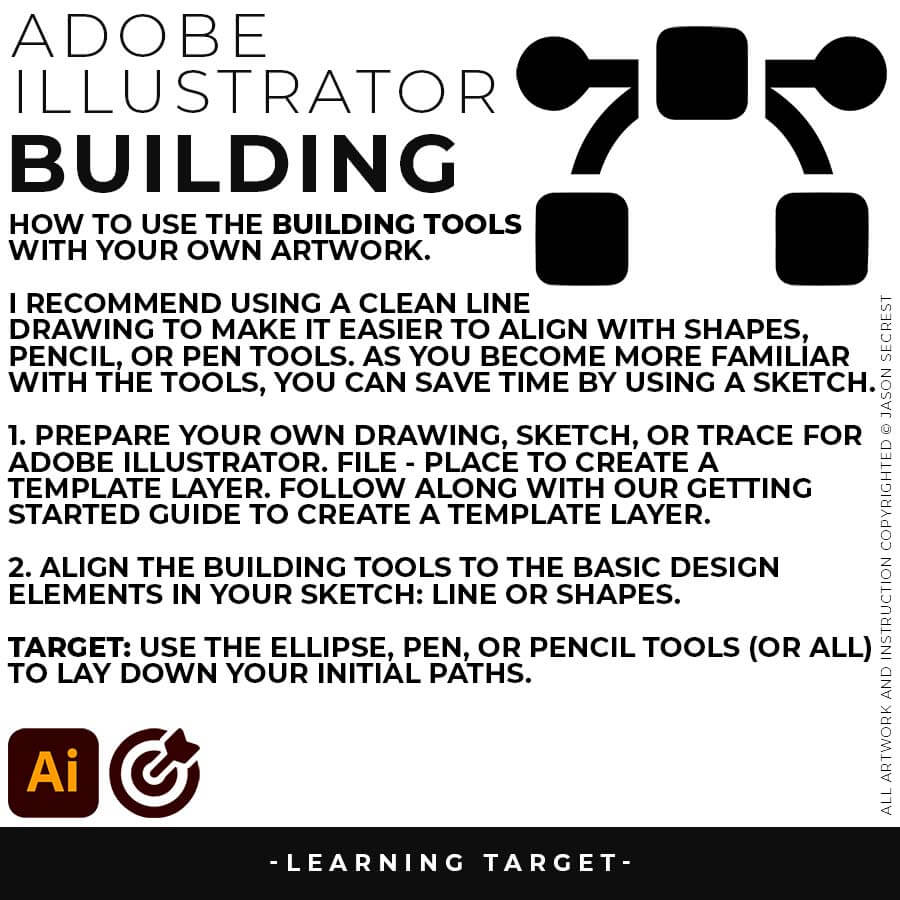
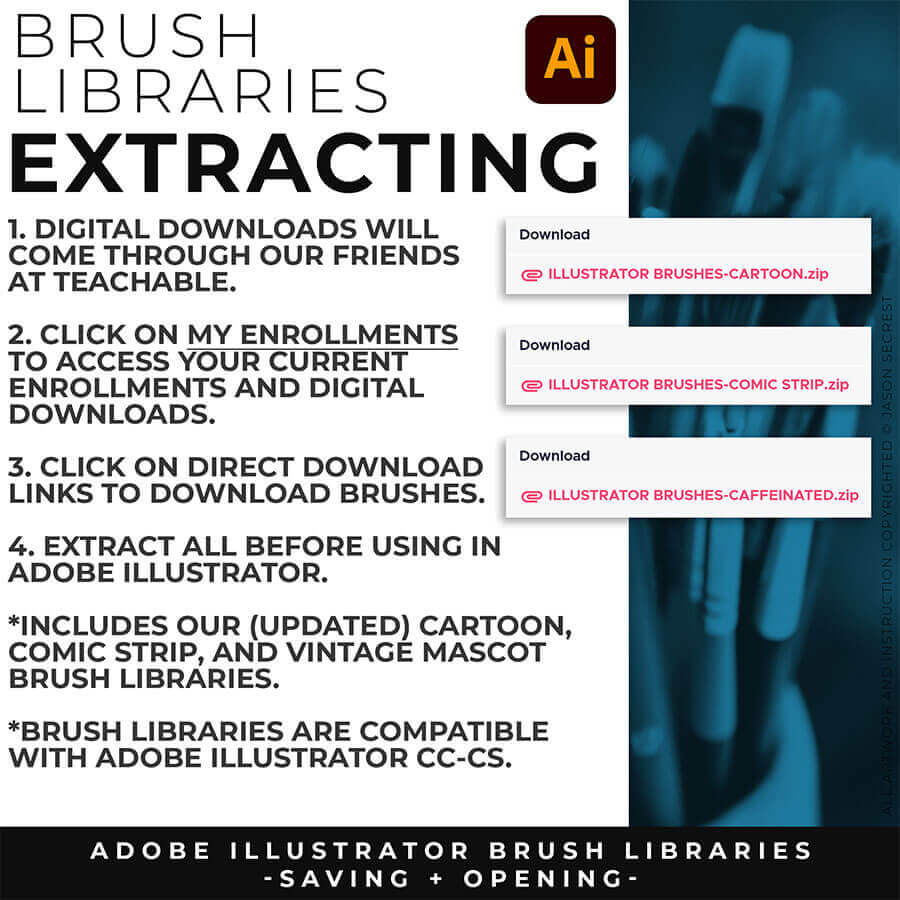
This Adobe Illustrator Tutorial will be a part of our Resource and Beginner Guides to help assist you in creating a workflow for your own artwork. LEARNING TARGET (1): Select a Primary Building Tool that best matches your own artwork or is the easiest to use (Pen, Pencil, or Shape Tools). LEARNING TARGET (2): If you are new, pay attention to the order and sequence of events that I apply to my artwork. I will be adding Brushes to my Line Work before doing Expanded Editing. LEARNING TARGET (3): Download and Save (Updated) Brush Libraries to your “User-Defined” for Quick Access.
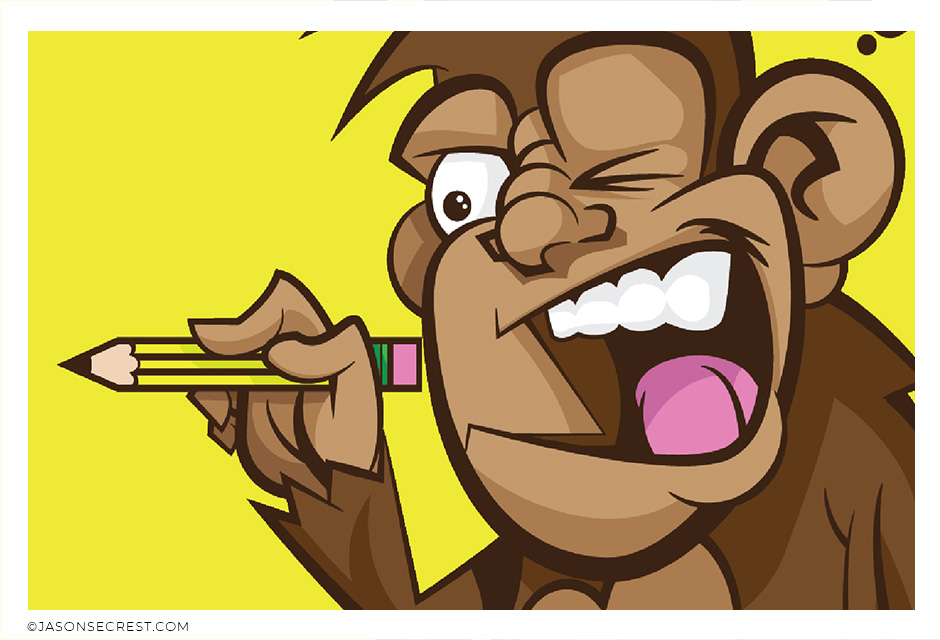
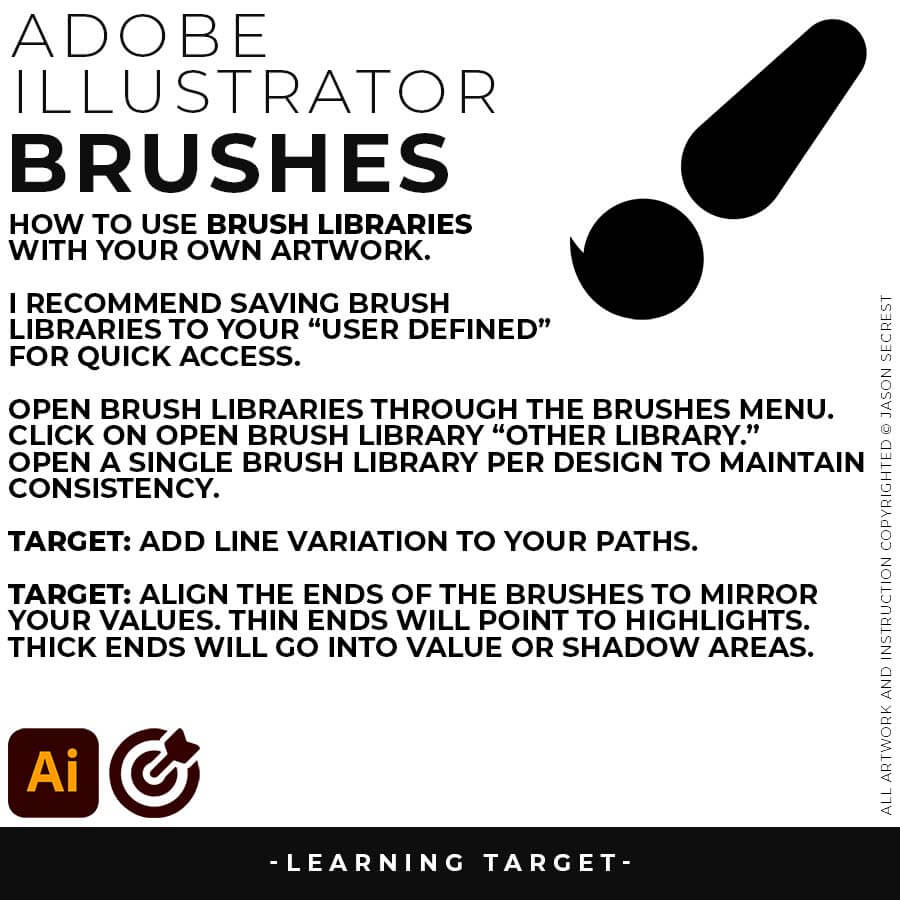
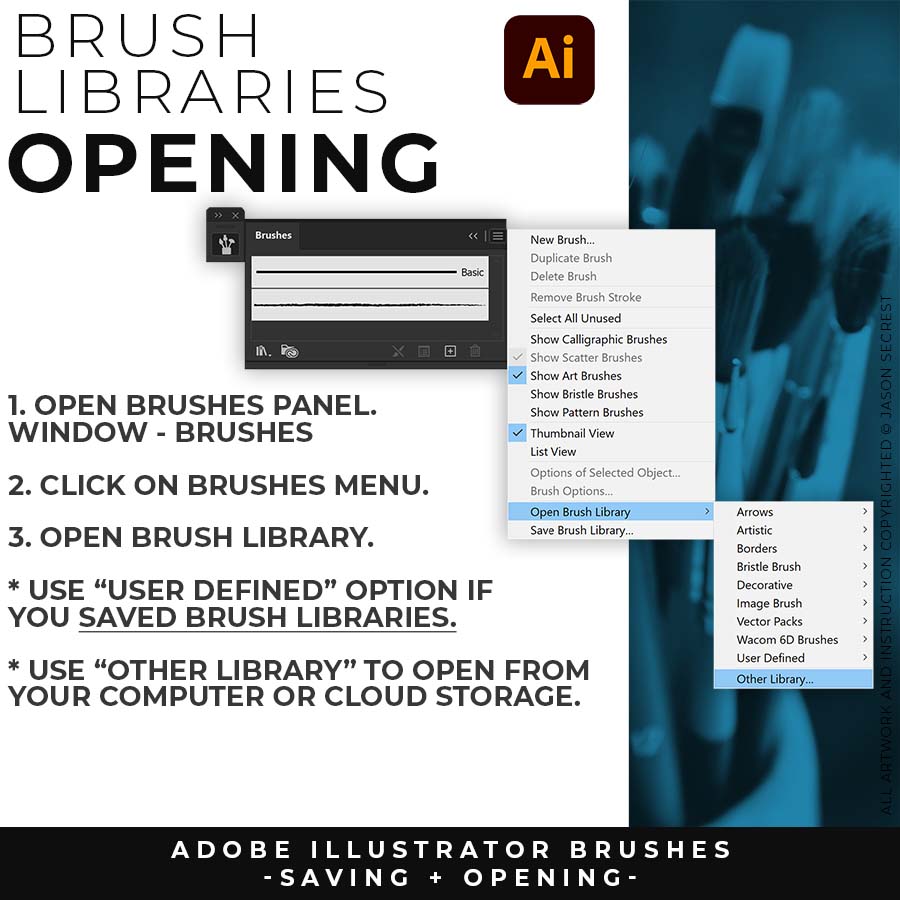
VARIATION: Many of you will be applying our Brush Libraries. To Open Brushes, open the Brushes Panel. Click on Open Brush Library. Scroll down to “Other Library.” Select one of the Brush Libraries to apply. If you saved Brushes, you can Open from “User Defined.”
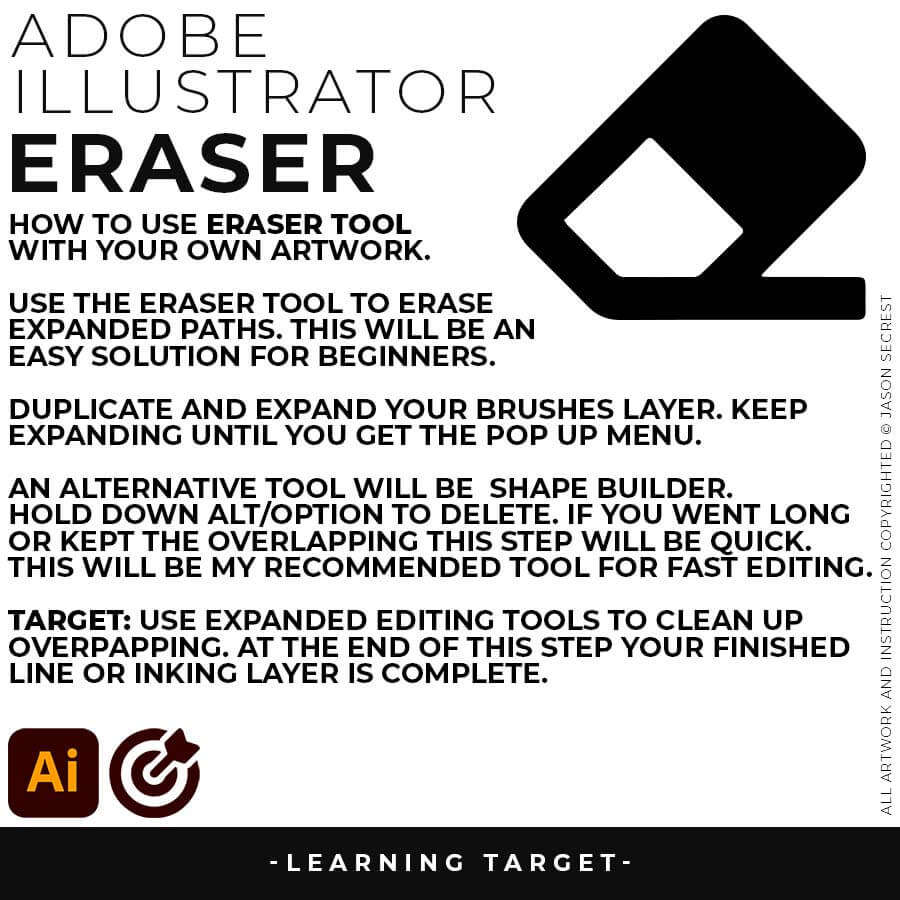
EXPANDED EDITING: After completing the Line Variation, I will recommend keeping the “Live” Layer from future Editing. Duplicate and Lock Out. We will be Expanding this New Layer to use with Shape Builder for Fast Editing. Hold down Alt/Option while Editing.
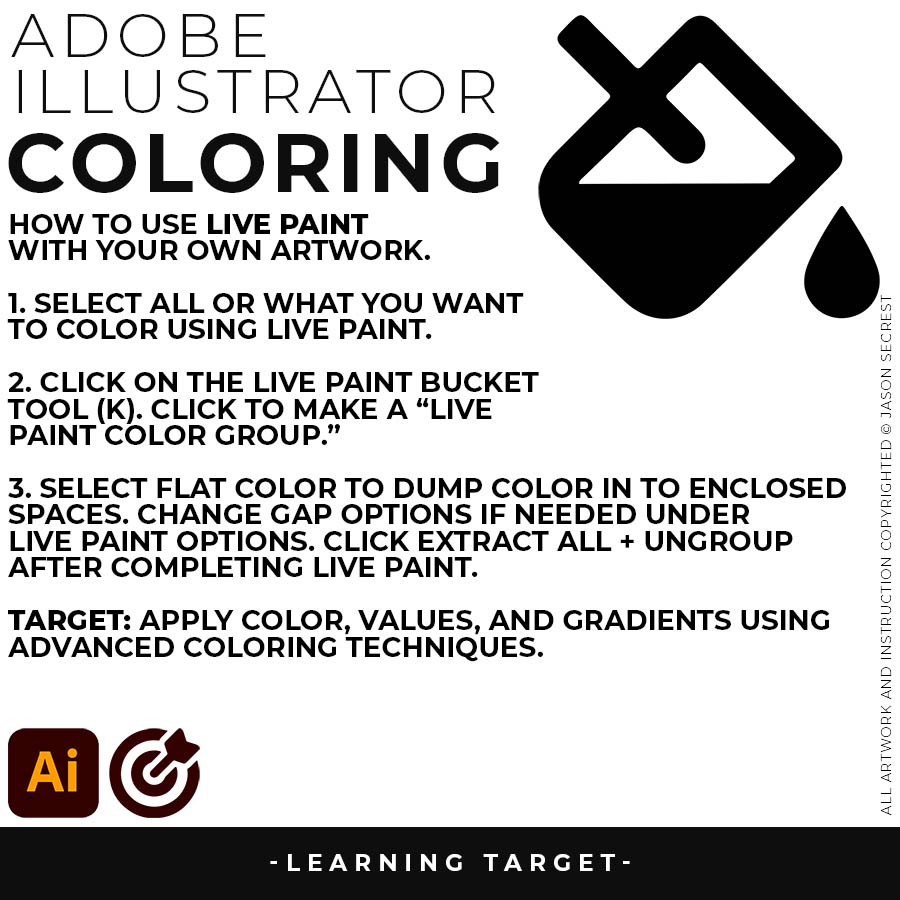
LIVE PAINT: Coloring will be extremely easy using Live Paint Bucket. The goal of Live Paint is to create Shapes that we can color using Fills. Once you have completed the Live Paint Group, it is important to Expand and Upgroup. We will leverage these shapes for our Values and Gradients.
APPLY: Many of you will be adding our Brush Libraries for Line Variation. Notice that I am finding the ends to see if it will be floating or hitting another line. If it hits another line that signals a darker value to the end should reflect the change in value. (Thicker End).
EXPAND: For your own artwork, duplicate your Live Brushes Layer before Expanding. Expand All. Object - Expand Appearance + Expand. Path Simplify Option: Once the Brushes have been Expanded hit the selection with a Simplify Path (Object - Path - Simplify) to clean up extra Anchor Points.
EDIT: Select All. Select your Shape Builder Tool. Hold down Alt/Option to Delete. Hit all of the overlapping lines to clean up any of the extra lines. You can Turn Off the Highlighting feature in Shape Builder. I recommend zooming in to delete smaller areas.
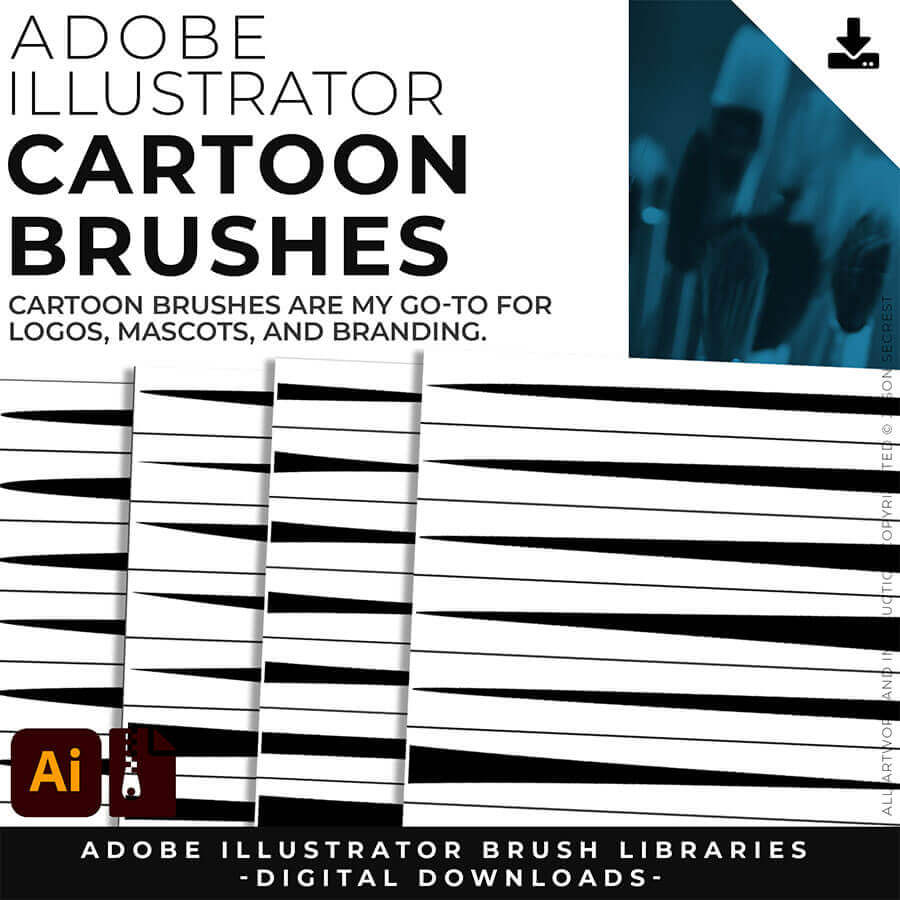
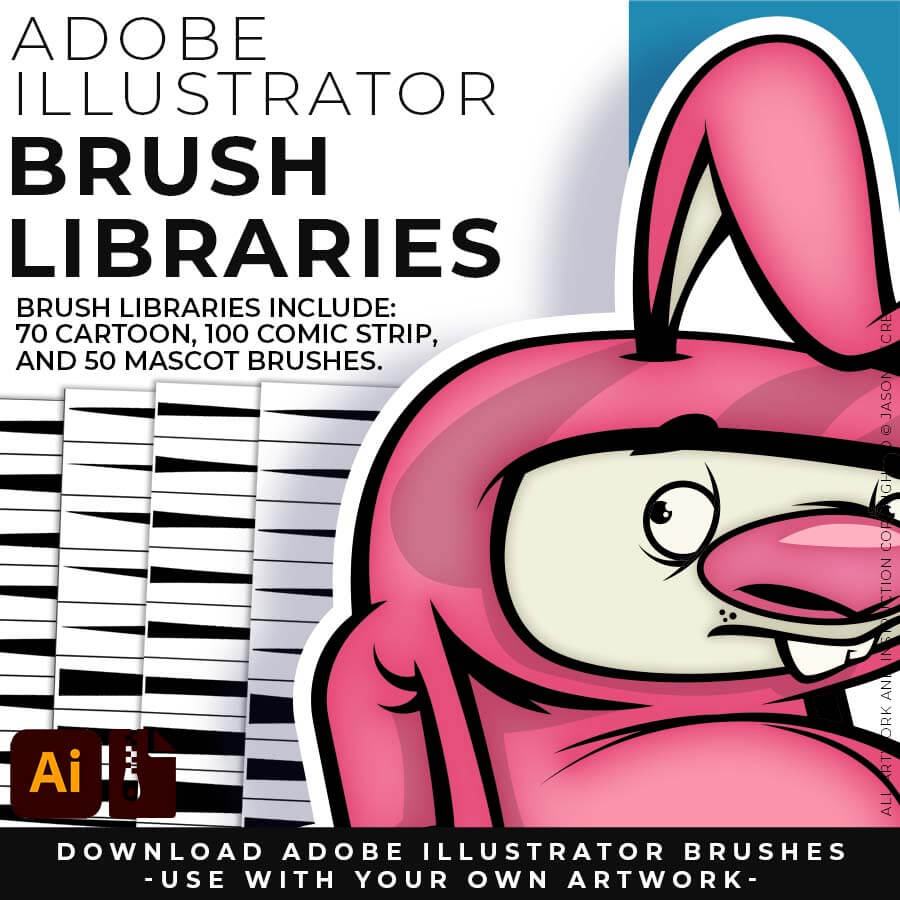
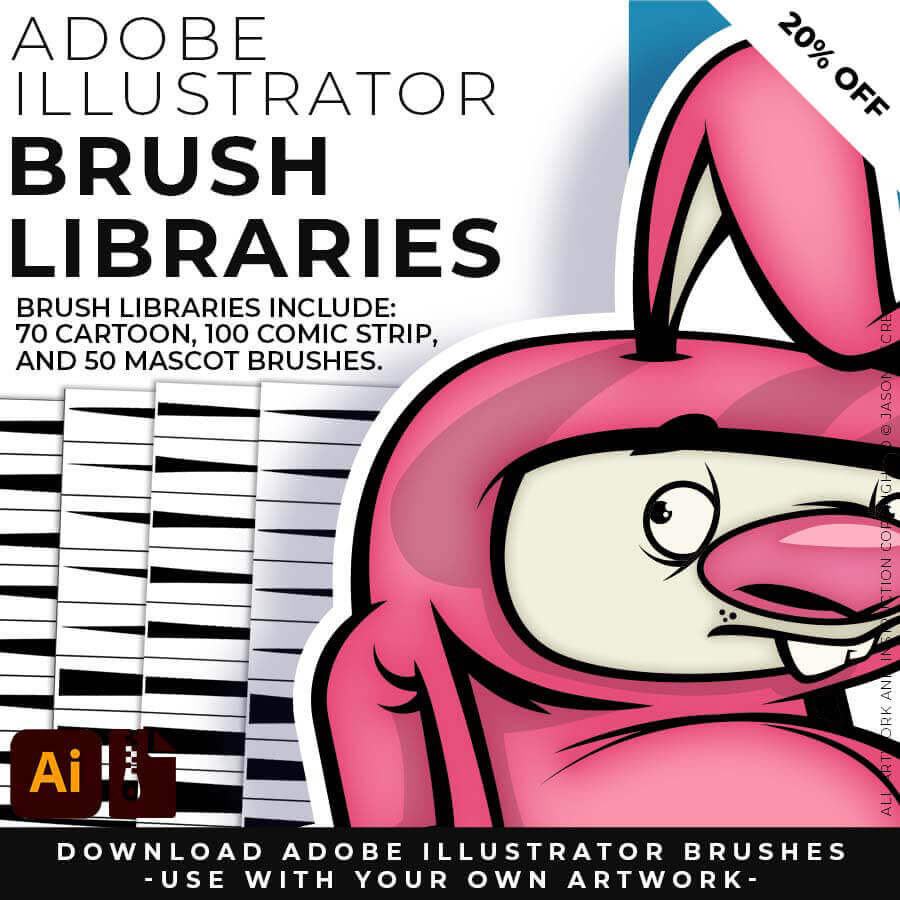
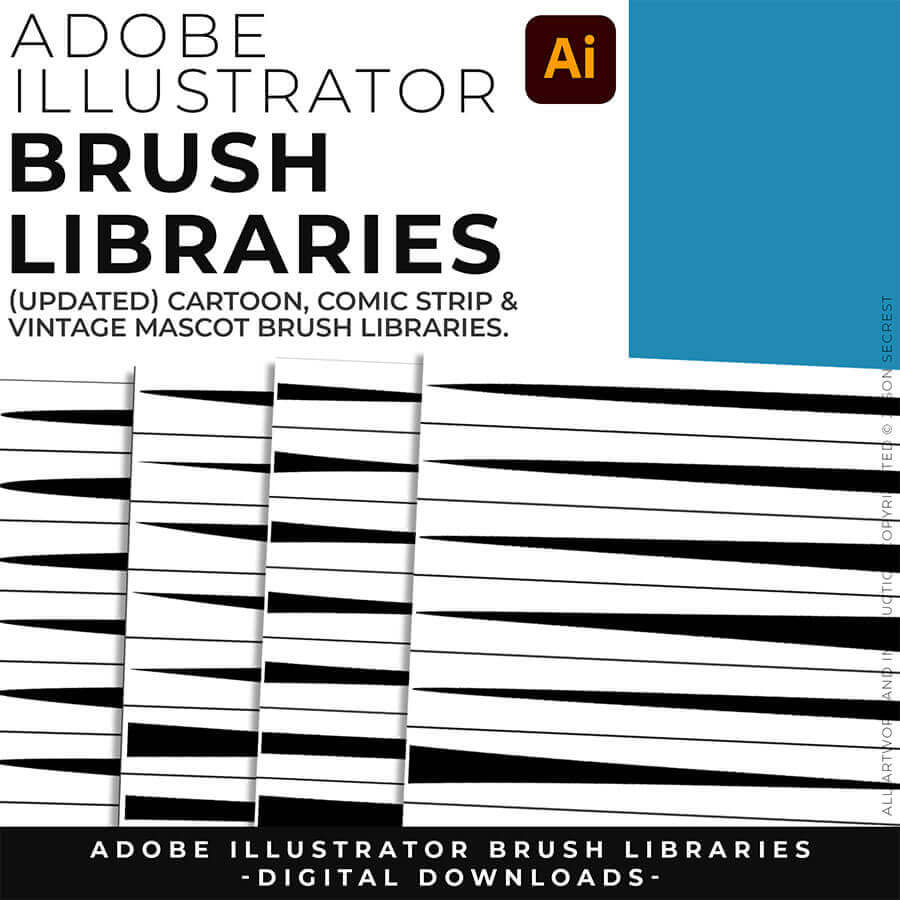
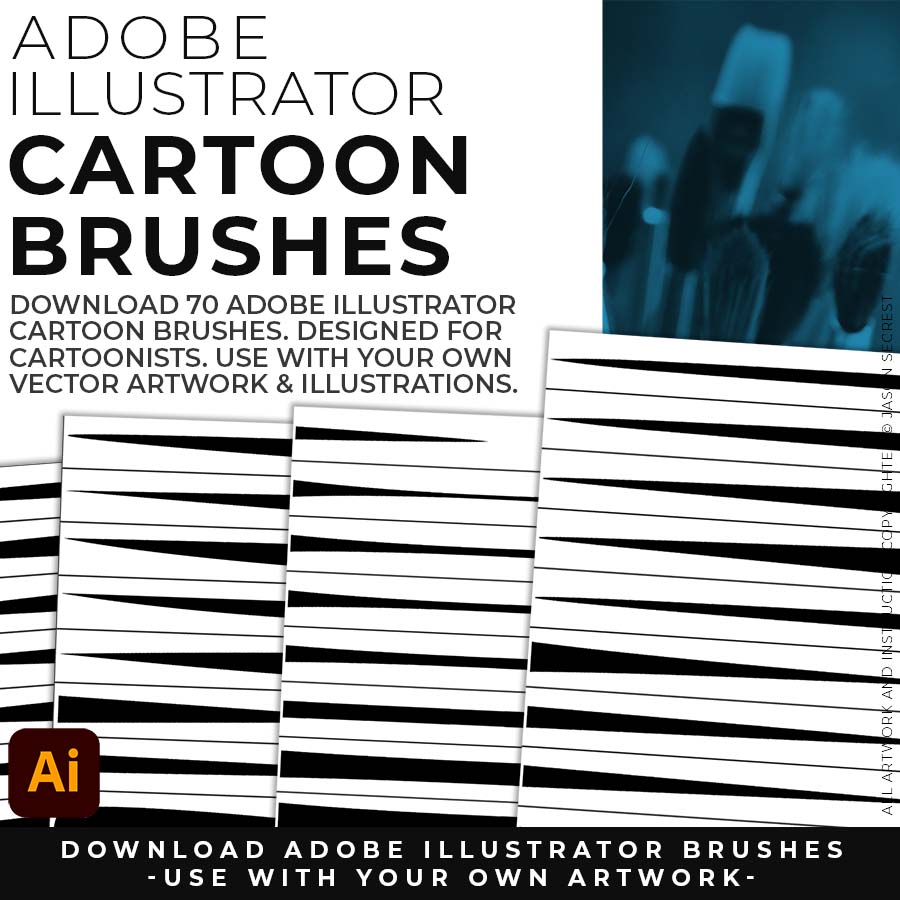
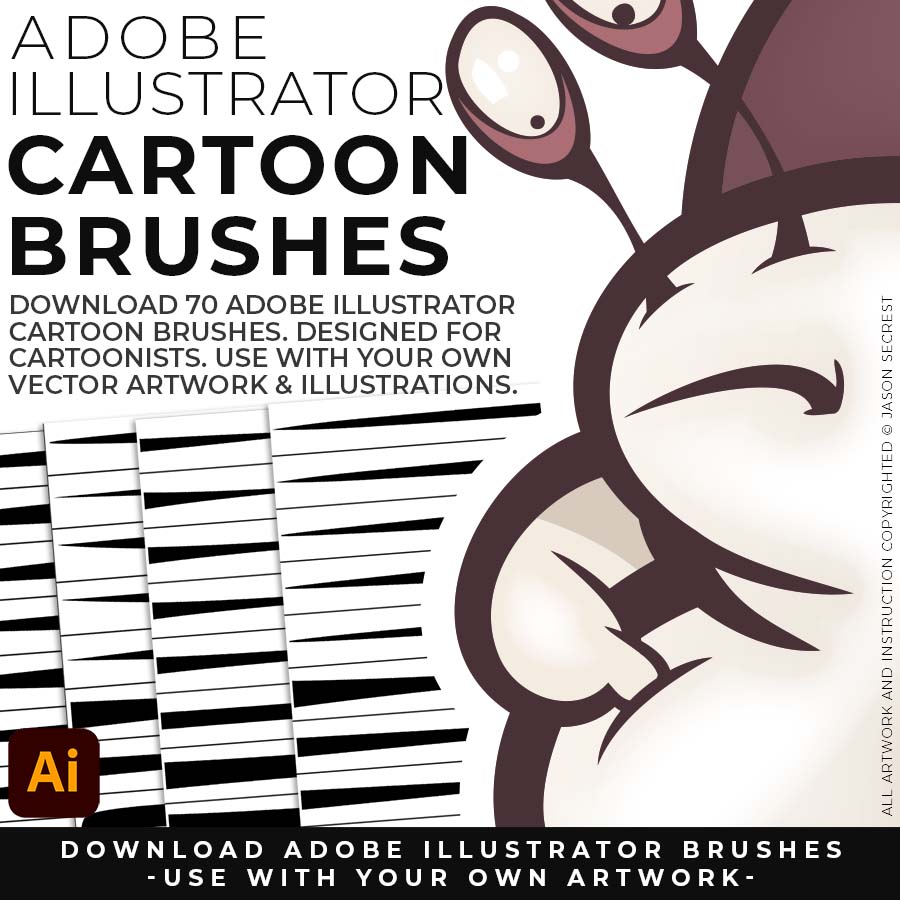
CARTOON BRUSHES: Cartoon Brushes are my go-to brushes for Professional Logos, Cartoons, Mascots, and Branding. Use Cartoon Illustrator Brushes with the Pen, Pencil, or Paint Brush Tools to Apply different Line Variation to your Vector Artwork. (Updated) Cartoon, Cartoon 2, and Original Cartoon Brush Libraries.
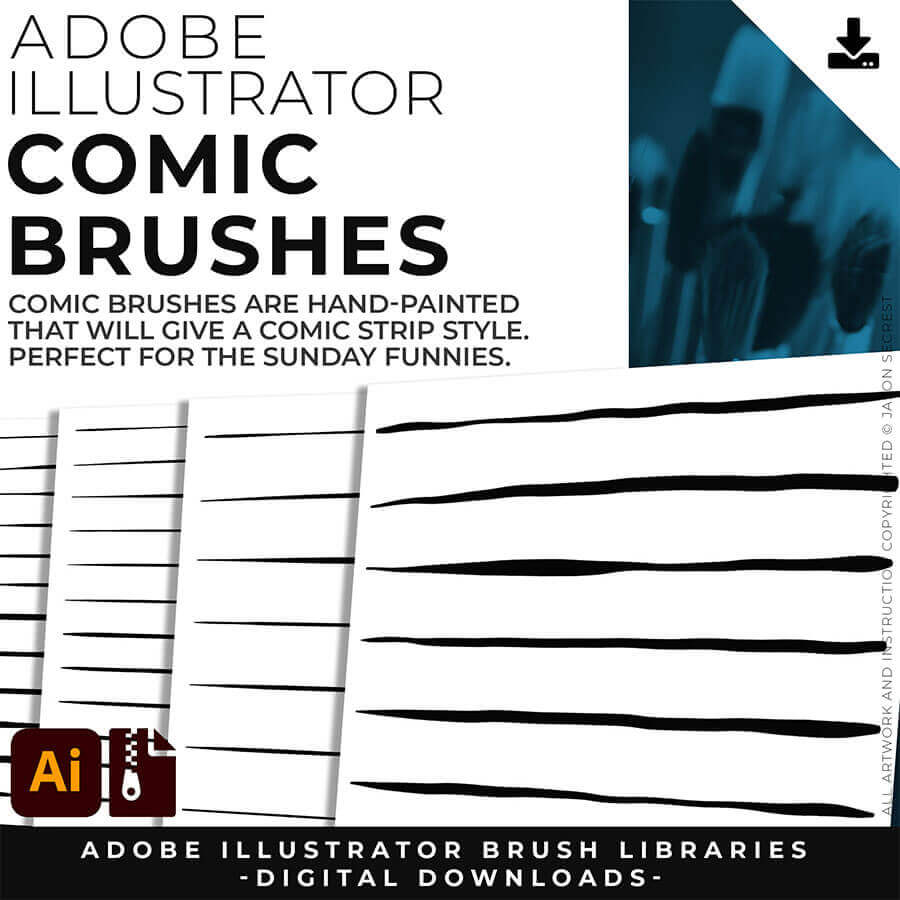
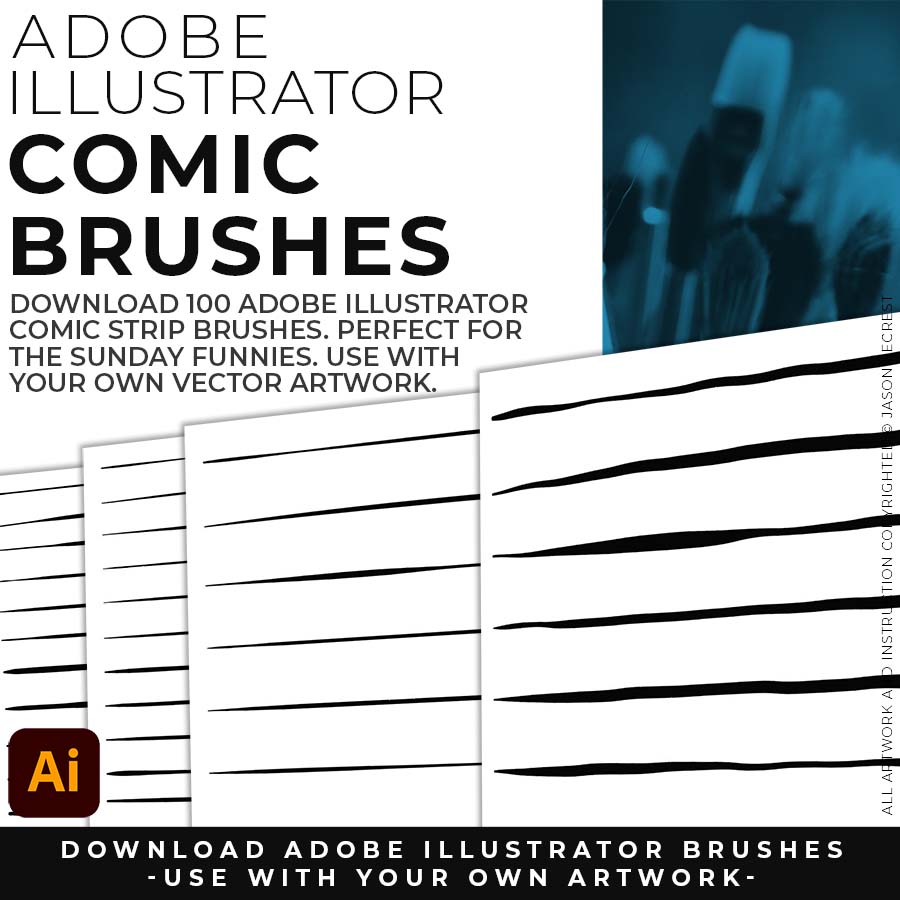
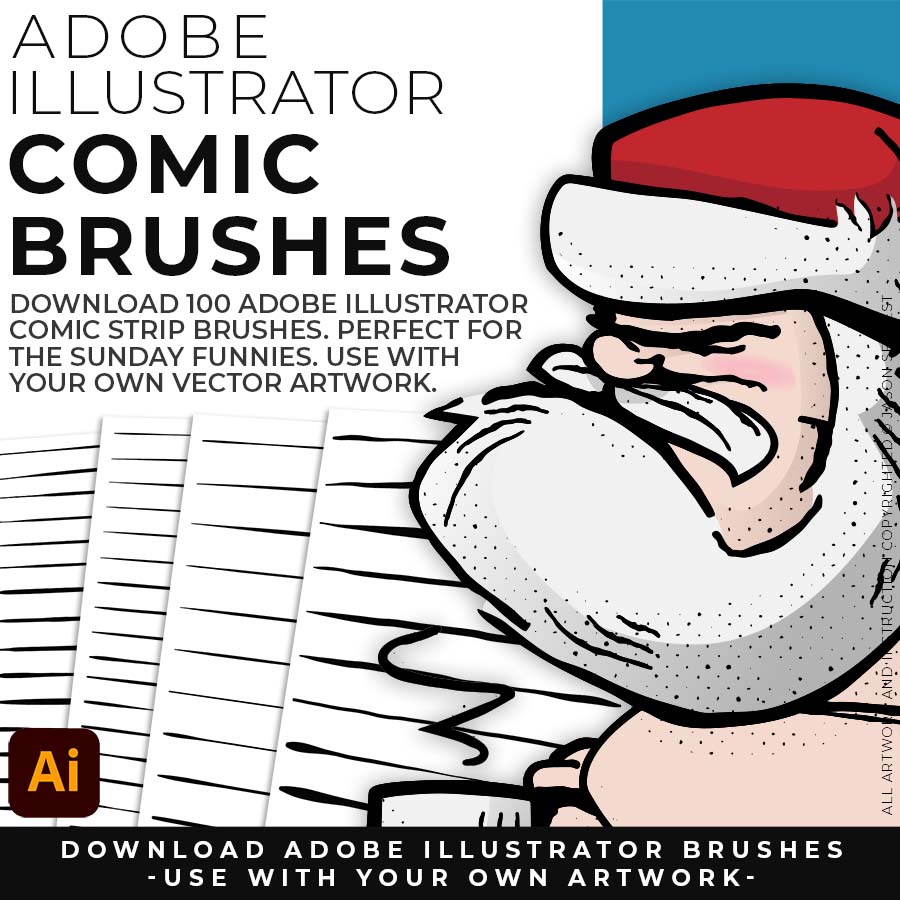
COMIC STRIP BRUSHES: Hand Painted + Comic Strip Brushes to get a lived in feel back into your Vector Art. Comic Strips and Hand Painted are painted based on some of my favorite artists and cartoonists. These brushes are designed to look ready for the Sunday Paper. (Updated) Comic Strip, Hand-Painted, Paintbrush, and Fine Liner Brush Libraries.
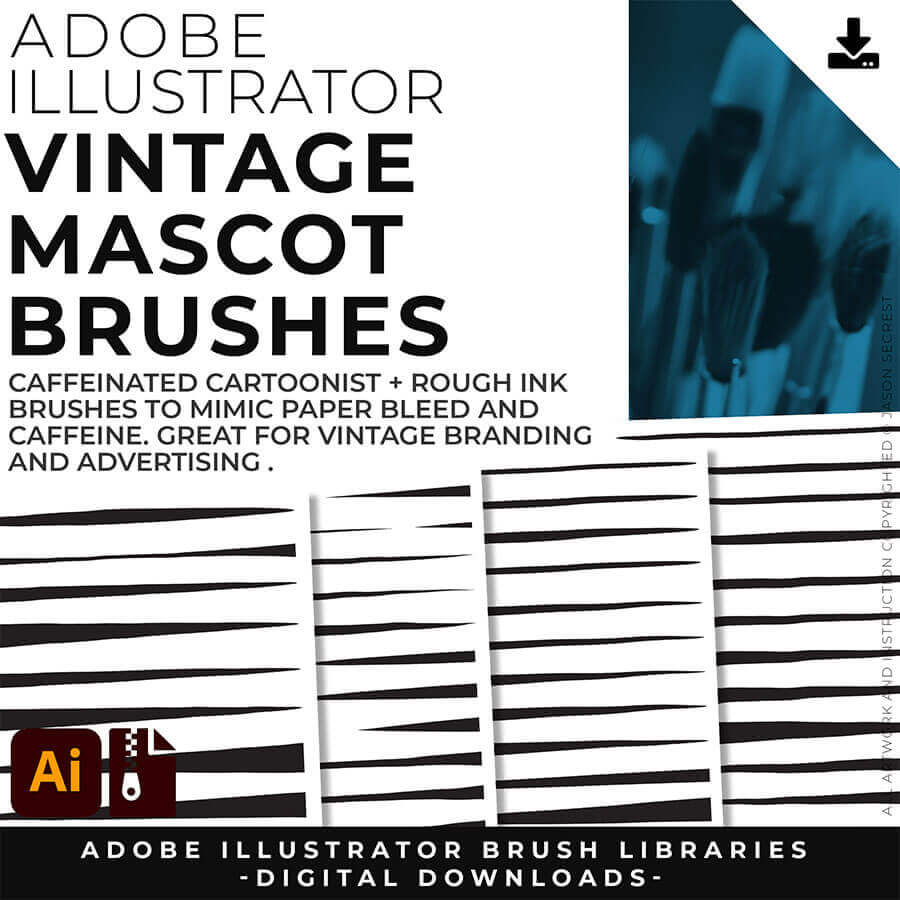
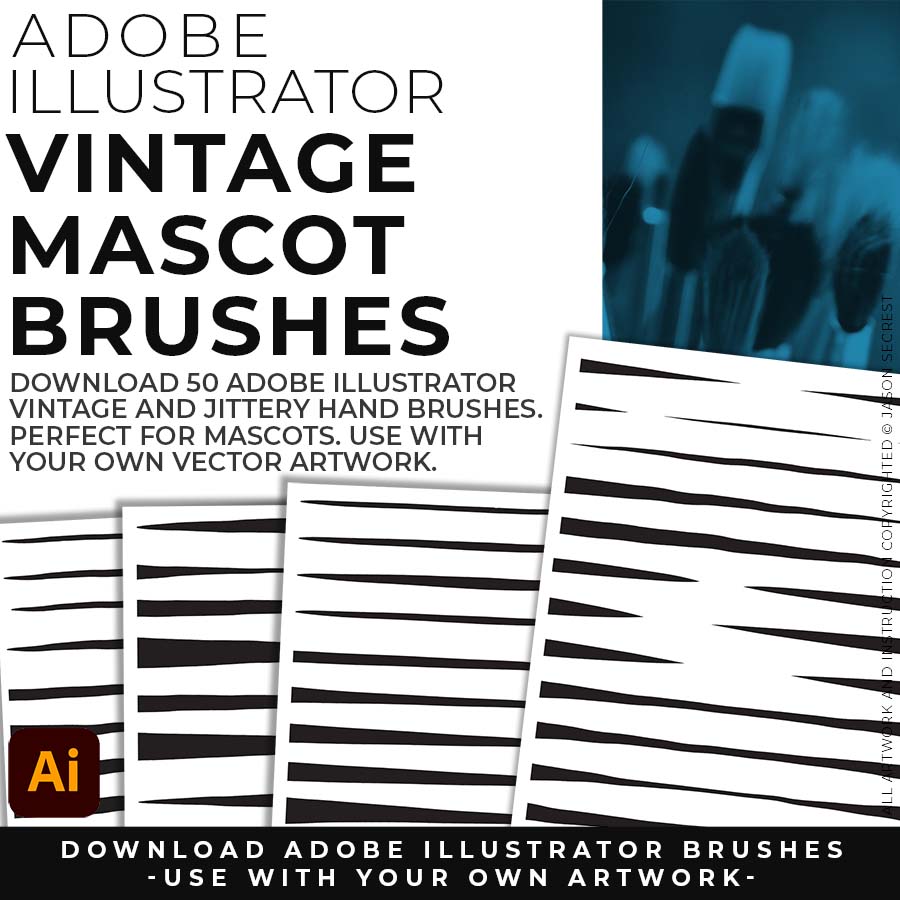
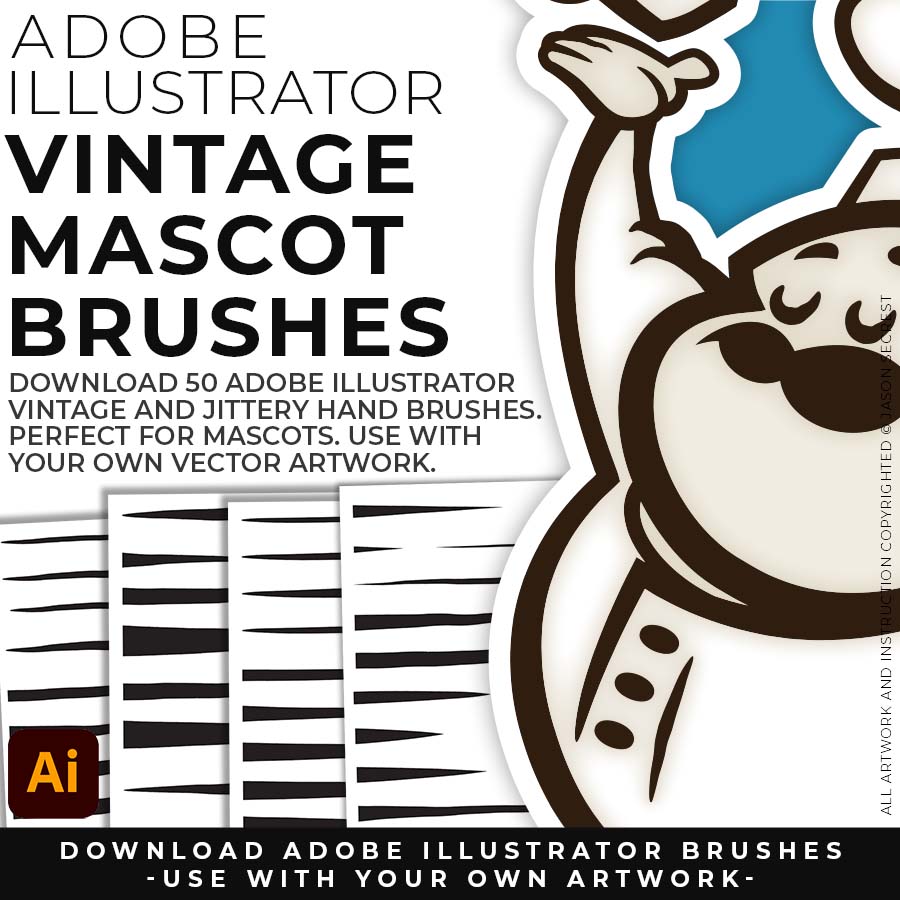
MASCOT BRUSHES: Jittery Hand, Caffeinated Cartoonist + Rough Ink Brushes to Mimic Paper Bleed and Caffeine. Designed to be a little less stiff with your vector art. Use these Brush Libraries to get more of a distressed look or ink bleed back in your own Vector Artwork. (Updated) Caffeinated Cartoonist, Rough Ink, and Jittery Hand Brush Libraries.
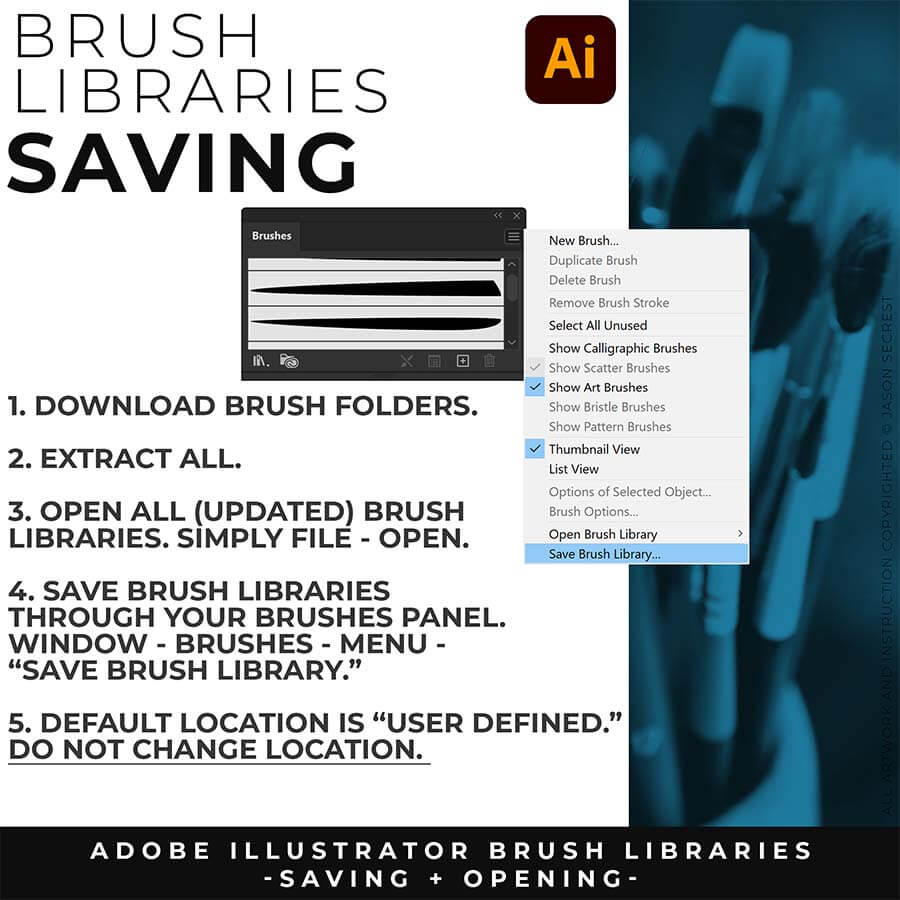
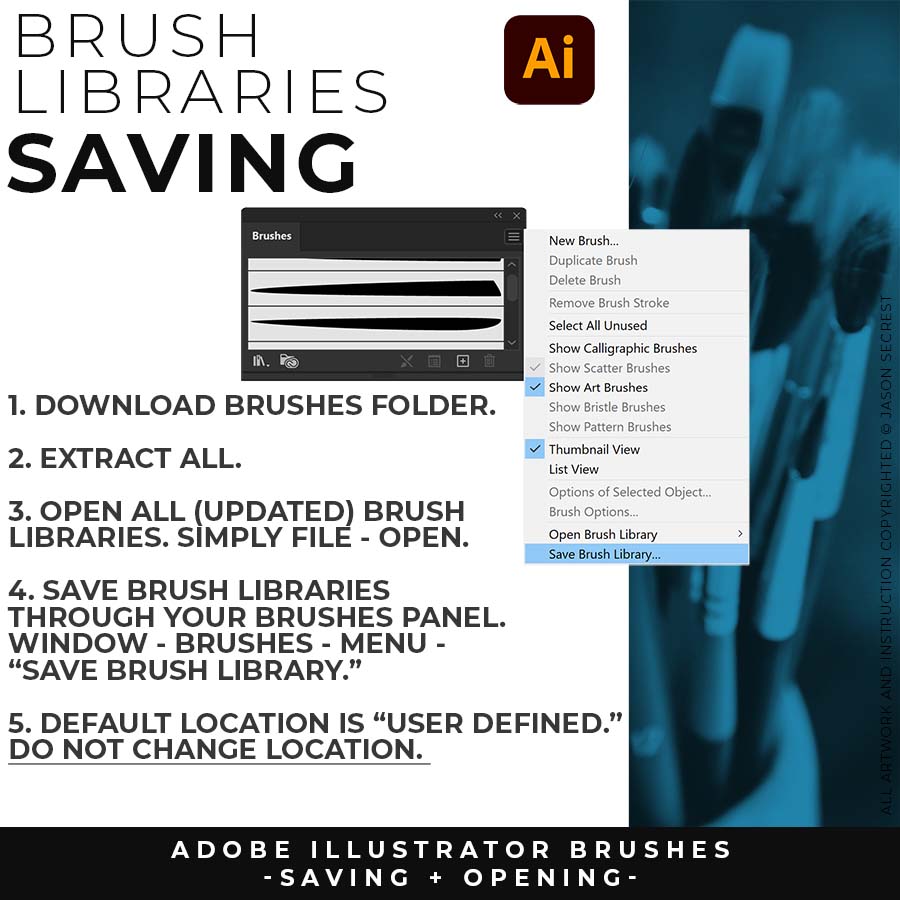
SAVE BRUSHES: Open All of the Brushes Libraries in Adobe Illustrator. (File - Open). Have your Brushes Panel Open. Under Window - Brushes. In the Brushes Menu, select "Save Brush Library." The Default Save Location is "User Defined." Repeat this step for each Brush Library.
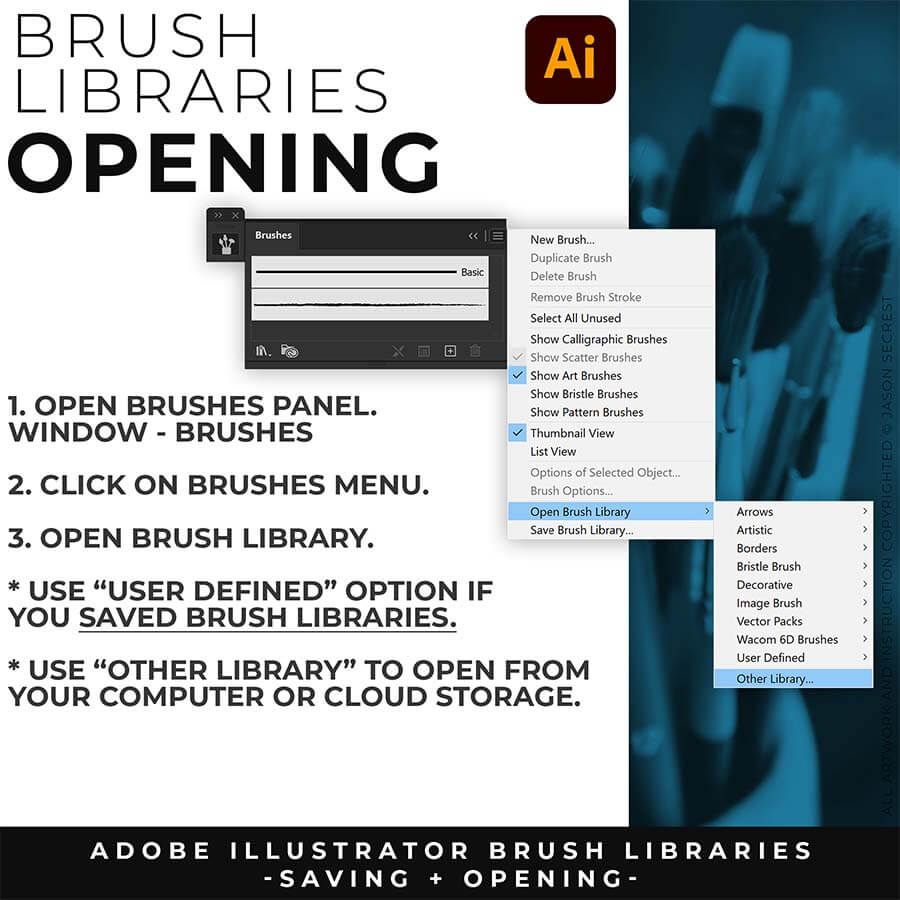
OPEN BRUSHES: Under Window - Select Brushes. In the Brushes Menu, drop down to Open Brush Library. Hover over it and select "Other Library." A Normal Open Dialogue Box will appear to select any Brush Library to use in Illustrator. Almost all Tutorials use this method.
COLOR SWATCHES: Use Color Swatches from your Library or save them from Adobe Color as an .ASE File. Open Swatch Library from the “Other Library” Option. Most Color Themes will use Hues as the Base Color. We will be using Live Paint to create our Basic Fills or Flat Color Layer.
LIVE PAINT: Coloring will be extremely easy using Live Paint Bucket. The goal of Live Paint is to create Shapes that we can color using Fills. Once you have completed the Live Paint Group, it is important to Expand and Upgroup. We will leverage these shapes for our Values and Gradients.
KNIFE TOOL: After using Live Paint, Expand and Ungroup. Use a Duplicated Flat Color Layer for your Value Layers. The Knife Tool will cut Shapes. I recommend cutting out all of the shapes first before deleting them. You can use this technique for Highlights, Shadows, or Cast Shadows.
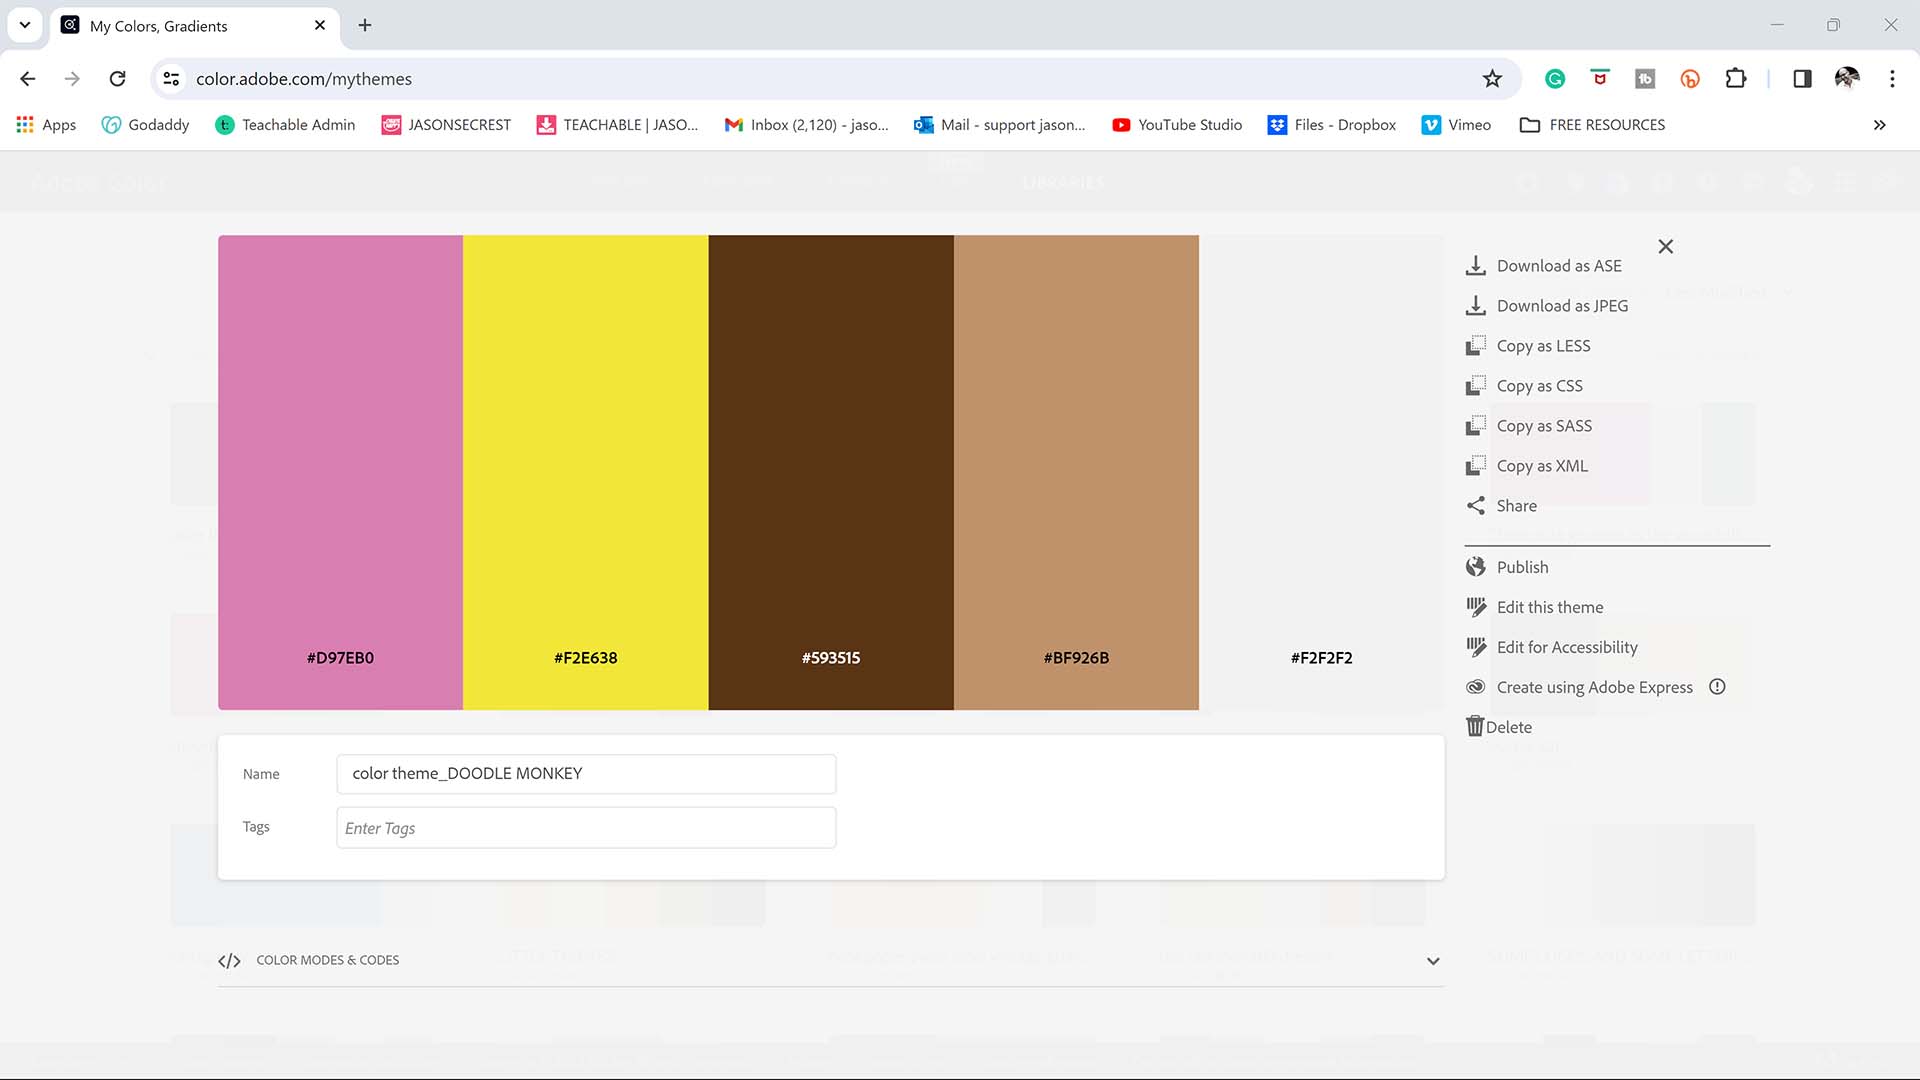
ADOBE COLOR. Adobe Color has a beautiful website for you to download your own Color Swatches and Themes for Free. Think about your own artwork, design, or character. Do you have a starting point? If you have a subject matter, you can Type the Subject directly into Adobe Color to find Color Themes. Another fun place to start is the Trends Tab.
DOWNLOAD SWATCHES. You can save Color Themes for your own artwork and designs. If you have CC, click add to Library. If you don't have CC, look to download the .ASE file to Open Swatch Library in the Color Swatches Menu. If you have a Photo Reference, you can upload your photo to Extract Theme under the Create Tab.
