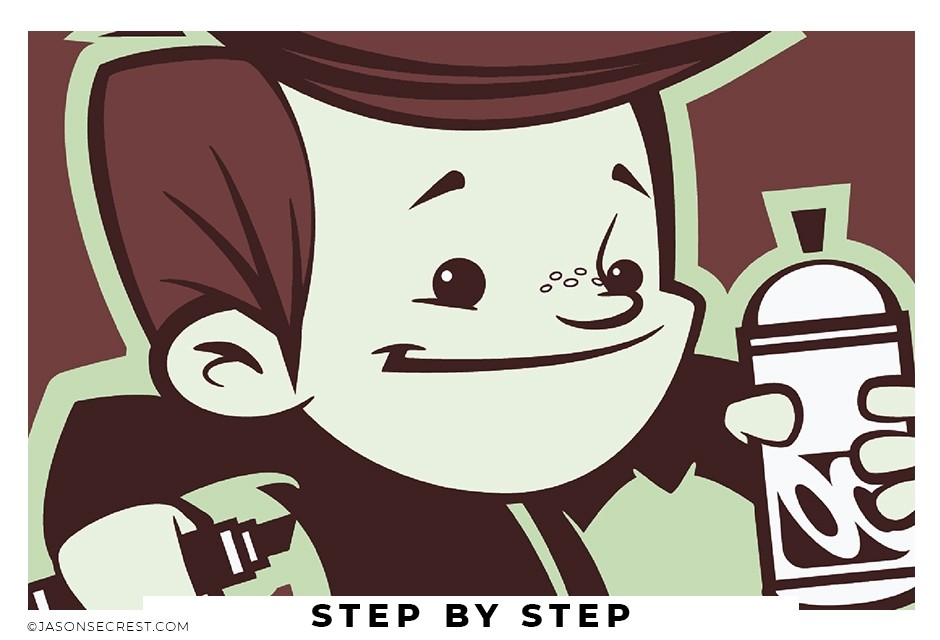
adobe illustrator tutorial kid

Adobe Illustrator How to Make a Cartoon Tutorial

In Adobe Illustrator, Step by Step Adobe Illustrator Tutorials by Jason Secrest

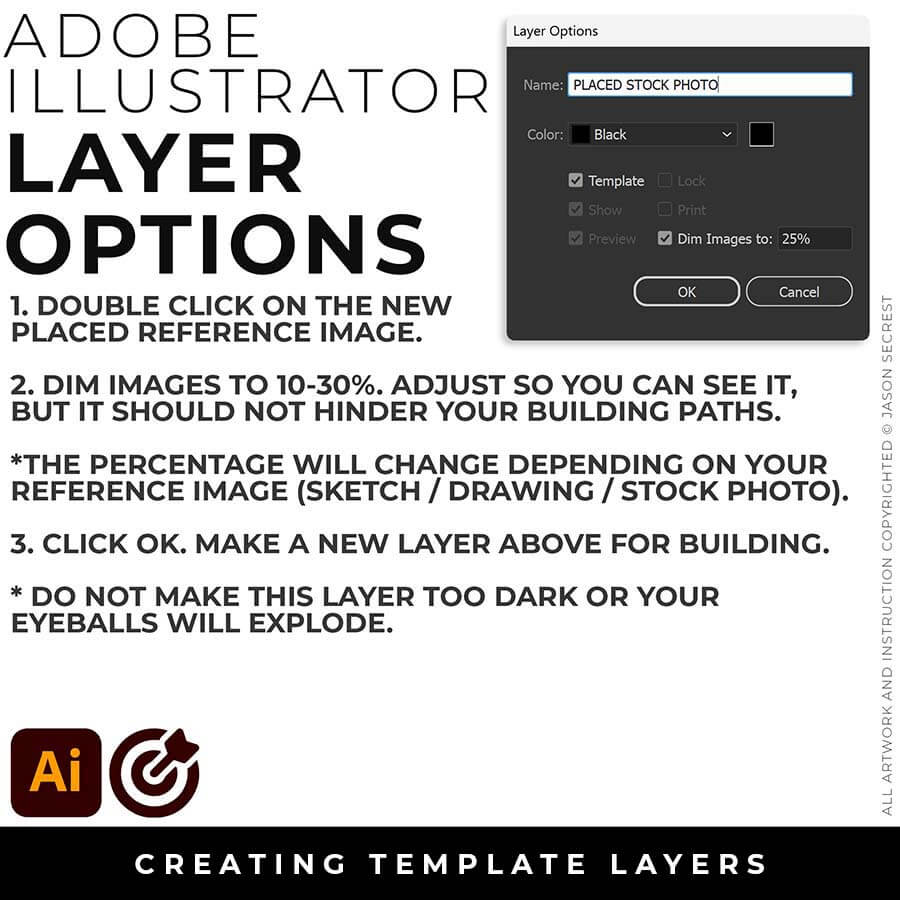
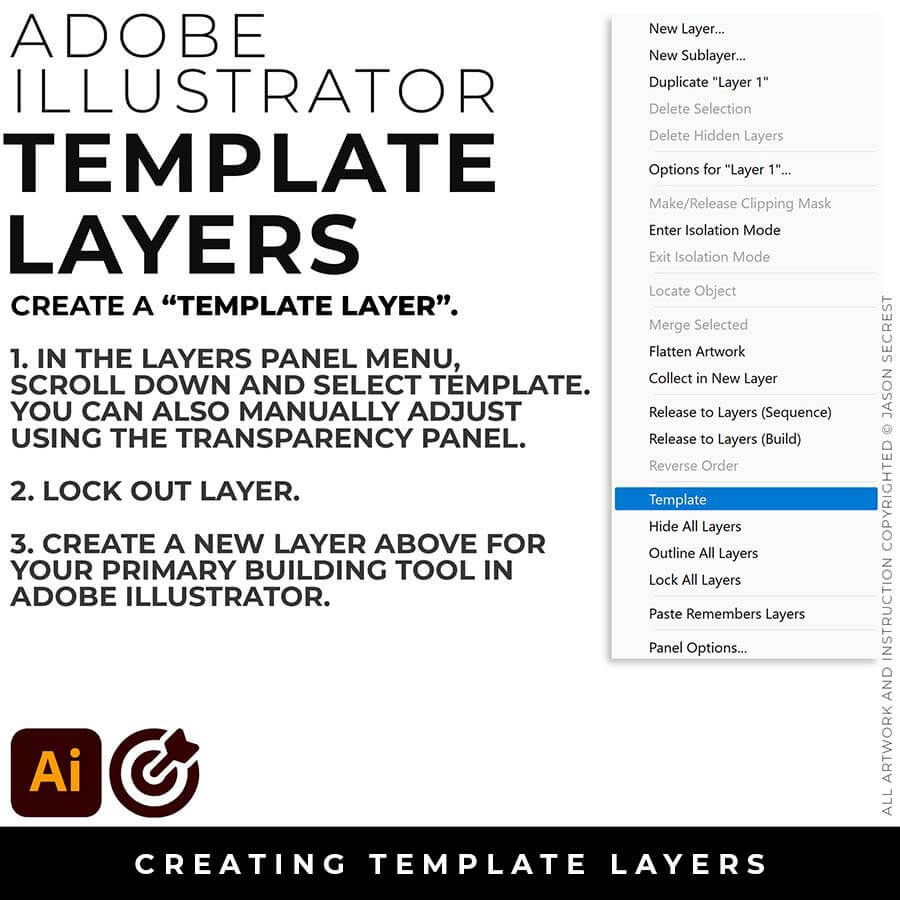
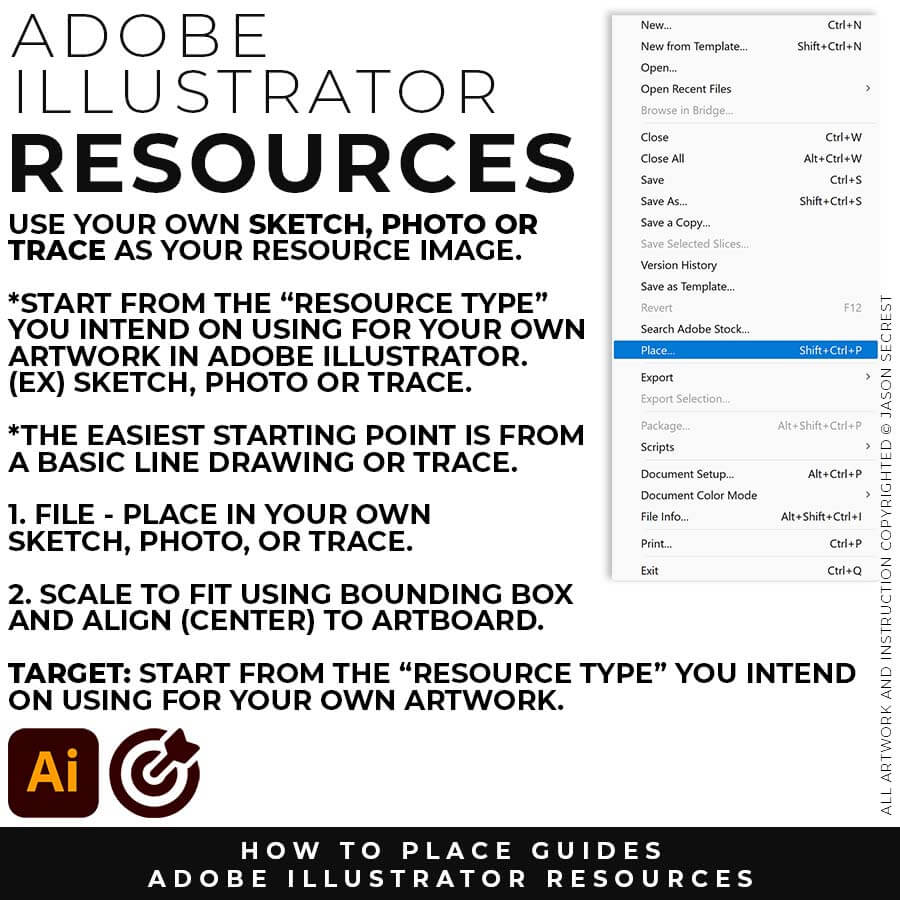
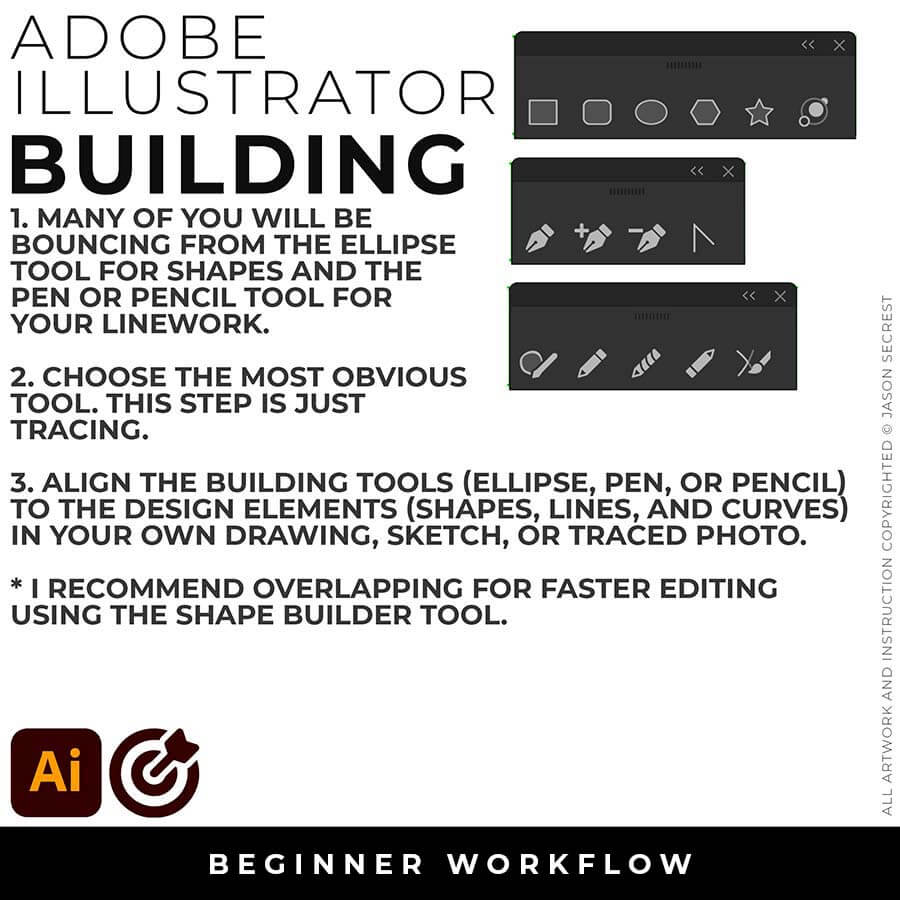
This Adobe Illustrator Tutorial will be a part of our Resource and Beginner Guides to help assist you in creating a workflow for your own artwork. LEARNING TARGET (1): Select a Primary Building Tool that best matches your own artwork or is the easiest to use (Pen, Pencil, or Shape Tools).  LEARNING TARGET (2): If you are new, pay attention to the order and sequence of events that I apply to my artwork. I will be adding Brushes to my Line Work before doing Expanded Editing. LEARNING TARGET (Adv): Use Shape Builder for fast Editing. Prep your initial paths to go long.
adobe illustrator pen tool kid
Image
PEN TOOL: If you are frustrated with the Pen Tool, a simple tip is to break down the process into 2 Steps. The first step is to just apply Anchor Points to the start-curve-end of a line or path. The second step is to adjust the Curves with the Anchor Point Tool or Smooth Curve Button in the Control Panel. 
Image
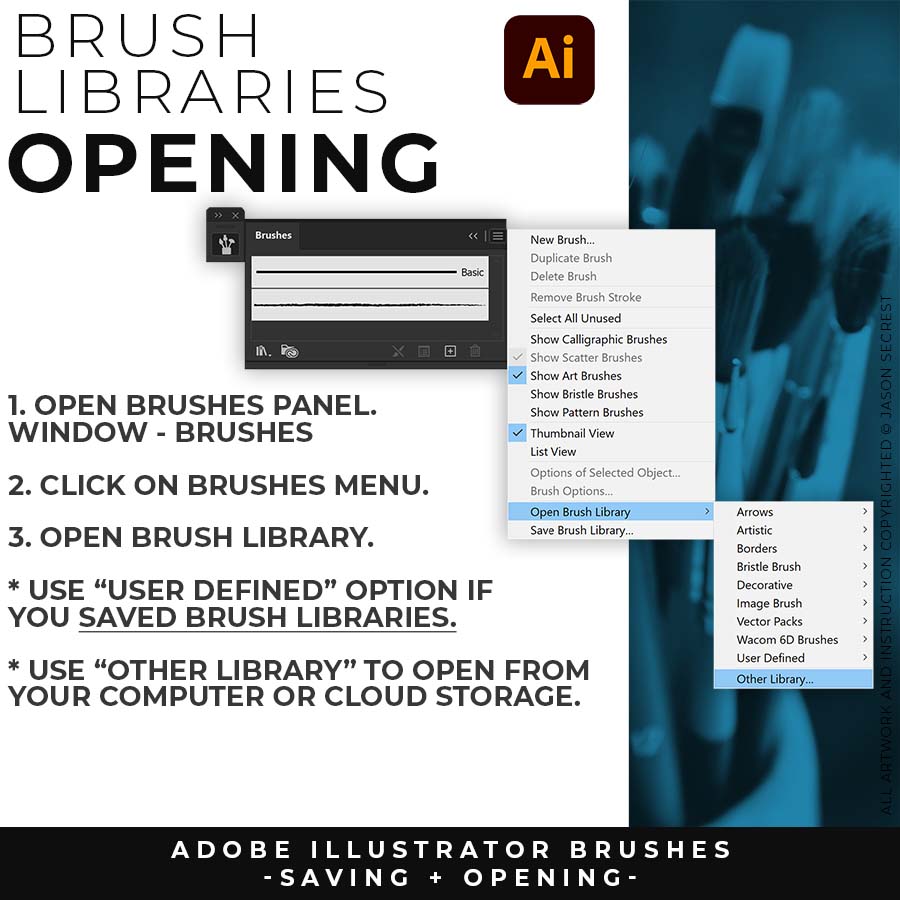
VARIATION: Many of you will be applying our Brush Libraries. To Open Brushes, open the Brushes Panel. Click on Open Brush Library. Scroll down to “Other Library.” Select one of the Brush Libraries to apply. If you saved Brushes, you can Open from “User Defined.”
Image
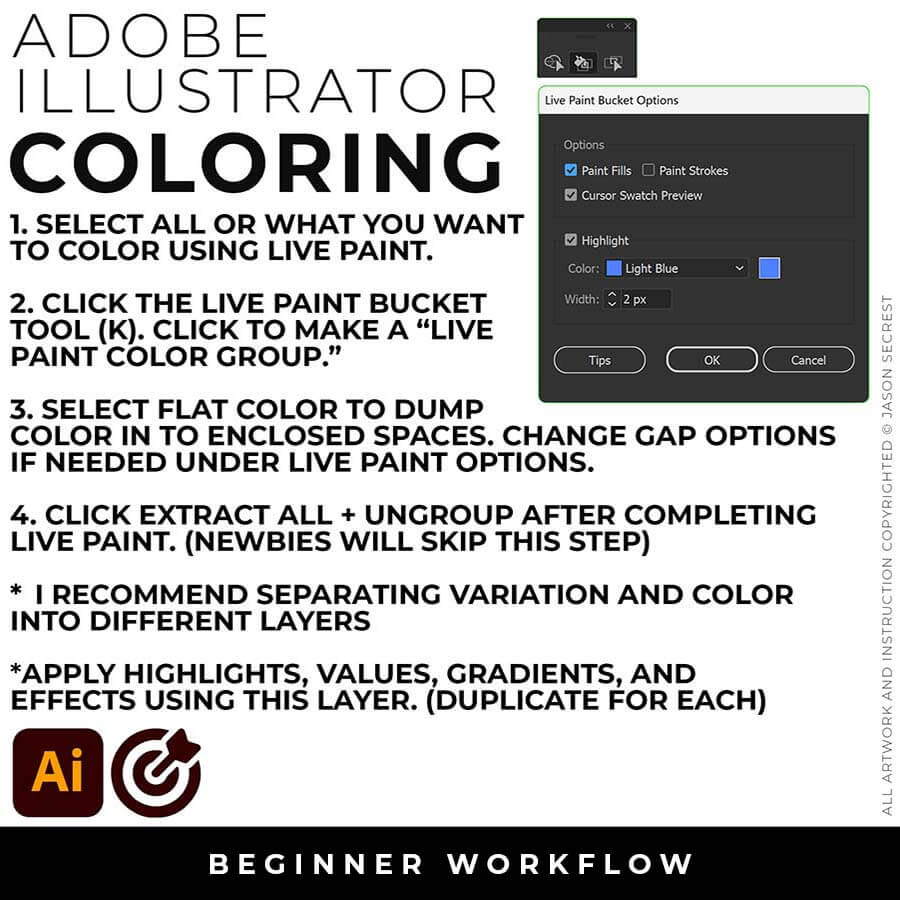
LIVE PAINT: Coloring will be extremely easy using Live Paint Bucket. The goal of Live Paint is to create Shapes that we can color using Fills. Once you have completed the Live Paint Group, it is important to Expand and Upgroup. We will leverage these shapes for our Values and Gradients.
Image
VARIATION: Many of you will be applying our Brush Libraries. To Open Brushes, open the Brushes Panel. Click on Open Brush Library. Scroll down to “Other Library.” Select one of the Brush Libraries to apply. If you saved Brushes, you can Open from “User Defined.”
Image
LIVE EDITING: While you are building in Adobe Illustrator, you can use the “Live” Editing Tools to Cut and Edit Paths. Some of the basic tools will be the Scissor Tool, Path Eraser, or Shape Builder. I do recommend going long with your initial Paths.
Image
LIVE PAINT: Coloring will be extremely easy using Live Paint Bucket. The goal of Live Paint is to create Shapes that we can color using Fills. Once you have completed the Live Paint Group, it is important to Expand and Upgroup. We will leverage these shapes for our Values and Gradients.
Image
VARIATION: Many of you will be applying our Brush Libraries. To Open Brushes, open the Brushes Panel. Click on Open Brush Library. Scroll down to “Other Library.” Select one of the Brush Libraries to apply. If you saved Brushes, you can Open from “User Defined.”
Image
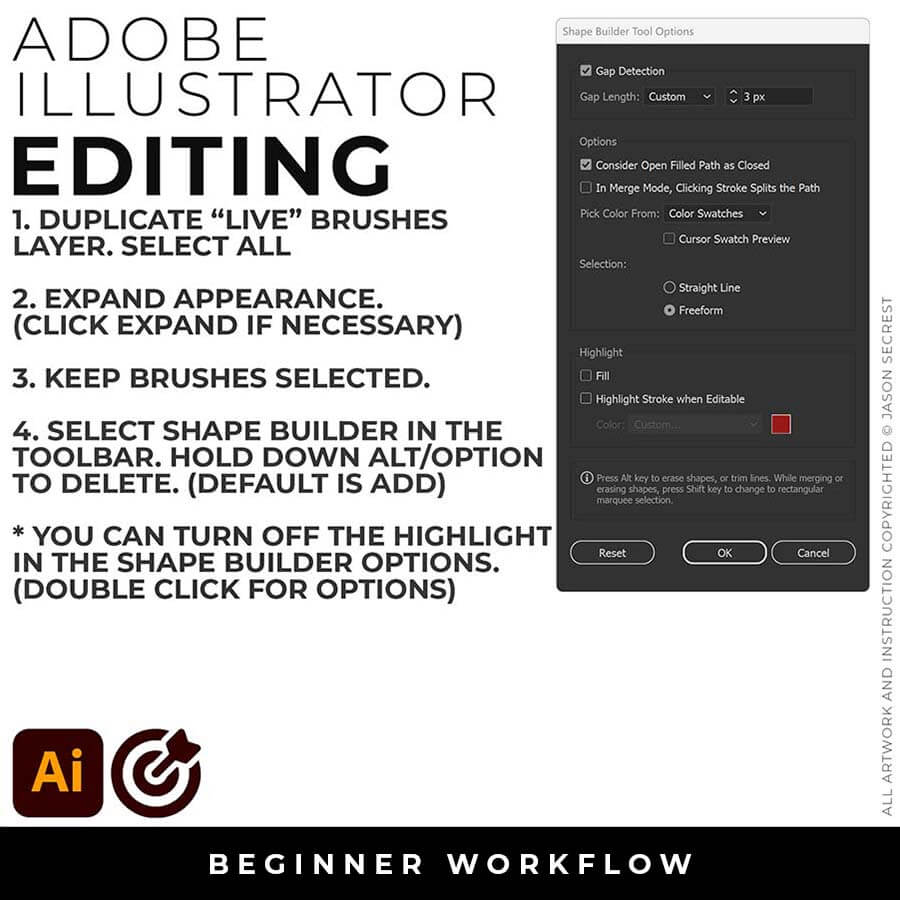
EXPANDED EDITING: After completing the Line Variation, I will recommend keeping the “Live” Layer from future Editing. Duplicate and Lock Out. We will be Expanding this New Layer to use with Shape Builder for Fast Editing. Hold down Alt/Option while Editing.
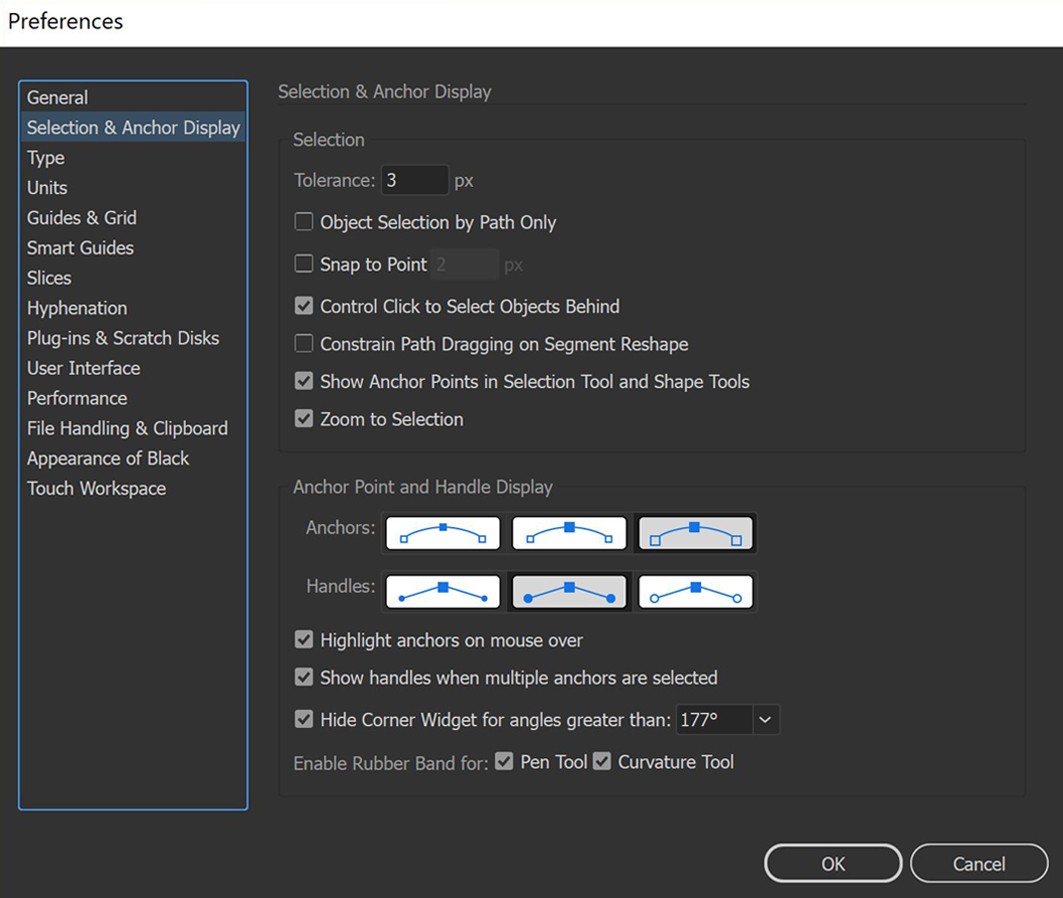
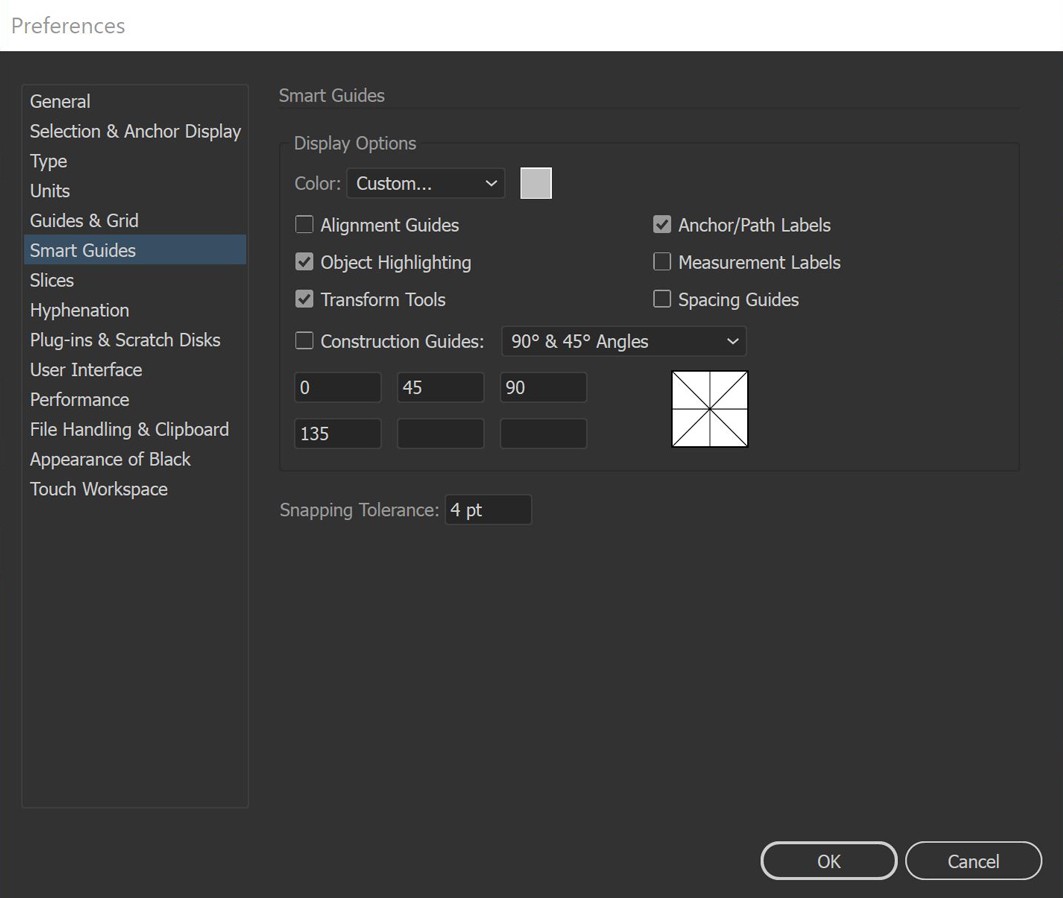
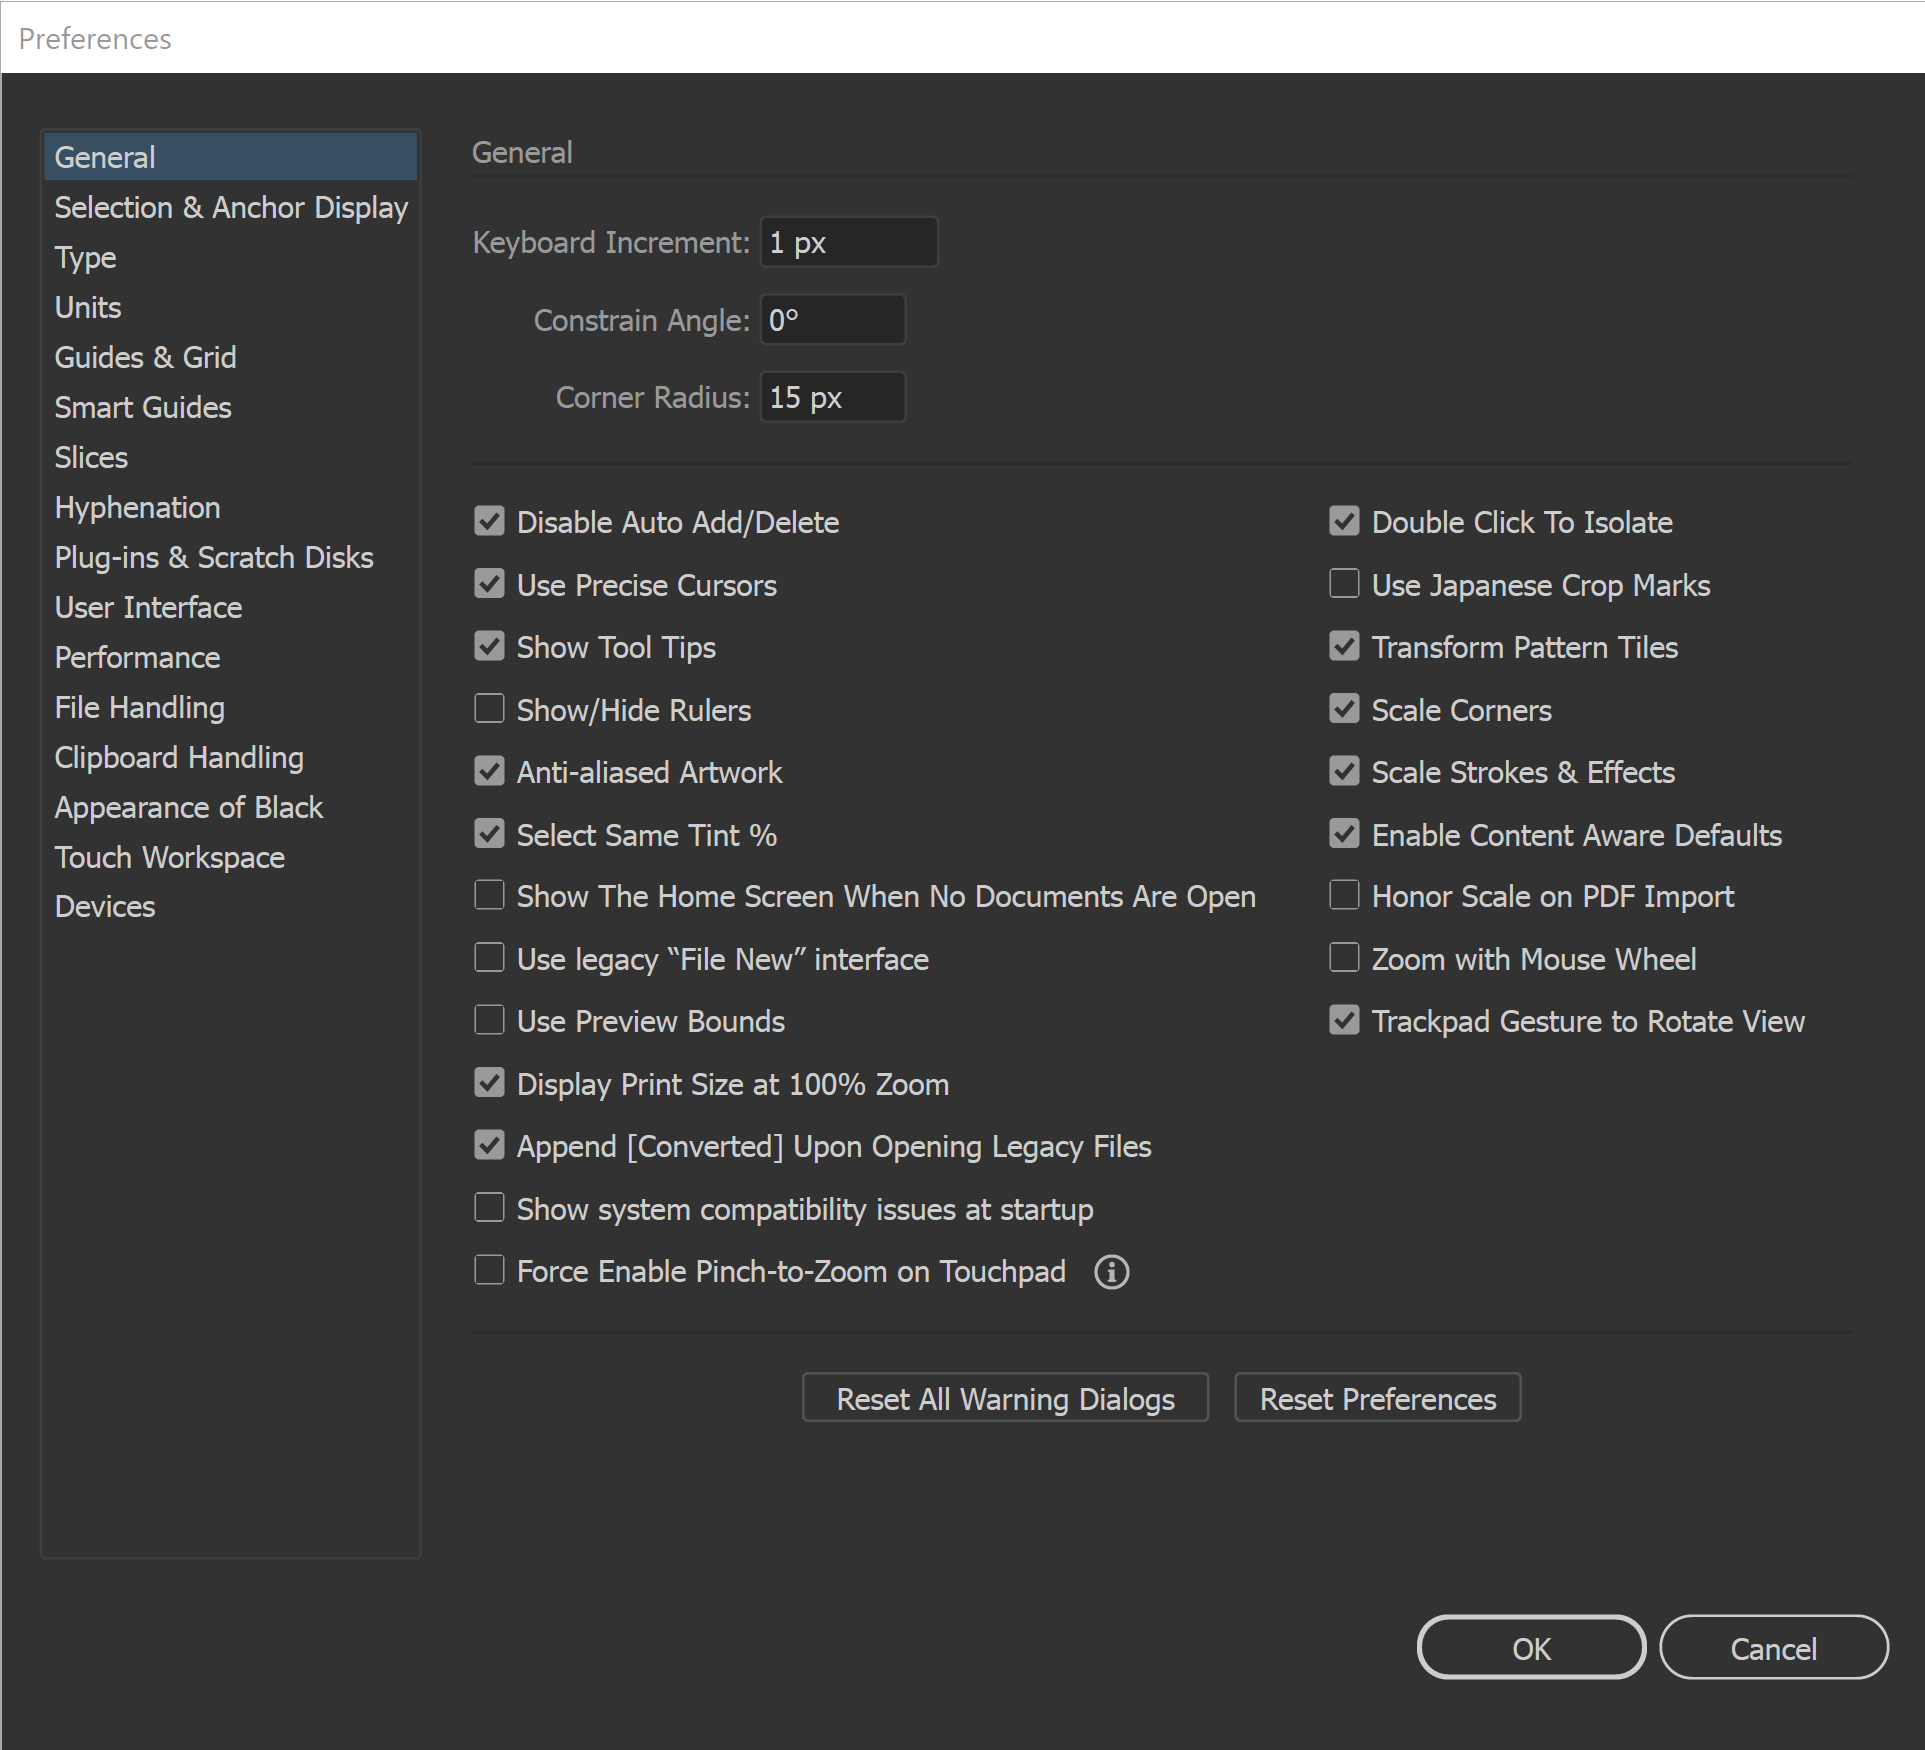
adobe illustrator preferences for beginners
DOWNLOAD BRUSHES: Many of you are jumping over from YouTube looking to download our 200 Adobe Illustrator Brushes. Digital Downloads will come to you through our friends at Teachable. Brush Libraries: 70 Cartoon, 100 Comic Strip, and 50 Vintage Mascot Brushes.
SAVE LIBRARIES: Once you have downloaded and extracted the Brushes Folders, I recommend Saving Brush Libraries to your "User Defined" by clicking Save Brush Library in the Brushes Menu. Follow along with our Resource Guides to save, apply, and edit Brushes in Adobe Illustrator.
OPEN BRUSHES: Our 200 Adobe Illustrator Brushes have been organized into Brush Libraries for easy application and to maintain consistency with your Line Variation. You can Open Brush Libraries through the “User Defined” or “Other Library” Options in the Brushes Panel in Adobe Illustrator.
LIVE EDITING: While you are building in Adobe Illustrator, you can use the “Live” Editing Tools to Cut and Edit Paths. Some of the basic tools will be the Scissor Tool, Path Eraser, or Shape Builder. I do recommend going long with your initial Paths using Pencil and Pen Tools.
APPLYING BRUSHES: Many of you will be applying our Brush Libraries. To Open Brushes, open the Brushes Panel. Click on Open Brush Library. Scroll down to “Other Library.” Select one of the Brush Libraries to apply. If you saved Brushes, you can Open from “User Defined.”
EXPANDED EDITING: After completing the Line Variation, I will recommend keeping the “Live” Layer from future Editing. Duplicate and Lock Out. We will be Expanding this New Layer to use with Shape Builder for Fast Editing. Hold down Alt/Option while Editing.
APPLY: Many of you will be adding our Brush Libraries for Line Variation. Notice that I am finding the ends to see if it will be floating or hitting another line. If it hits another line that signals a darker value to the end should reflect the change in value. (Thicker End).
EXPAND: For your own artwork, duplicate your Live Brushes Layer before Expanding. Expand All. Object - Expand Appearance + Expand. Path Simplify Option: Once the Brushes have been Expanded hit the selection with a Simplify Path (Object - Path - Simplify) to clean up extra Anchor Points.
EDIT: Select All. Select your Shape Builder Tool. Hold down Alt/Option to Delete. Hit all of the overlapping lines to clean up any of the extra lines. You can Turn Off the Highlighting feature in Shape Builder. I recommend zooming in to delete smaller areas.
DIGITAL DOWNLOADS: Many of you are jumping over from YouTube looking to download our Adobe Illustrator Brushes and Resource Folders. Once you have downloaded and extracted the folders, Digital Downloads are ready to use in Adobe Illustrator. Start with our Resource Guides, Illustrator Tutorials, or YouTube Playlists to understand how to apply resources in Adobe Illustrator. BRUSH LIBRARIES / COMIC HALFTONES / T-SHIRT TEXTURES / RESOURCE BUNDLE
Image
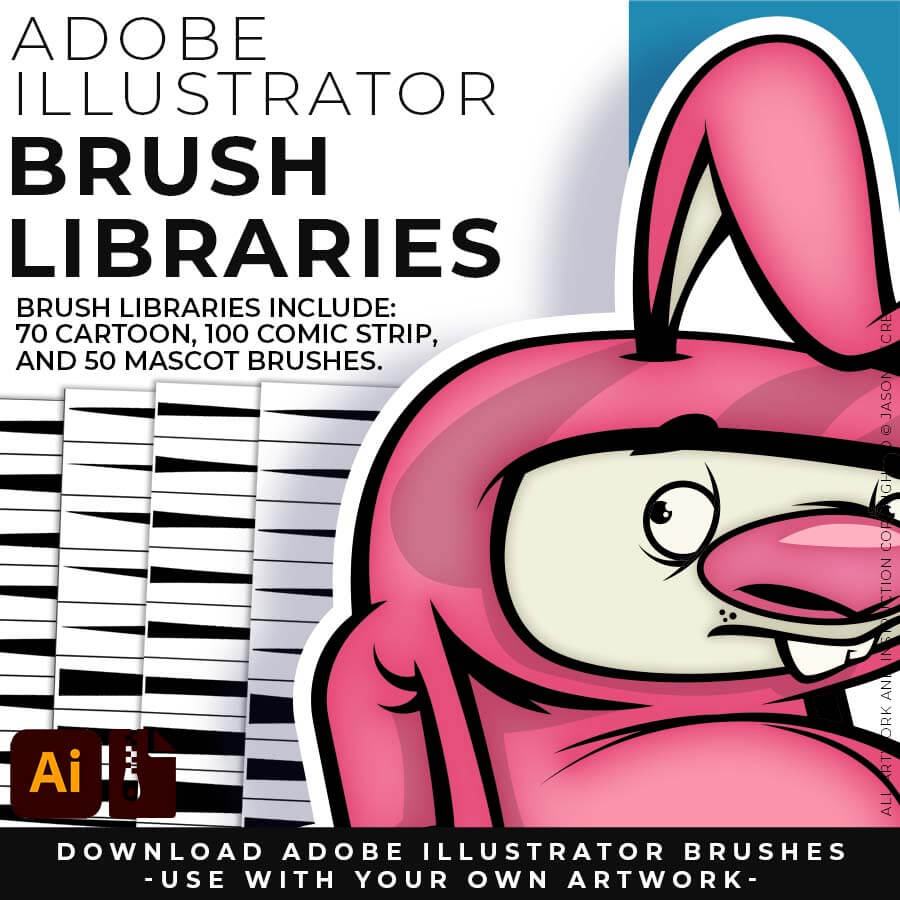
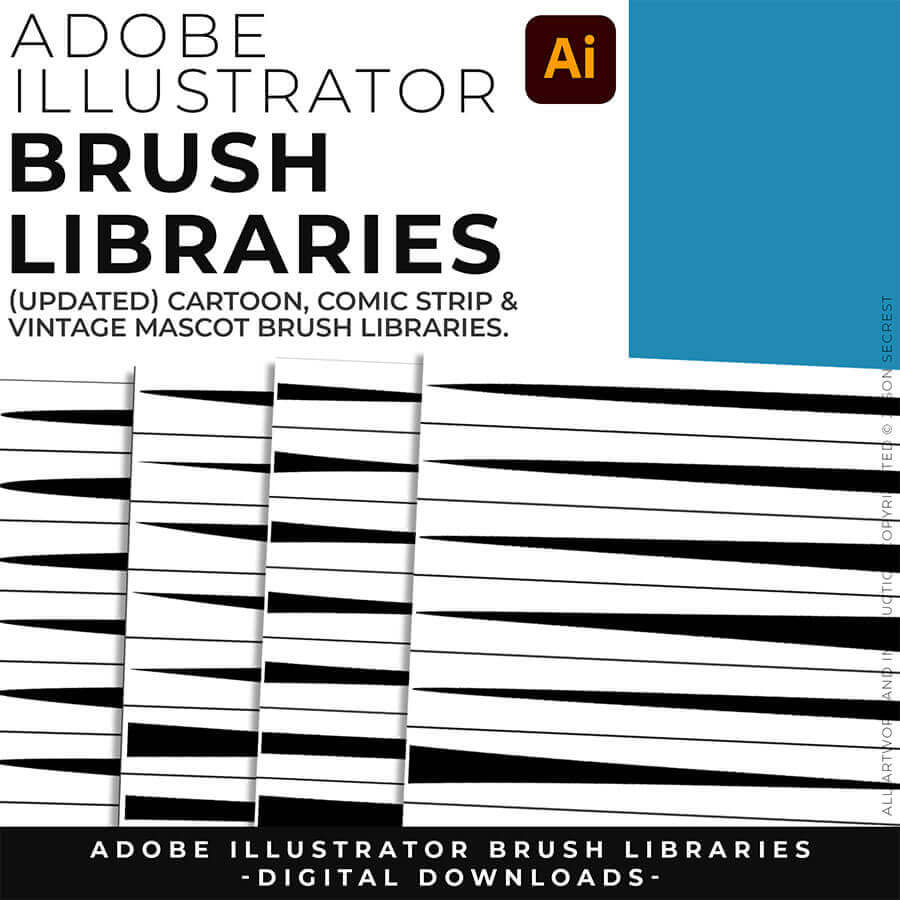
200 ADOBE ILLUSTRATOR BRUSHES. Brush Libraries are specifically designed for Illustrators and Cartoonists to speed up their workflow. Brush Libraries are compatible with Adobe Illustrator CC through CS. Mac or PC. Brush Libraries include 70 Cartoon, 100 Comic Strip, and 50 Vintage Mascot Brushes.
Image
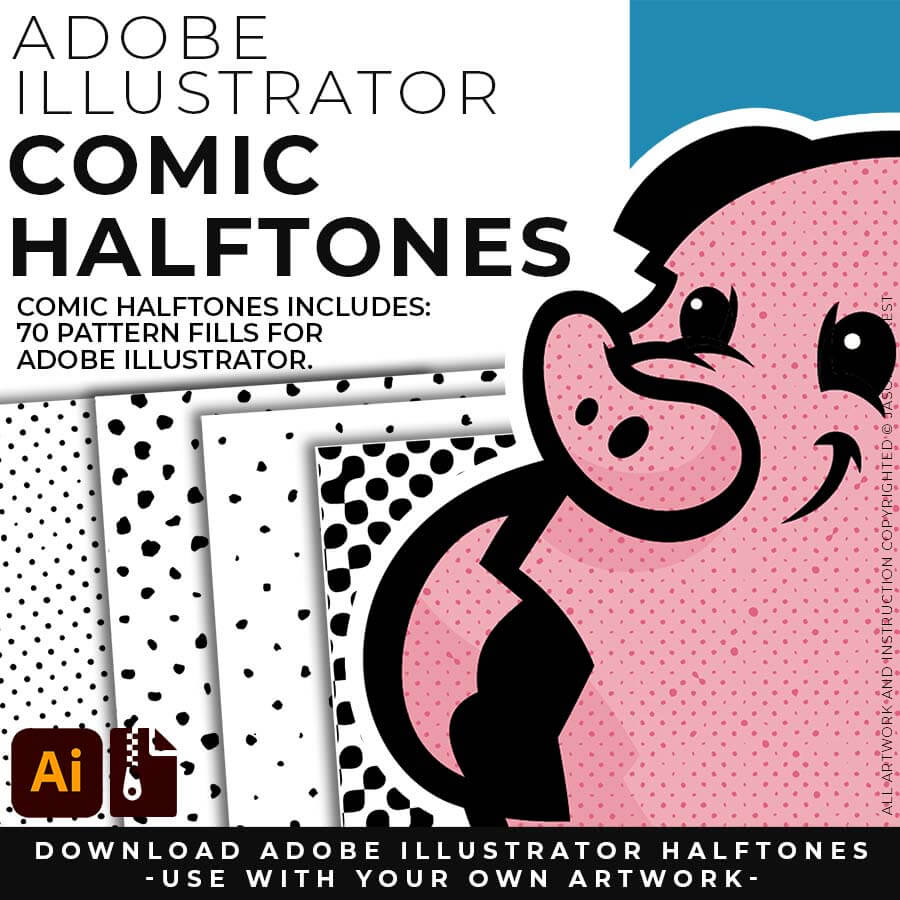
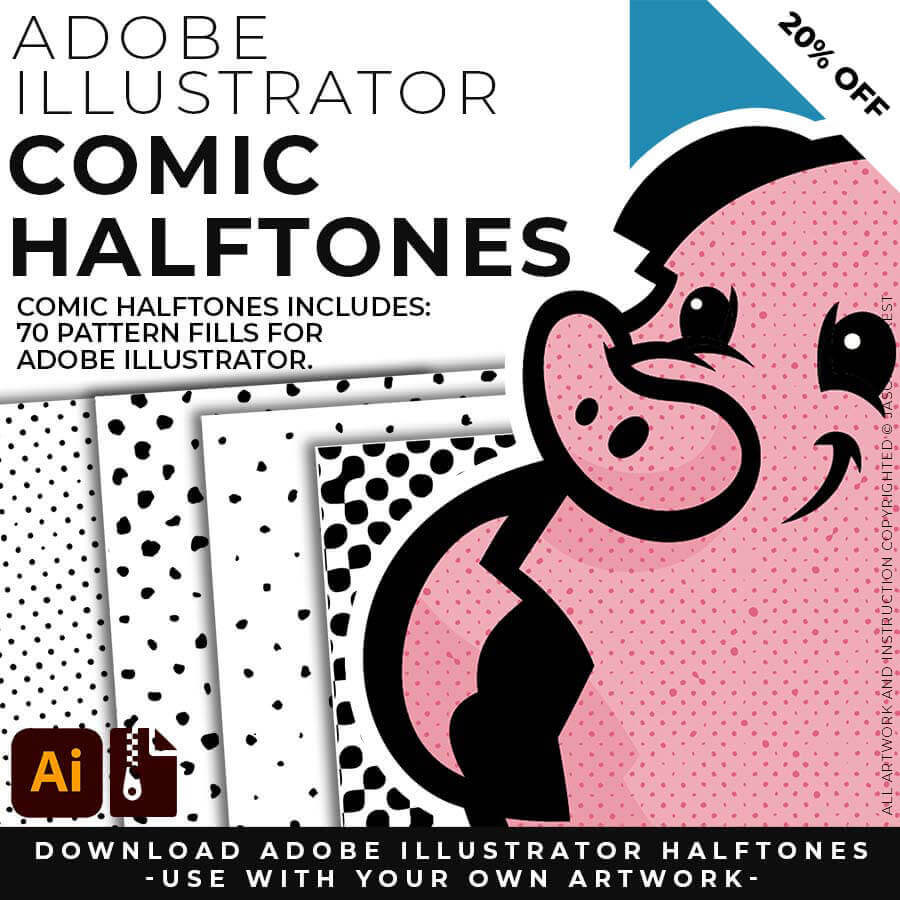
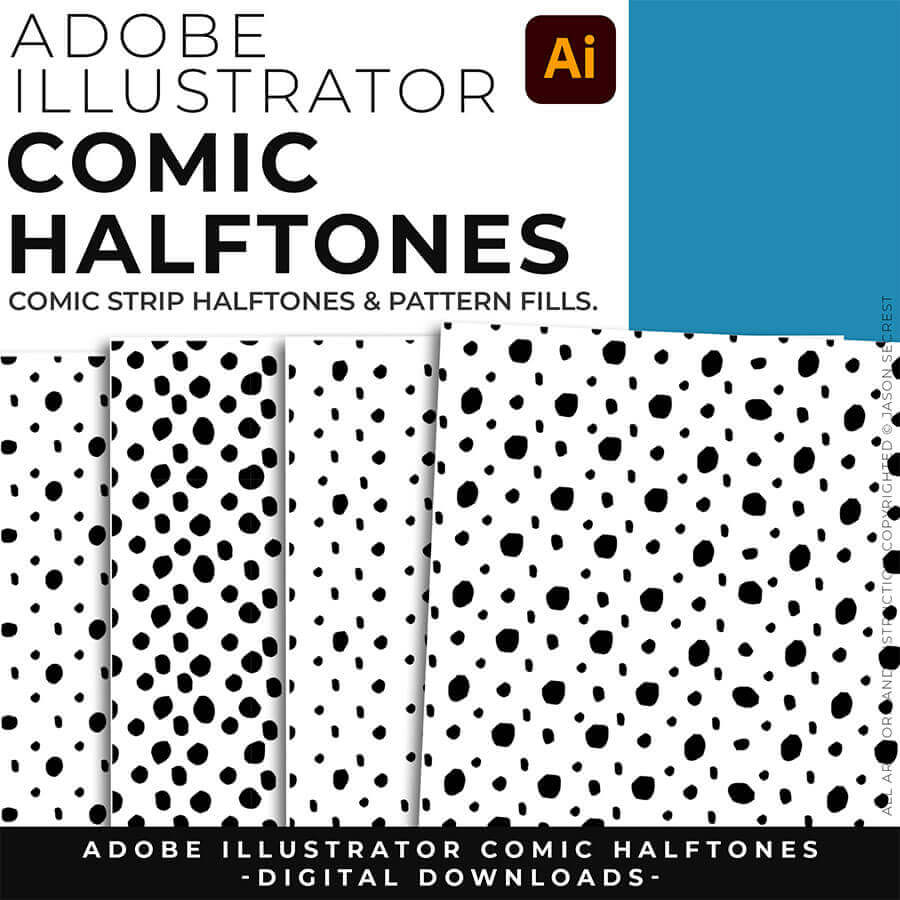
70 ADOBE ILLUSTRATOR HALFTONES. Halftone Patterns Fills are designed for easy application even if you are new to Adobe Illustrator. Halftone Fills behave the same as a Color Swatch so you can apply them quickly using the Blob Brush, Live Paint, or Basic Fills. Halftones include 70 Comic Strip Halftone Pattern Fills.
Image
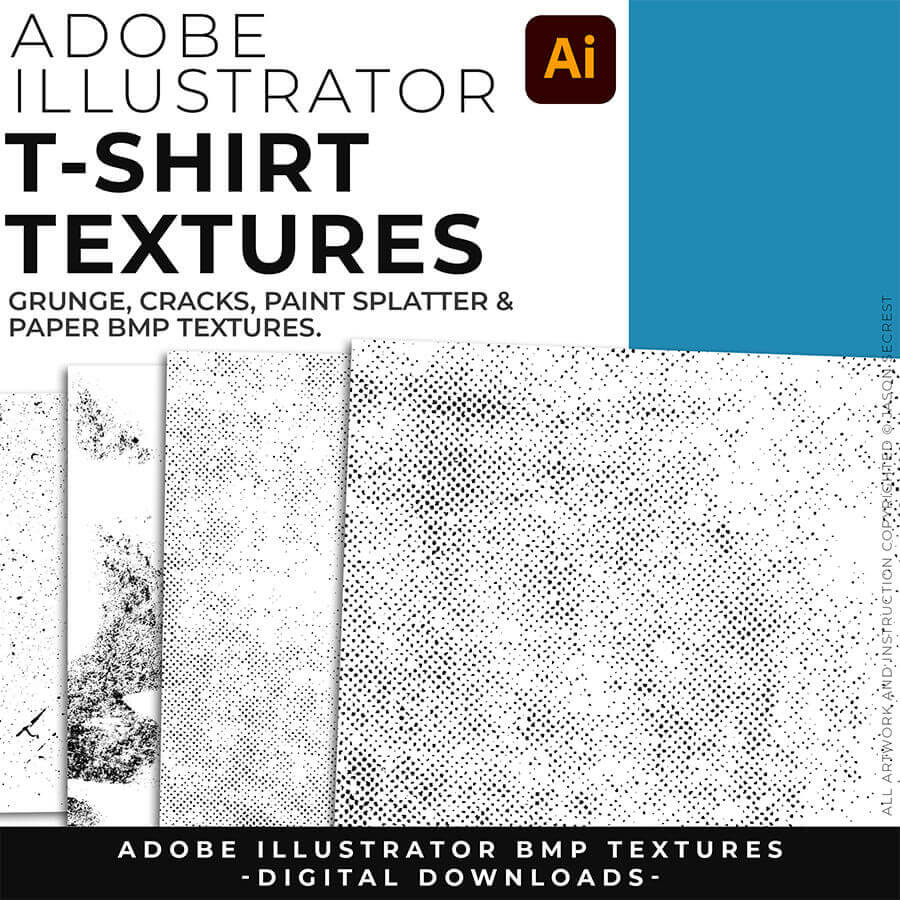
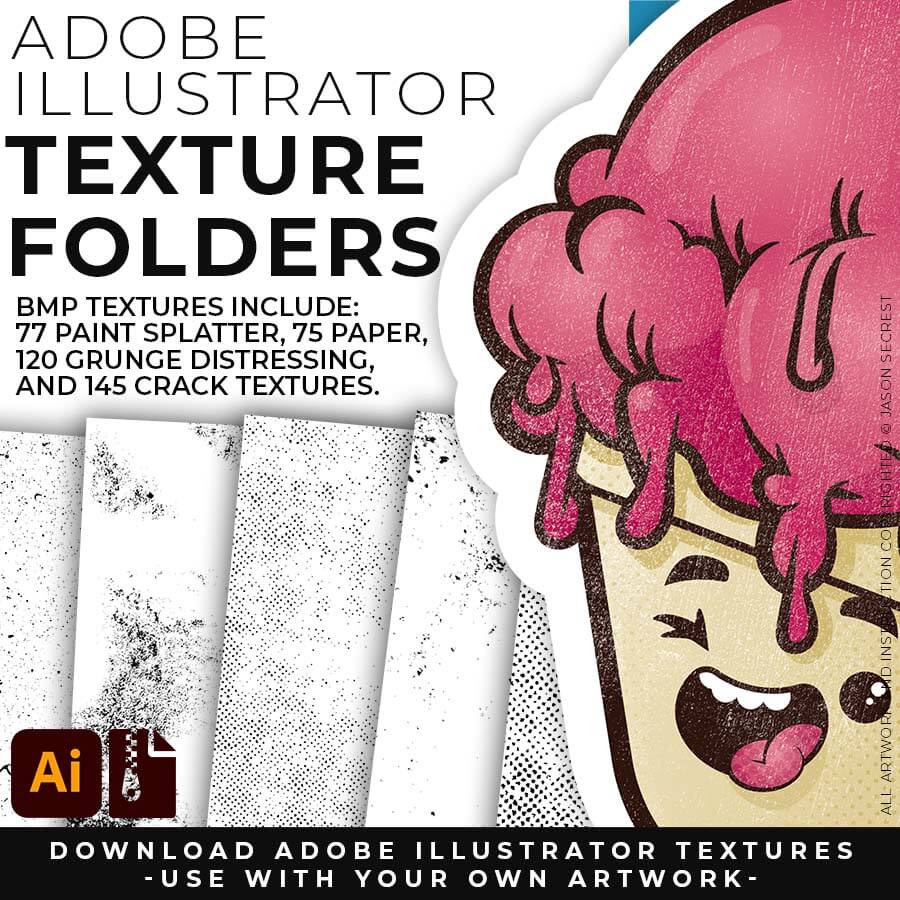
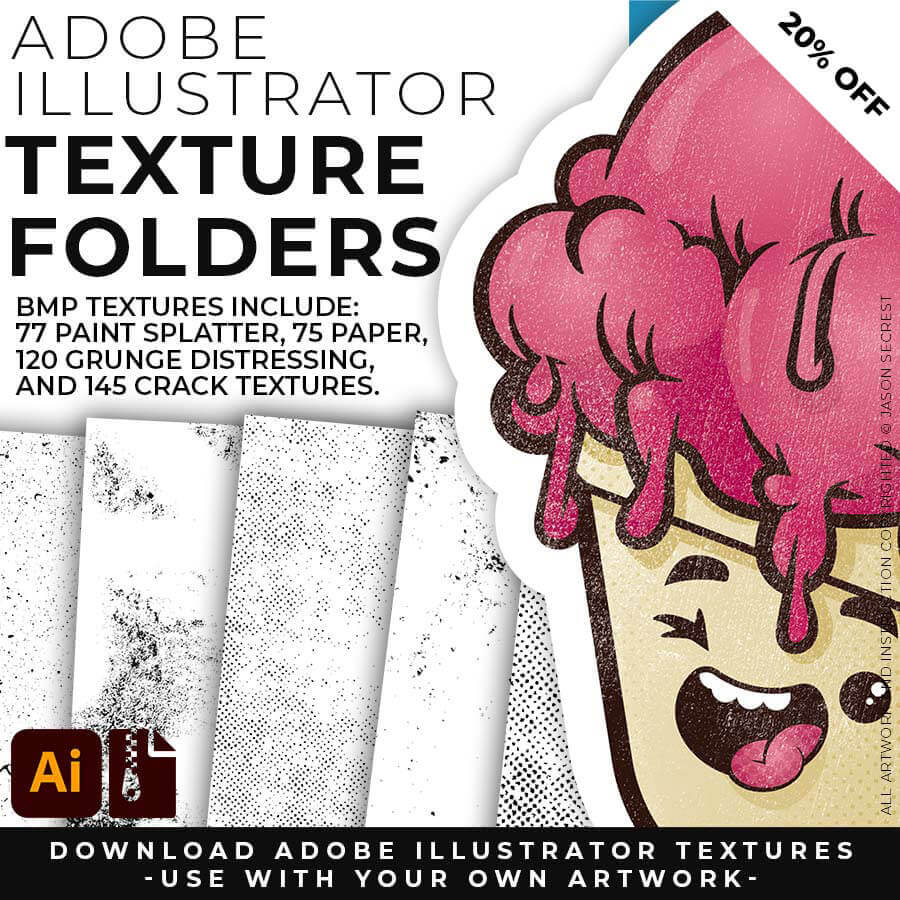
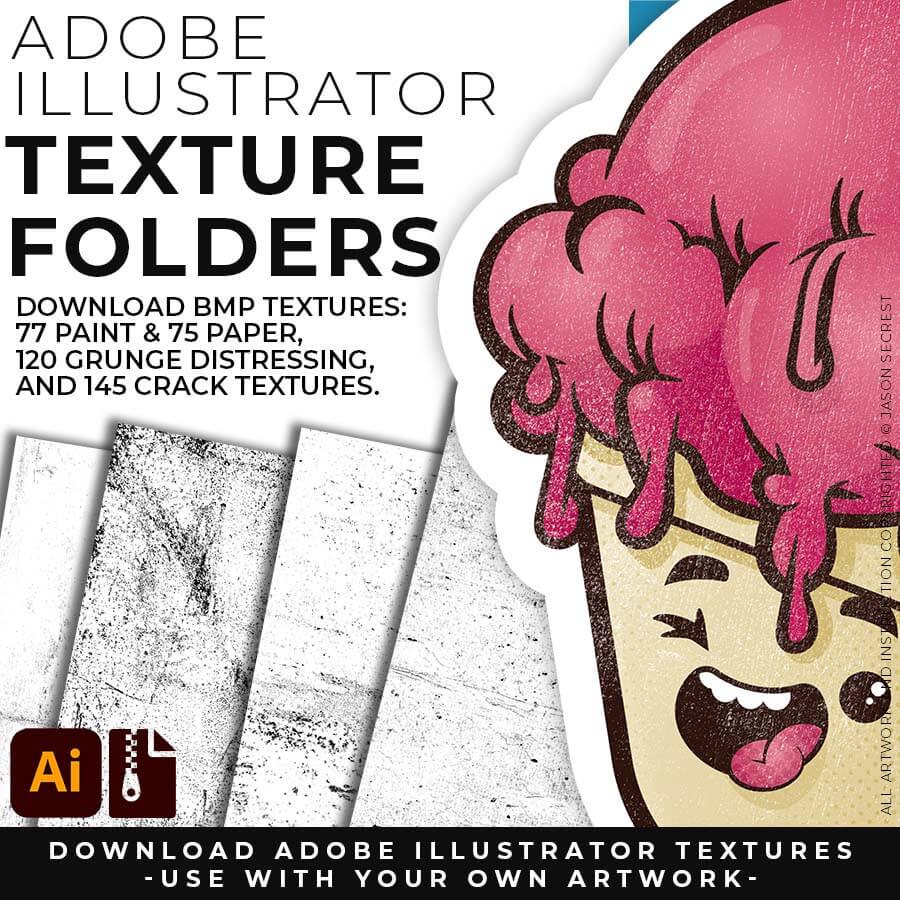
400 ADOBE ILLUSTRATOR BMP TEXTURES. BMP Textures are extremely easy to use even if you are a beginner to Adobe Illustrator. Use BMP Textures along with Opacity Masks in the Transparency Panel for T-Shirt Distressing. BMP Textures include 145 Cracks, 120 Grunge, 75 Paper, and 77 Paint Textures.
Image
200 ADOBE ILLUSTRATOR BRUSHES. Brush Libraries are specifically designed for Illustrators and Cartoonists to speed up their workflow. Brush Libraries are compatible with Adobe Illustrator CC through CS. Mac or PC. Brush Libraries include 70 Cartoon, 100 Comic Strip, and 50 Vintage Mascot Brushes.
Image
70 ADOBE ILLUSTRATOR HALFTONES. Halftone Patterns Fills are designed for easy application even if you are new to Adobe Illustrator. Halftone Fills behave the same as a Color Swatch so you can apply them quickly using the Blob Brush, Live Paint, or Basic Fills. Halftones include 70 Comic Strip Halftone Pattern Fills.
Image
400 ADOBE ILLUSTRATOR BMP TEXTURES. BMP Textures are extremely easy to use even if you are a beginner to Adobe Illustrator. Use BMP Textures along with Opacity Masks in the Transparency Panel for T-Shirt Distressing. BMP Textures include 145 Cracks, 120 Grunge, 75 Paper, and 77 Paint Textures.
ADOBE ILLUSTRATOR

RESOURCE BUNDLE

RESOURCE BUNDLE

Image
200 ADOBE ILLUSTRATOR BRUSHES. Brush Libraries are specifically designed for Illustrators and Cartoonists to speed up their workflow. Brush Libraries are compatible with Adobe Illustrator CC through CS. Mac or PC. Brush Libraries include 70 Cartoon, 100 Comic Strip, and 50 Vintage Mascot Brushes.
Image
70 ADOBE ILLUSTRATOR HALFTONES. Halftone Patterns Fills are designed for easy application even if you are new to Adobe Illustrator. Halftone Fills behave the same as a Color Swatch so you can apply them quickly using the Blob Brush, Live Paint, or Basic Fills. Halftones include 70 Comic Strip Halftone Pattern Fills.
Image
400 ADOBE ILLUSTRATOR BMP TEXTURES. BMP Textures are extremely easy to use even if you are a beginner to Adobe Illustrator. Use BMP Textures along with Opacity Masks in the Transparency Panel for T-Shirt Distressing. BMP Textures include 145 Cracks, 120 Grunge, 75 Paper, and 77 Paint Textures.
Image
200 ADOBE ILLUSTRATOR BRUSHES. Brush Libraries are specifically designed for Illustrators and Cartoonists to speed up their workflow. Brush Libraries are compatible with Adobe Illustrator CC through CS. Mac or PC. Brush Libraries include 70 Cartoon, 100 Comic Strip, and 50 Vintage Mascot Brushes.
Image
70 ADOBE ILLUSTRATOR HALFTONES. Halftone Patterns Fills are designed for easy application even if you are new to Adobe Illustrator. Halftone Fills behave the same as a Color Swatch so you can apply them quickly using the Blob Brush, Live Paint, or Basic Fills. Halftones include 70 Comic Strip Halftone Pattern Fills.
Image
400 ADOBE ILLUSTRATOR BMP TEXTURES. BMP Textures are extremely easy to use even if you are a beginner to Adobe Illustrator. Use BMP Textures along with Opacity Masks in the Transparency Panel for T-Shirt Distressing. BMP Textures include 145 Cracks, 120 Grunge, 75 Paper, and 77 Paint Textures.
ADOBE ILLUSTRATOR

RESOURCE BUNDLE

RESOURCE BUNDLE

DOWNLOAD BRUSHES: Adobe Illustrator Brushes are specifically designed for Illustrators and Cartoonists to speed up their workflow. (Updated) Libraries are pressure-sensitive for those of you looking for the option to use your Tablets. Brush Libraries are compatible with Adobe Illustrator CC through CS. Mac or PC. Brush Libraries: Updated Cartoon, Comic Strip, and Vintage Mascot Brushes.

DOWNLOAD BRUSHES: Many of you are jumping over from YouTube looking to download our Adobe Illustrator Brushes.  Once you have downloaded and extracted the folders, Brush Libraries will be ready to use in Adobe Illustrator. Start with our Resource Guides, Illustrator Tutorials, or YouTube Playlists to understand how to apply Brush Libraries in Adobe Illustrator. (Updated) Brushes include Cartoon, Comic Strip, and Vintage Mascot Libraries.

BRUSH LIBRARIES: Our Brushes are specifically designed for Illustrators and Cartoonists to speed up their workflow. (Updated) Libraries are pressure-sensitive for those of you looking to use your Tablets. Apply Brushes with Pen, Pencil, Shapes, or Paintbrush Tools. Brush Libraries are compatible with Adobe Illustrator CC through CS. Mac or PC. Adobe Illustrator Brush Libraries: Updated Cartoon, Comic Strip, and Vintage Mascot Brushes.

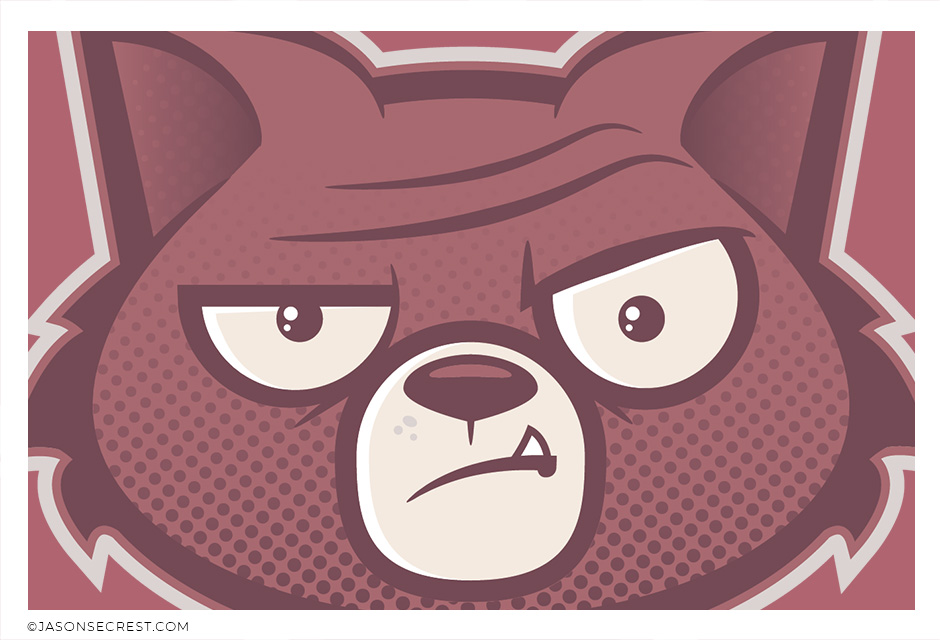
beginner adobe illustrator tutorial whale
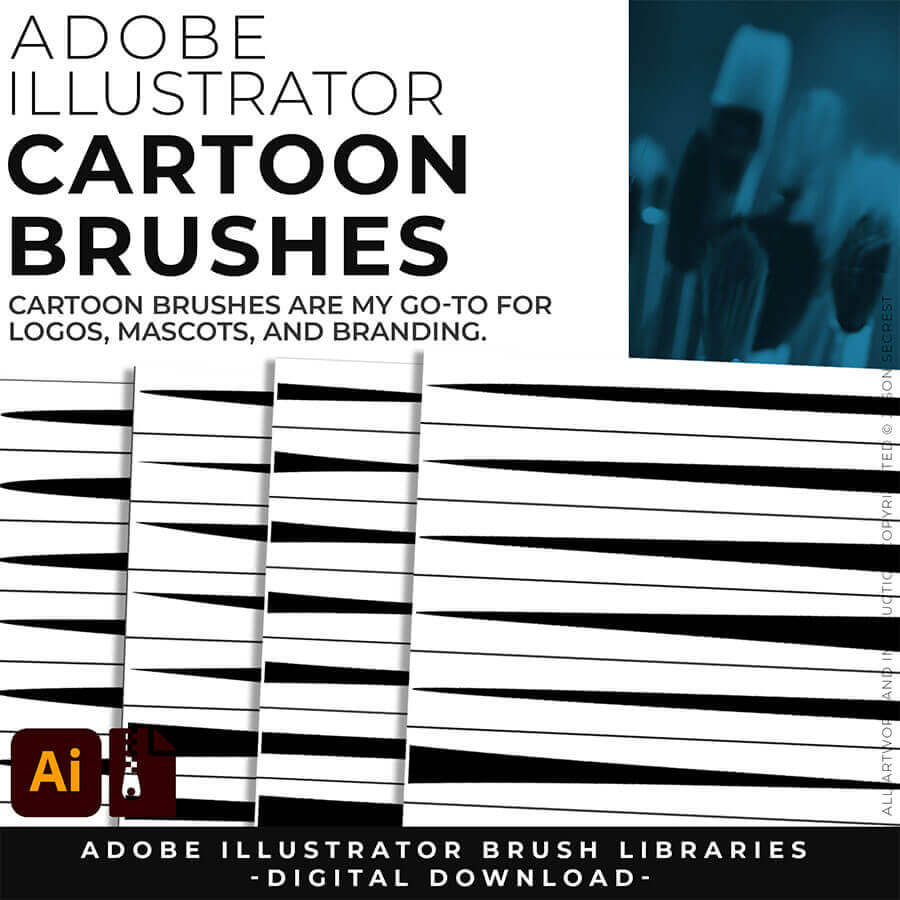
CARTOON BRUSHES: Cartoon Brushes are my go-to brushes for Professional Logos, Cartoons, Mascots, and Branding. Use Cartoon Illustrator Brushes with the Pen, Pencil, or Paint Brush Tools to Apply different Line Variation to your Vector Artwork. (Updated) Cartoon, Cartoon 2, and Original Cartoon Brush Libraries. 
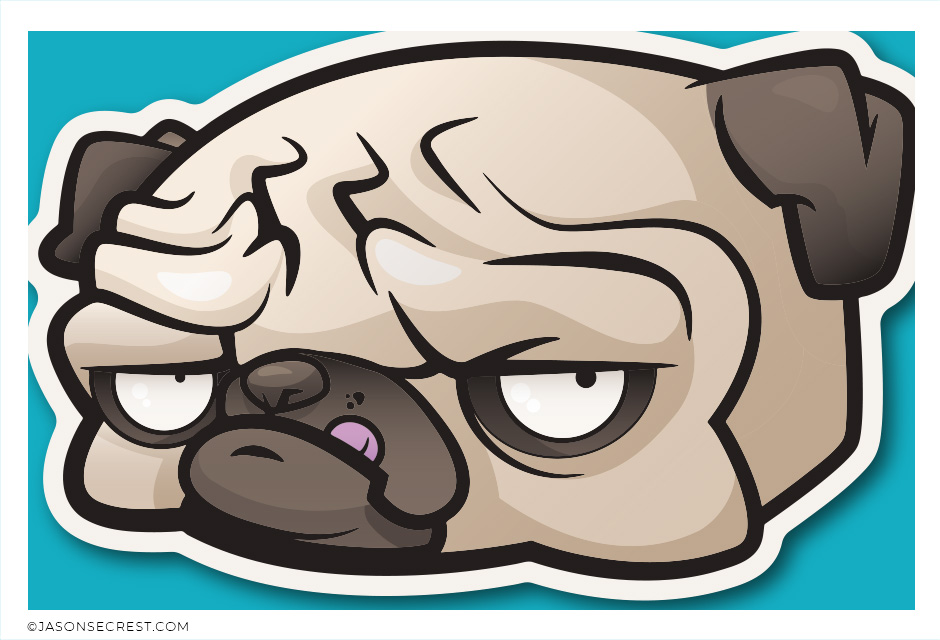
beginner adobe illustrator tutorial pug
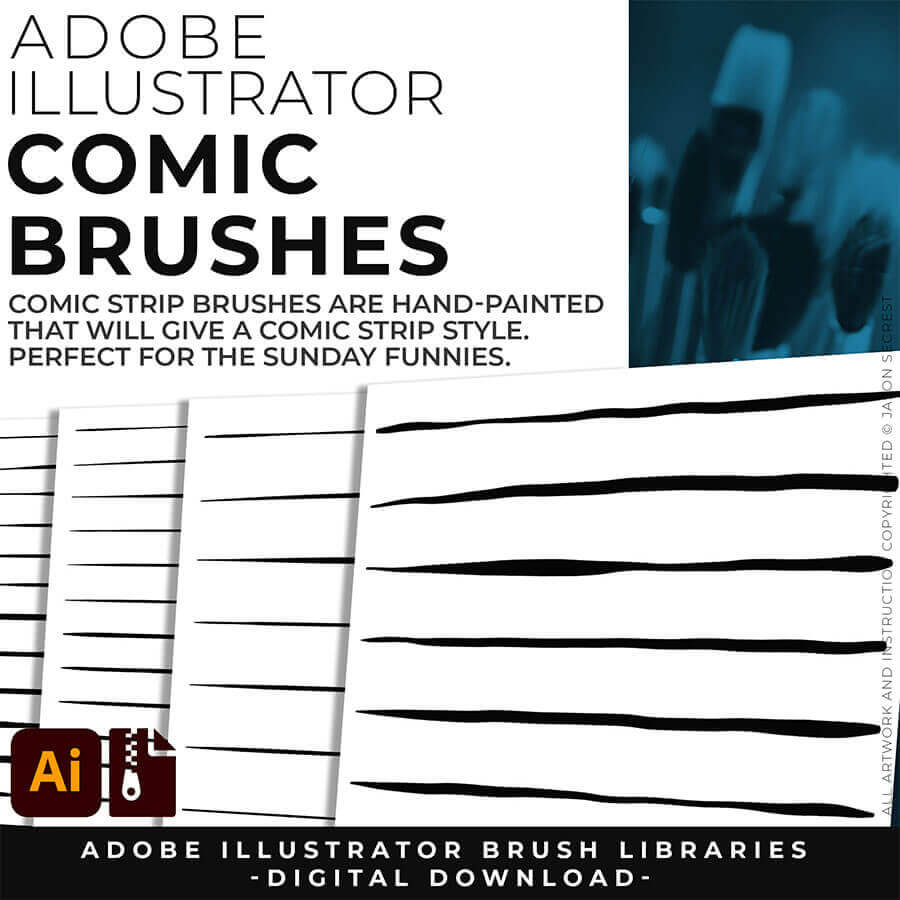
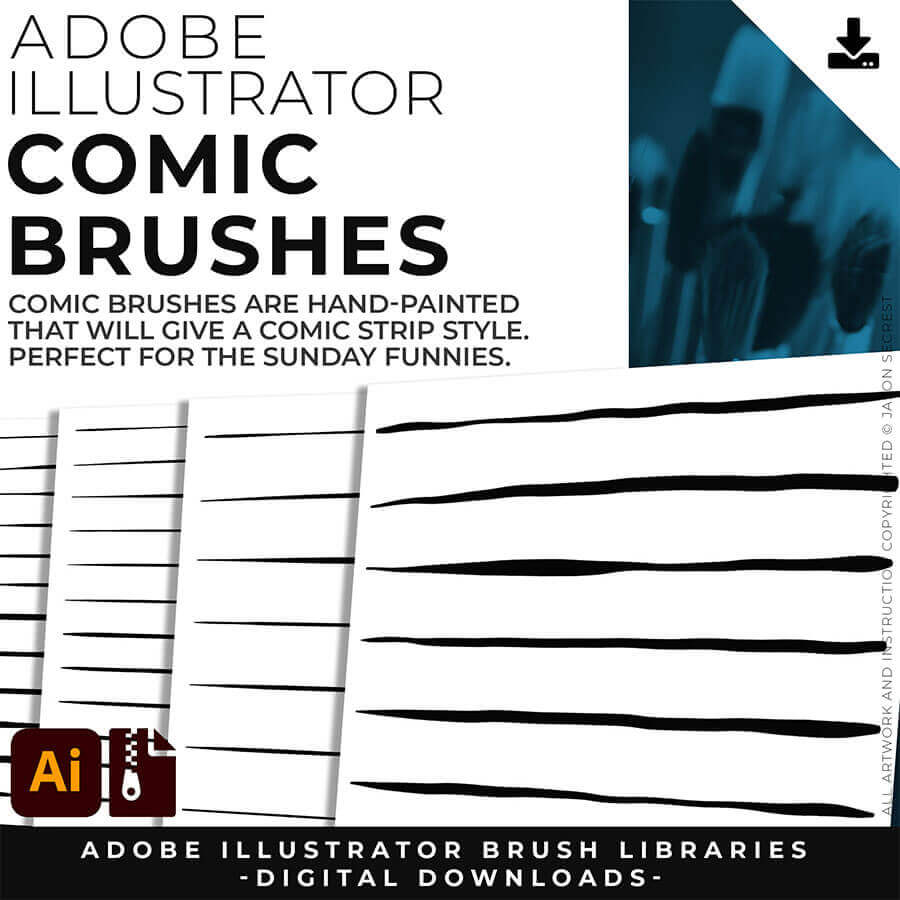
COMIC STRIP BRUSHES: Hand Painted + Comic Strip Brushes to get a lived in feel back into your Vector Art. Comic Strips and Hand Painted are painted based on some of my favorite artists and cartoonists. These brushes are designed to look ready for the Sunday Paper. (Updated) Comic Strip, Hand-Painted, Paintbrush, and Fine Liner Brush Libraries. 
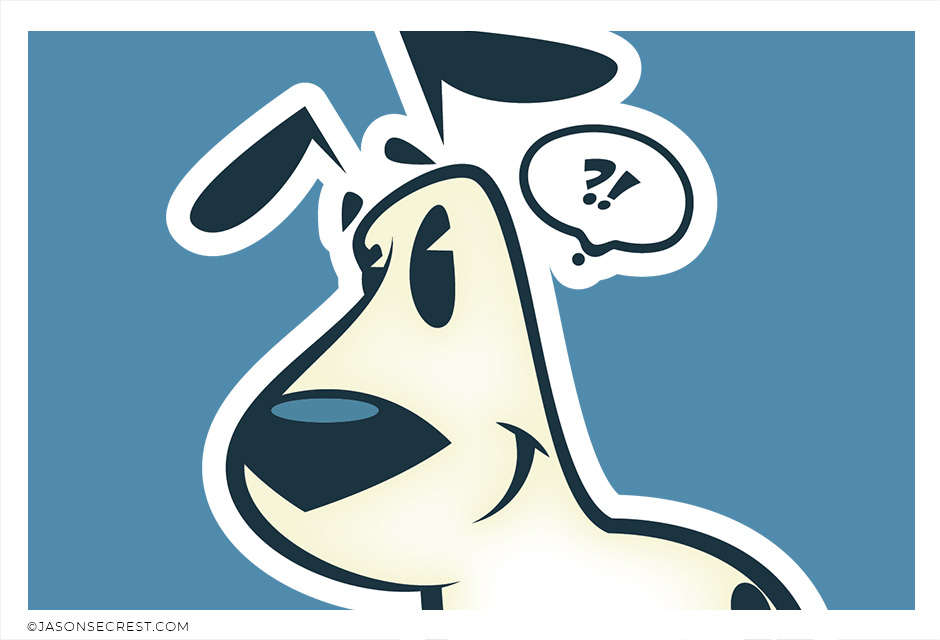
beginner adobe illustrator tutorial coyote
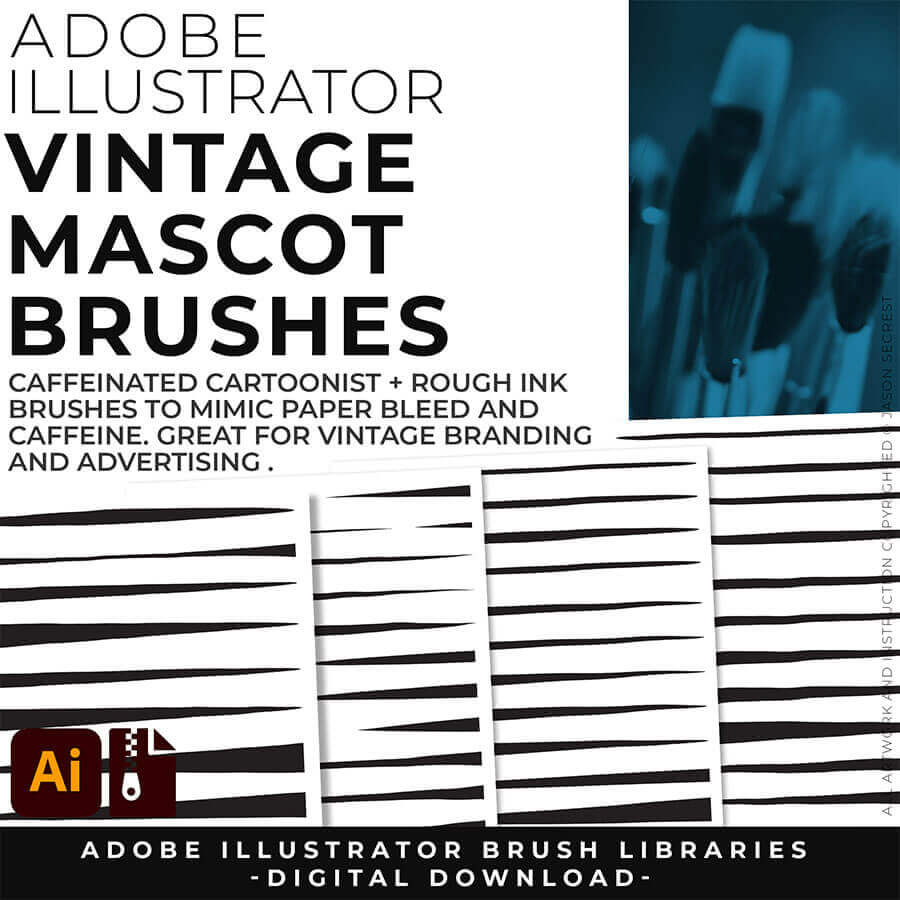
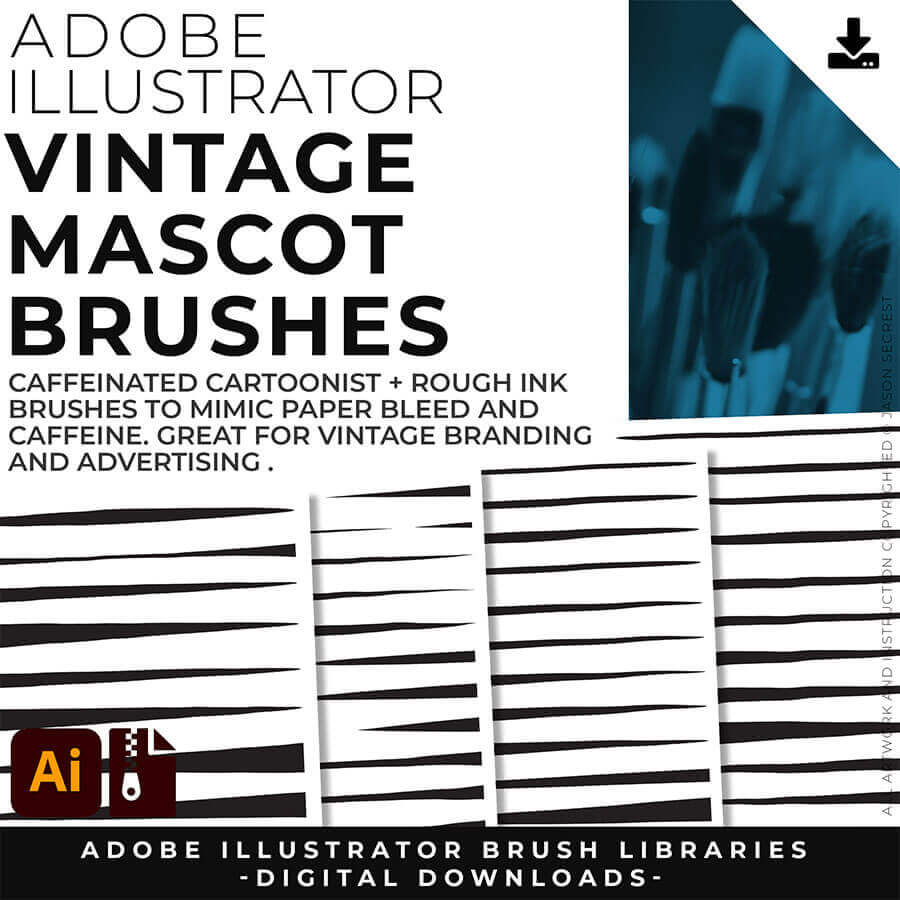
MASCOT BRUSHES: Jittery Hand, Caffeinated Cartoonist + Rough Ink Brushes to Mimic Paper Bleed and Caffeine. Designed to be a little less stiff with your vector art. Use these Brush Libraries to get more of a distressed look or ink bleed back in your own Vector Artwork. (Updated) Caffeinated Cartoonist, Rough Ink, and Jittery Hand Brush Libraries. 
beginner adobe illustrator tutorial whale
CARTOON BRUSHES: Cartoon Brushes are my go-to brushes for Professional Logos, Cartoons, Mascots, and Branding. Use Cartoon Illustrator Brushes with the Pen, Pencil, or Paint Brush Tools to Apply different Line Variation to your Vector Artwork. (Updated) Cartoon, Cartoon 2, and Original Cartoon Brush Libraries. 
beginner adobe illustrator tutorial pug
COMIC STRIP BRUSHES: Hand Painted + Comic Strip Brushes to get a lived in feel back into your Vector Art. Comic Strips and Hand Painted are painted based on some of my favorite artists and cartoonists. These brushes are designed to look ready for the Sunday Paper. (Updated) Comic Strip, Hand-Painted, Paintbrush, and Fine Liner Brush Libraries. 
beginner adobe illustrator tutorial coyote
MASCOT BRUSHES: Jittery Hand, Caffeinated Cartoonist + Rough Ink Brushes to Mimic Paper Bleed and Caffeine. Designed to be a little less stiff with your vector art. Use these Brush Libraries to get more of a distressed look or ink bleed back in your own Vector Artwork. (Updated) Caffeinated Cartoonist, Rough Ink, and Jittery Hand Brush Libraries. 
beginner adobe illustrator tutorial whale
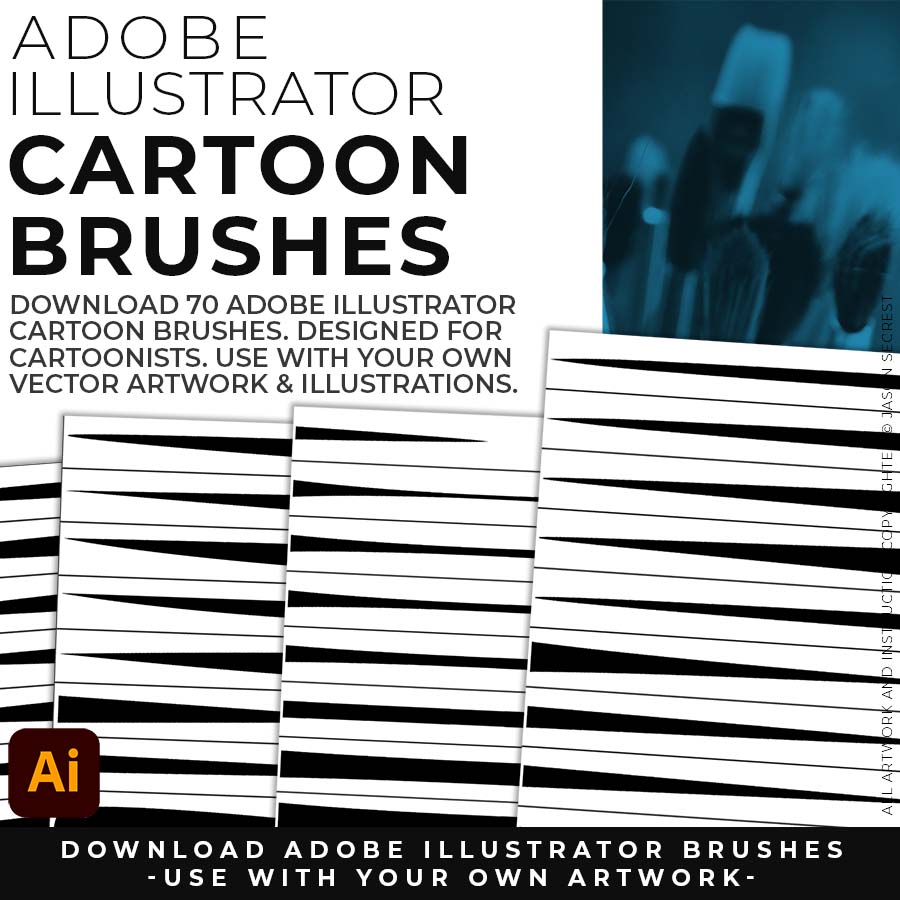
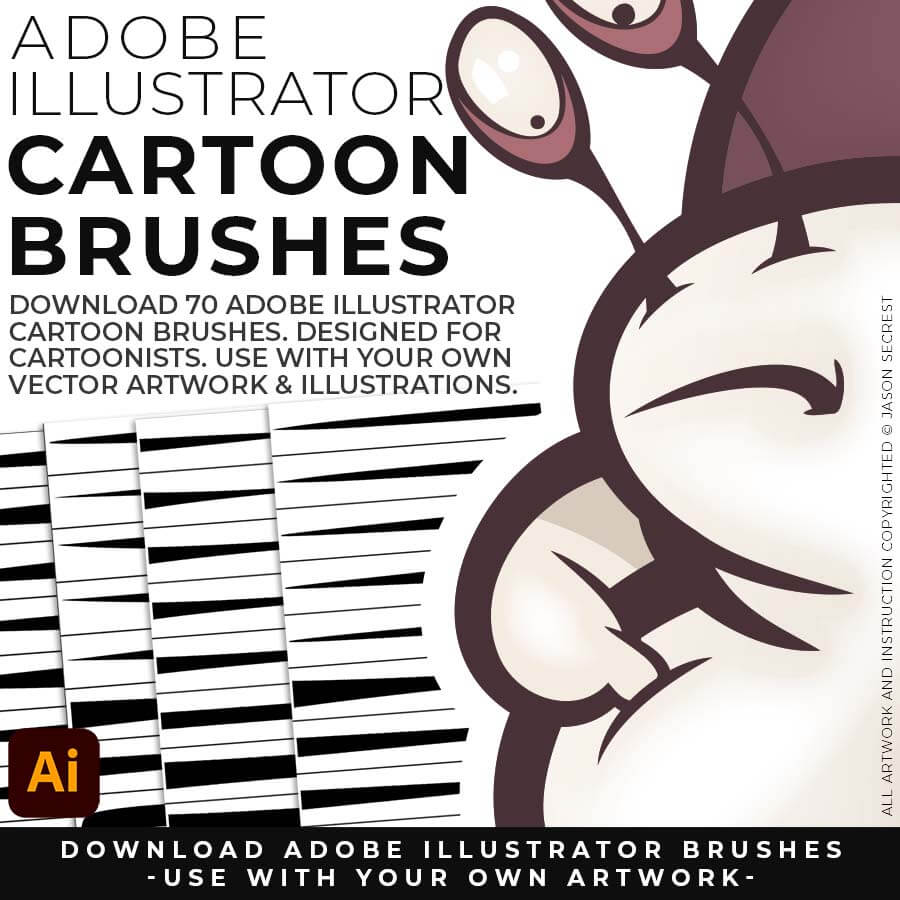
70 CARTOON BRUSHES: Cartoon Brushes are my go-to brushes for Professional Logos, Cartoons, Mascots, and Branding. Use Cartoon Illustrator Brushes with the Pen, Pencil, or Paint Brush Tools to Apply different Line Variation to your Vector Artwork. (Updated) Cartoon, Cartoon 2, and Original Cartoon Brush Libraries. 
beginner adobe illustrator tutorial pug
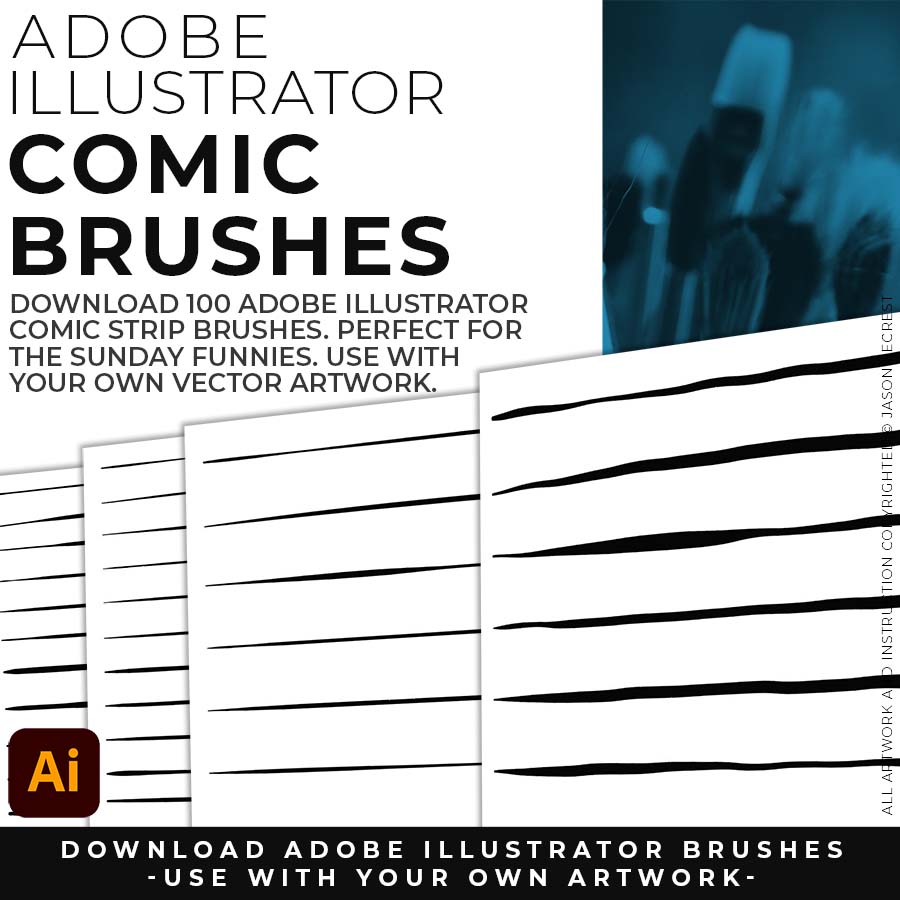
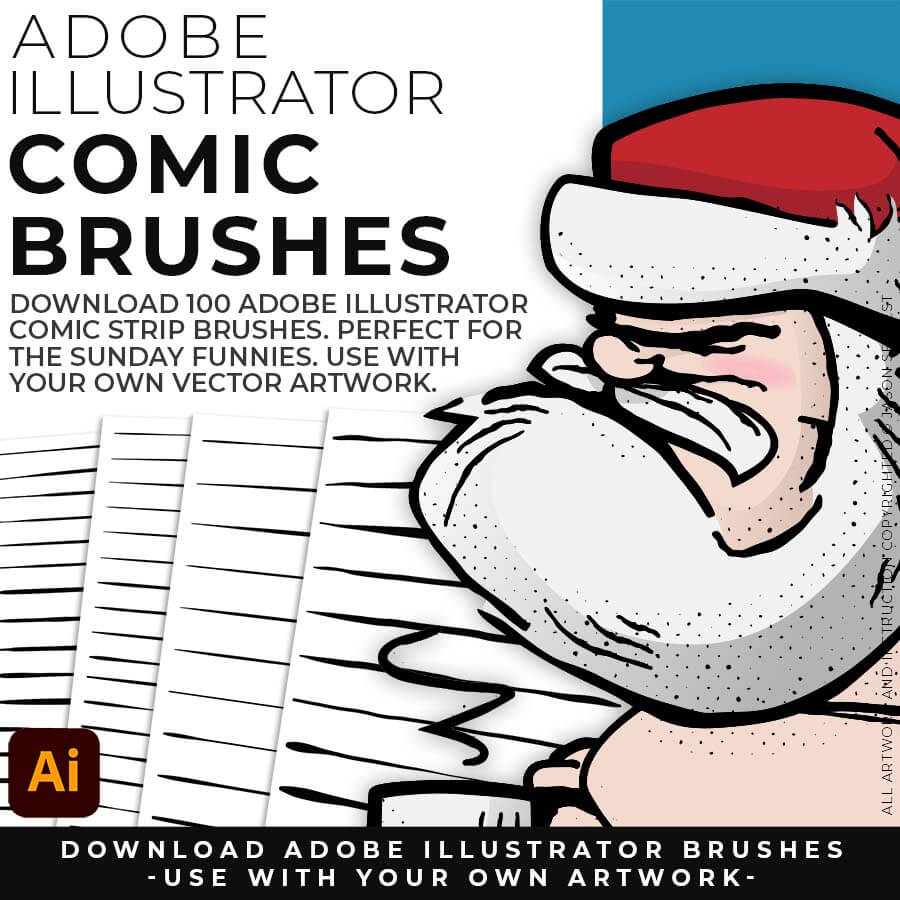
100 COMIC STRIP BRUSHES: Hand Painted + Comic Strip Brushes to get a lived in feel back into your Vector Art. Comic Strips and Hand Painted are painted based on some of my favorite artists and cartoonists. These brushes are designed to look ready for the Sunday Paper. (Updated) Comic Strip, Hand-Painted, Paintbrush, and Fine Liner Brush Libraries. 
beginner adobe illustrator tutorial coyote
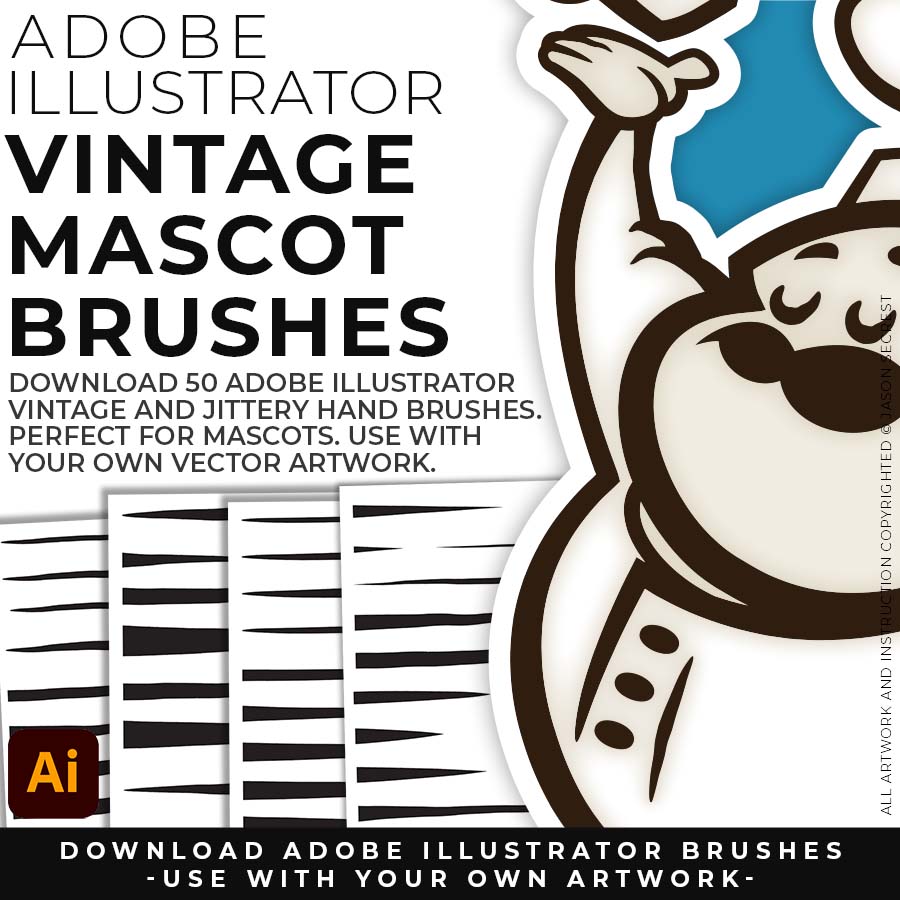
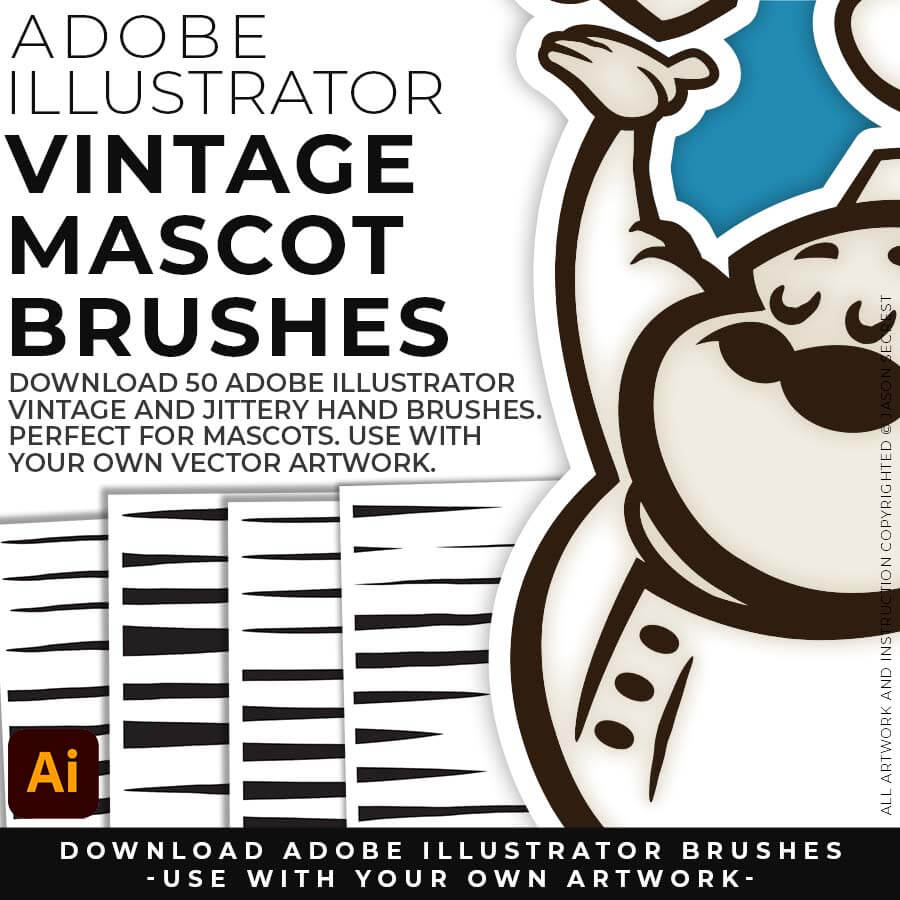
50 MASCOT BRUSHES: Jittery Hand, Caffeinated Cartoonist + Rough Ink Brushes to Mimic Paper Bleed and Caffeine. Designed to be a little less stiff with your vector art. Use these Brush Libraries to get more of a distressed look or ink bleed back in your own Vector Artwork. (Updated) Caffeinated Cartoonist, Rough Ink, and Jittery Hand Brush Libraries. 
beginner adobe illustrator tutorial whale
CARTOON BRUSHES: Cartoon Brushes are my go-to brushes for Professional Logos, Cartoons, Mascots, and Branding. Use Cartoon Illustrator Brushes with the Pen, Pencil, or Paint Brush Tools to Apply different Line Variation to your Vector Artwork. (Updated) Cartoon, Cartoon 2, and Original Cartoon Brush Libraries. 
beginner adobe illustrator tutorial pug
COMIC STRIP BRUSHES: Hand Painted + Comic Strip Brushes to get a lived in feel back into your Vector Art. Comic Strips and Hand Painted are painted based on some of my favorite artists and cartoonists. These brushes are designed to look ready for the Sunday Paper. (Updated) Comic Strip, Hand-Painted, Paintbrush, and Fine Liner Brush Libraries. 
beginner adobe illustrator tutorial coyote
MASCOT BRUSHES: Jittery Hand, Caffeinated Cartoonist + Rough Ink Brushes to Mimic Paper Bleed and Caffeine. Designed to be a little less stiff with your vector art. Use these Brush Libraries to get more of a distressed look or ink bleed back in your own Vector Artwork. (Updated) Caffeinated Cartoonist, Rough Ink, and Jittery Hand Brush Libraries. 
DOWNLOAD BRUSHES. Many of you are jumping over from YouTube looking to download our Adobe Illustrator Brushes and Resource Folders. Digital Downloads will come through our friends at Teachable. Once you have downloaded and extracted the Folders, Brush Libraries are ready to be used in Adobe Illustrator. Start with our Resource Guides, Illustrator Tutorials, or YouTube Playlists to understand how to apply Brush Libraries in Adobe Illustrator.

DIGITAL DOWNLOADS. Many of you are jumping over from YouTube looking to download our Adobe Illustrator Brushes and Resource Folders. Digital Downloads will come through our friends at Teachable. Download our Adobe Illustrator Brush Libraries, T-Shirt Textures, and Comic Halftones. BRUSH LIBRARIES / COMIC HALFTONES / T-SHIRT TEXTURES
beginner adobe illustrator tutorial pug
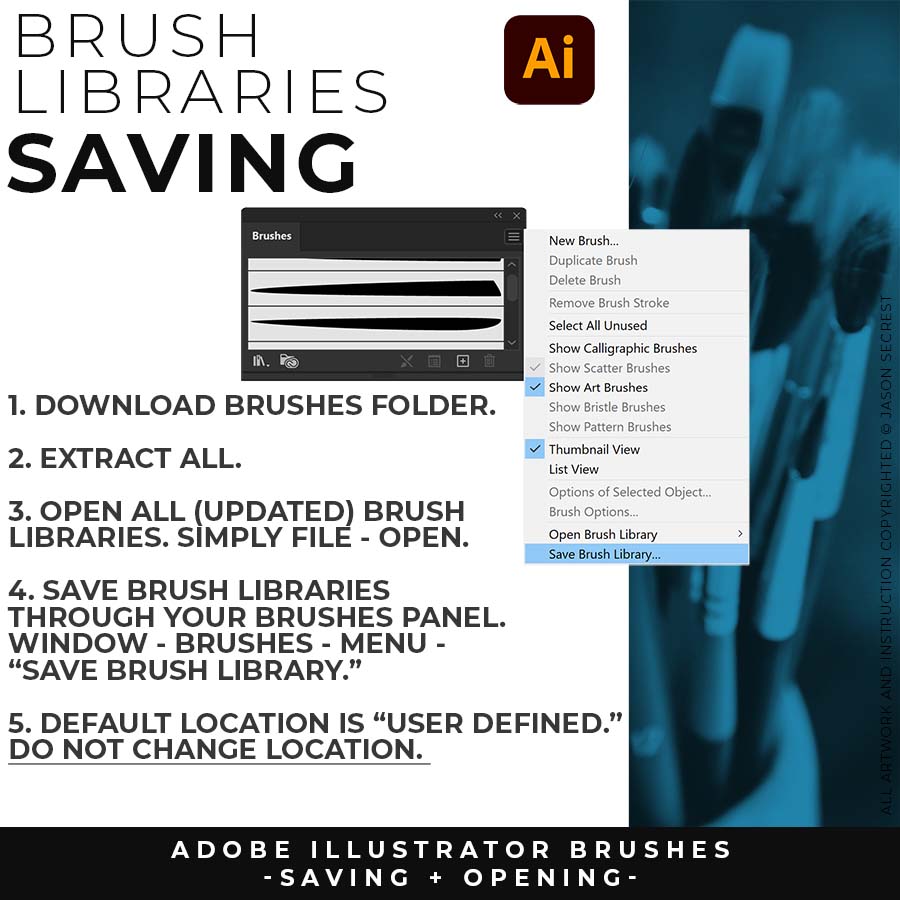
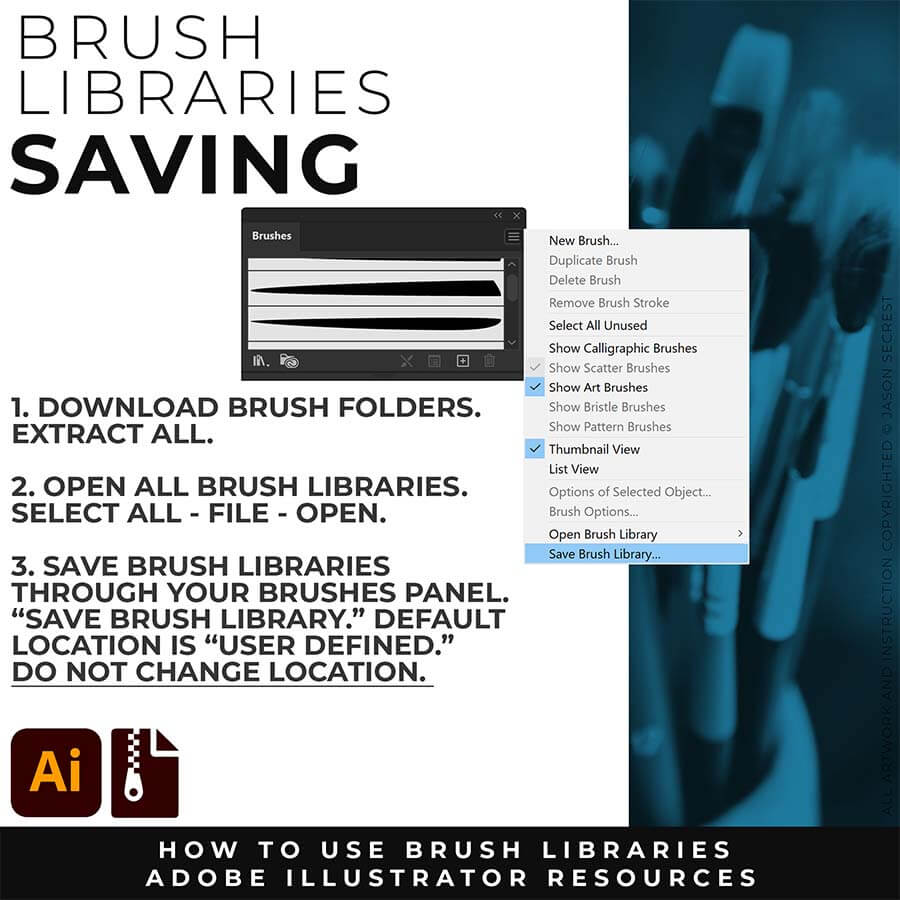
SAVE BRUSHES: Open All of the Brushes Libraries in Adobe Illustrator. (File - Open). Have your Brushes Panel Open. Under Window - Brushes. In the Brushes Menu, select "Save Brush Library." The Default Save Location is "User Defined." Repeat this step for each Brush Library.
beginner adobe illustrator tutorial whale
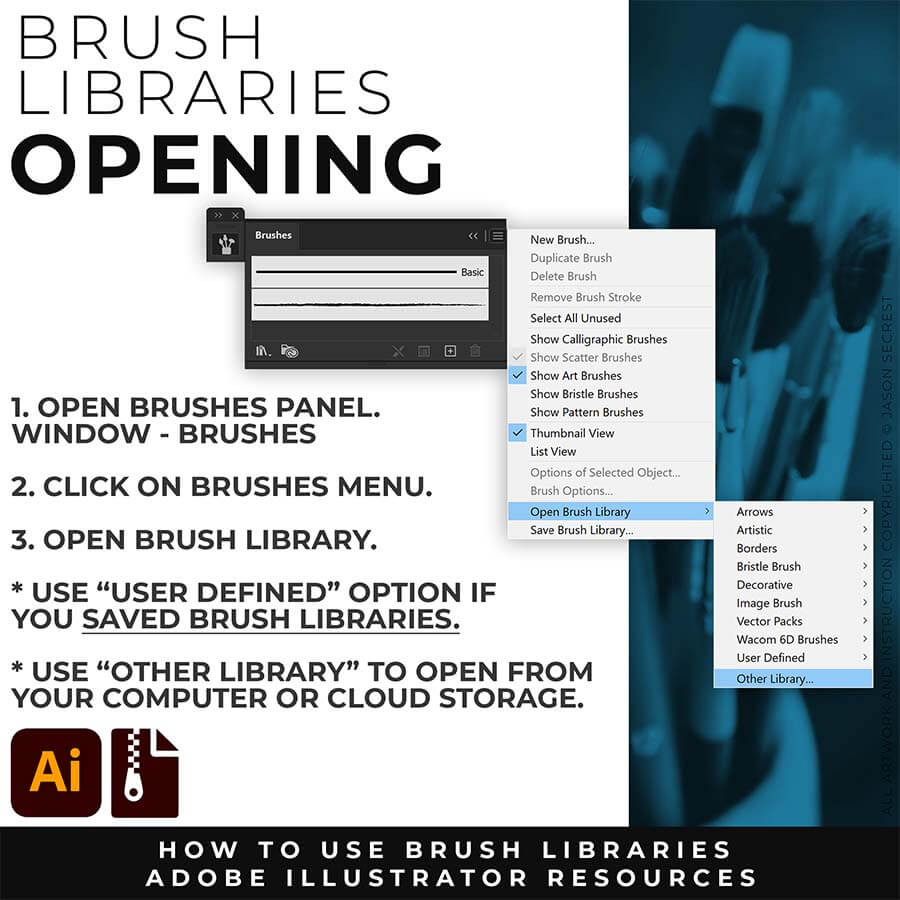
OPEN BRUSHES: Under Window - Select Brushes. In the Brushes Menu, drop down to Open Brush Library. Hover over it and select "Other Library." A Normal Open Dialogue Box will appear to select any Brush Library to use in Illustrator. Almost all Tutorials use this method. 
beginner adobe illustrator tutorial pug
DOWNLOAD BRUSHES: Many of you are jumping over from YouTube looking to download our Adobe Illustrator Brushes. Once you have downloaded and extracted the folders, Brushes are ready to be used in Adobe Illustrator. Brushes include our Cartoon, Comic Strip, and Vintage Mascot Libraries.
beginner adobe illustrator tutorial pug
SAVE BRUSHES: Open All of the Brushes Libraries in Adobe Illustrator. (File - Open). Have your Brushes Panel Open. Under Window - Brushes. In the Brushes Menu, select "Save Brush Library." The Default Save Location is "User Defined." Repeat this step for each Brush Library.
beginner adobe illustrator tutorial whale
OPEN BRUSHES: Under Window - Select Brushes. In the Brushes Menu, drop down to Open Brush Library. Hover over it and select "Other Library." A Normal Open Dialogue Box will appear to select any Brush Library to use in Illustrator. Almost all Tutorials use this method. 
ADOBE ILLUSTRATOR

BRUSH LIBRARIES

BRUSH LIBRARIES
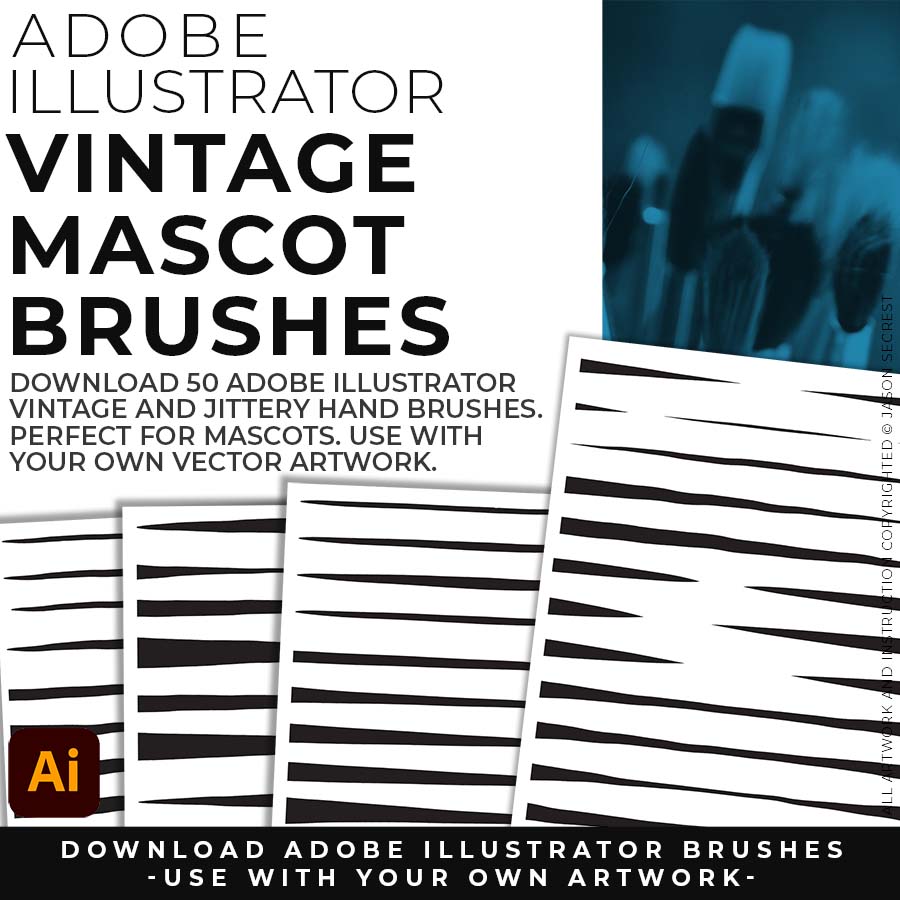
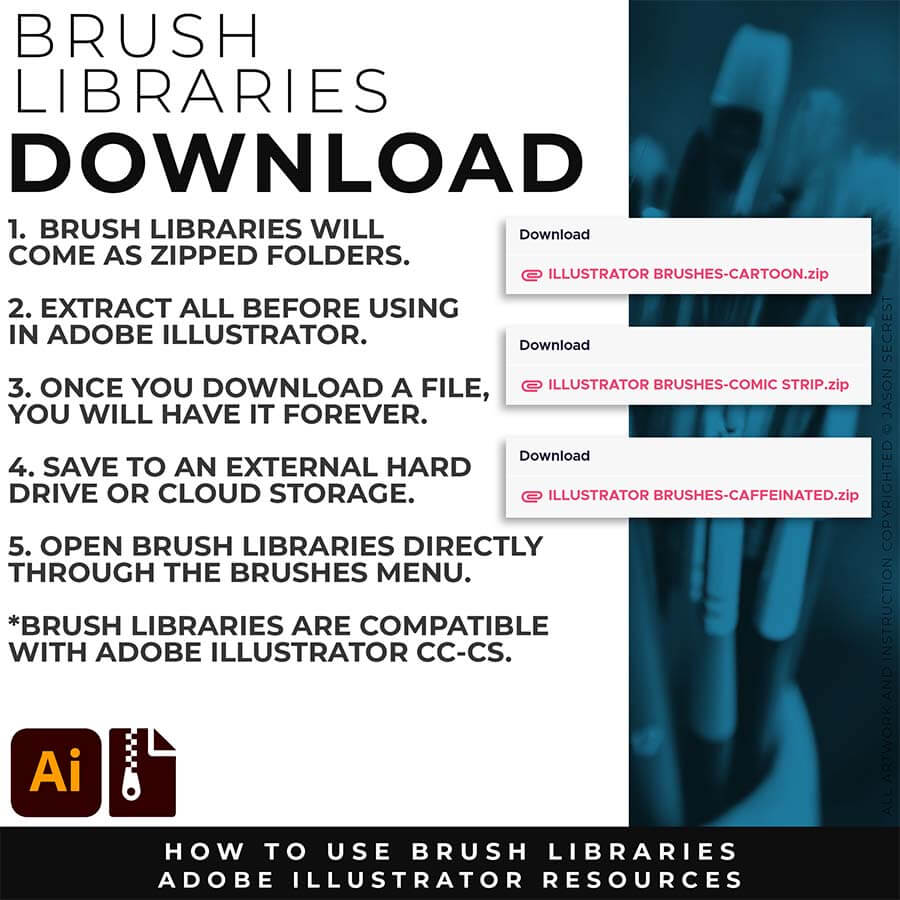
DOWNLOAD BRUSHES: Our Adobe Illustrator Brushes will come to you as Zipped Folders. Once you have Downloaded and Extracted the Folders, the Brush Libraries are ready to be used in Adobe Illustrator. I recommend Saving Brush Libraries to your "User Defined" by clicking Save Brush Library in the Brushes Menu.  Brush Libraries: 70 Cartoon, 100 Comic Strip, and 50 Vintage Mascot Brushes.
beginner adobe illustrator tutorial whale
70 CARTOON BRUSHES: Cartoon Brushes are my go-to for Professional Logos, Cartoons, Mascots, and Branding. Use Cartoon Illustrator Brushes with the Pen, Pencil or Paint Brush Tools to Apply different Line Variation to your Vector Artwork. (includes Updated Cartoon, Cartoon 2, and Original Cartoon Brush Libraries).
beginner adobe illustrator tutorial pug
100 COMIC STRIP BRUSHES: Hand Painted + Comic Strip Brushes to get a lived-in feel back into your Vector Art. Comic Strips and Hand Painted are painted based on some of my favorite artists and cartoonists. These brushes are designed to look ready for the Sunday Paper. (includes Updated Comic Strip, Hand-Painted, Paintbrush, and Fine Liner Brush Libraries).
beginner adobe illustrator tutorial coyote
50 MASCOT BRUSHES: Jittery Hand, Caffeinated Cartoonist + Rough Ink Brushes to Mimic Paper Bleed and Caffeine. Designed to be a little less stiff with your vector art. Use these Brush Libraries to get more of a distressed look or ink bleed back in your own Vector Artwork. (includes Updated Caffeinated Cartoonist, Rough Ink, and Jittery Hand Brush Libraries).
DOWNLOAD BRUSHES: Our 200 Adobe Illustrator Brushes will come to you as a Zipped Folder on Teachable. Once you have Downloaded and Extracted the Folders, the Brush Libraries are ready to be used in Adobe Illustrator. I do recommend Saving "Updated" Brush Libraries to your "User Defined" by clicking Save Brush Library in the Brushes Menu.  Brush Libraries include our 70 Cartoon, 100 Comic Strip, and 50 Vintage Mascot Brushes.
beginner adobe illustrator tutorial whale
70 CARTOON BRUSHES: Adobe Illustrator Cartoon Brushes are my go-to brushes for Professional Logos, Cartoons, Mascots, and Branding. Use Cartoon Illustrator Brushes with the Pen, Pencil or Paint Brush Tools to Apply different Line Variation to your Vector Artwork. (includes Updated Cartoon, Cartoon 2, and Original Cartoon Brush Libraries).
beginner adobe illustrator tutorial pug
100 COMIC STRIP BRUSHES: Hand Painted + Comic Strip Brushes to get a lived-in feel back into your Vector Art. Comic Strips and Hand Painted are painted based on some of my favorite artists and cartoonists. These brushes are designed to look ready for the Sunday Paper. (includes Updated Comic Strip, Hand-Painted, Paintbrush, and Fine Liner Brush Libraries).
beginner adobe illustrator tutorial coyote
50 MASCOT BRUSHES: Jittery Hand, Caffeinated Cartoonist + Rough Ink Brushes to Mimic Paper Bleed and Caffeine. Designed to be a little less stiff with your vector art. Use these Brush Libraries to get more of a distressed look or ink bleed back in your own Vector Artwork. (includes Updated Caffeinated Cartoonist, Rough Ink, and Jittery Hand Brush Libraries).
ADOBE ILLUSTRATOR

BRUSH LIBRARIES

BRUSH LIBRARIES

Image
SAVING BRUSHES: Open All of the Brushes Libraries in Adobe Illustrator. (File - Open). Have your Brushes Panel Open. Under Window - Brushes. Click on Each Illustrator Document and Open the Brushes Menu in the Brushes Panel. Scroll down to Click on Save Brush Library. Default Location = User Defined. Repeat for each (updated) Brush Library.
Image
OPENING BRUSHES: Under Window - Select Brushes. In the Brushes Menu, drop-down to Open Brush Library. Hover over it and select "Other Library." A Normal Open Dialogue Box will appear to select any Brush Library to use in Illustrator. Almost all of our step-by-step tutorials on YouTube use this method.

Shape Builder is a tool that can be used to give an alternative to the Eraser Tool while Editing. In order to use Shape Builder, you will need to Expand the Brush Layer. Select All - Expand (or Expand Appearance + Expand). I do recommend duplicating a Brushes Layer to preserve a Live Brush Layer for future edits. Once the Brushes are Expanded, Select All + click on the Shape Builder Tool. The Alt/Option key will switch the Shape Builder Tool to delete mode. Simply Click or Drag through the stray or overlapped areas to delete. Remember to keep holding down the Alt/Option. You can also Turn On/Off the Highlighting by double-clicking on the Shape Builder Tool. The flashing gets irritating.

Expand Appearance: I do recommend Expanding your Brushes Layer before using Shape Builder. This will prevent bouncing of the Brushes and Line Variation. It will also move toward an efficiency model to save time so you are not stopping and editing while you are still building.

Select your All on Brushes Layer: In order to use the Shape Builder Tool, you will need to select an Object or All Objects so the Tool knows what it should interact with. You can modify what is selected by choosing smaller areas if selecting all becomes too overwhelming.

Hold Alt/Option: When you hold down your Alt/Option Key while using the Shape Builder Tool to Delete Mode. I do recommend turning off the Highlighting when in this mode. Drag or click on any of the overlapped or stray marks to delete using the Shape Builder Tool.

How to Color in Adobe Illustrator

One of the easiest and fastest ways of filling in your color is through Live Paint. Live Paint Bucket is a part of the Shape Builder Tools which builds the shapes in the exact shape you need it. Select All. Go up to Object - Live Paint - Make. If you have a grayed out Make it simply means you didn't have anything selected. I do recommend Deselecting by clicking on your artboard before clicking on a Color Swatch. *Remember Everything is still Selected so it will Color the Full Selection if you click on a Color Swatch with everything selected. Click on the Live Paint Bucket (K) and Click to Dump Color. It will feel like the Paint Bucket in Adobe Photoshop. 

BEGINNER GUIDES

Image
Image
Image
Image
Image
Image
beginner adobe illustrator tutorial ice cream
BEGINNER: Understand the Building, Variation, and Basic Coloring Methods. VIEW BEGINNER GUIDE 
beginner adobe illustrator tutorial ice cream
BEGINNER: Understand the Building, Variation, and Basic Coloring Methods. VIEW BEGINNER GUIDE
beginner adobe illustrator tutorial posicle
BEGINNER: Understand the Building, Variation, and Basic Coloring Methods. VIEW BEGINNER GUIDE
beginner adobe illustrator tutorial duck
BEGINNER: Understand the Building, Variation, and Basic Coloring Methods. VIEW BEGINNER GUIDE
beginner adobe illustrator tutorial duck
BEGINNER: Understand the Building, Variation, and Basic Coloring Methods. VIEW BEGINNER GUIDE
beginner adobe illustrator tutorial ice cream
BEGINNER: Understand the Building, Variation, and Basic Coloring Methods. VIEW BEGINNER GUIDE
beginner adobe illustrator tutorial whale
BEGINNER: Understand the Building, Variation, and Advanced Coloring Methods. VIEW BEGINNER GUIDE
beginner adobe illustrator tutorial ice cream
BEGINNER: Understand Building, Variation, Editing, and Basic Coloring Methods. VIEW BEGINNER GUIDE
beginner adobe illustrator tutorial pug
BEGINNER: Understand the Building, Variation, and Advanced Coloring Methods. VIEW BEGINNER GUIDE

*Older Content (<2018) was originally recorded for my in-class students (children). You are all adults, it has gotten weird.