BEGINNER: In our Beginner Guides and Tutorials, you will see me give Prompts and Learning Targets. These directions will simplify the process of learning Adobe Illustrator. LEARNING TARGET: Understand the Primary Building Tools and Options in Adobe Illustrator.
ADVANCED: As I am creating my artwork, pay attention to the Sequence of Events, Resources, and Tool Options as it relates to building a "Workflow." LEARNING TARGET: Apply Building, Variation, Editing, and Advanced Color Techniques to your own Artwork.
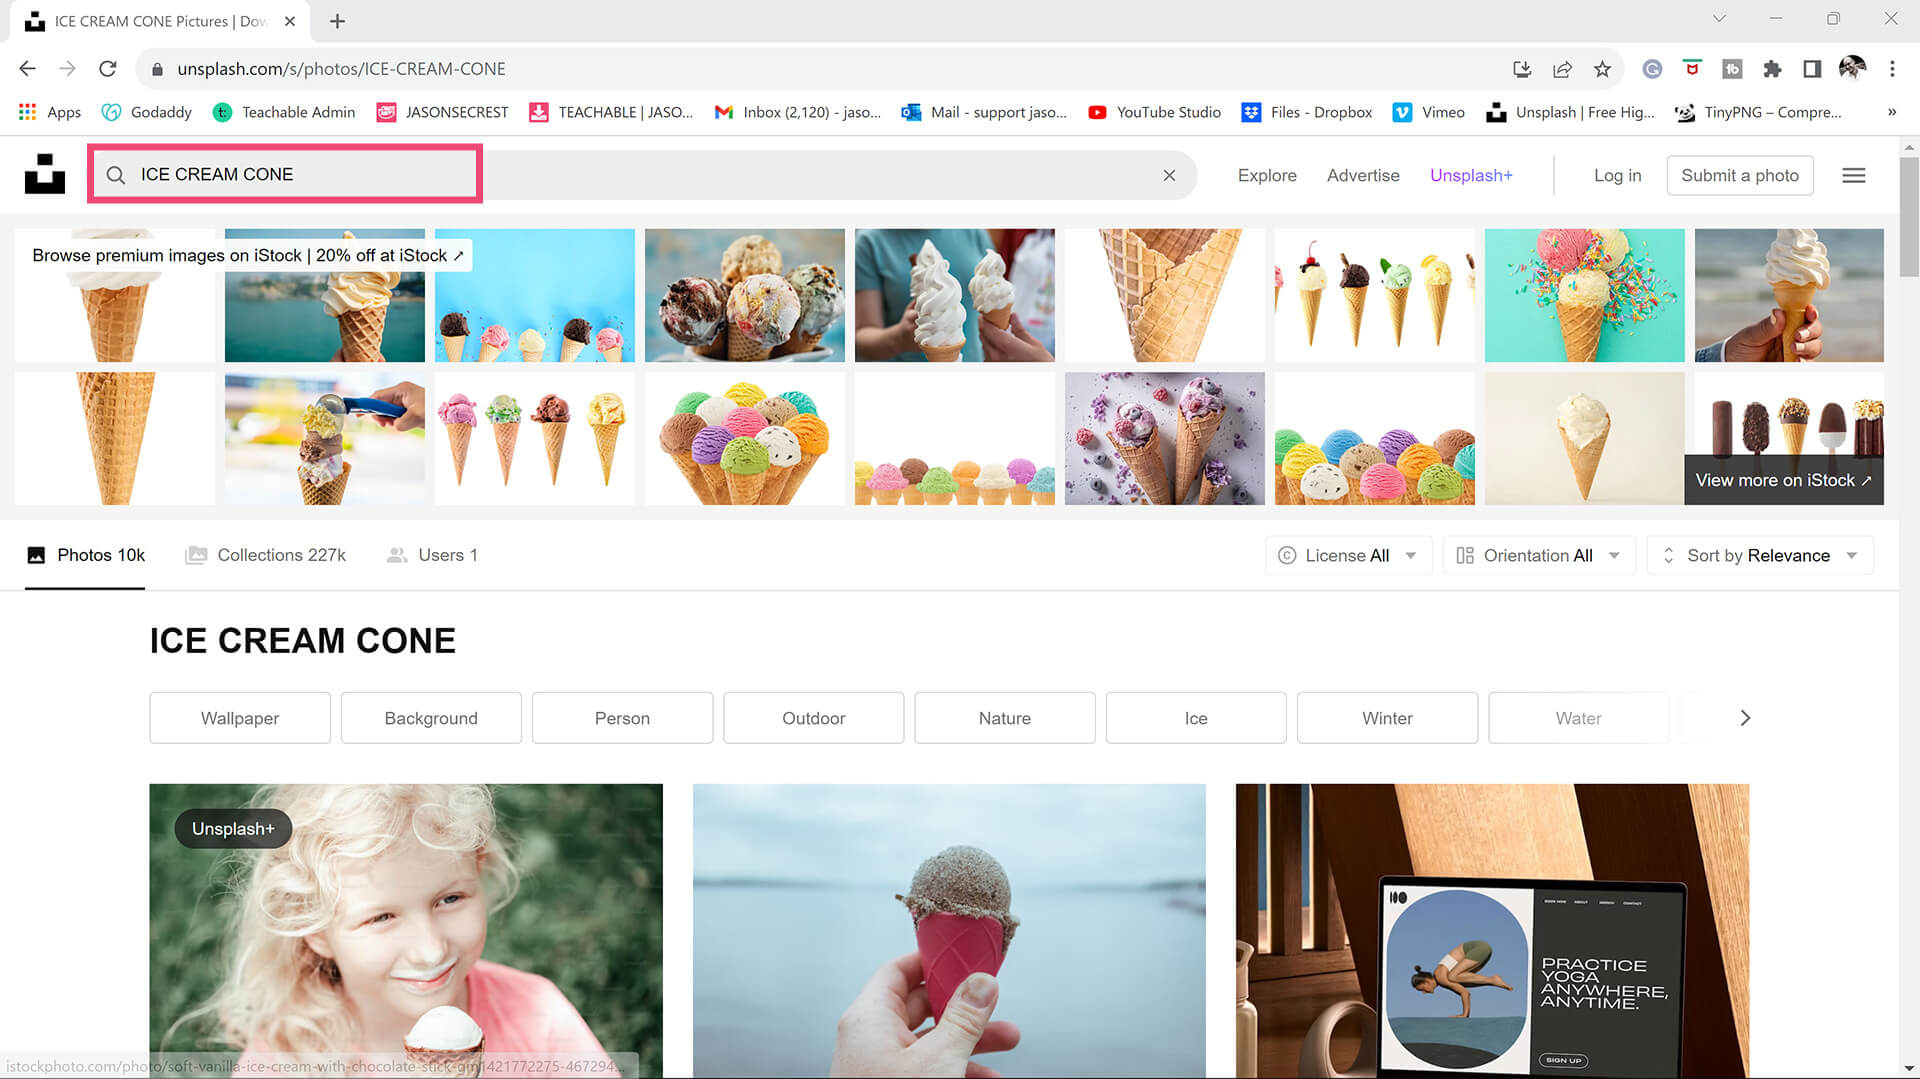
STOCK PHOTOS: For your own artwork and designs, I recommend using (Unsplash / Pixabay / Pexels) for Free Stock Photos. BEGINNER: As I create my artwork, pay attention to the free resources (Stock Photos / Color Swatches / Font Families) being used throughout the Workflow. ADVANCED: When you are creating your own artwork or design projects, gather and organize resources within the same project folder (Stock Photos / Sketches / Thumbnails / Color Swatches / Font Families).
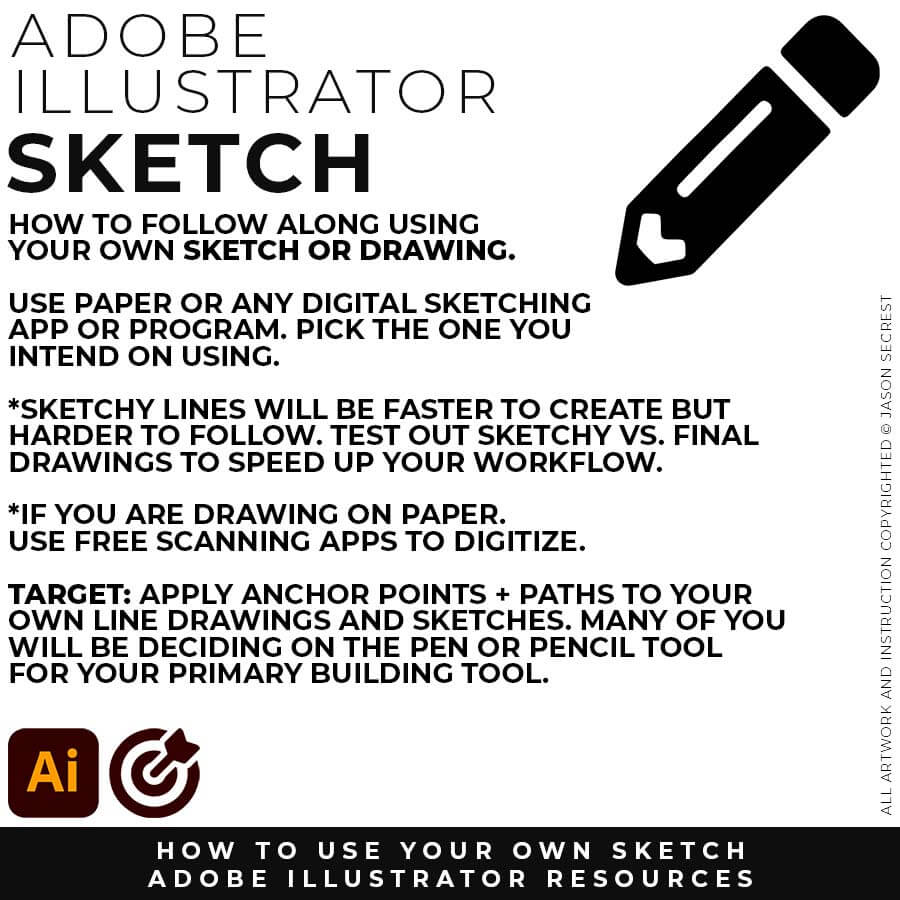

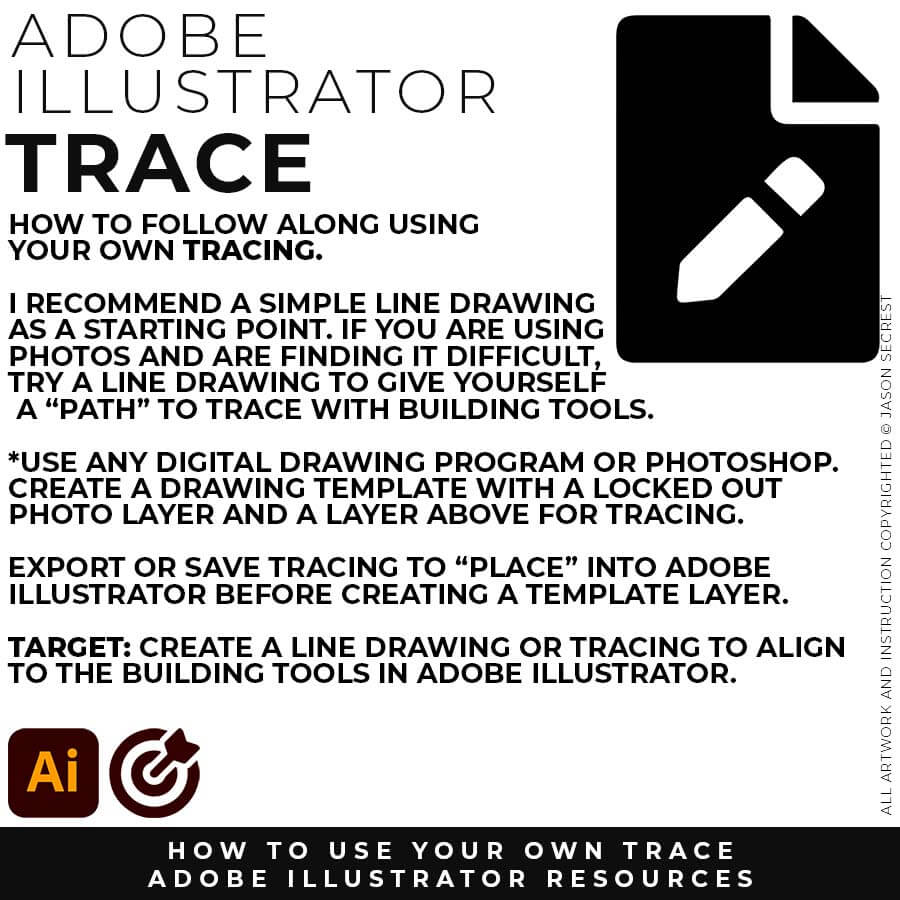
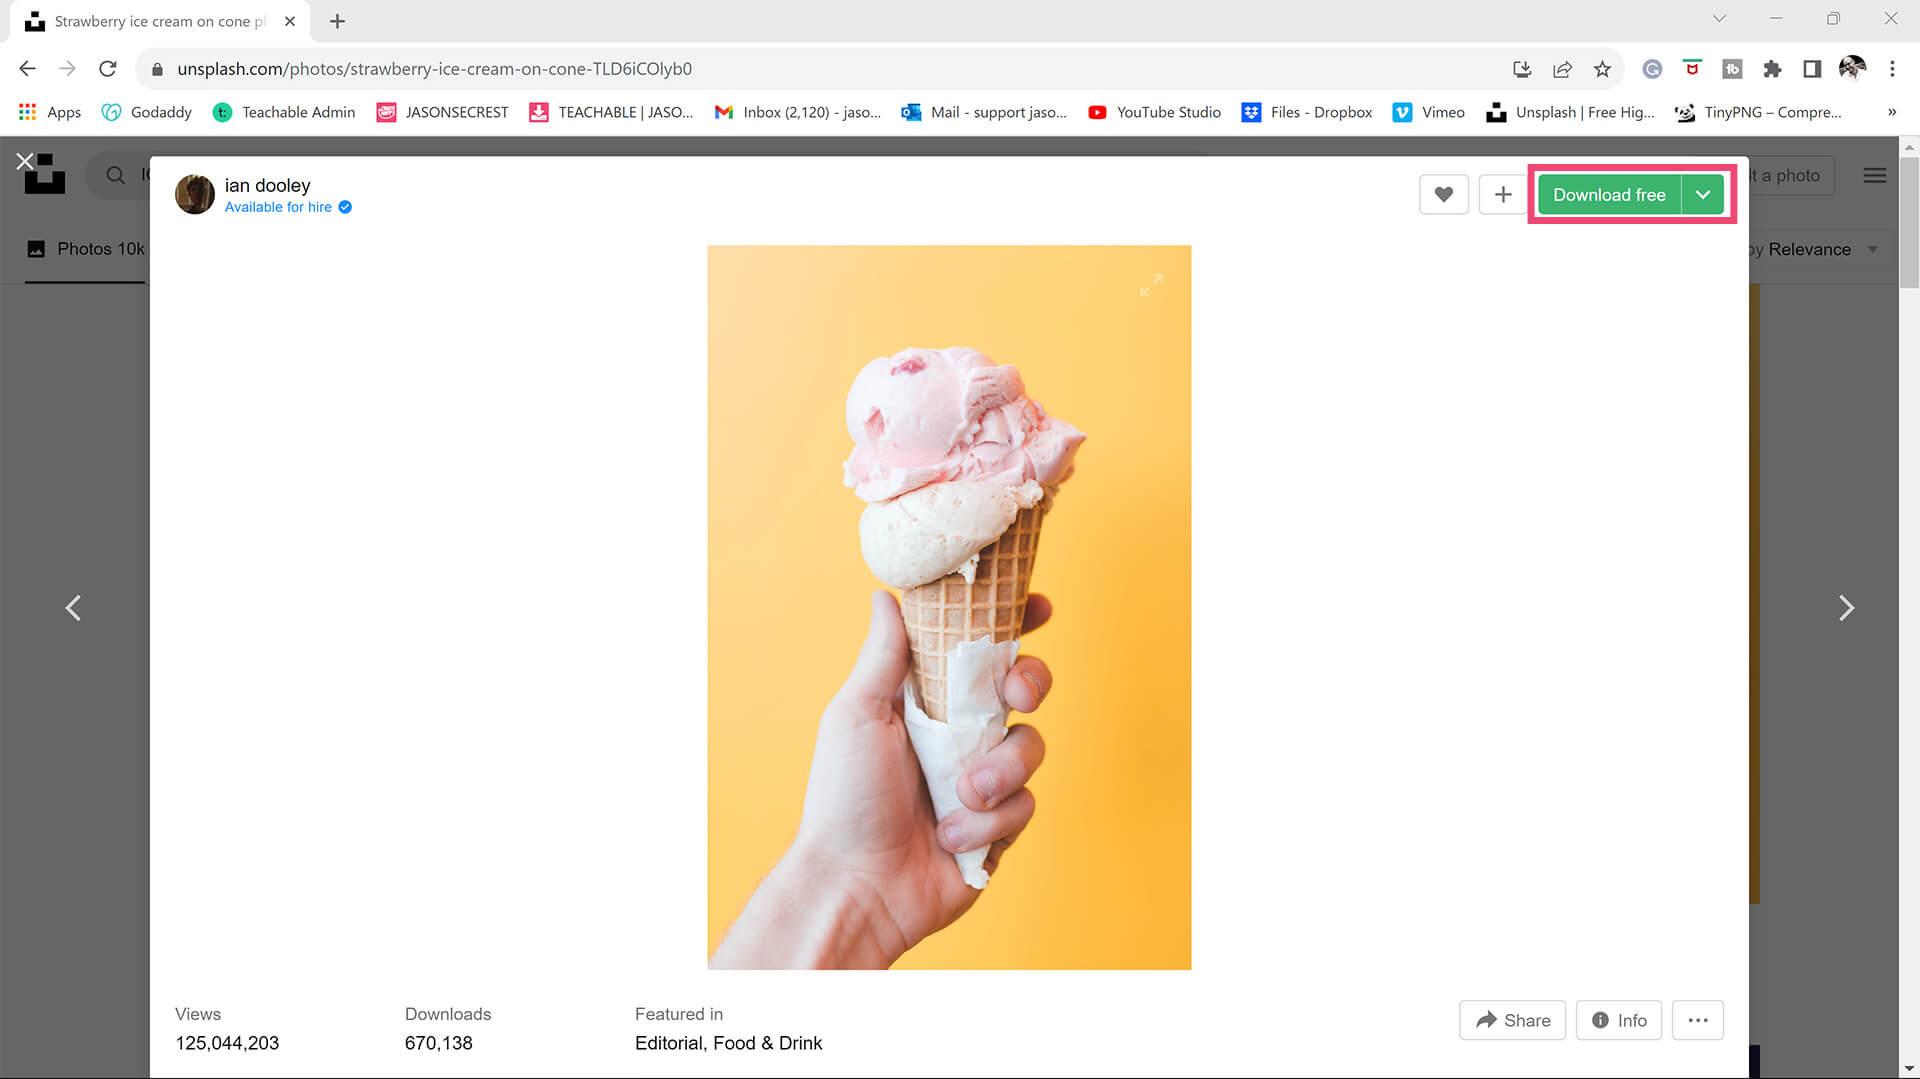
REFERENCE IMAGES: Look for Free Stock Photos to use as Drawing References for Proportions, Details, and Values. I recommend gathering a few different options based on the subject matter you are drawing. LEARNING TARGET: For your own artwork, I recommend starting from a Drawing, Sketch, or Traced Stock Photo. LEARNING TARGET: Use either Paper or Digital Drawing Methods.
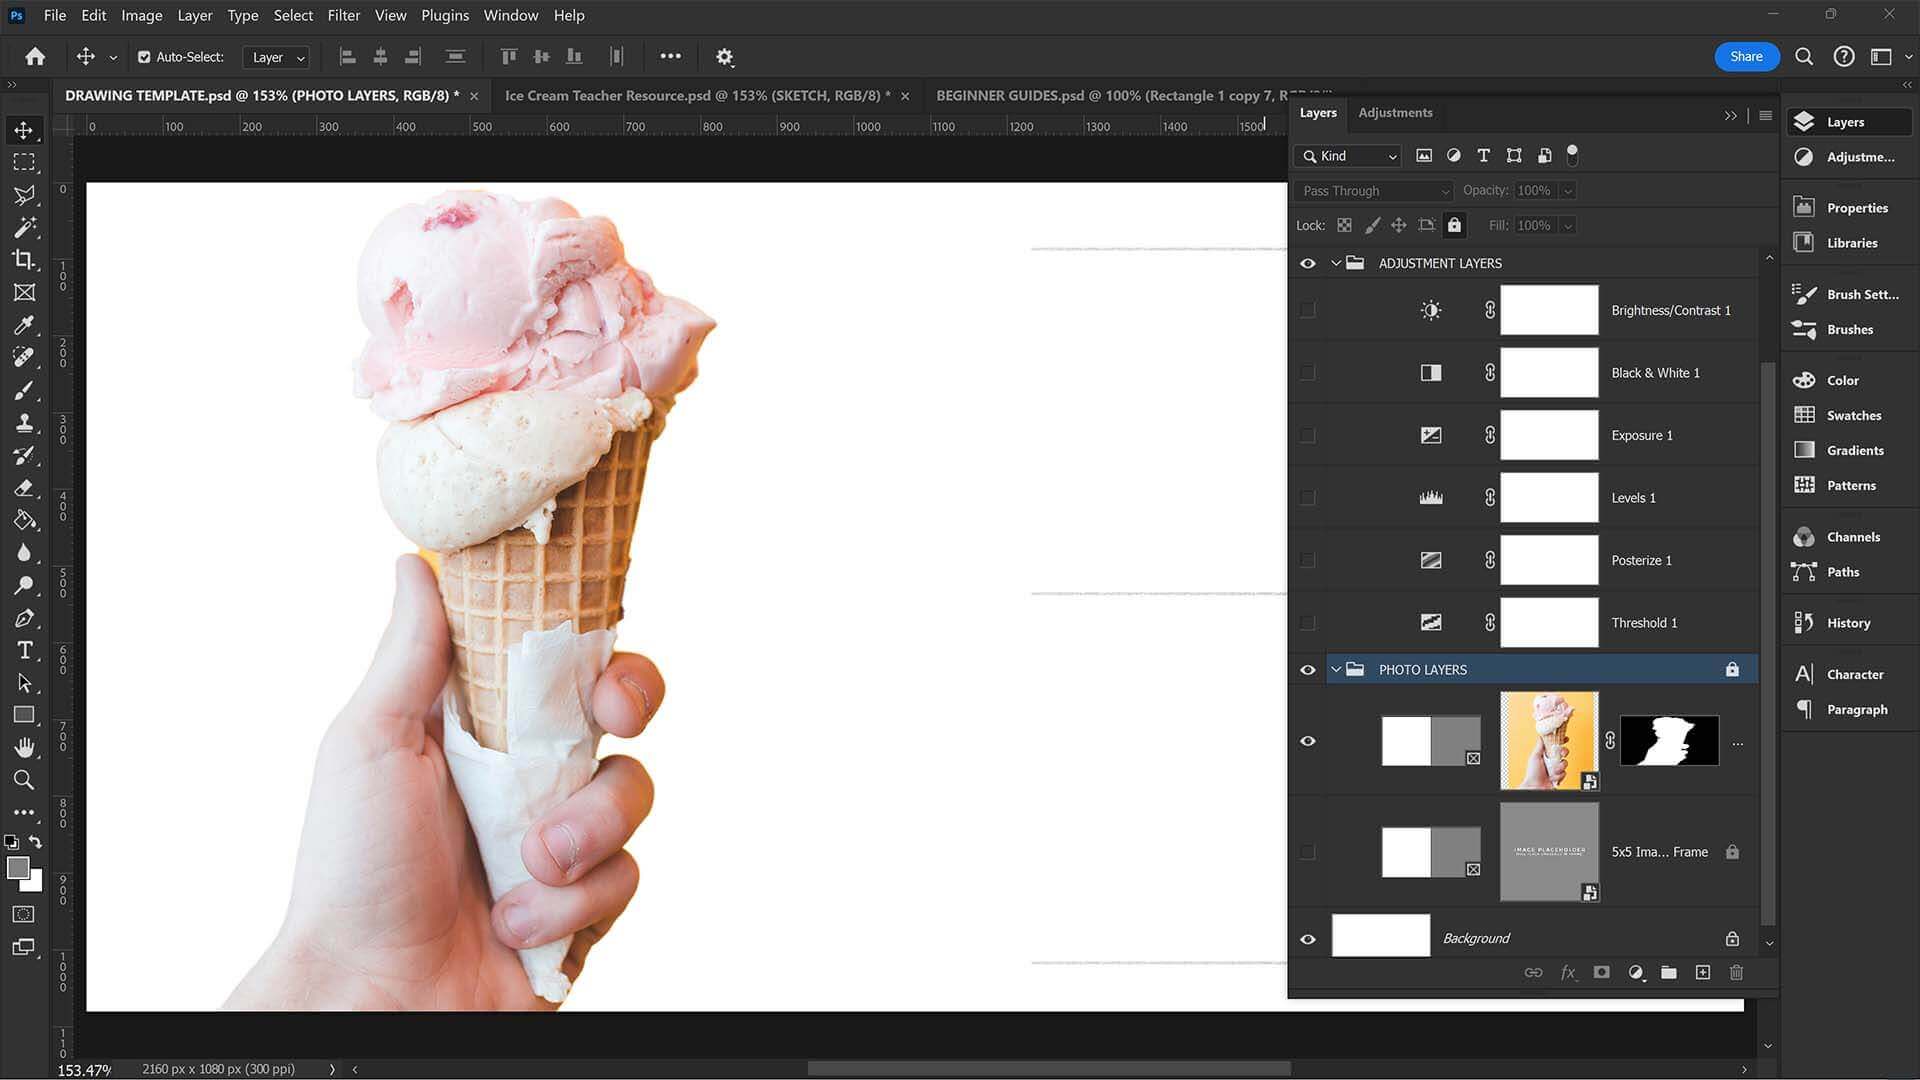
DRAWING TEMPLATE: I have created a Drawing Template of 2160px by 1080px in Adobe Photoshop. This will allow me to Export my Drawing or Sketch from Layers at 1080px by 1080px. I have created a Frame of 1080px by 1080px. File - Place in your Photo Reference. You can add Adjustment Layers to assist your drawings and sketches. LEARNING TARGET (1): Create a New Document 2160px by 1080px. LEARNING TARGET (2): Add Adjustment Layers to your Photo Layer.

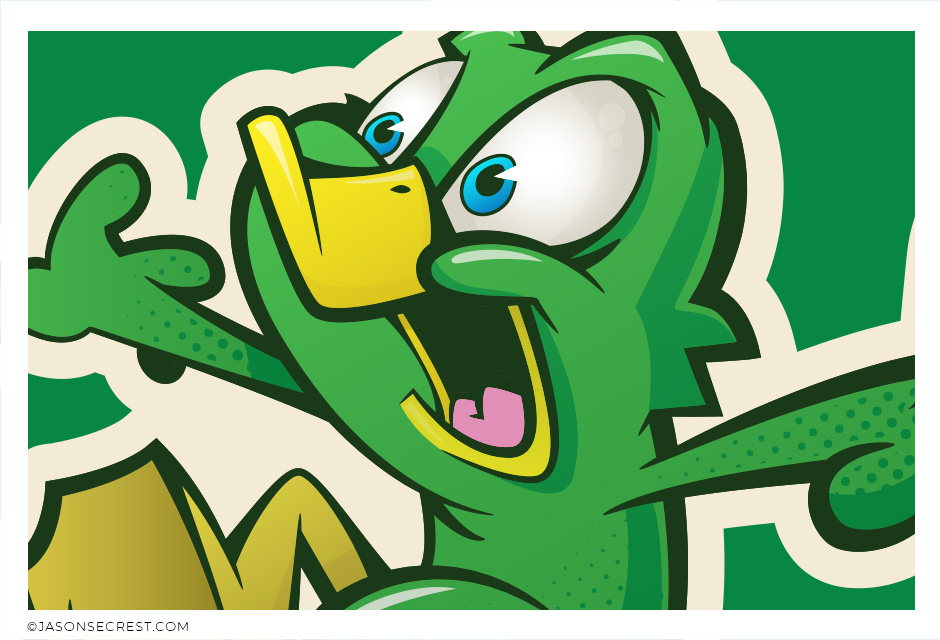
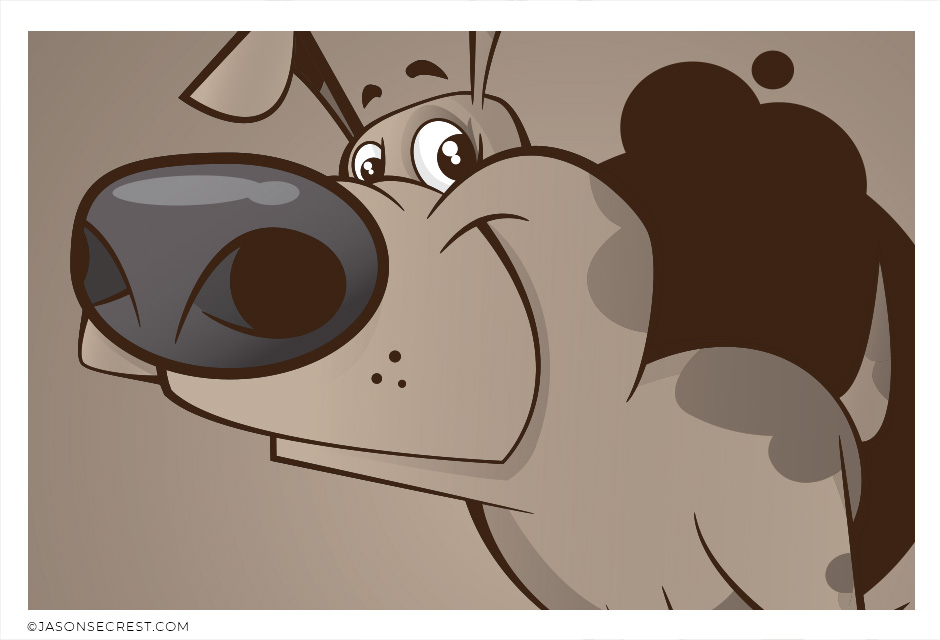
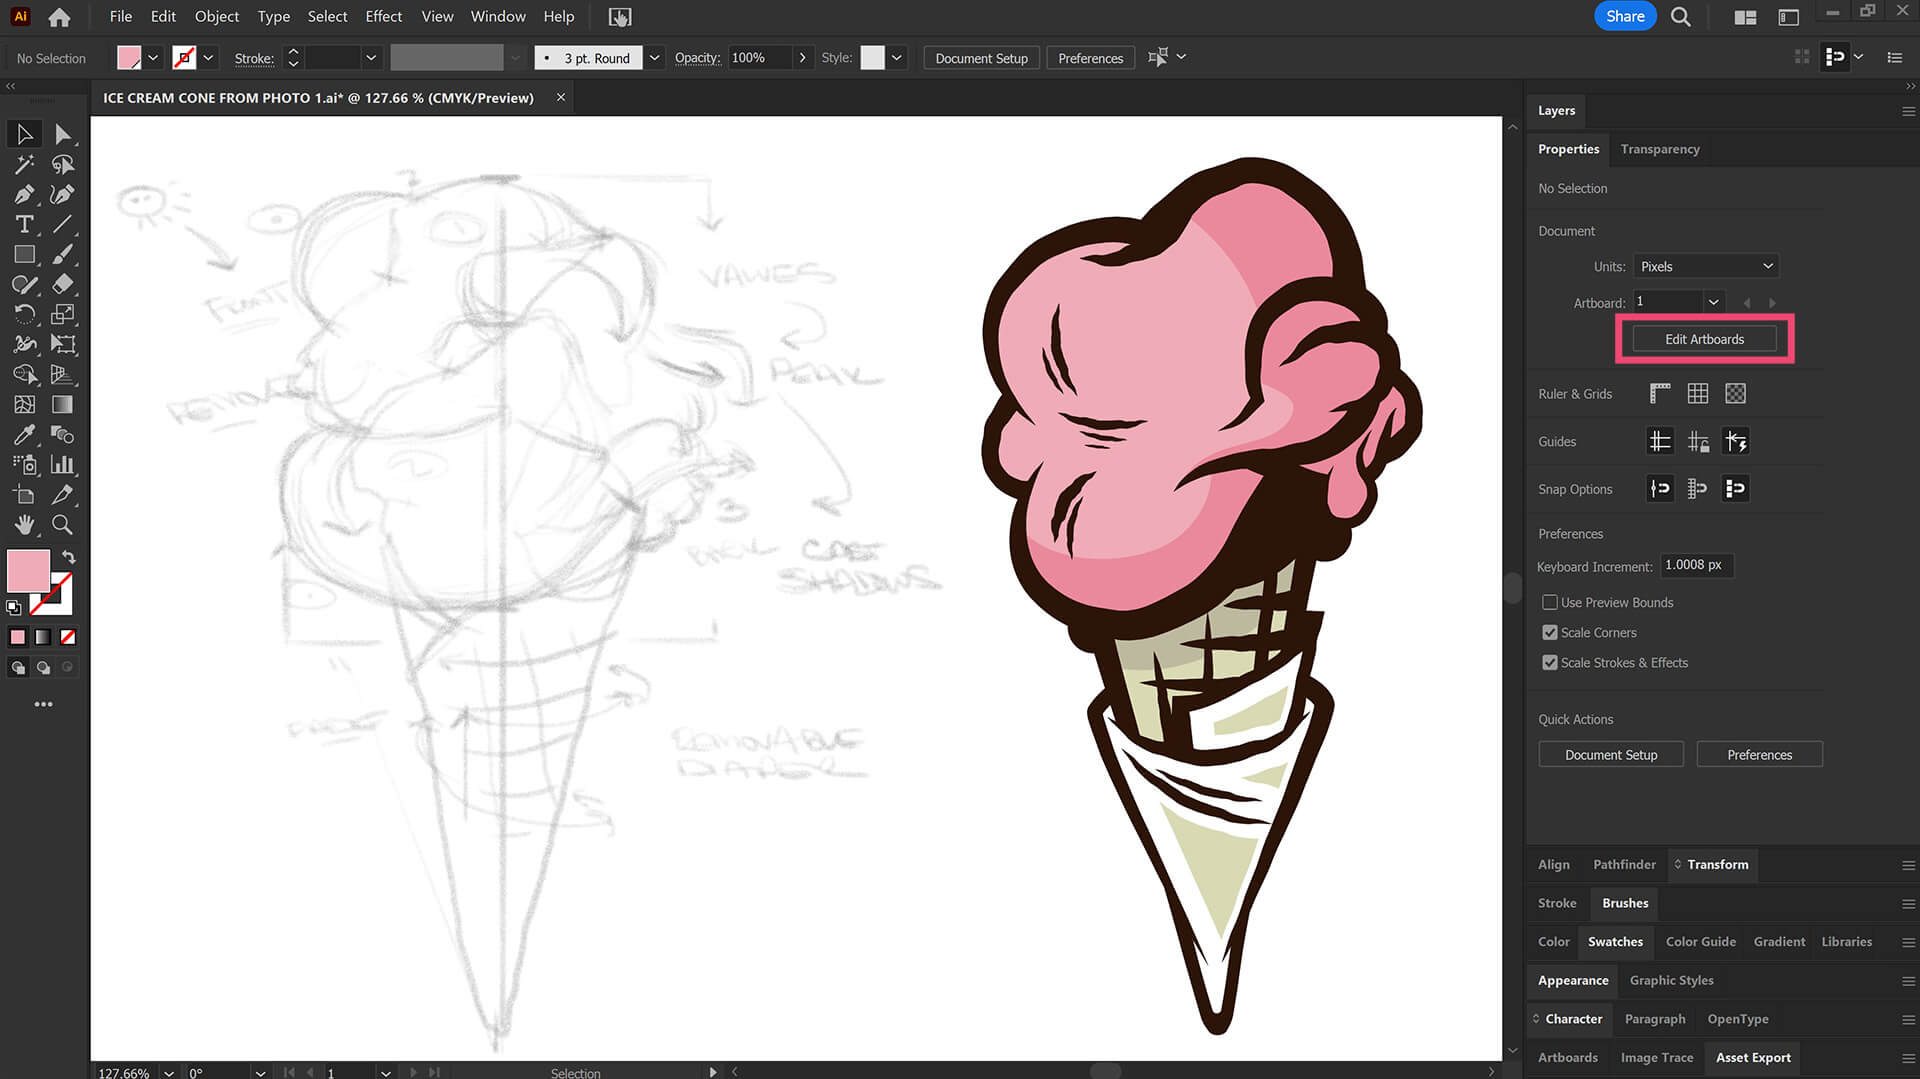
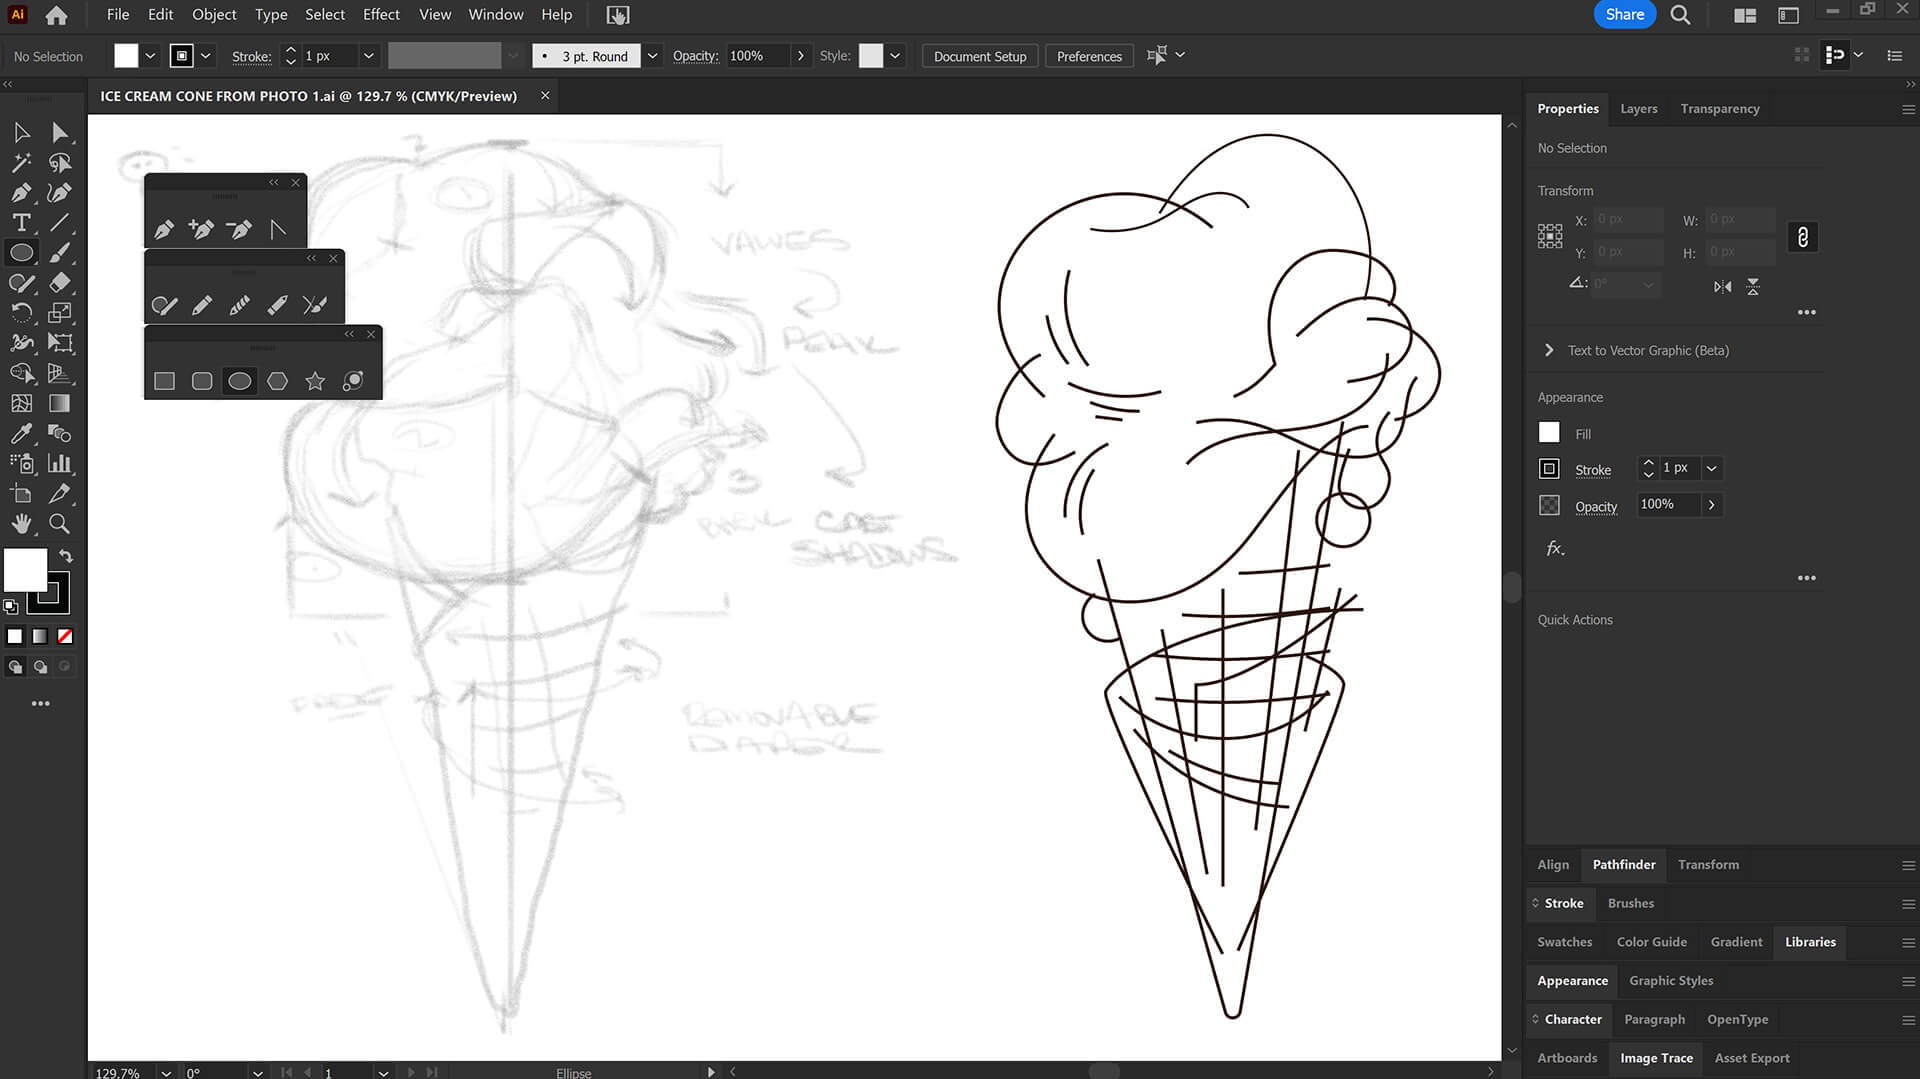
BASIC TRACE: I will recommend to new users to Adobe Illustrator a Breakdown Process so you can see the Design Elements within the subject. This will allow you to quickly assess the Building Tools that align with the Elements (Lines + Shapes). There will be some of you who will be asking: 'Why don't we just go directly from the Stock Photo?" If you chose to go directly off of a photo, there is a breaking point with the transparency of the photo layer and being able to see your new paths. At this point the Photo Details become challenging to see and your eyeballs will explode. LEARNING TARGET: Breakdown your image into Design Elements (shapes and lines) before moving to Adobe Illustrator.
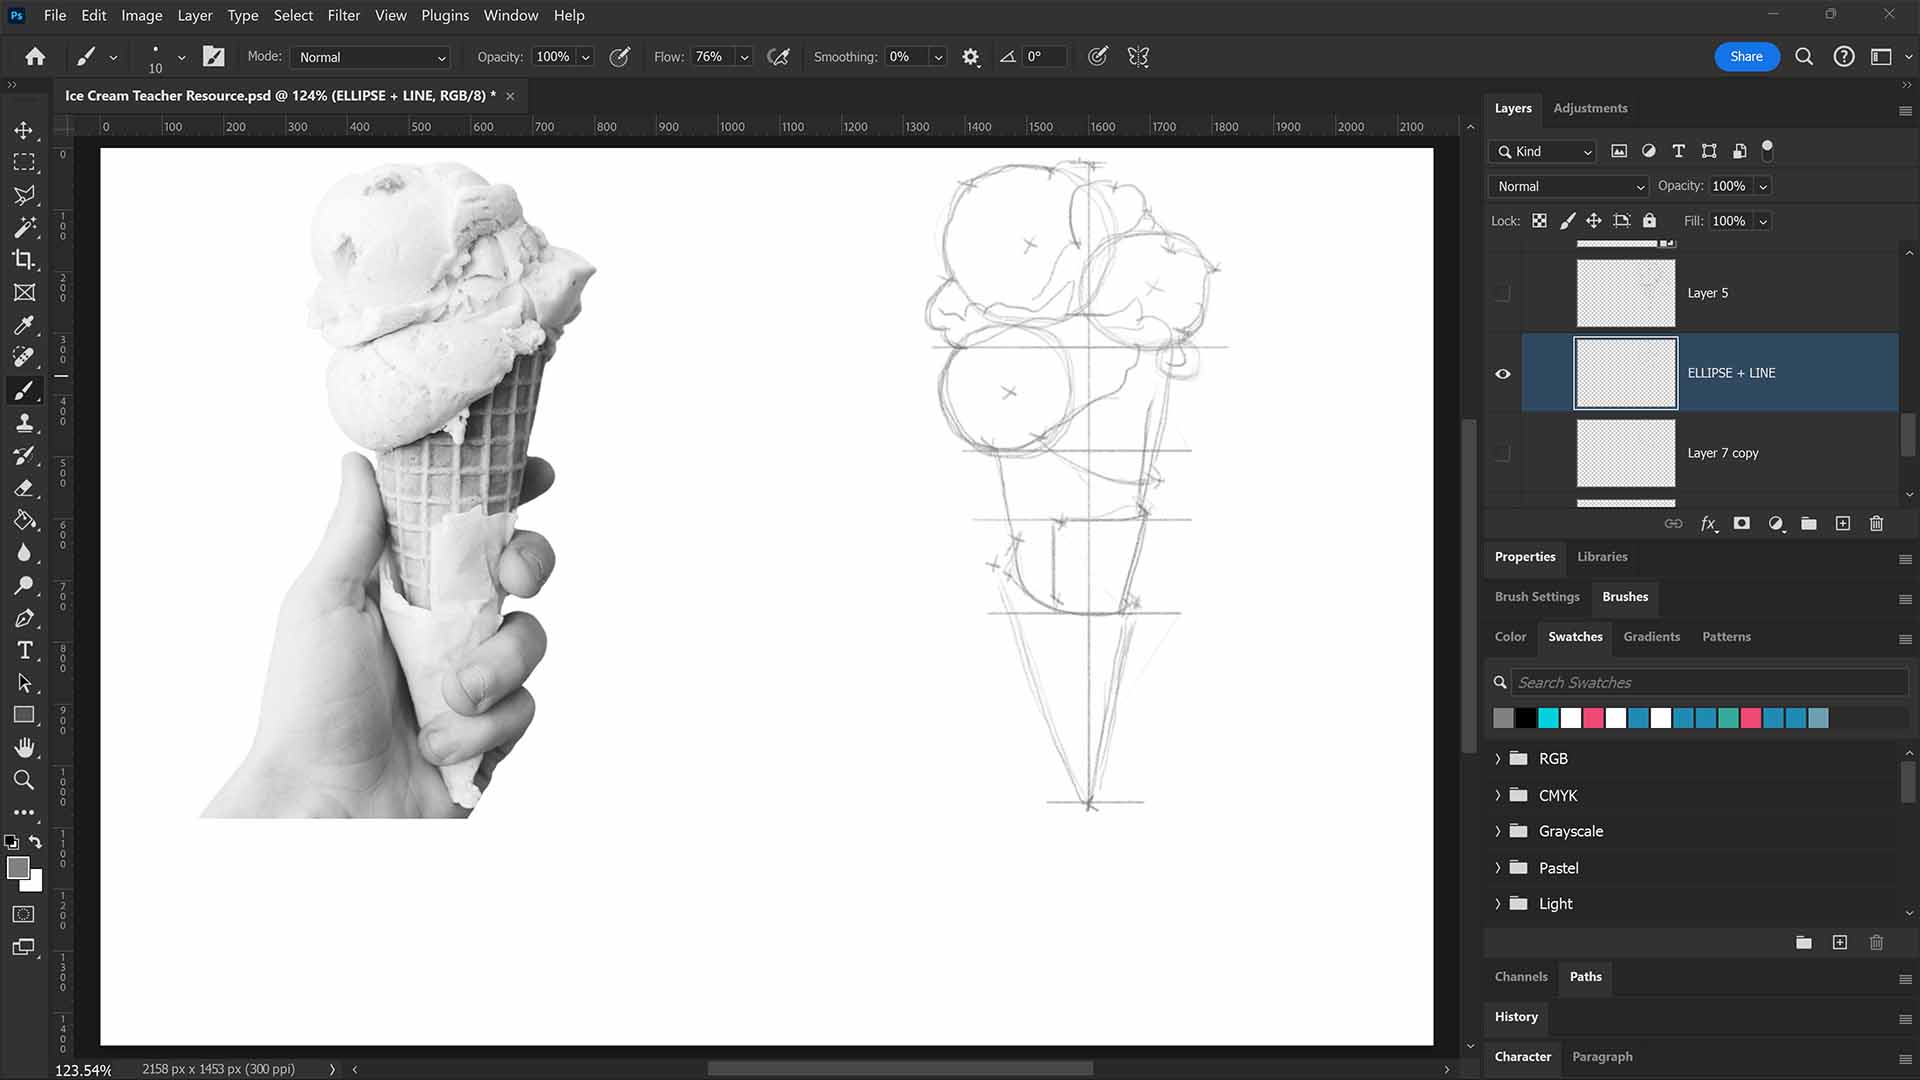
DESIGN ELEMENTS: Look for obvious shapes first ie. Circles. This will align directly with the Ellipse Tool. You can quickly create an "Anchor Point Guide" by adding markers for Center of Circles, Corners, and the Ends of Lines. This step is a "Connect the Dots" Approach for the Ellipse, Pen, and Curvature Tools to drop down your lines. LEARNING TARGET (1): Look for obvious Shapes/Circles. LEARNING TARGET (2): Look for the Start/End/Corners of each Line Segment. LEARNING TARGET: Look for elements of your design that can "repeat" or "mirror" to save time.
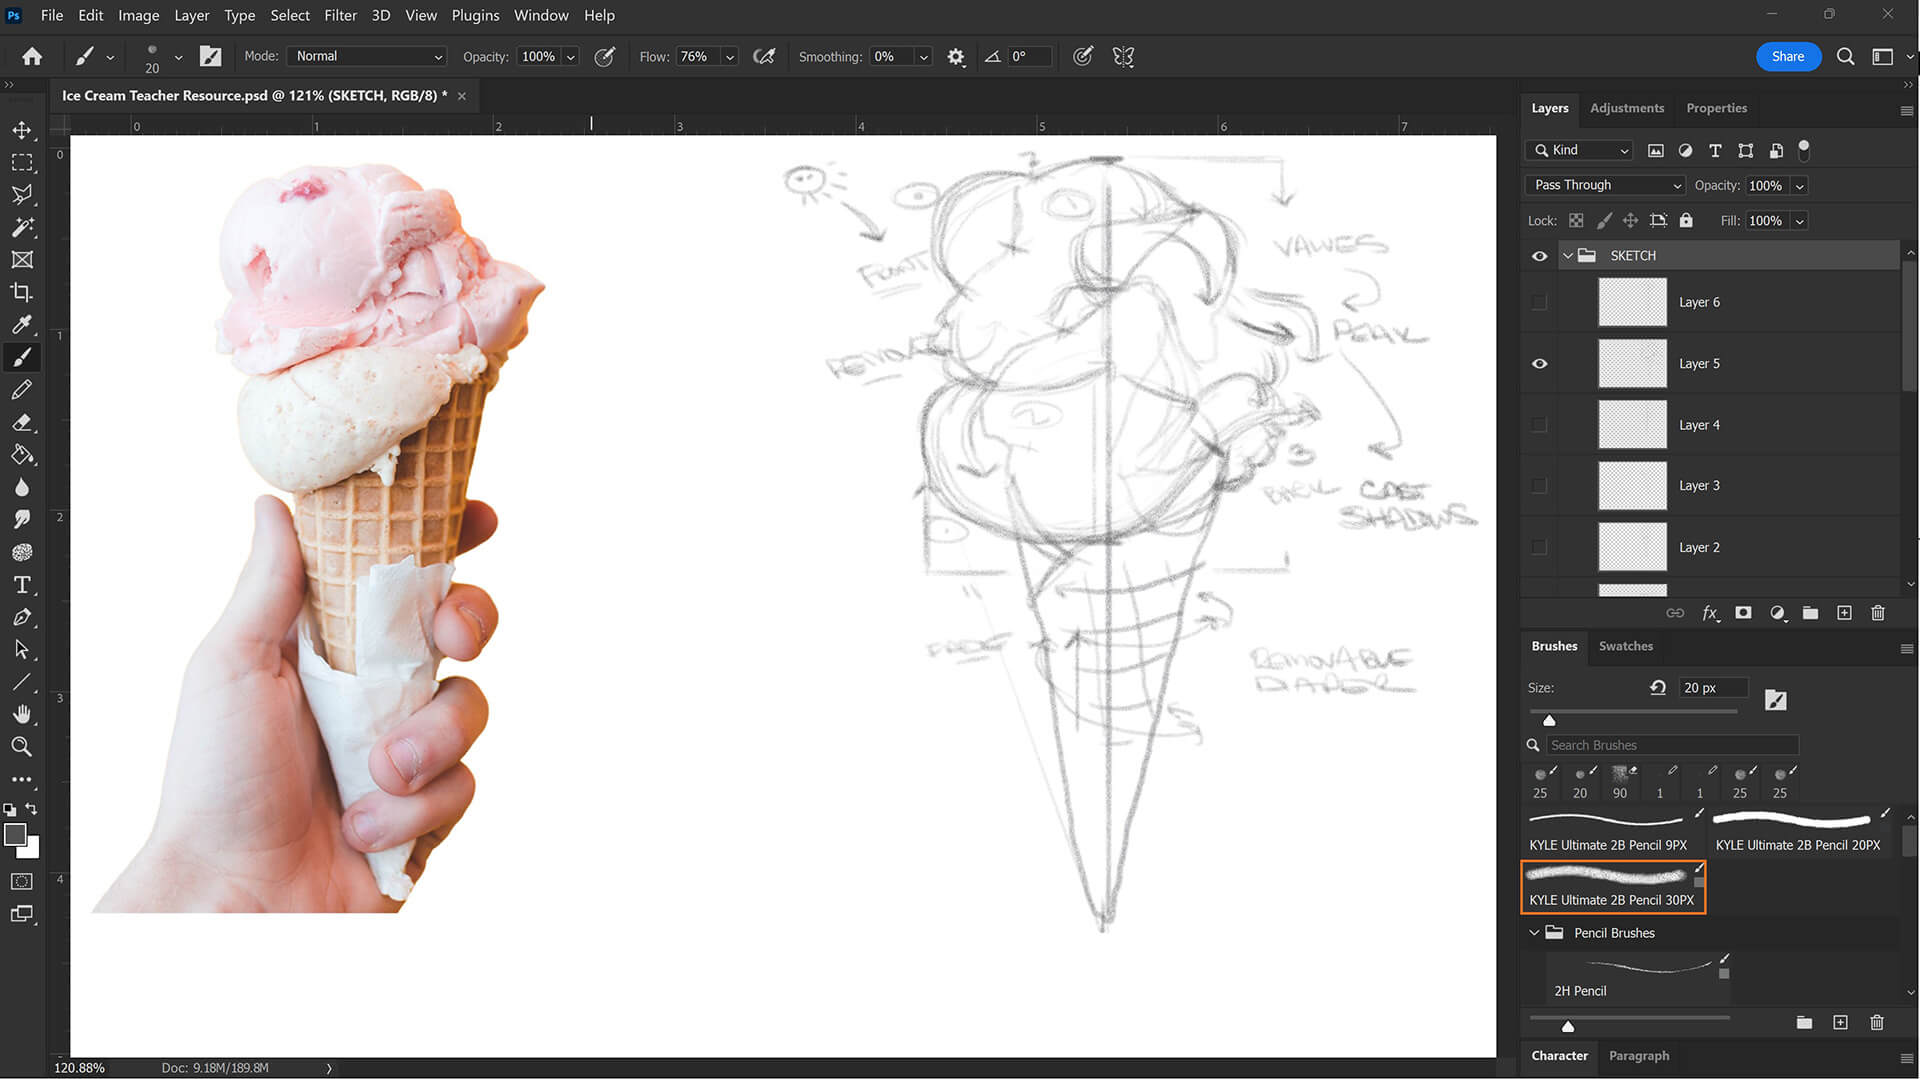
SKETCH TO VECTOR: As you become more aware of the building tools and options in Adobe Illustrator, you can save time in your workflow by using a quick sketch. PAPER: For those of you sketching on paper, this can be quick and small. I recommend having an idea of the building tools before moving to a rough or quick sketch. DIGITAL: Use any sketching or drawing program you like. The goal is to get the initial elements down quickly to assess the building tools you will use in Adobe Illustrator.
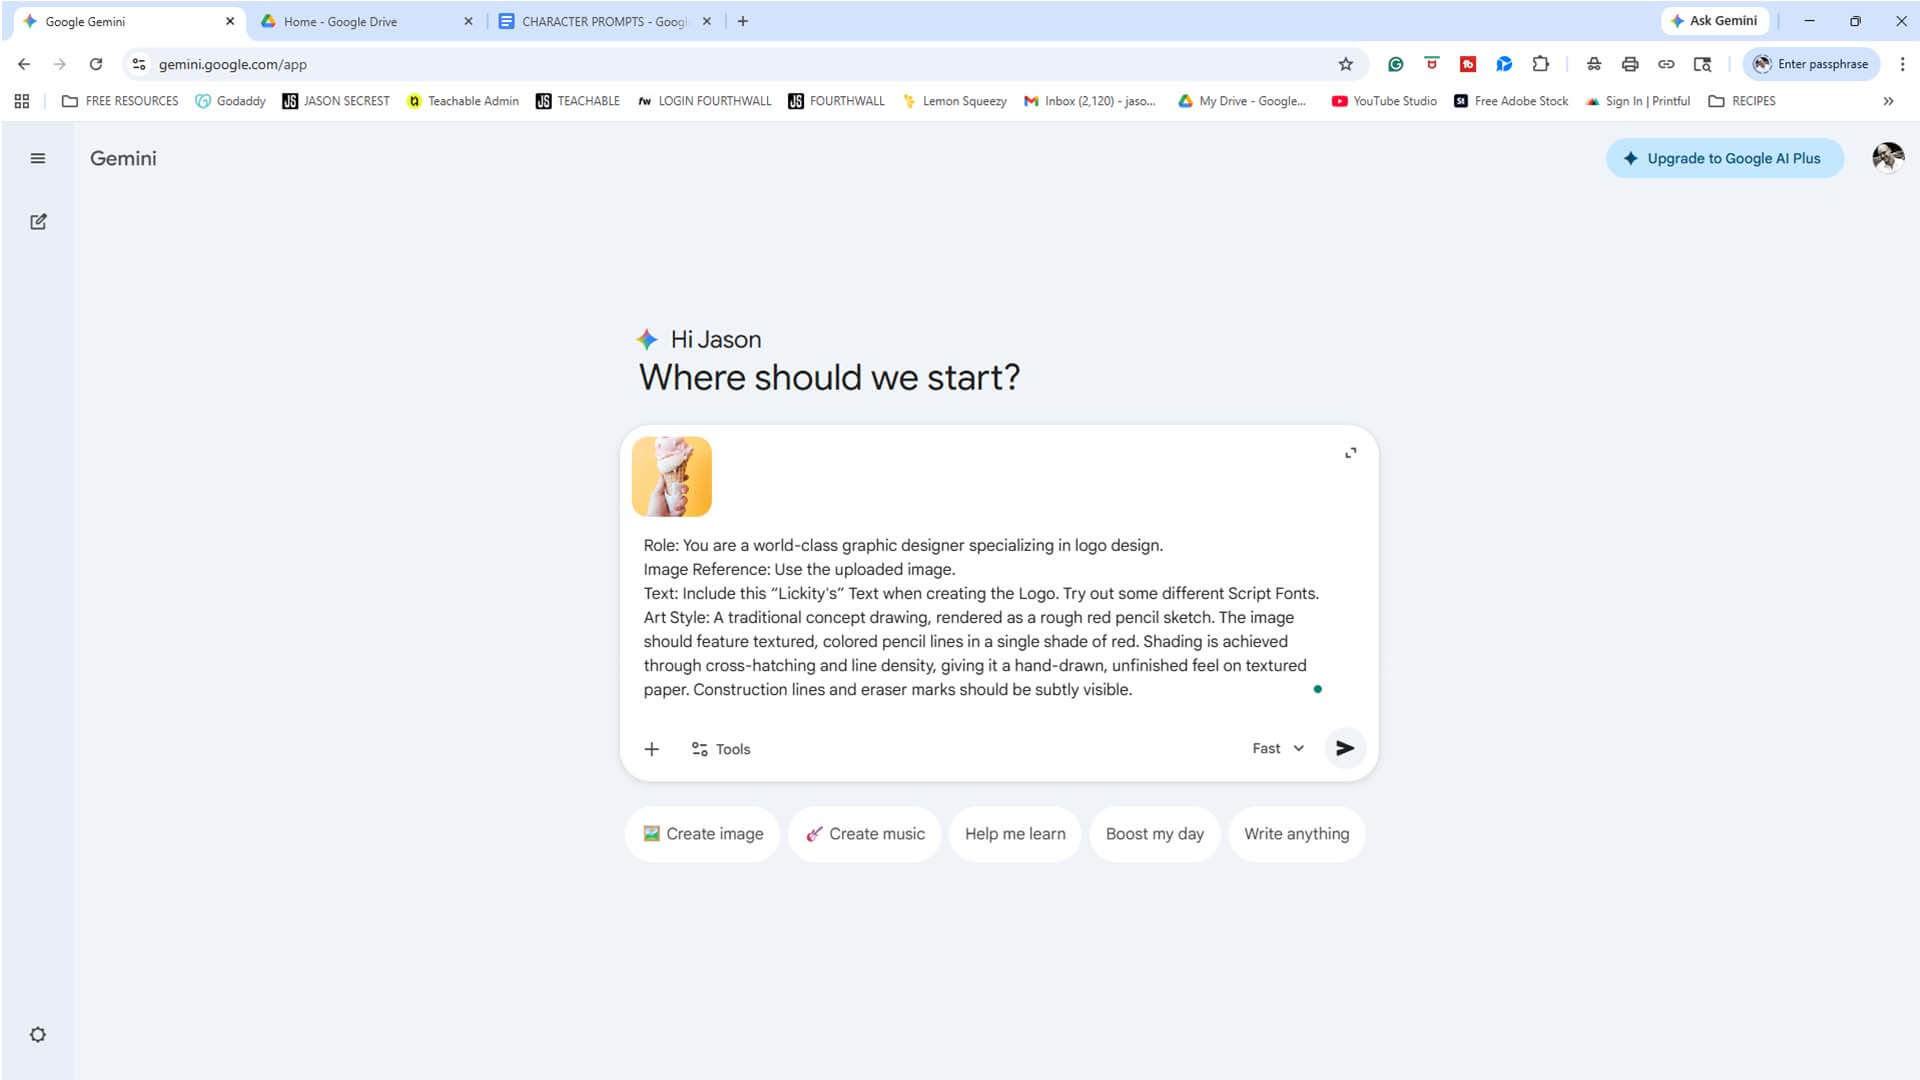
AI PHOTO TO SKETCH: For those of you looking to streamline different aspects of your workflow, you can use AI Prompts to create sketches or thumbnails of your designs to give you different ideas. I would use AI for creating sketches and various layouts in this step of your workflow.
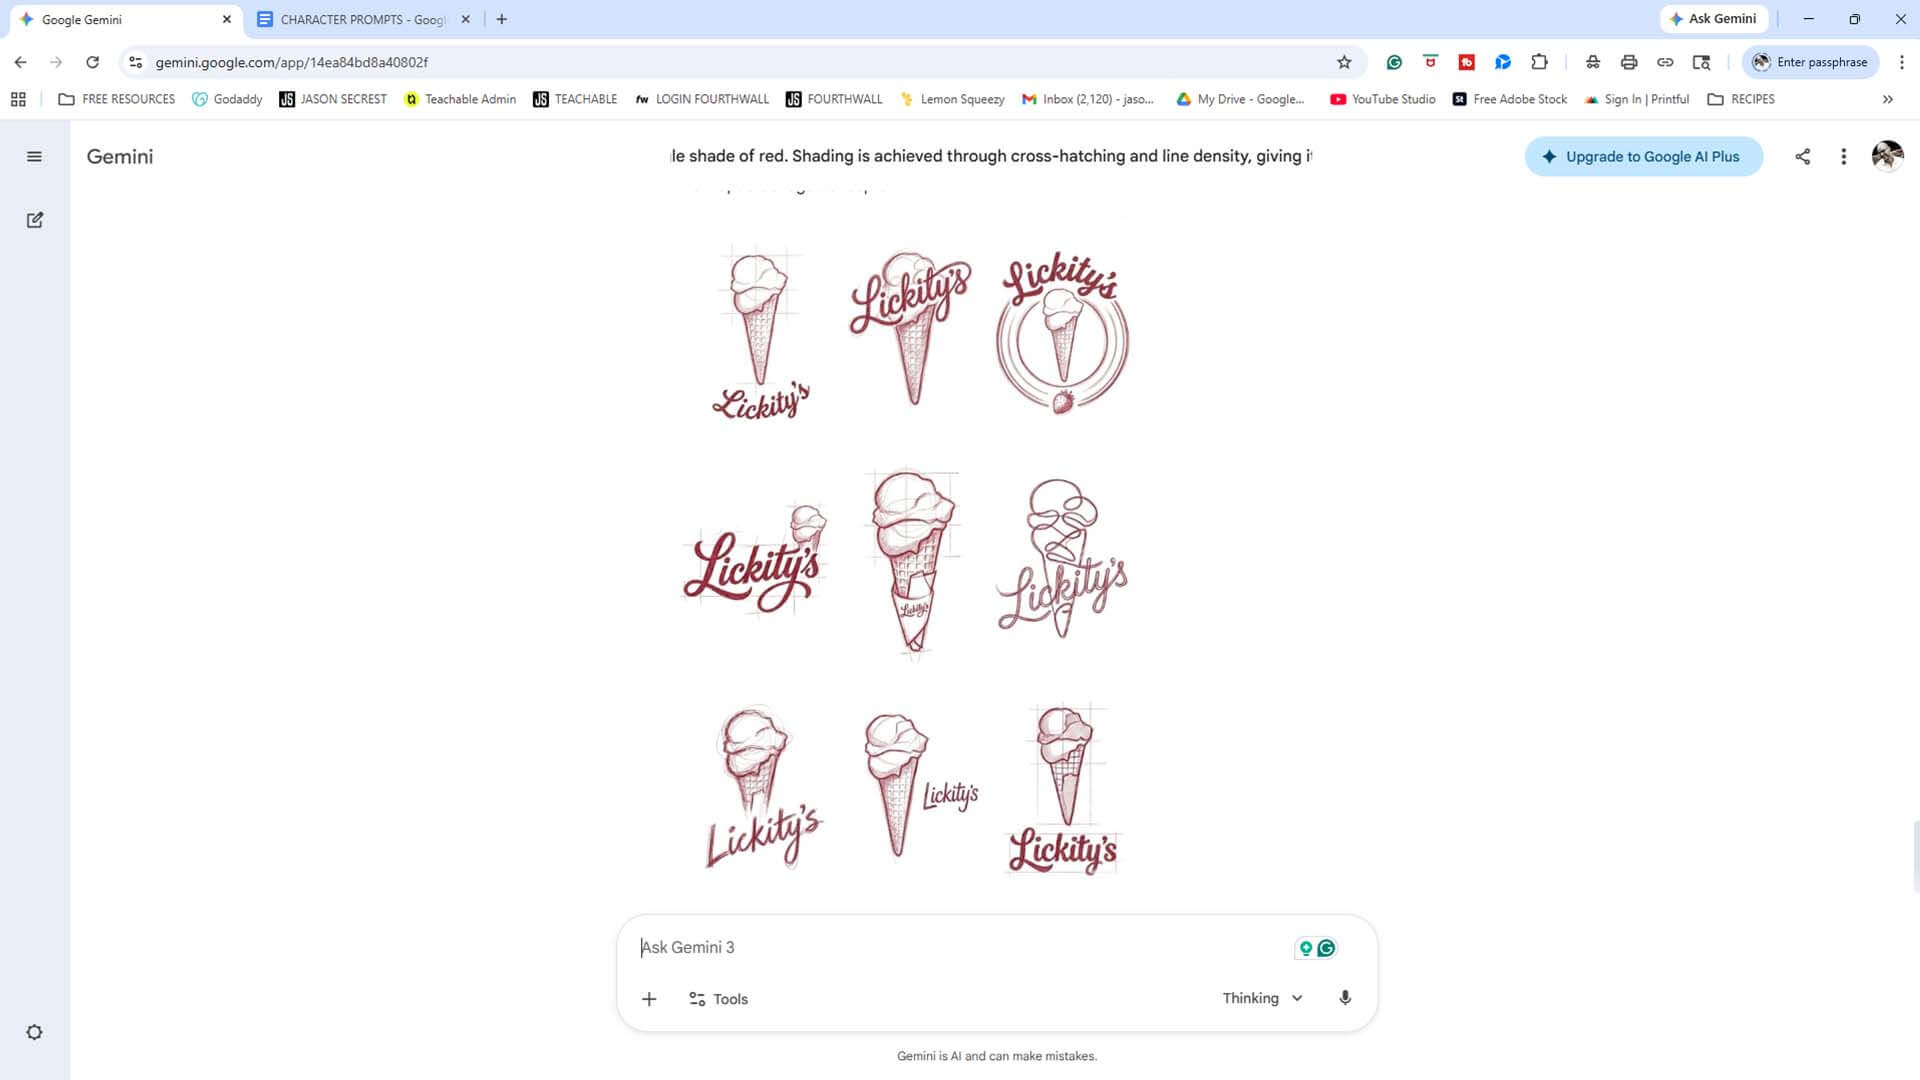
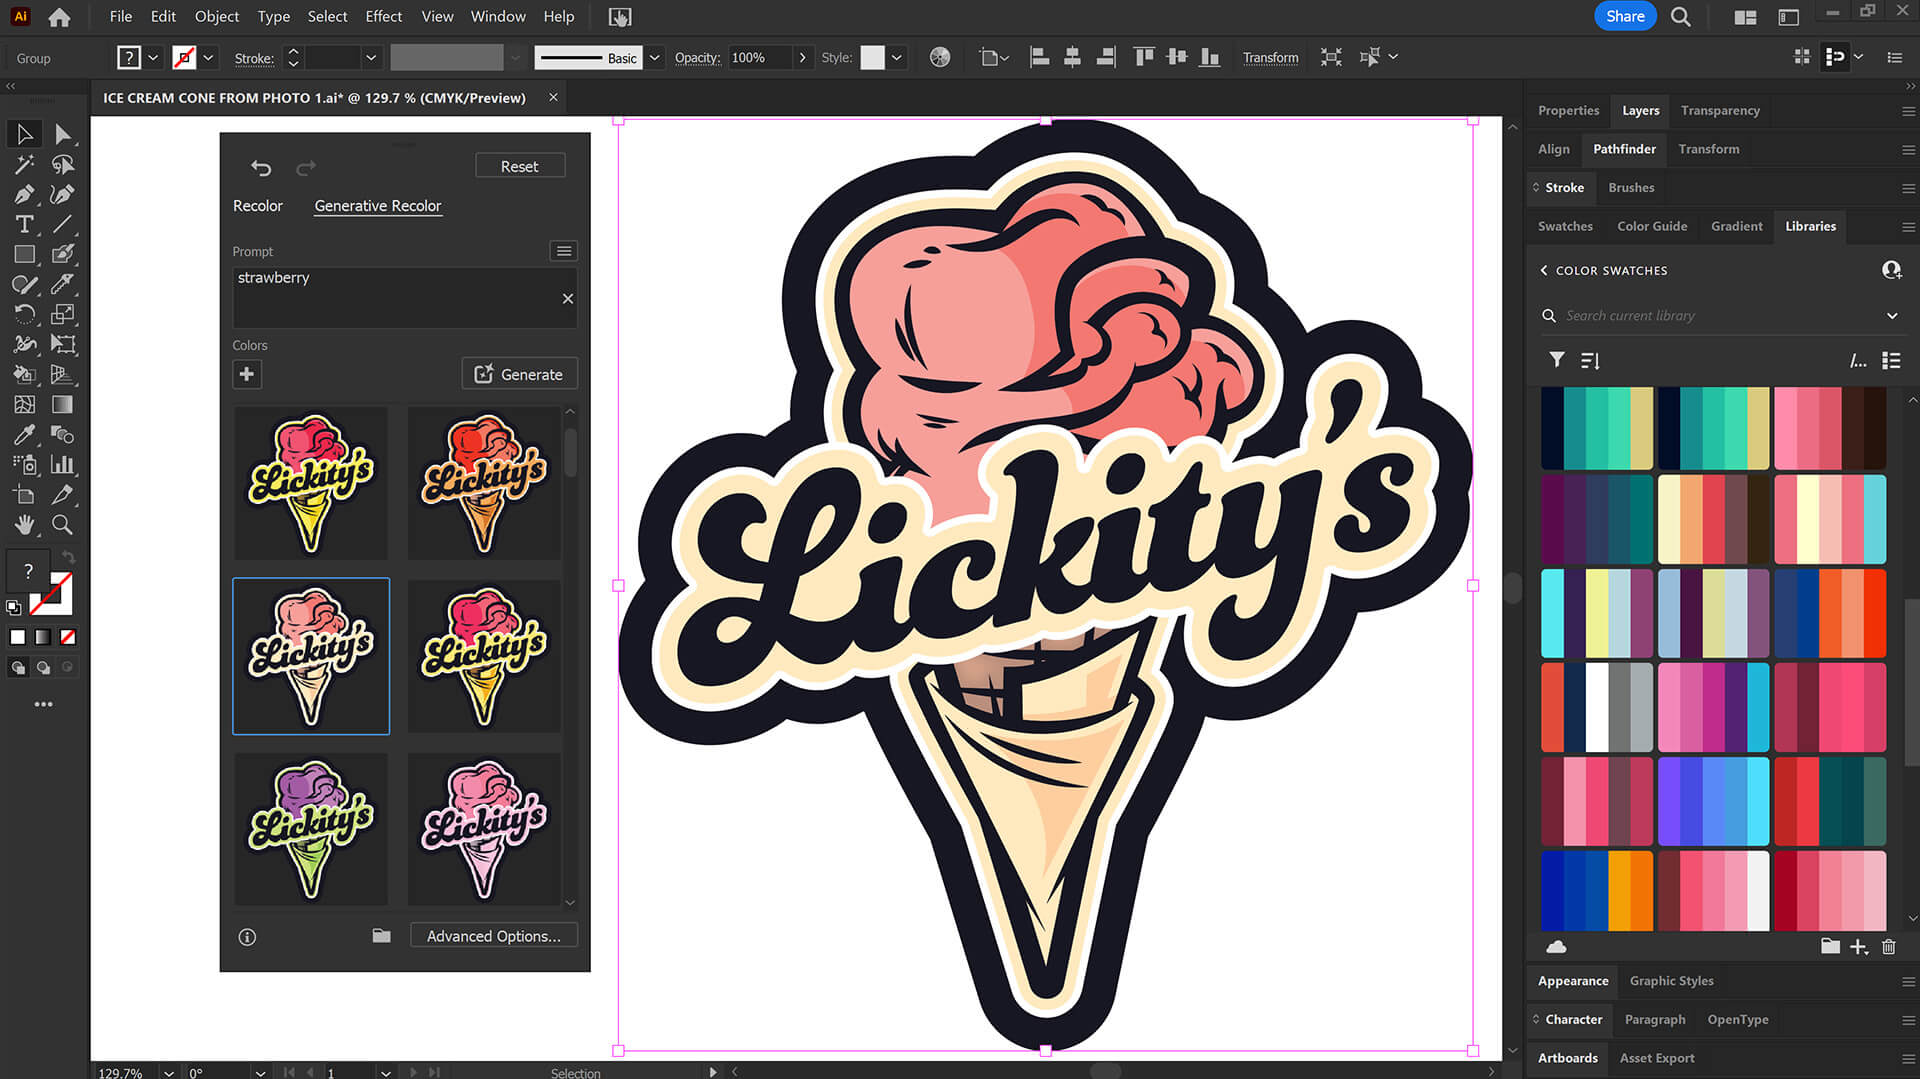
AI PHOTO TO SKETCH: Keep asking AI to modify the desired output. You can keep asking it for more layout options (Nano Banana / Gemini) "Thinking" gives great results. Layout: A 3x3 grid containing 9 variations of the logo. Each panel is isolated on a plain white background with no borders or frames.
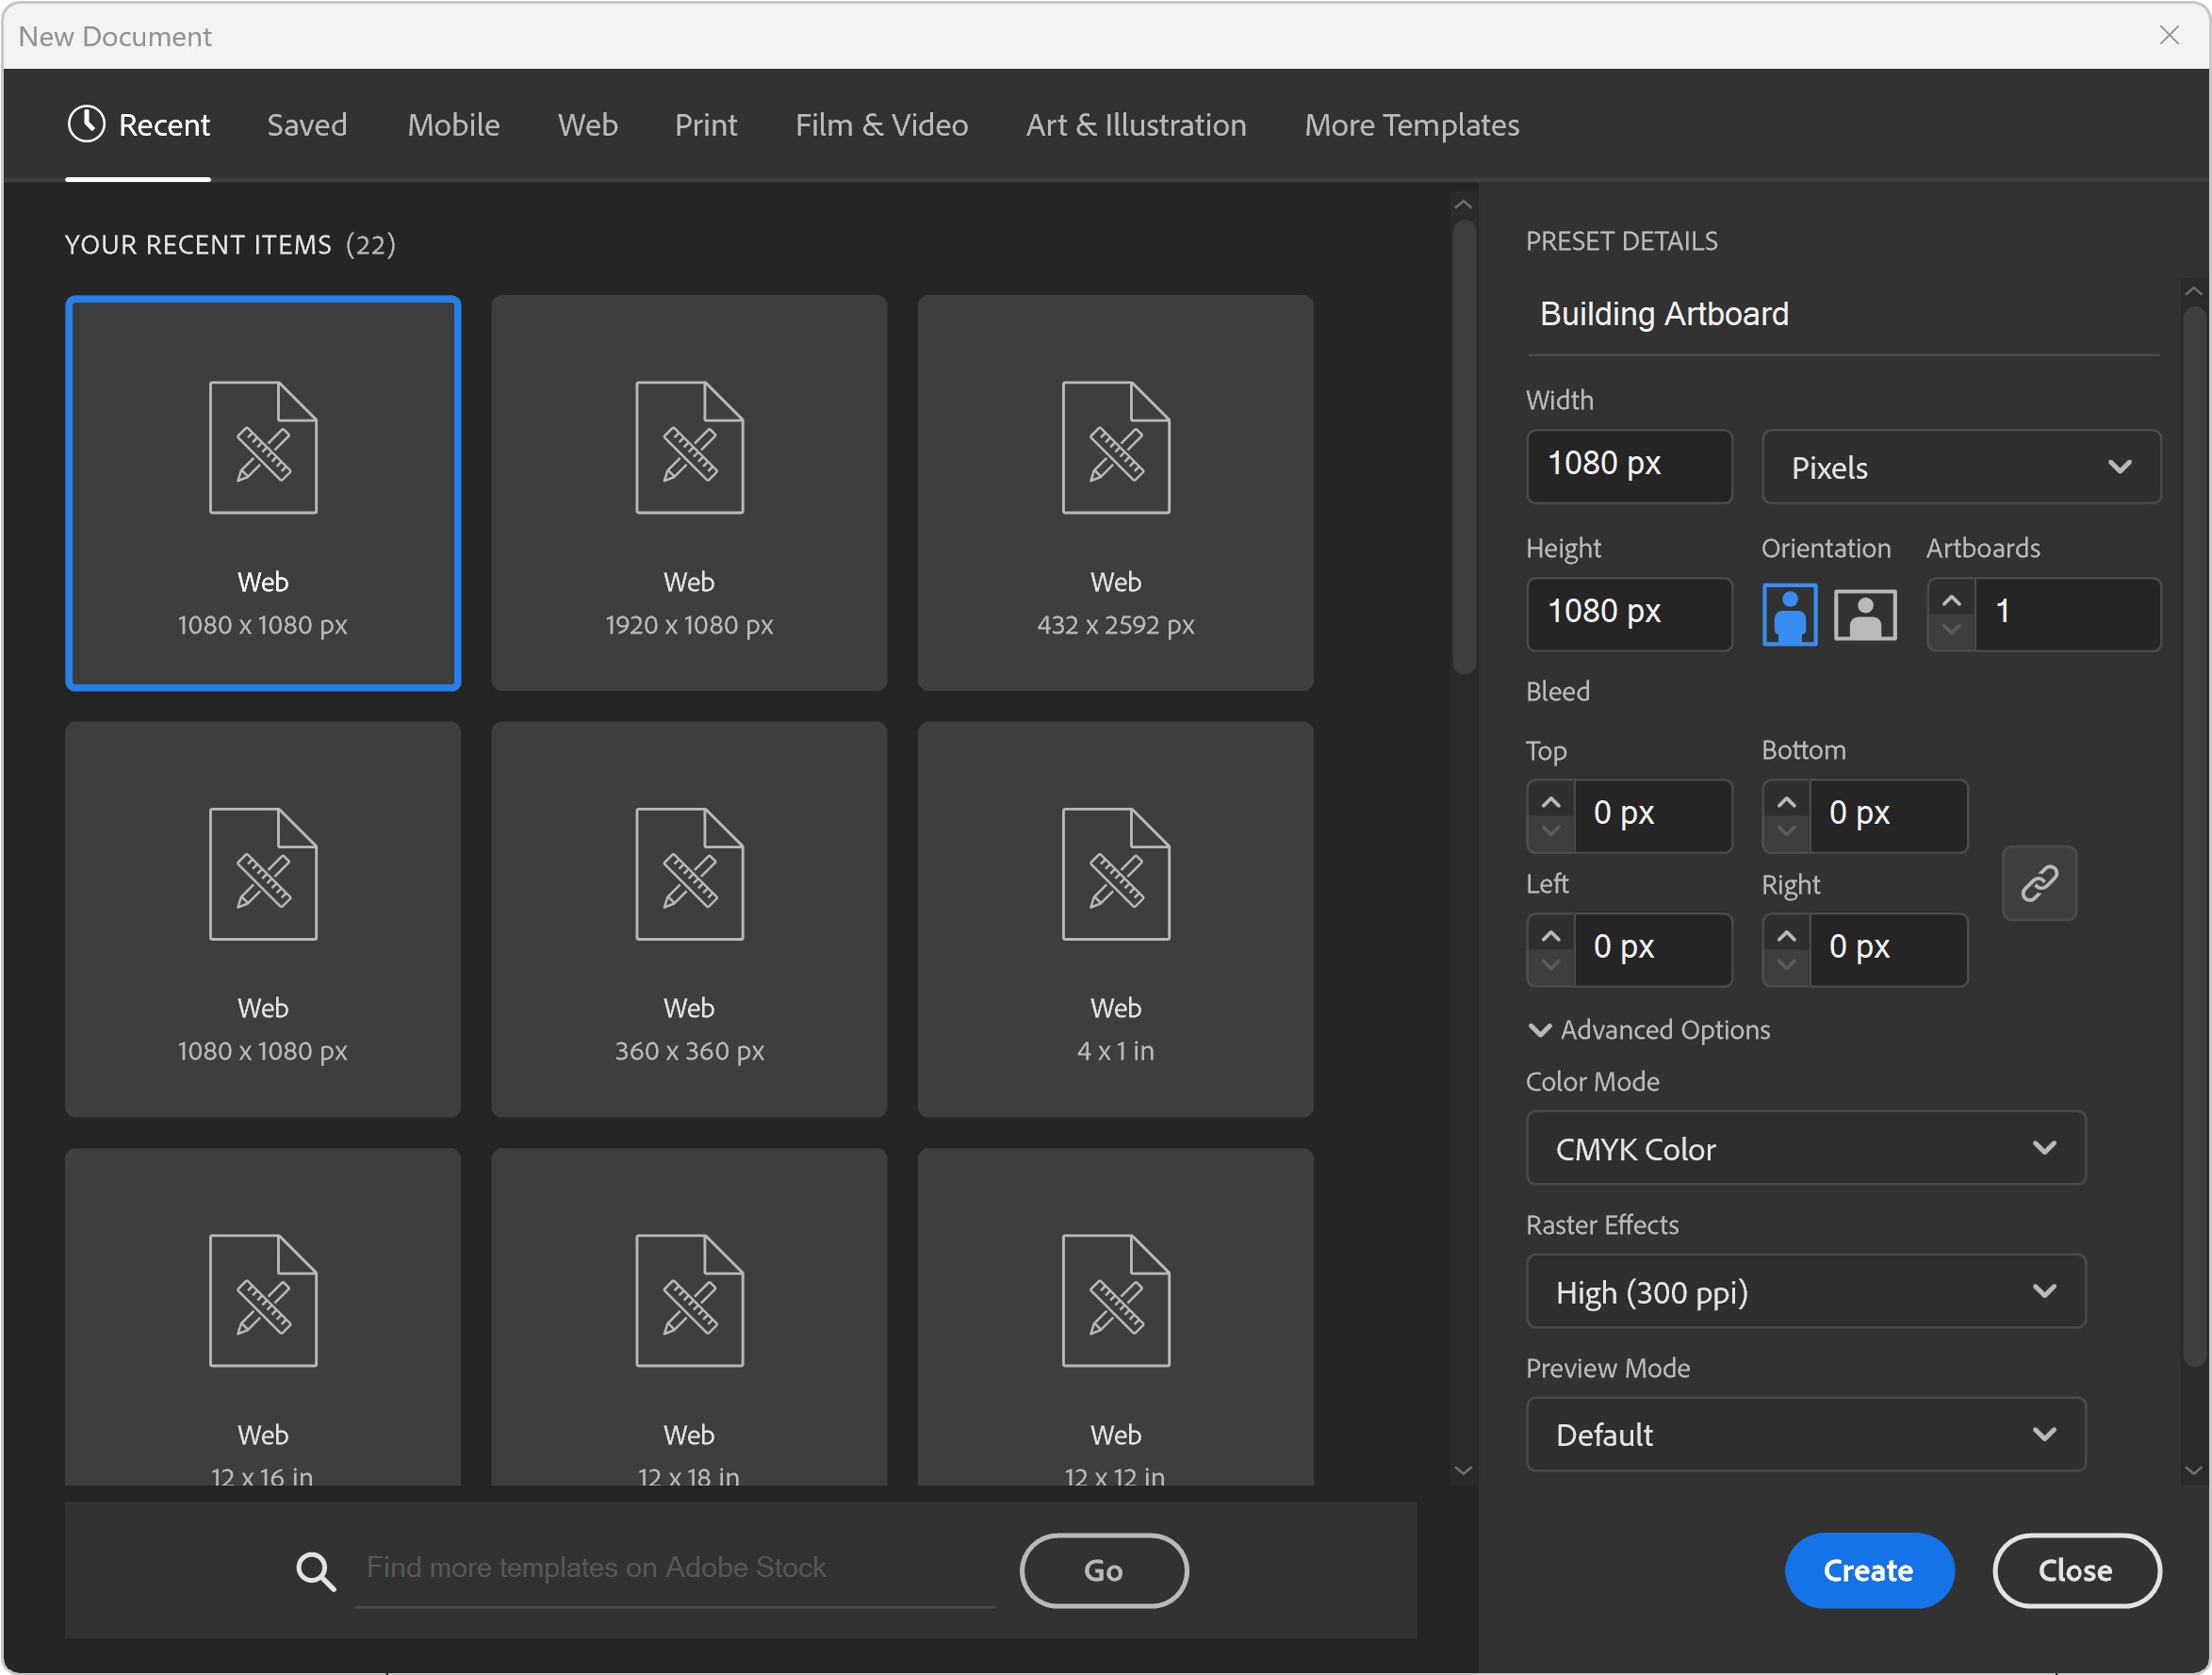
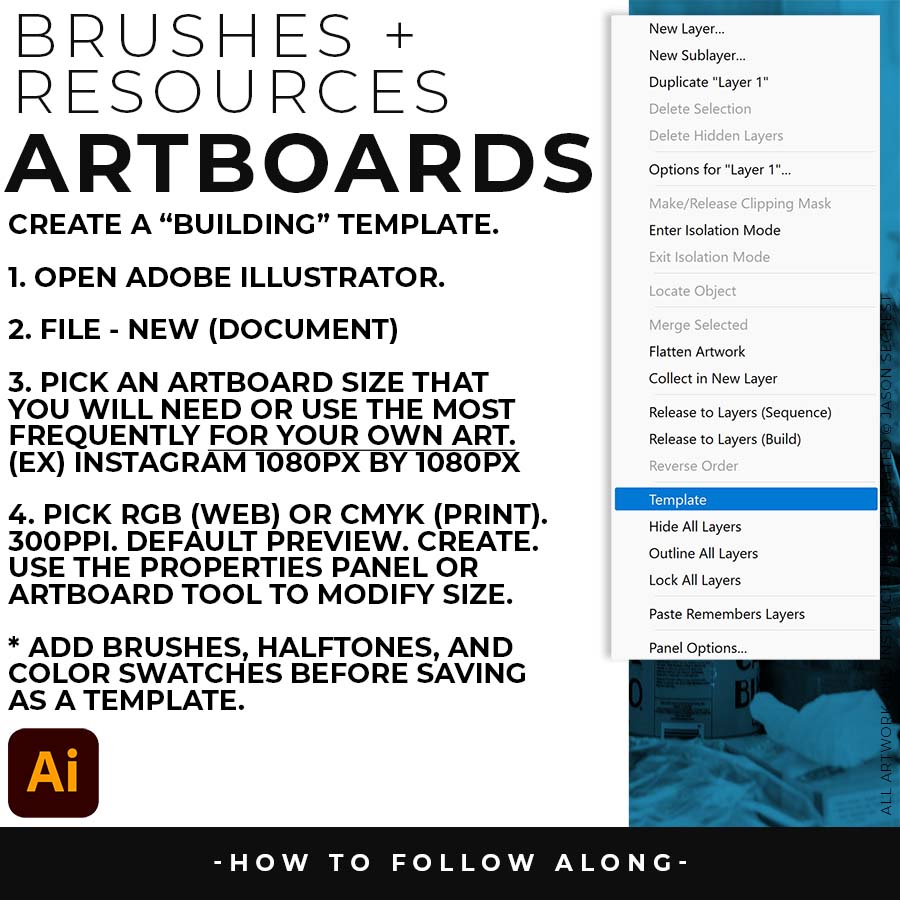
ARTBOARDS: I will recommend a (1080px by 1080px, 300PPI, RGB) as your Initial or Base Artboard Size. The Initial Artboard Size can be changed at any point without ruining your own artwork. Use the Properties Panel to Scale Artwork and Artboards. BEGINNER: Create a "Building Template" that includes Artboard Size, Resource Images, and Template Layers. ADVANCED: For your own artwork, pick a "Building" Artboard Size you can use for your Website and Social Media Postings. Example: Instagram uses 1080px as its base size to modify for Landscape, Square, or Portrait.
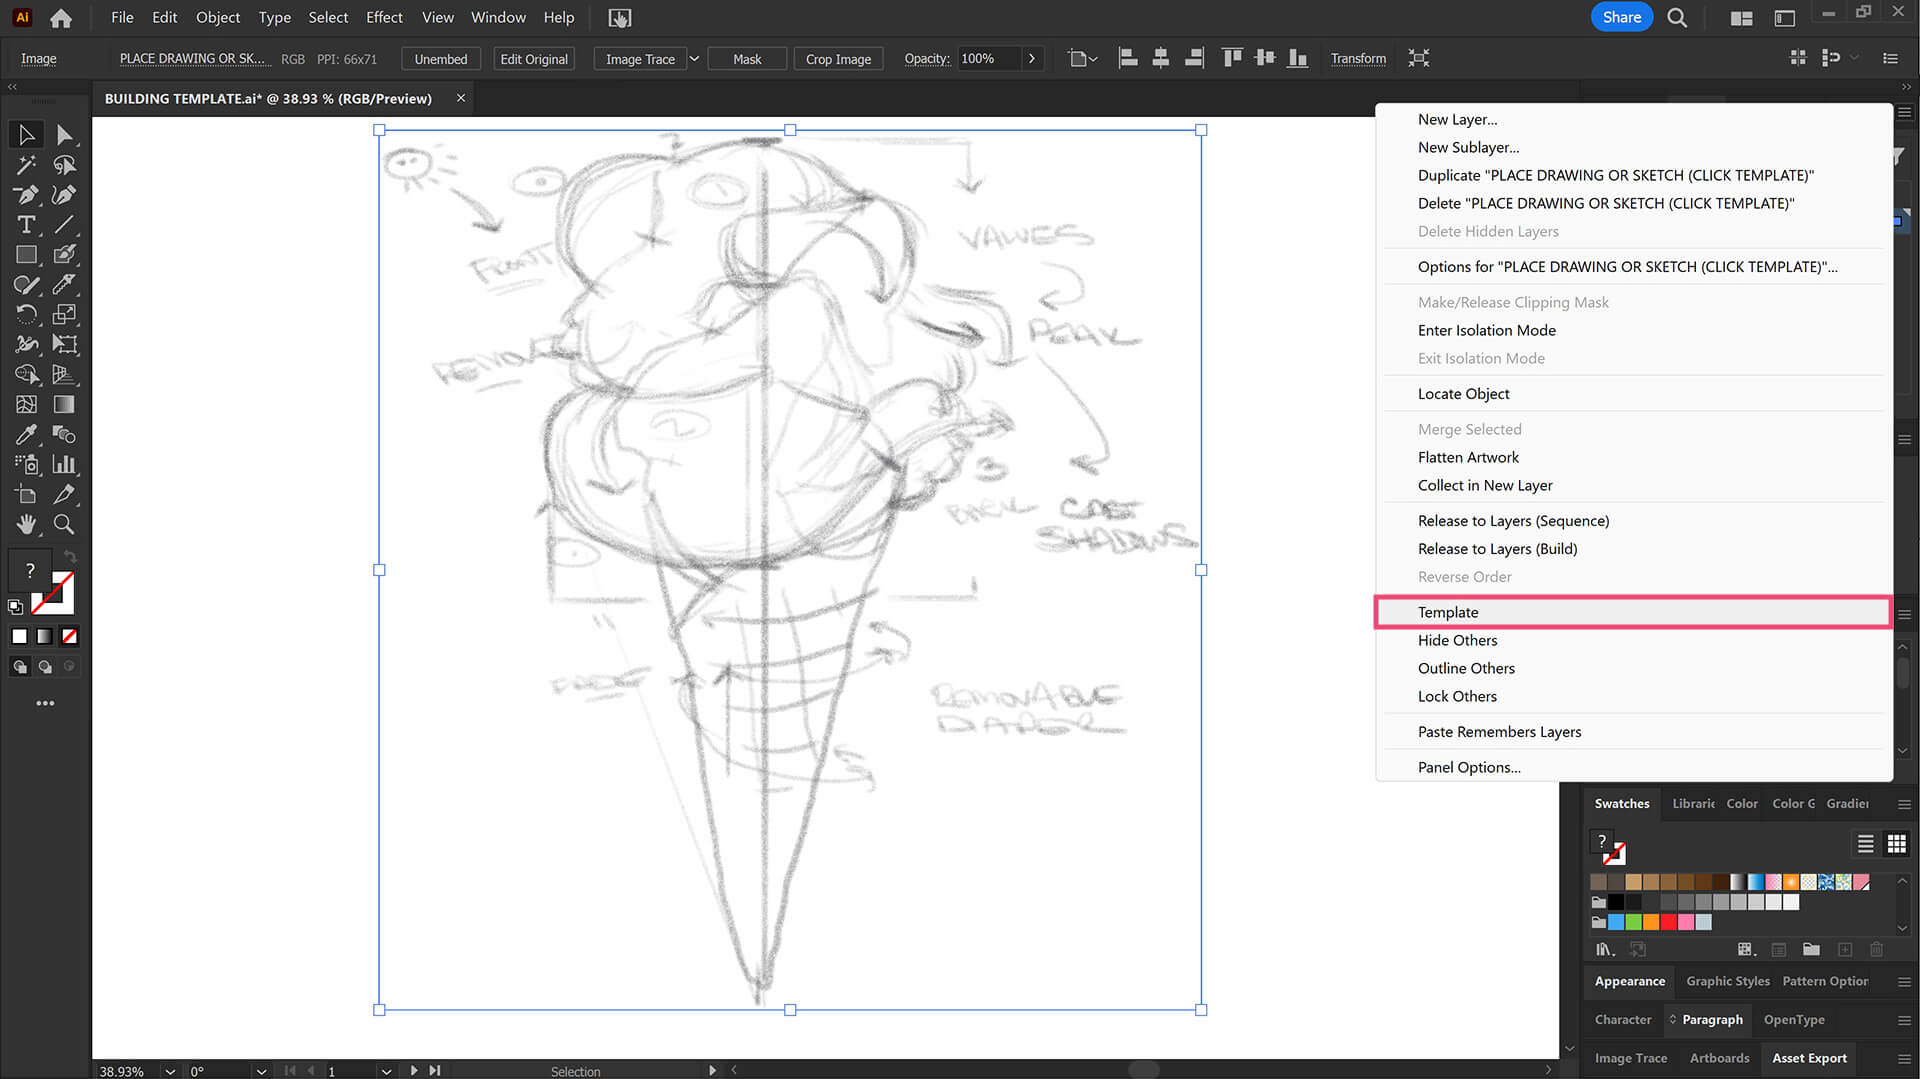
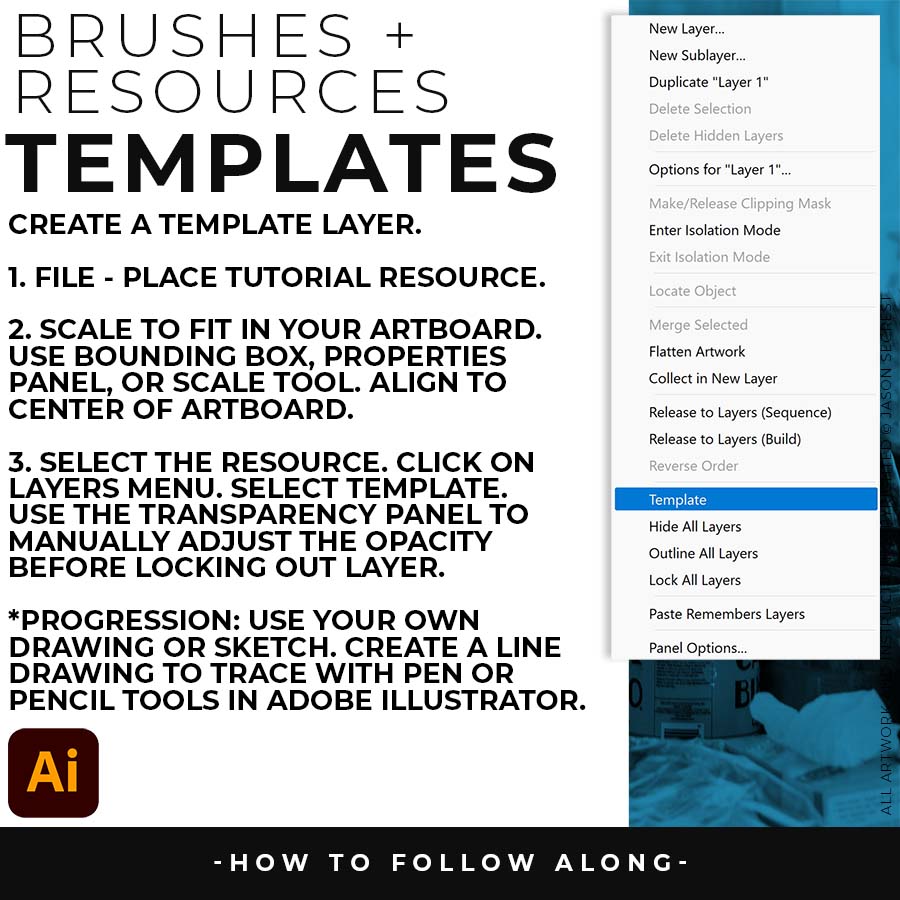
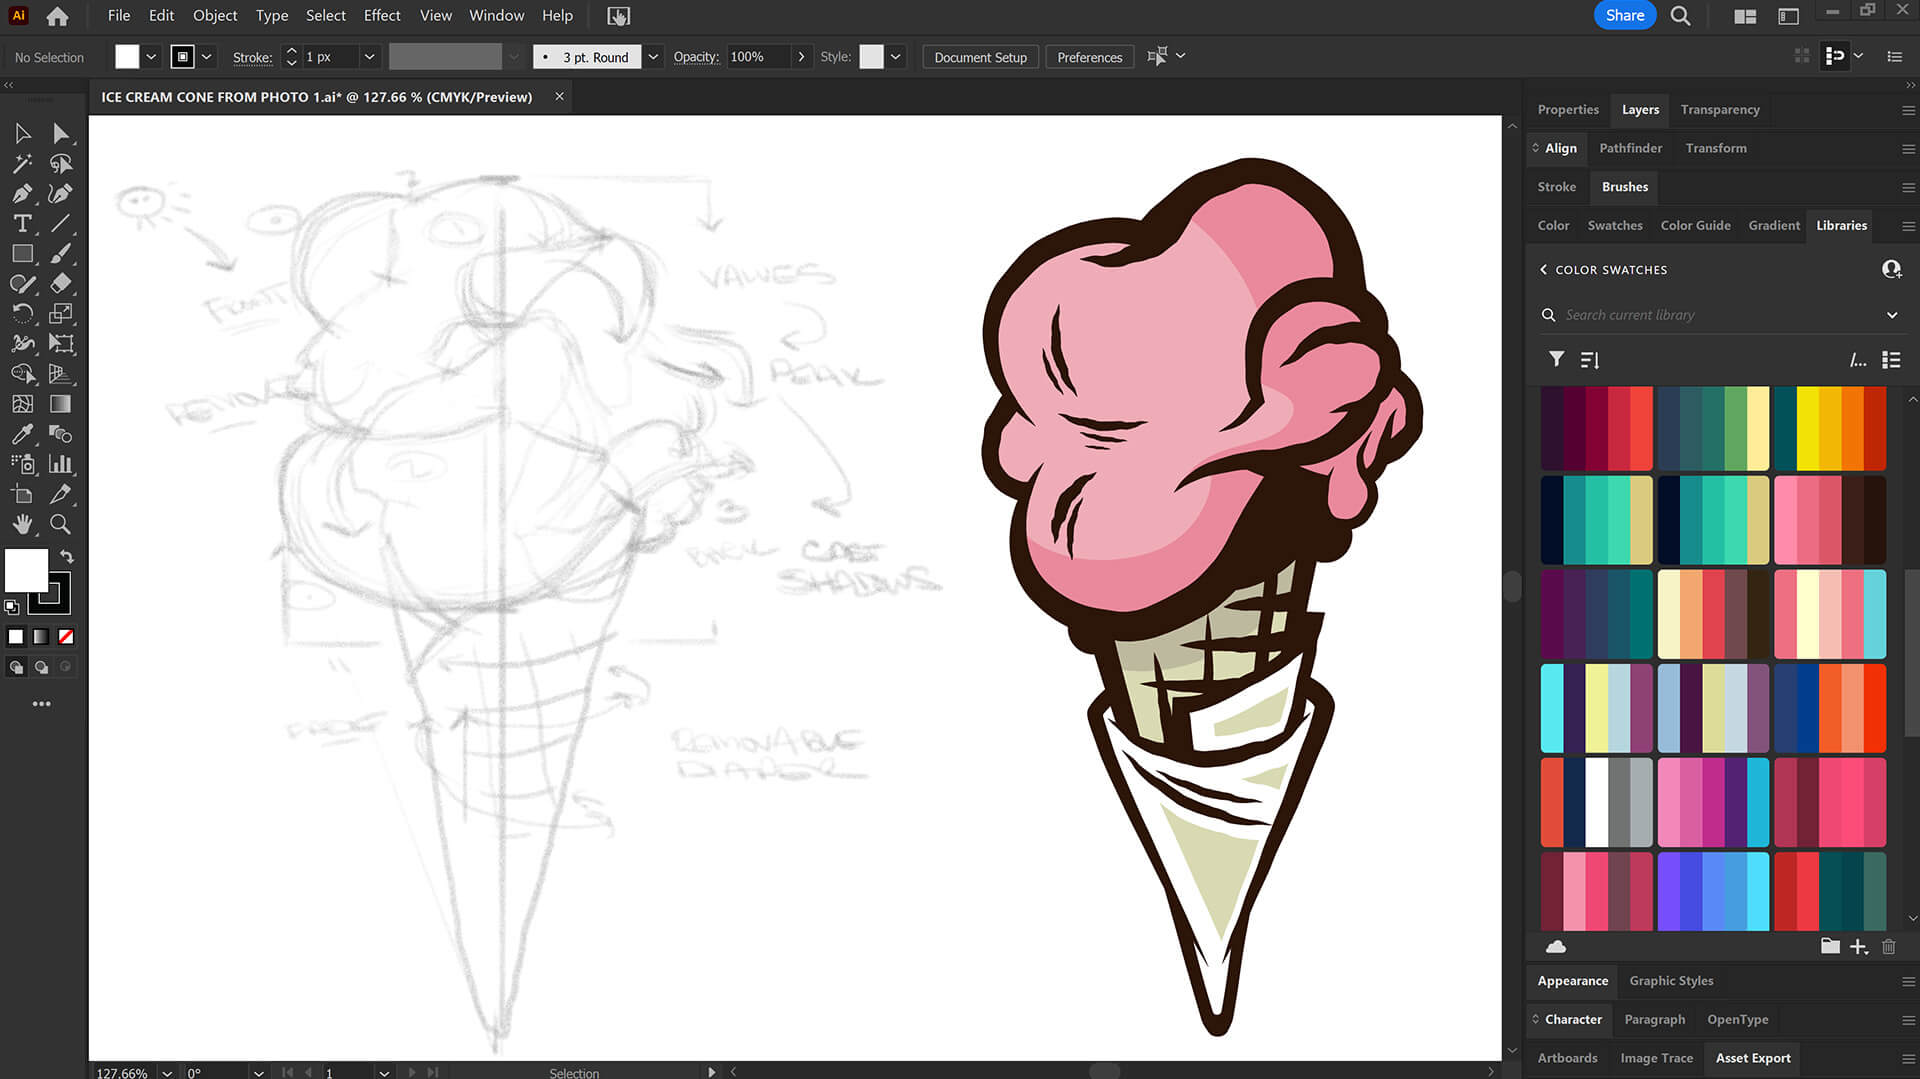
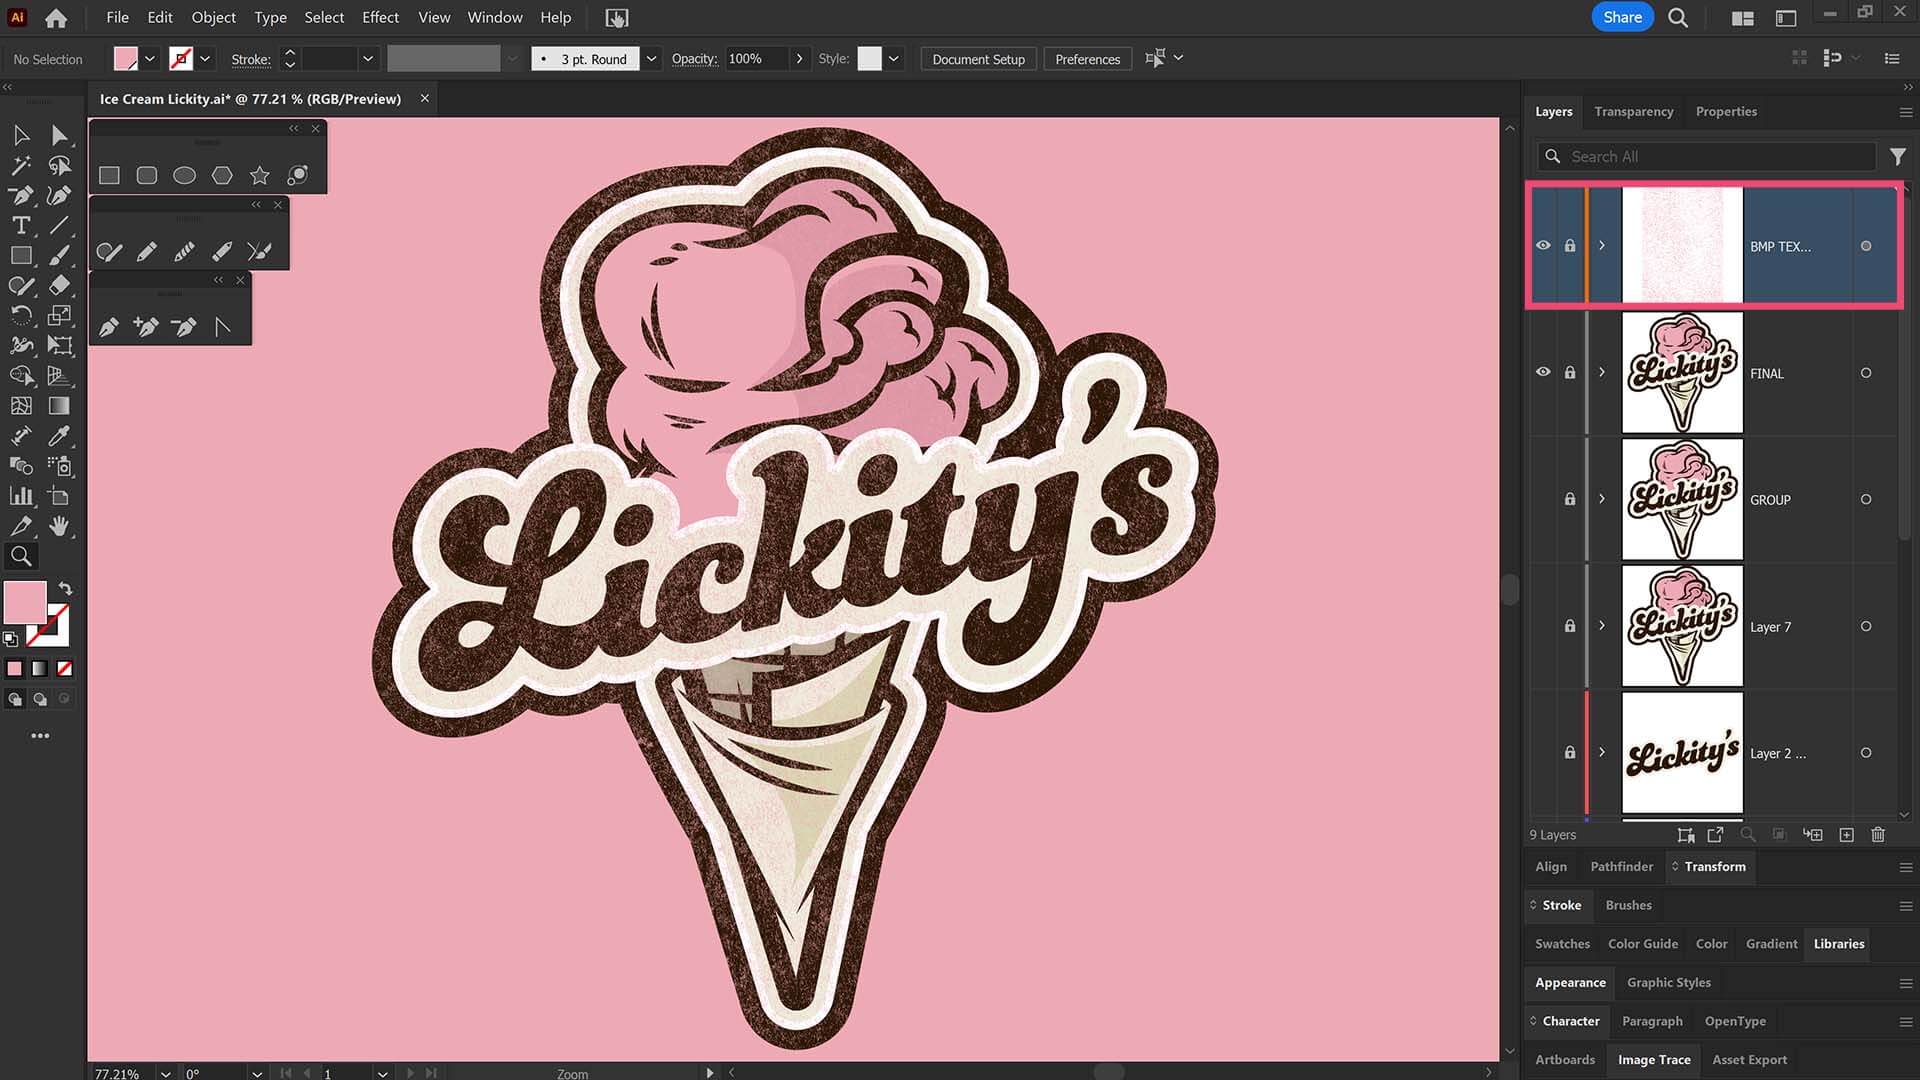
TEMPLATE LAYER: File-Place in your Resource Image (Traced Stock Photo, Drawing, or Sketch). Scale to Fit Artboard Size. In your Layers Panel, select the Menu in the Upper-Right Hand Corner. Drop down to Template. This will create a 50% Opacity and Lockout the Layer. Create a New Layer above to start working in Adobe Illustrator. LEARNING TARGET (1): Create a Template Layer. Add a new Layer above for "Building."
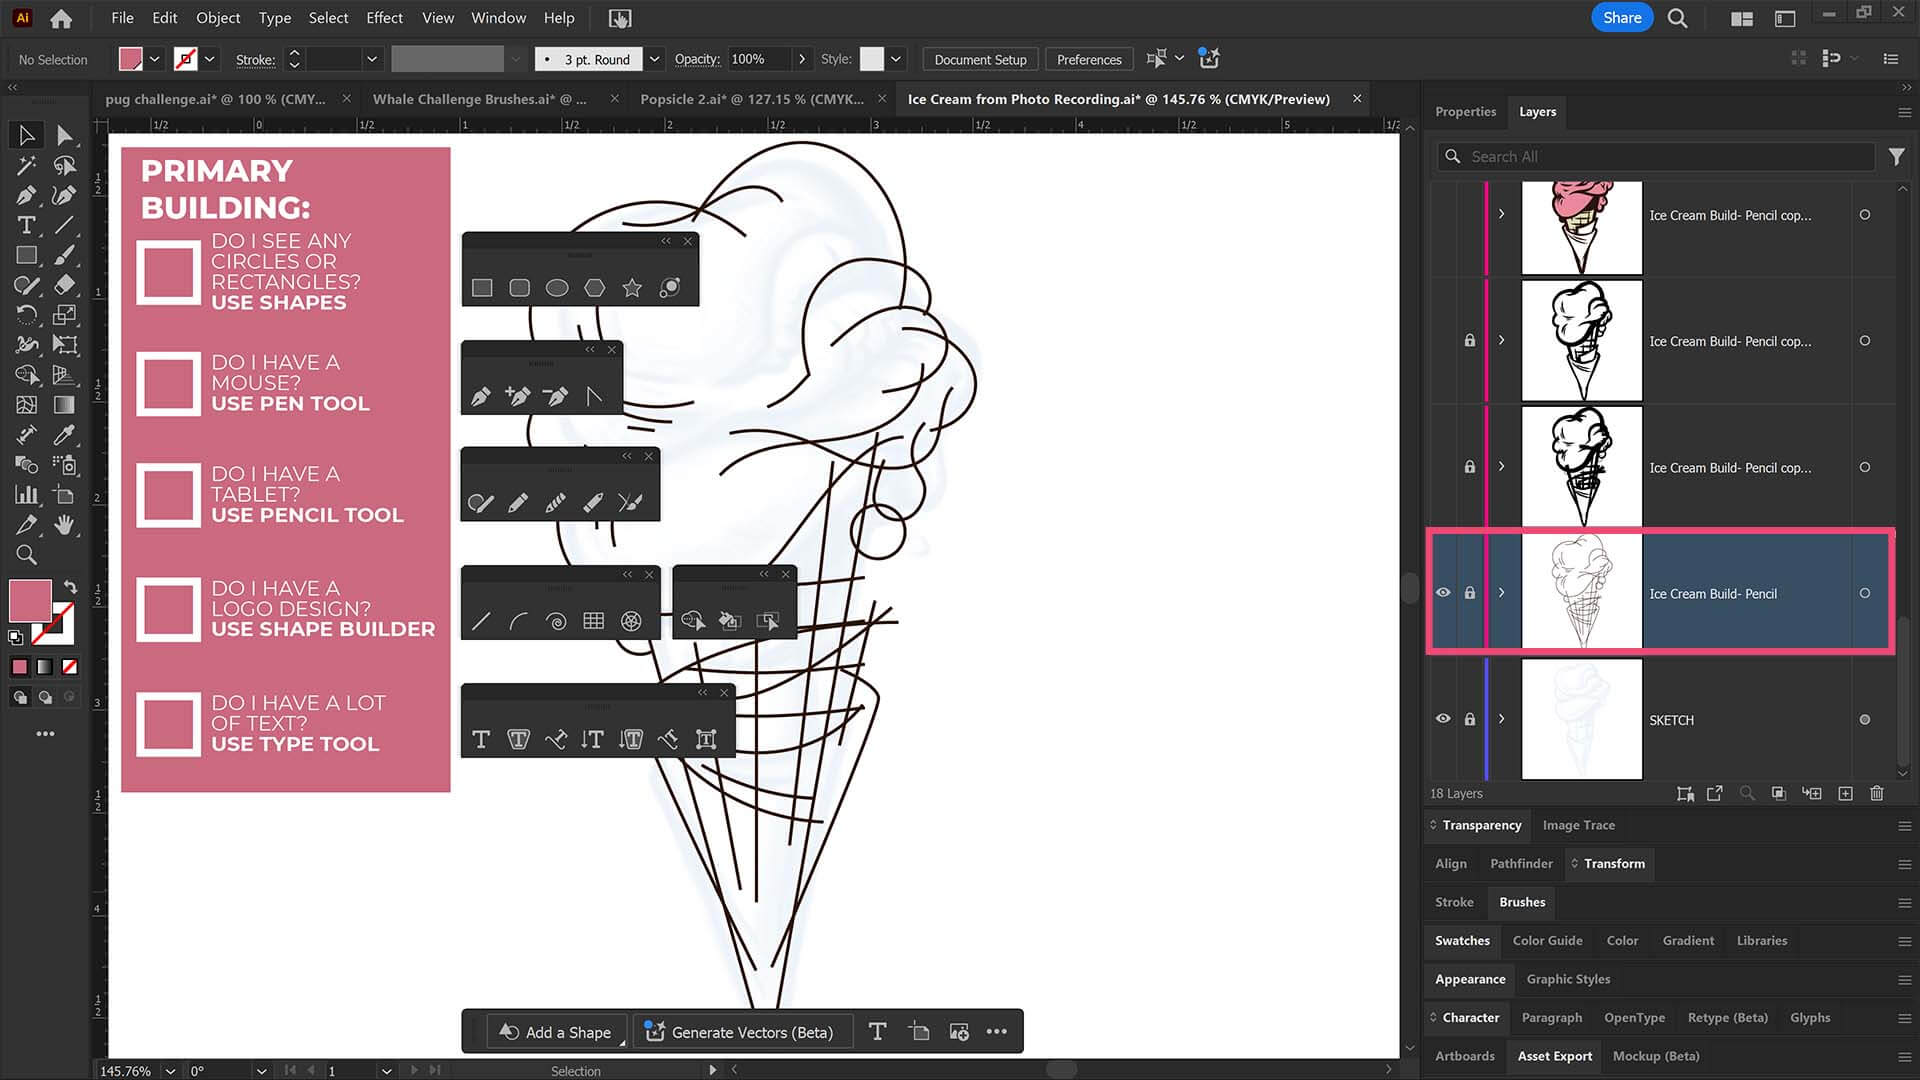
PRIMARY BUILDING TOOLS: Many of you will be bouncing from the Ellipse Tool for Shapes and the Pen or Pencil Tool for your Linework. CHECKLIST: For your own artwork, use the most obvious Primary Building Tool to lay down your initial paths and objects.
DRAWING PREP: Prepare your drawings for the Initial Building Phase in Adobe Illustrator. Break down your drawings and sketches into Design Elements (Lines + Shapes). ADVANCED PREP: As you become more aware of the Tools and Options in Adobe Illustrator, you can save time in your workflow by using quick sketches. Use either Paper or Digital Methods.
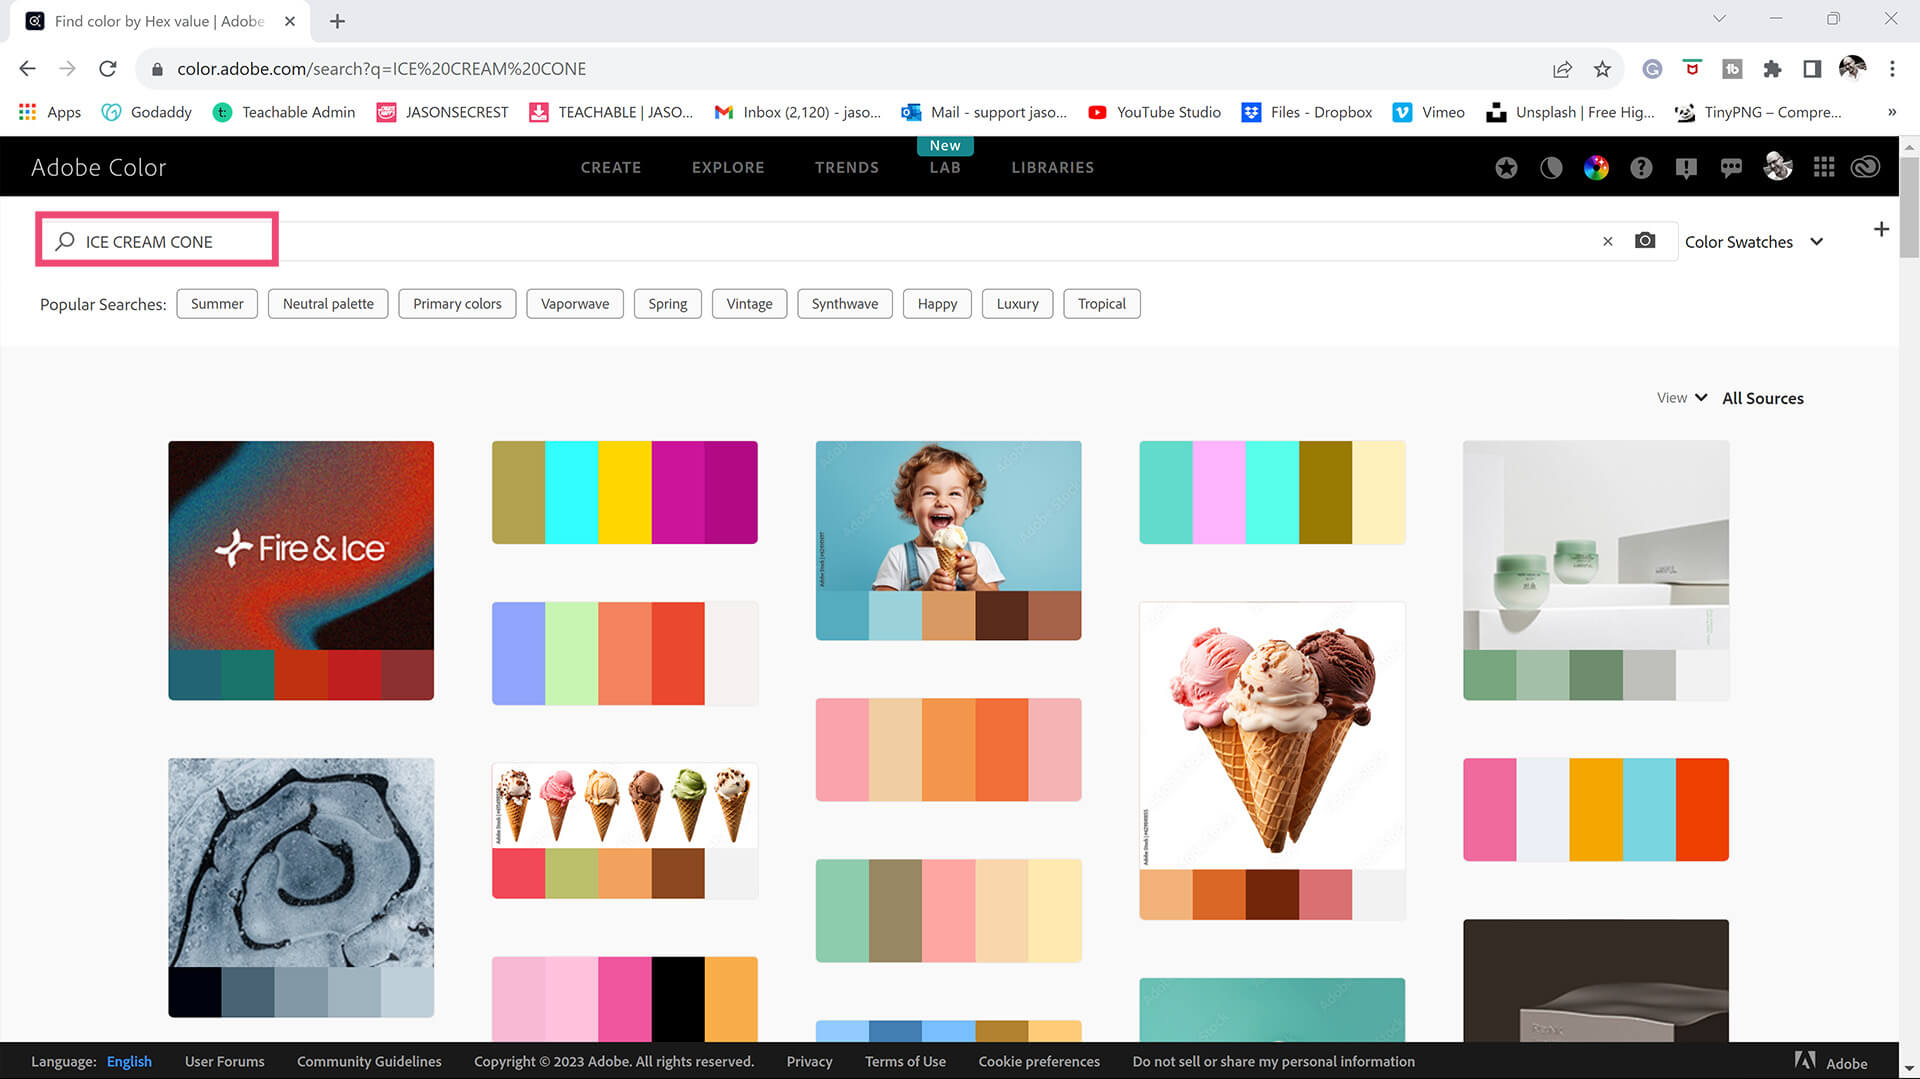
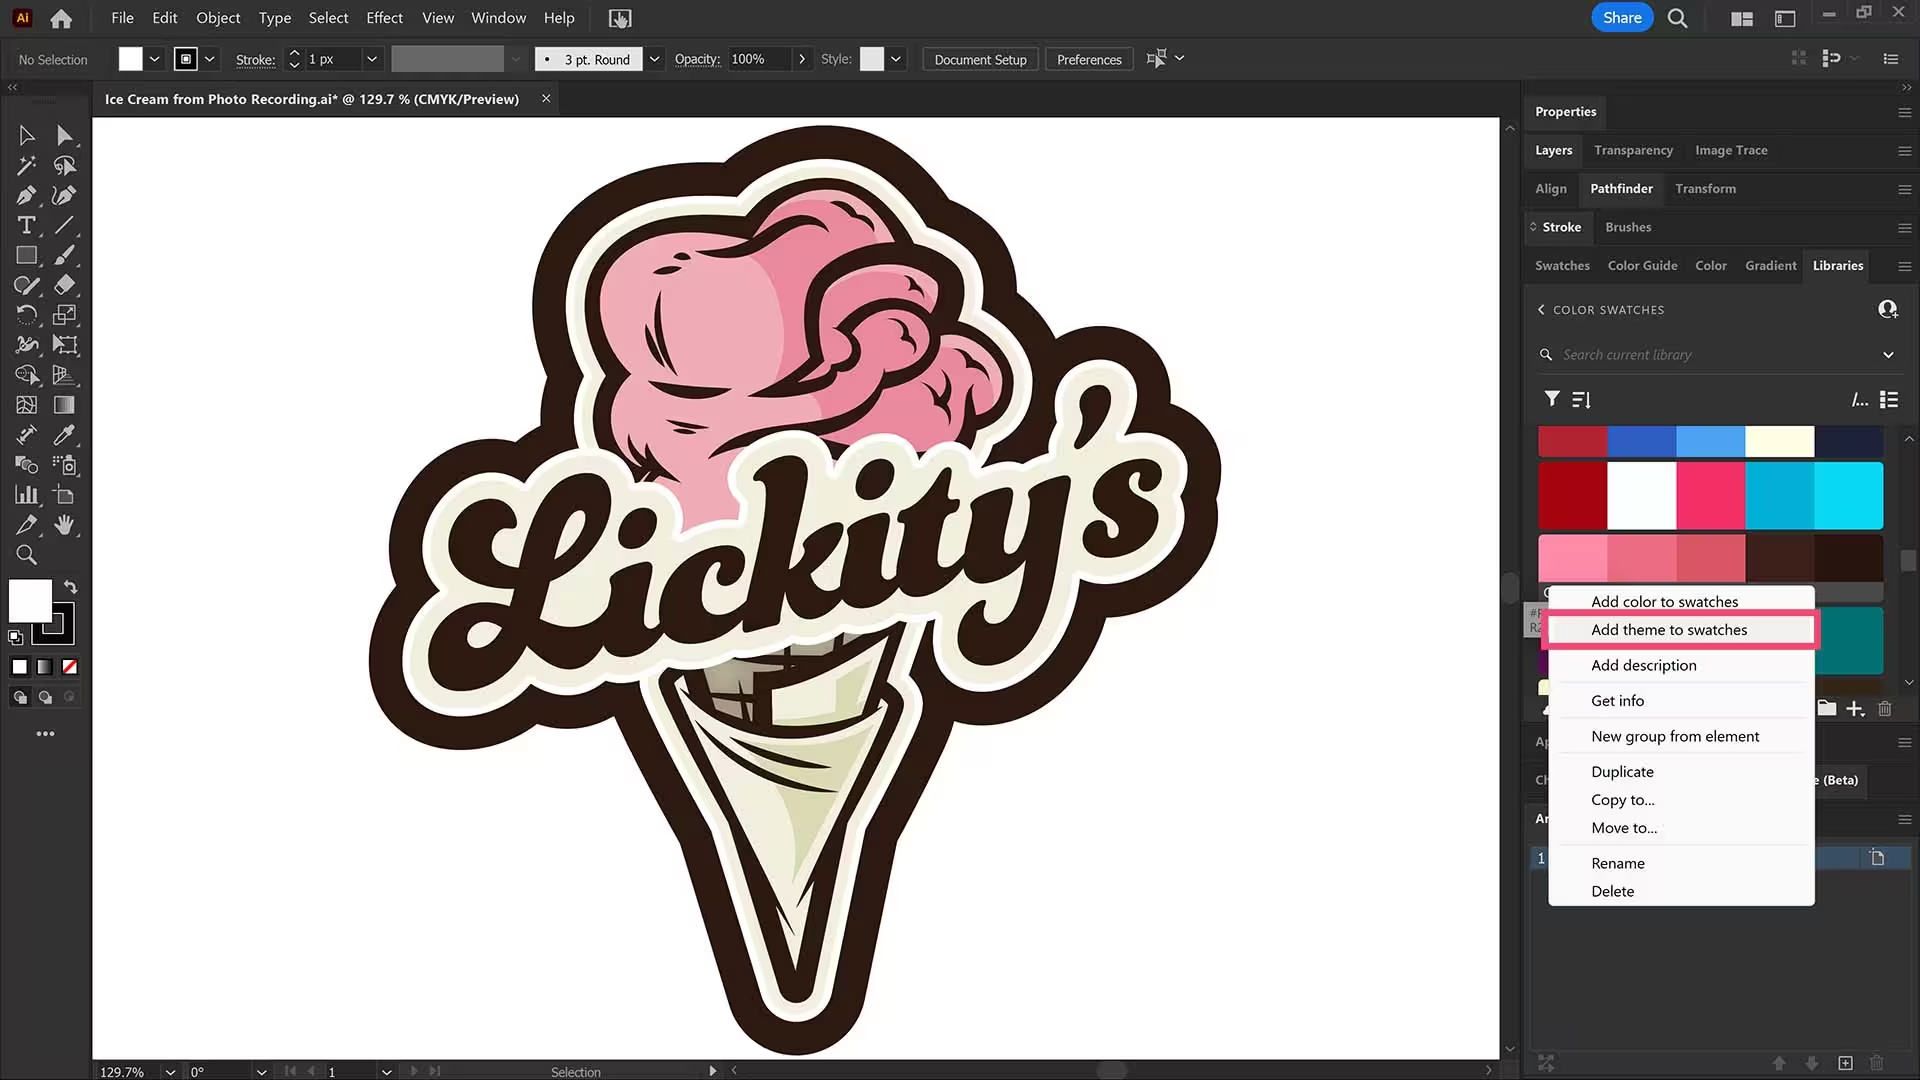
ADOBE COLOR: Adobe Color has a beautiful website that is full of Free Color Swatches and Themes. I recommend starting by typing in the Subject Matter using the Explore Tab. You can also use the Extract Theme feature on Adobe Color or Canva to create a Color Theme based on your own Photo Reference. Add the Color Themes to your Library (CC) or download them as ASE files.
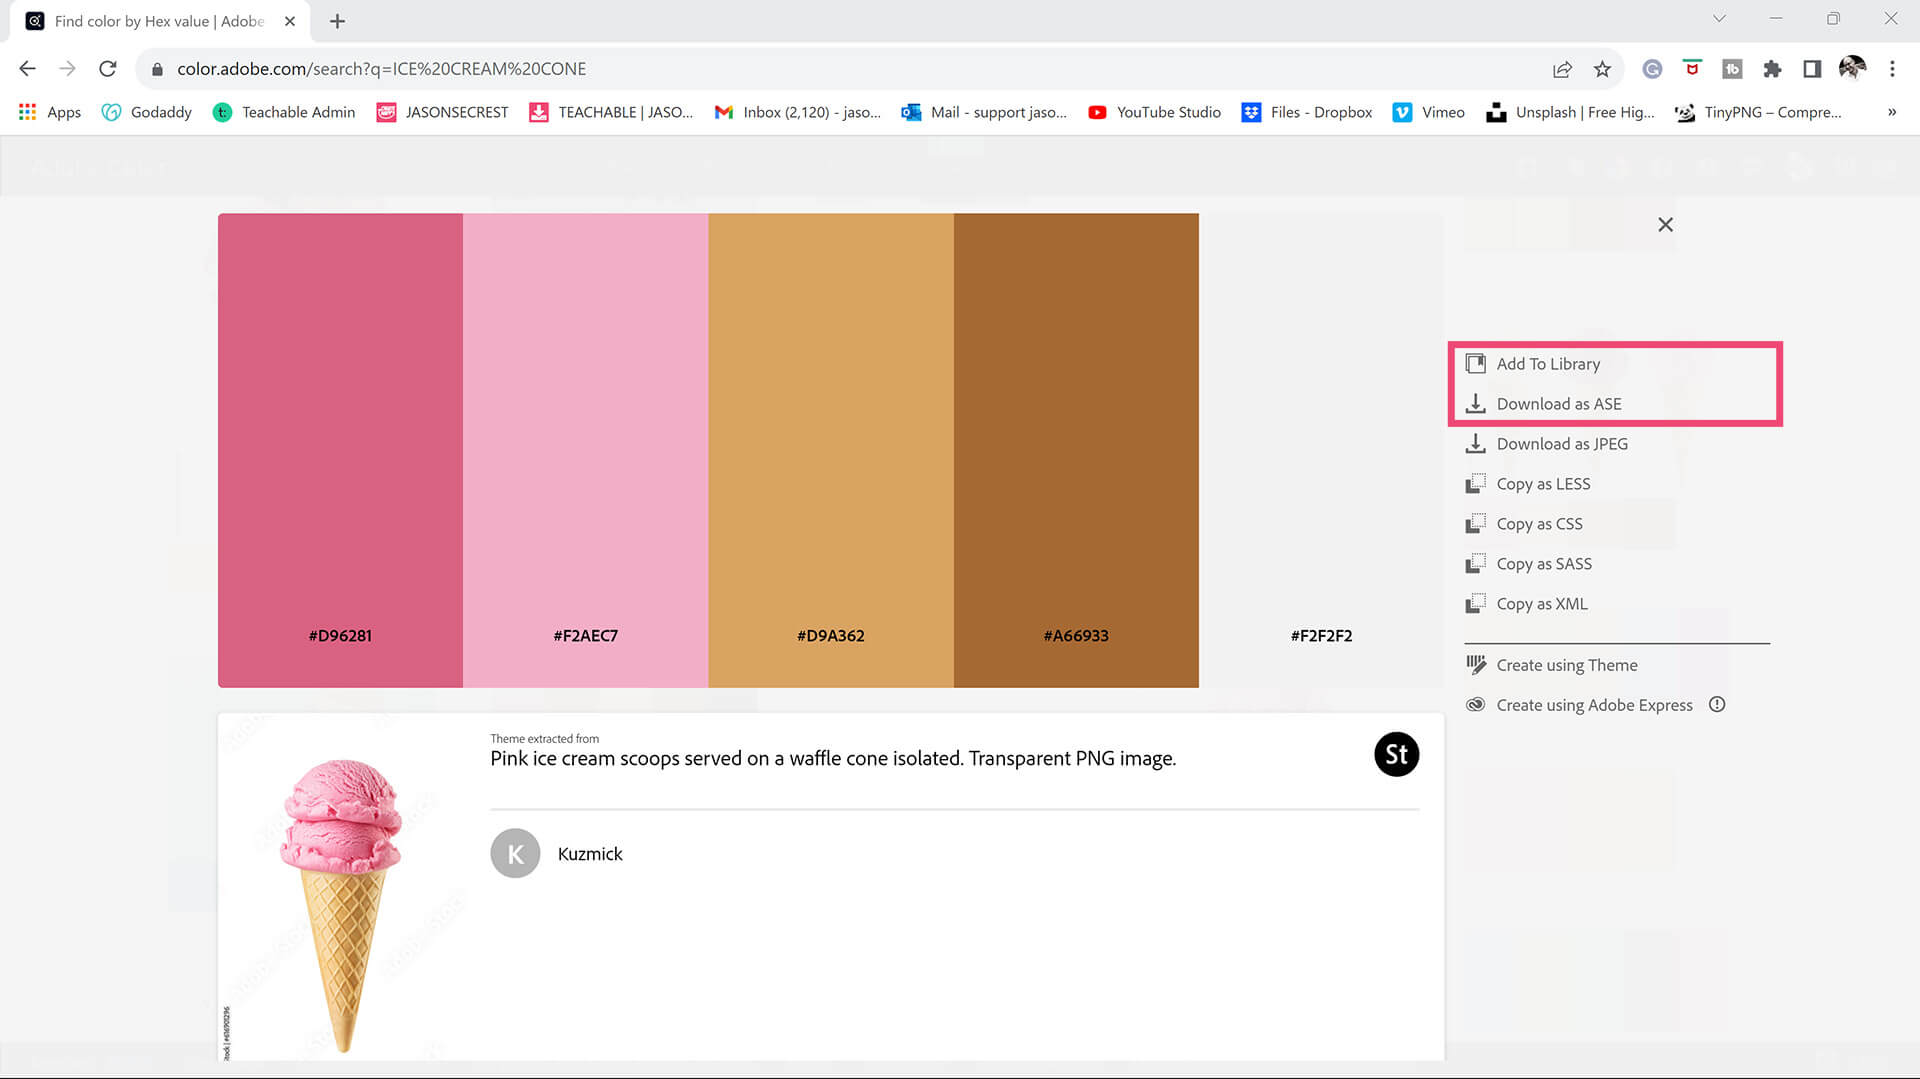
COLOR SWATCHES: If you have a CC Account, simply click Add to Library from Adobe Color. If you don't have a CC Account, download Color Swatches from Adobe Color as an ASE File. Open Swatch Libraries from the “Other Library” Option. If you added to your Library (CC). Open from the Library Panel. LEARNING TARGET (1): Save or Download Free Color Swatches for your own artwork and designs. LEARNING TARGET (2): Open through the Swatches Panel or Library.
COLOR SWATCHES: If you have a CC Account, simply click Add to Library from Adobe Color. If you don't have a CC Account, download Color Swatches from Adobe Color as an ASE File. Open Swatch Libraries from the “Other Library” Option. If you added to your Library (CC). Open from the Library Panel. LEARNING TARGET (1): Save or Download Free Color Swatches for your own artwork and designs. LEARNING TARGET (2): Open through the Swatches Panel or Library.
COLOR SWATCHES: If you have a CC Account, simply click Add to Library from Adobe Color. If you don't have a CC Account, download Color Swatches from Adobe Color as an ASE File. Open Swatch Libraries from the “Other Library” Option. If you added to your Library (CC). Open from the Library Panel. LEARNING TARGET (1): Save or Download Free Color Swatches for your own artwork and designs. LEARNING TARGET (2): Open through the Swatches Panel or Library.
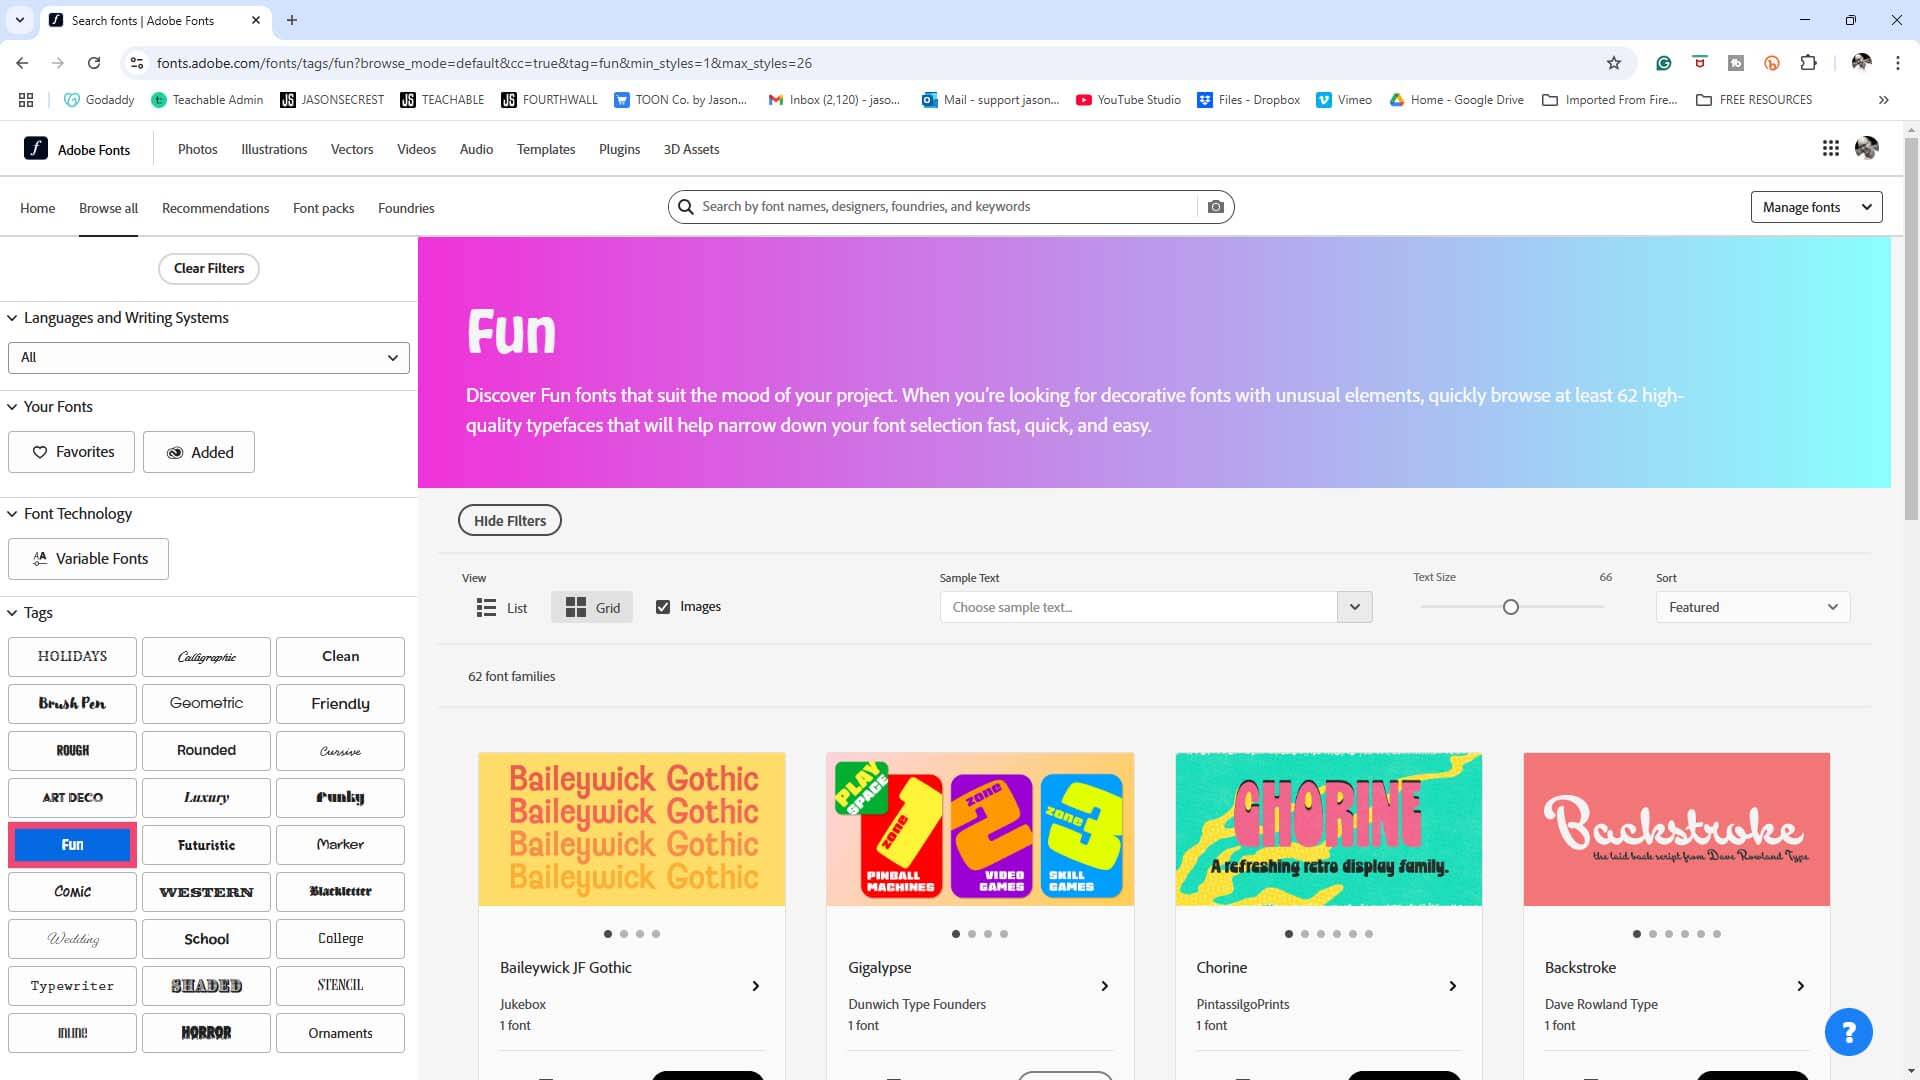
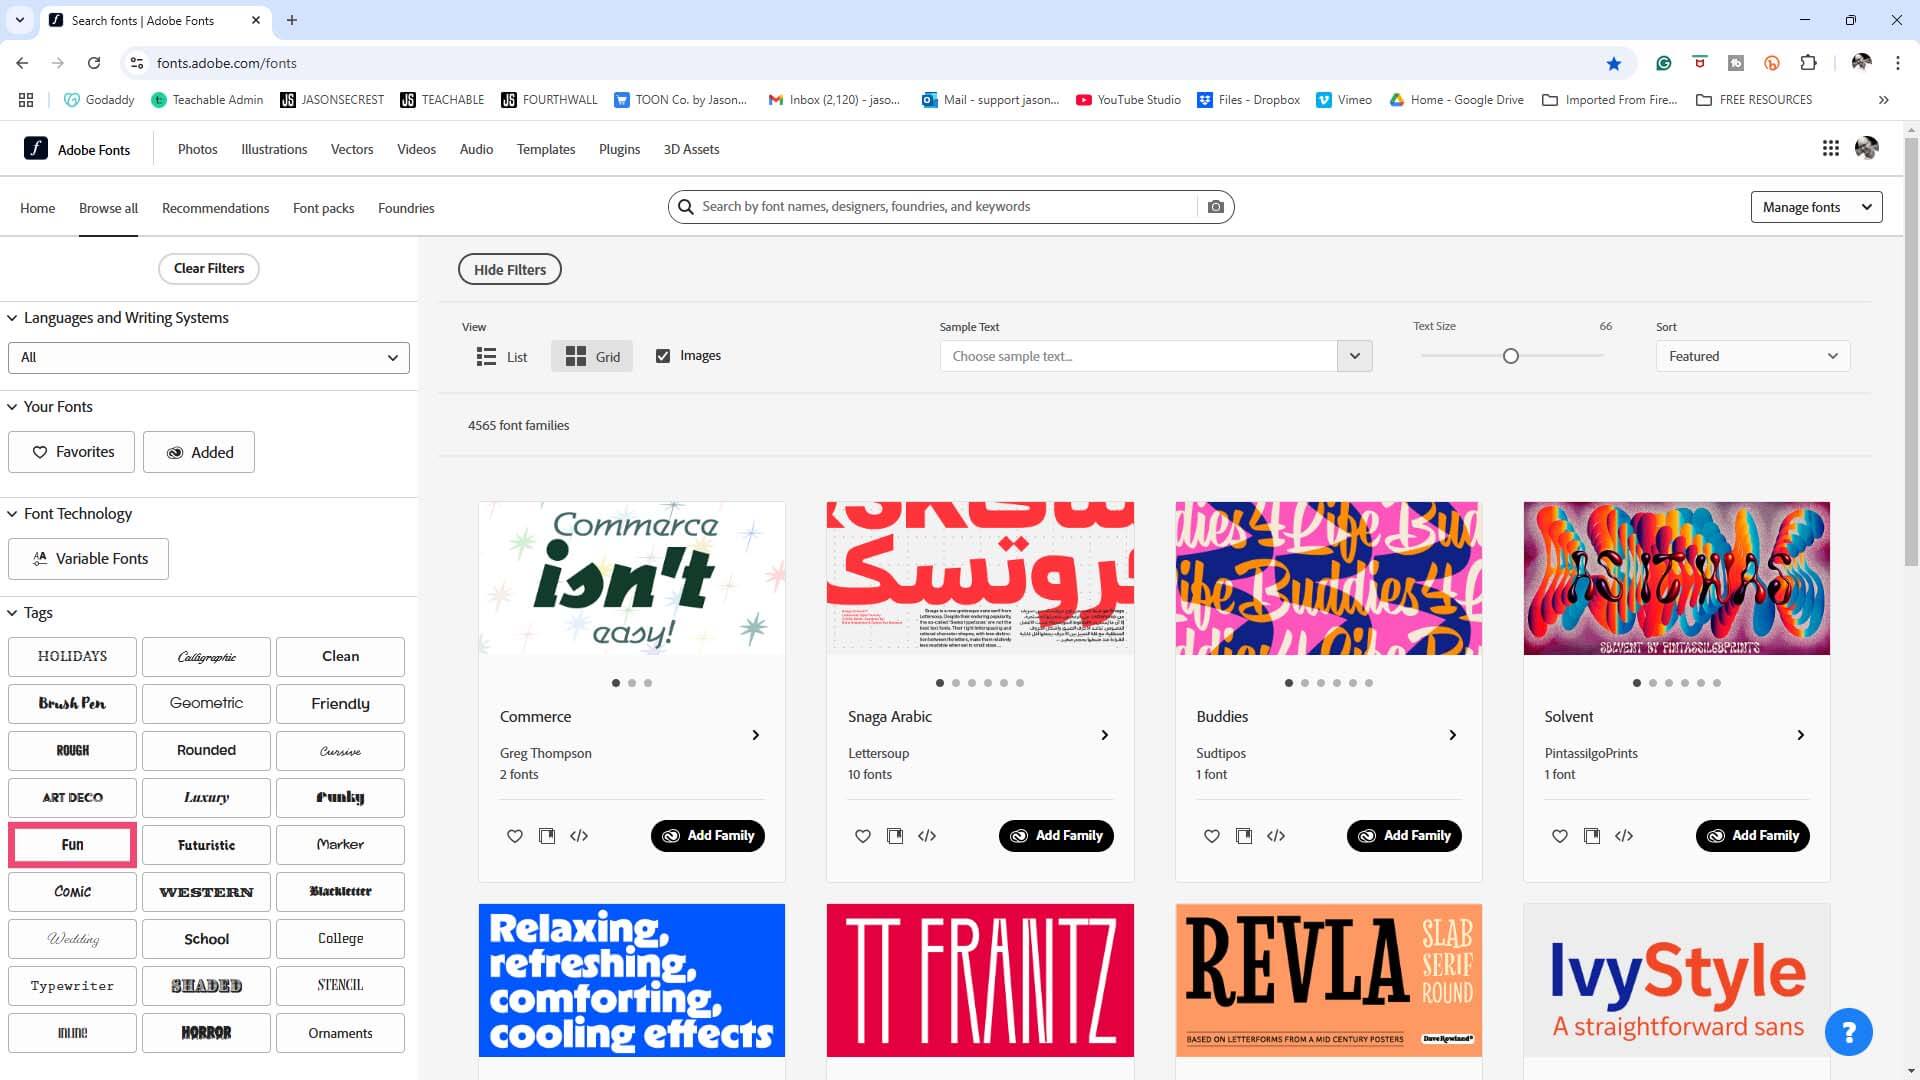
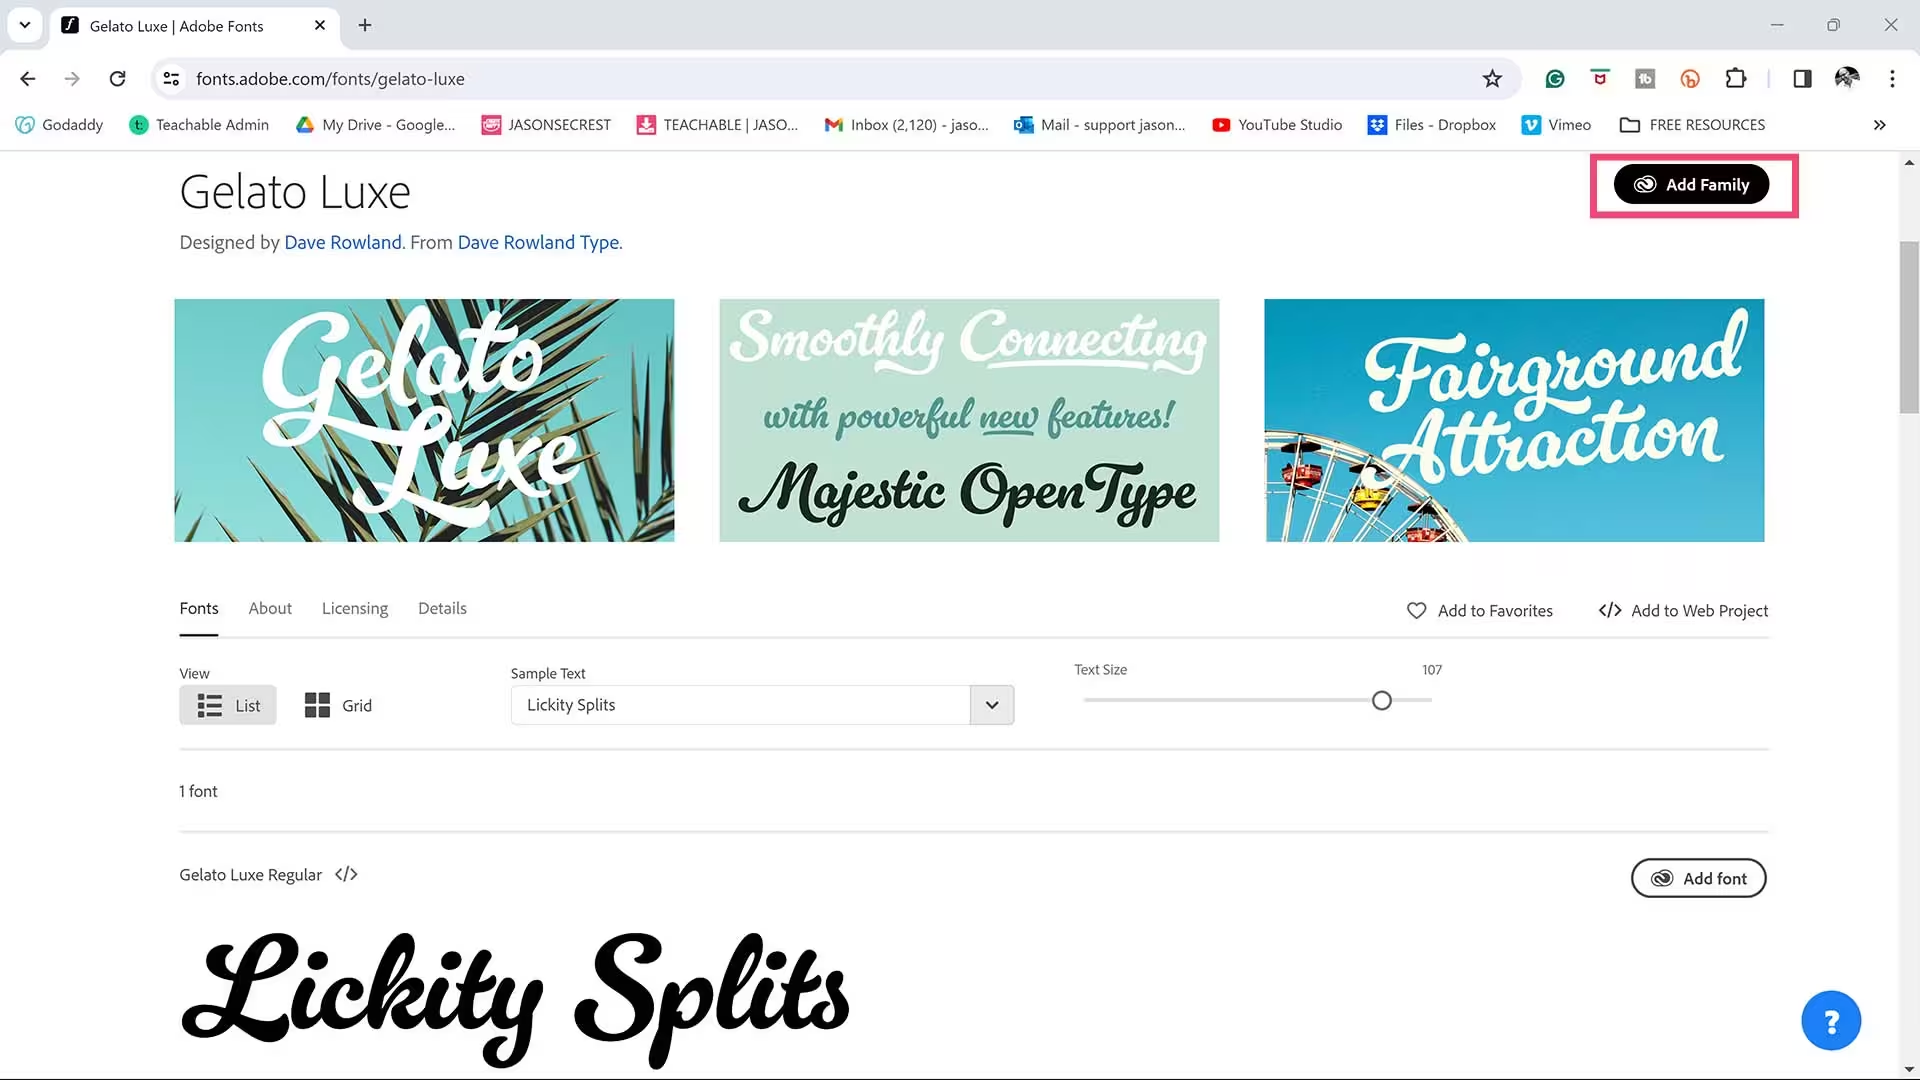
ADOBE FONTS: Sort through the Adobe Fonts that will align with your artwork or design. I recommend using the Tags to sort Fonts based on the Theme or Style of your design or artwork. Add Fonts to Adobe Illustrator Photoshop and Illustrator by clicking the Toggle Switch or Add Family Button. LEARNING TARGET (1): Add Font Families that will align with your artwork and designs.
ADOBE FONTS: Sort through the Adobe Fonts that will align with your artwork or design. I recommend using the Tags to sort Fonts based on the Theme or Style of your design or artwork. Add Fonts to Adobe Illustrator Photoshop and Illustrator by clicking the Toggle Switch or Add Family Button. LEARNING TARGET (1): Add Font Families that will align with your artwork and designs.
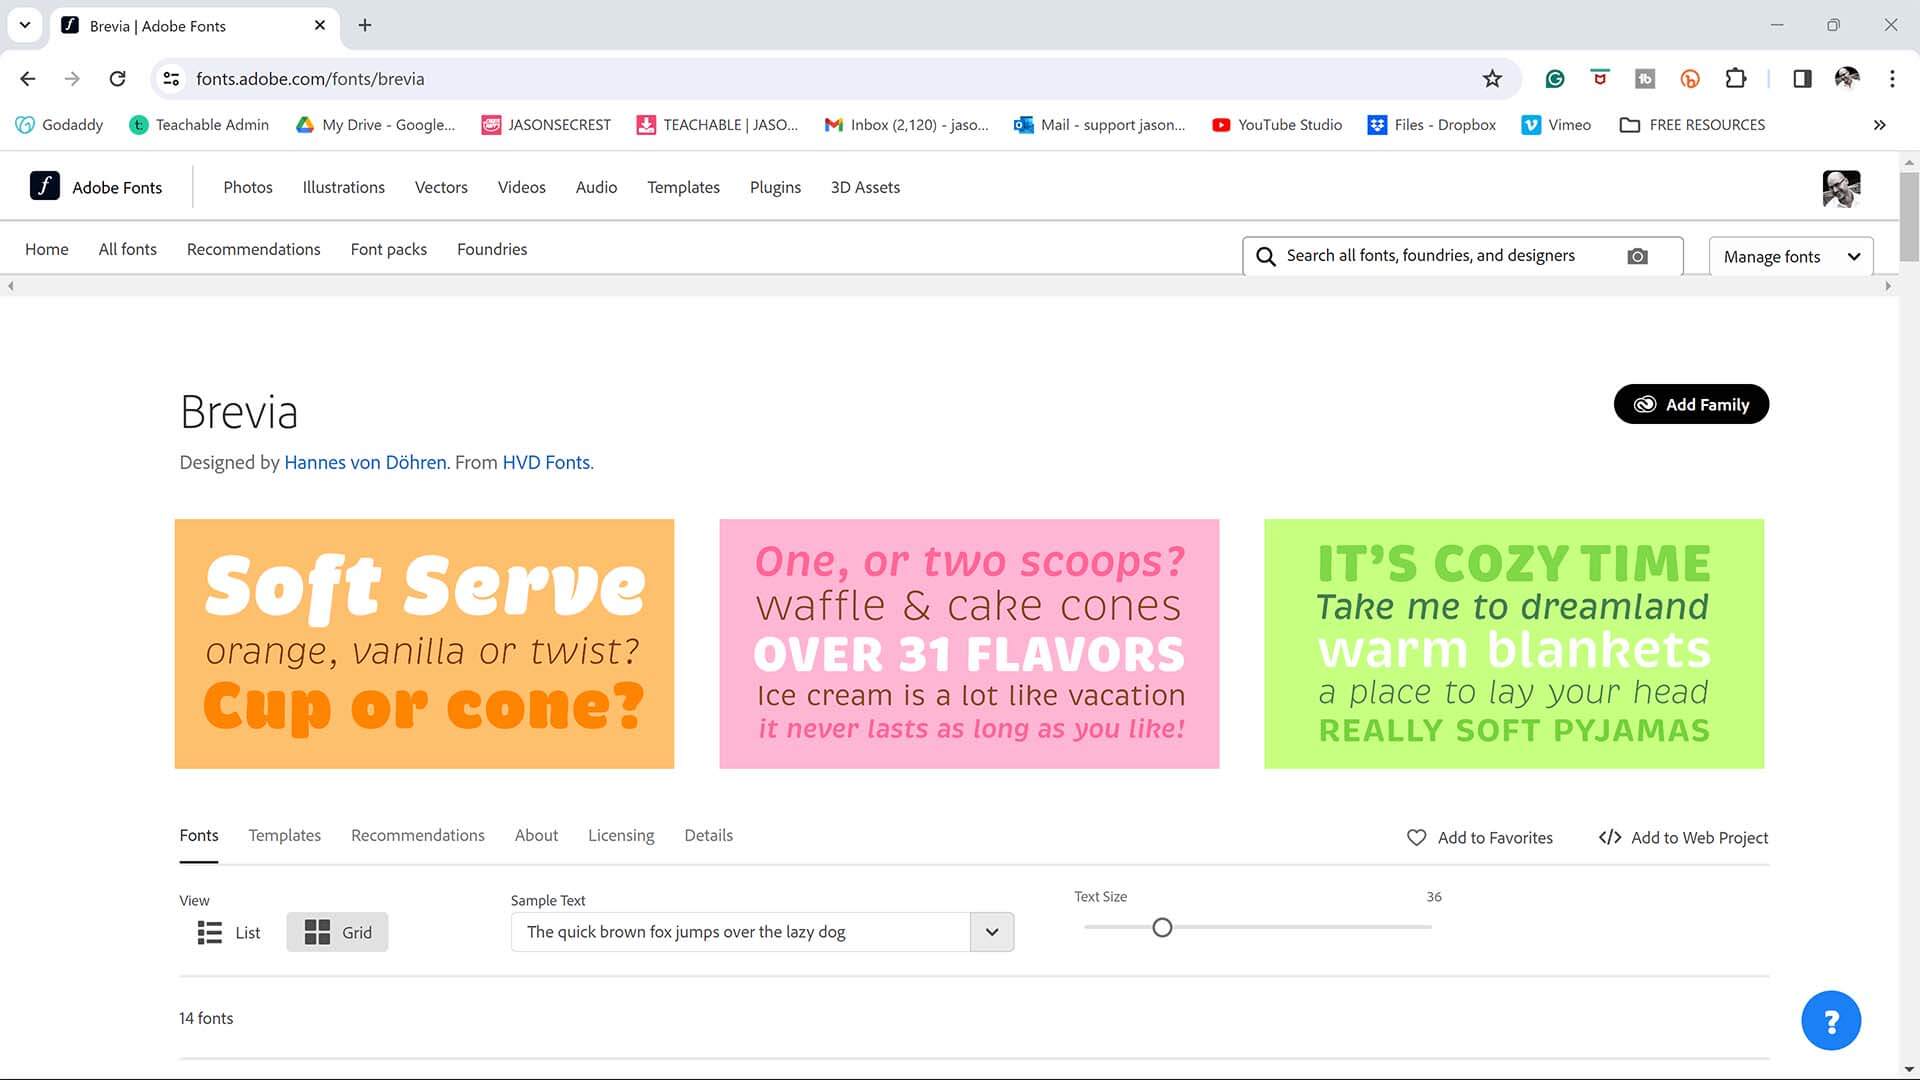
FONTS: If you have CC, Fonts can be easily downloaded or installed from Adobe Fonts. I recommend installing some of the new Variable Fonts. LEARNING TARGET: Download or Save Fonts for your own artwork and designs.
FONTS: If you have CC, Fonts can be easily downloaded or installed from Adobe Fonts. I recommend installing some of the new Variable Fonts. LEARNING TARGET: Download or Save Fonts for your own artwork and designs.
FONT FAMILIES: Download Font Families (Adobe Fonts / Google Fonts / Font Squirrel / Dafont) to use with your own artwork and designs. Sort through the Adobe Fonts that will align with your artwork or design. I recommend using the Tags to sort Fonts based on the Theme or Style of your design or artwork. LEARNING TARGET (1): Add Font Families that will align with your artwork or design.
FONTS: If you have CC, Fonts can be easily downloaded or installed from Adobe Fonts. I recommend installing some of the new Variable Fonts. Here are some Font Sites that I have used in the past. Check the Free Fonts Sites for Personal Use or Commercial Use Restrictions. LEARNING TARGET: Download or Save Fonts for your own artwork and designs.