Adobe Illustrator Tutorial adding Gradients
In Adobe Illustrator, Step by Step Adobe Illustrator Tutorials by Jason Secrest
Adobe Illustrator CC Tutorial adding Gradients.
In this Adobe Illustrator Tutorial for Beginners, we are going through some different options for the Pen Tool. The few things to remember is to focus on getting down the anchors first. We have a lot of our tutorials that focus just on straight lines and placing anchors. The easy parts of the line are the start and end points which means you just have to look for changes in direction in the middle. This tutorial will focus on Building Tools, Applying Brushes, Editing Options, and Basic Coloring Techniques.

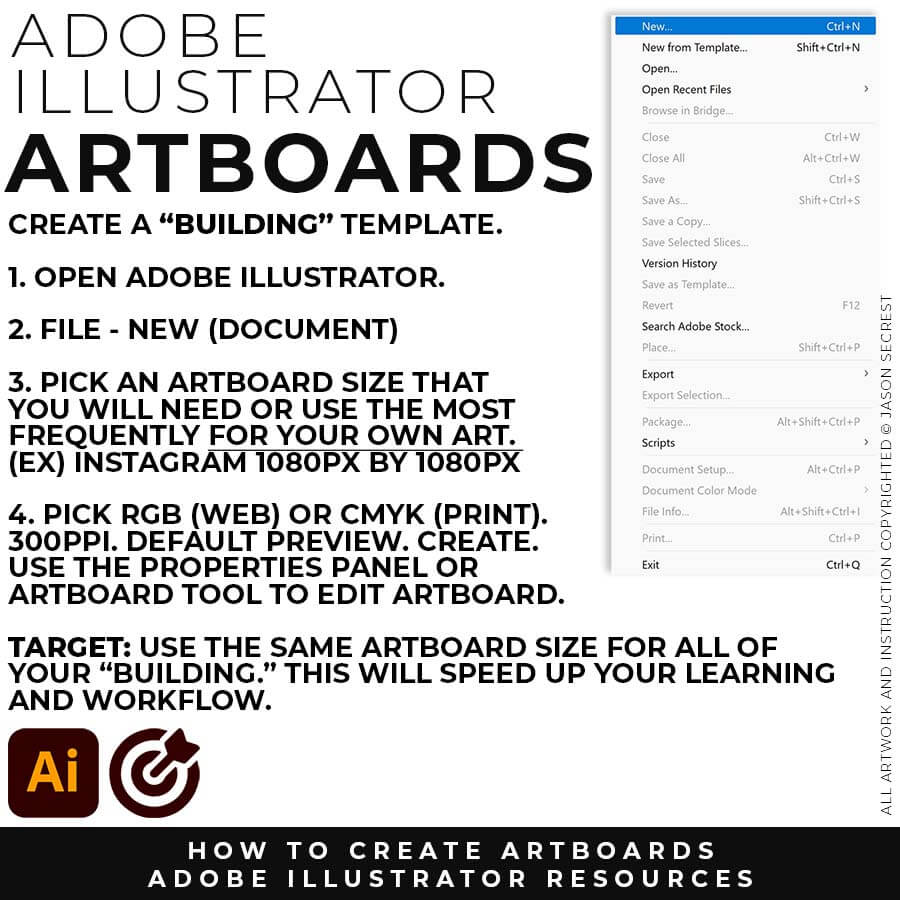
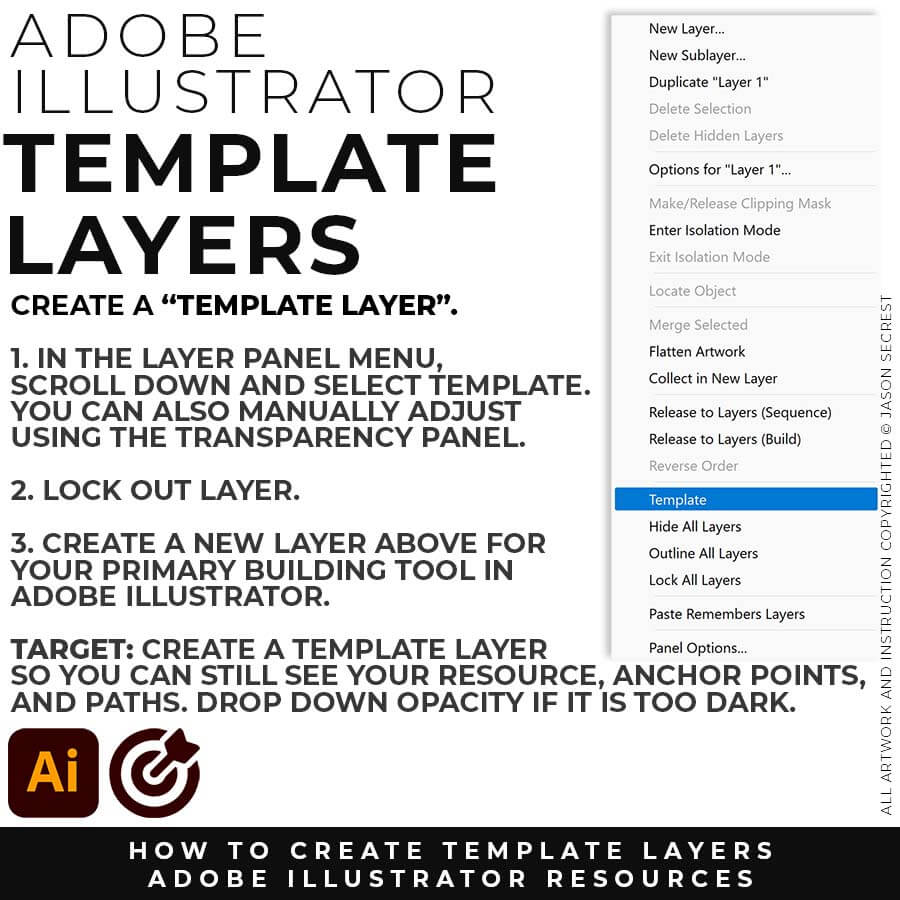

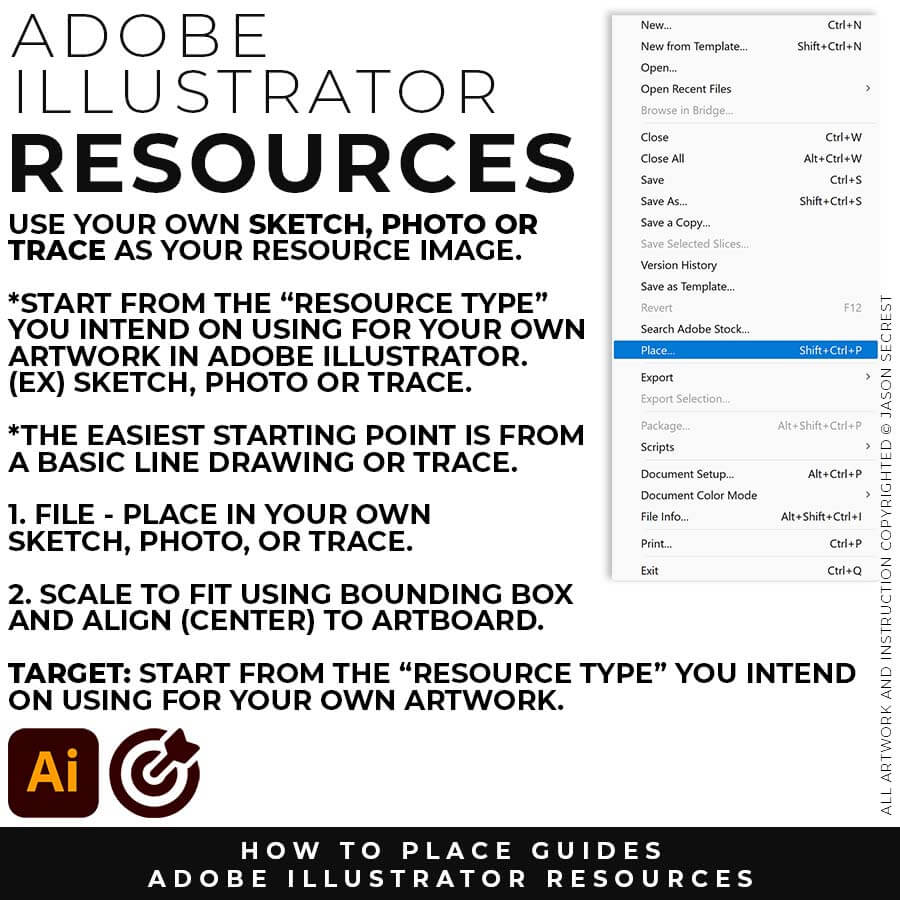

TEMPLATES: File -Place in your own Drawing, Sketch, or Traced Stock Photo. Select your Resource Layer. (It will usually be your only layer) In your Layers Panel, select the Menu in the Upper-Right Hand Corner. Drop down to Template. This will create a 50% Opacity and Lockout the Layer. Create a New Layer above to start "Building".


DRAWING TEMPLATE: Use the Resource Type you intend to use for your artwork (Drawing, Sketch, or Traced Stock Photo). Give yourself a "Traceable Path" by using a Clean Line Drawing or Traced Photo. LEARNING TARGET: Create a "Drawing Template" that includes Reference Image and Layer Adjustments.


Adding on Line Variation using Cartoon Brushes
You will have more control over the placement and width of each of your lines using the Cartoon Brushes. The process will be a combination of using the Brushes to get down the initial thickness and stroke width. The second step will be modifying the placement of the variation using the so we can edit later. This 2-Step Process allows for more control over your Line Variation compared to using your Tablet with Pressure.


RESOURCE BUNDLE
RESOURCE BUNDLE


RESOURCE BUNDLE
RESOURCE BUNDLE


RESOURCE BUNDLE
RESOURCE BUNDLE
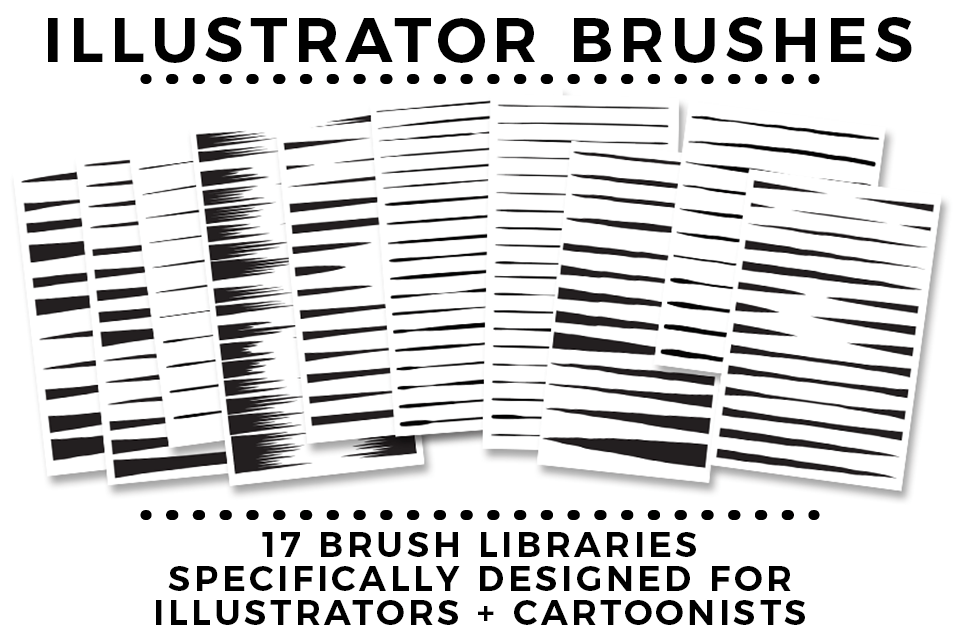
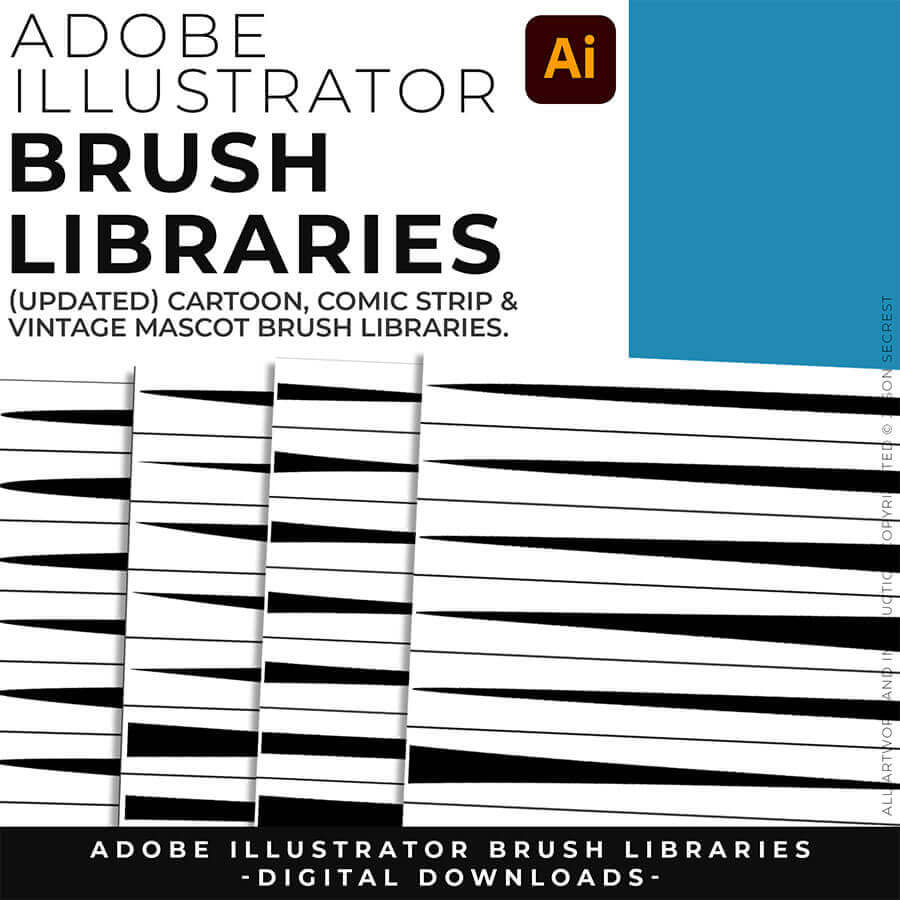
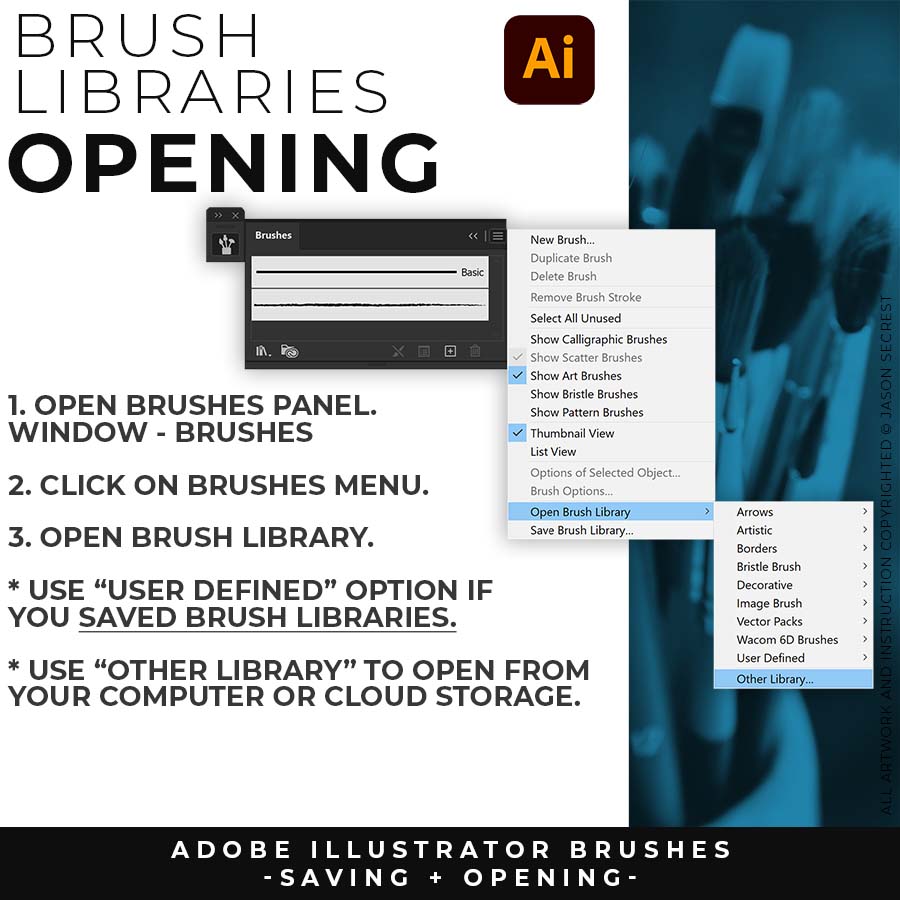
DOWNLOAD BRUSHES: Adobe Illustrator Brushes are specifically designed for Illustrators and Cartoonists to speed up their workflow. (Updated) Libraries are pressure-sensitive for those of you looking for the option to use your Tablets. Brush Libraries are compatible with Adobe Illustrator CC through CS. Mac or PC. Brush Libraries: Updated Cartoon, Comic Strip, and Vintage Mascot Brushes.
DOWNLOAD BRUSHES: Many of you are jumping over from YouTube looking to download our Adobe Illustrator Brushes. Once you have downloaded and extracted the folders, Brush Libraries will be ready to use in Adobe Illustrator. Start with our Resource Guides, Illustrator Tutorials, or YouTube Playlists to understand how to apply Brush Libraries in Adobe Illustrator. (Updated) Brushes include Cartoon, Comic Strip, and Vintage Mascot Libraries.
BRUSH LIBRARIES: Our Brushes are specifically designed for Illustrators and Cartoonists to speed up their workflow. (Updated) Libraries are pressure-sensitive for those of you looking to use your Tablets. Apply Brushes with Pen, Pencil, Shapes, or Paintbrush Tools. Brush Libraries are compatible with Adobe Illustrator CC through CS. Mac or PC. Adobe Illustrator Brush Libraries: Updated Cartoon, Comic Strip, and Vintage Mascot Brushes.


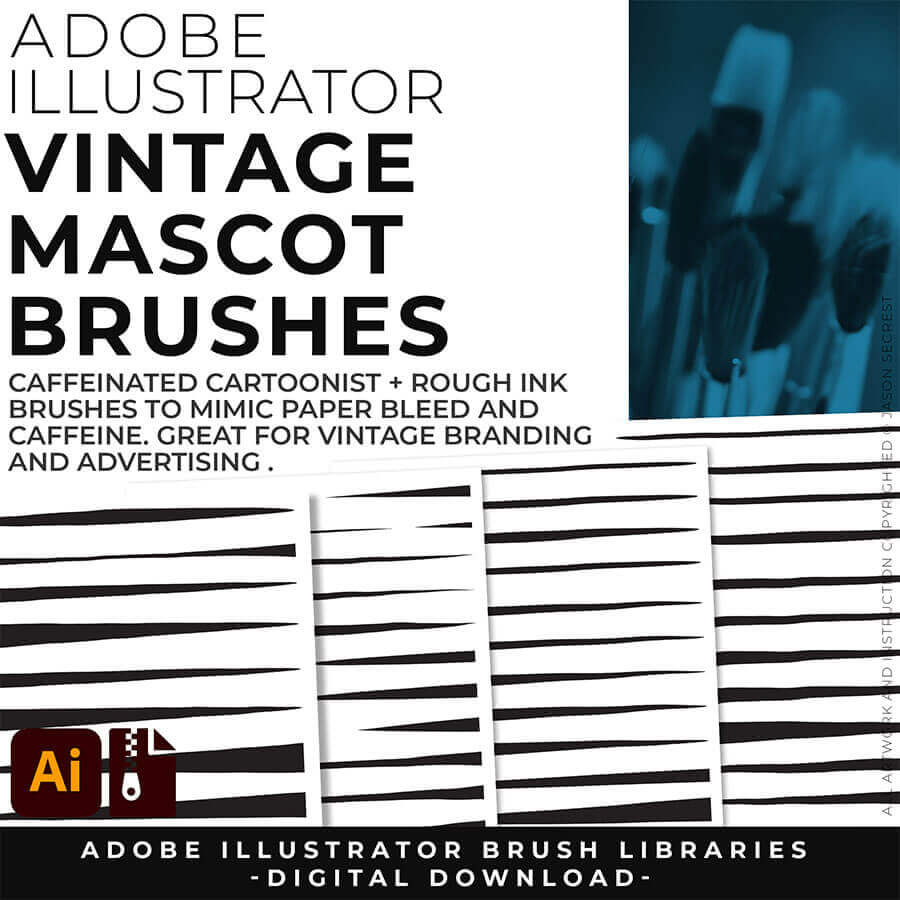

70 CARTOON BRUSHES: Cartoon Brushes are my go-to for Professional Logos, Cartoons, Mascots, and Branding. Use Cartoon Illustrator Brushes with the Pen, Pencil or Paint Brush Tools to Apply different Line Variation to your Vector Artwork. Includes (Updated) Cartoon, Cartoon 2, and Original Cartoon Brush Libraries. DIGITAL DOWNLOAD: CARTOON BRUSHES


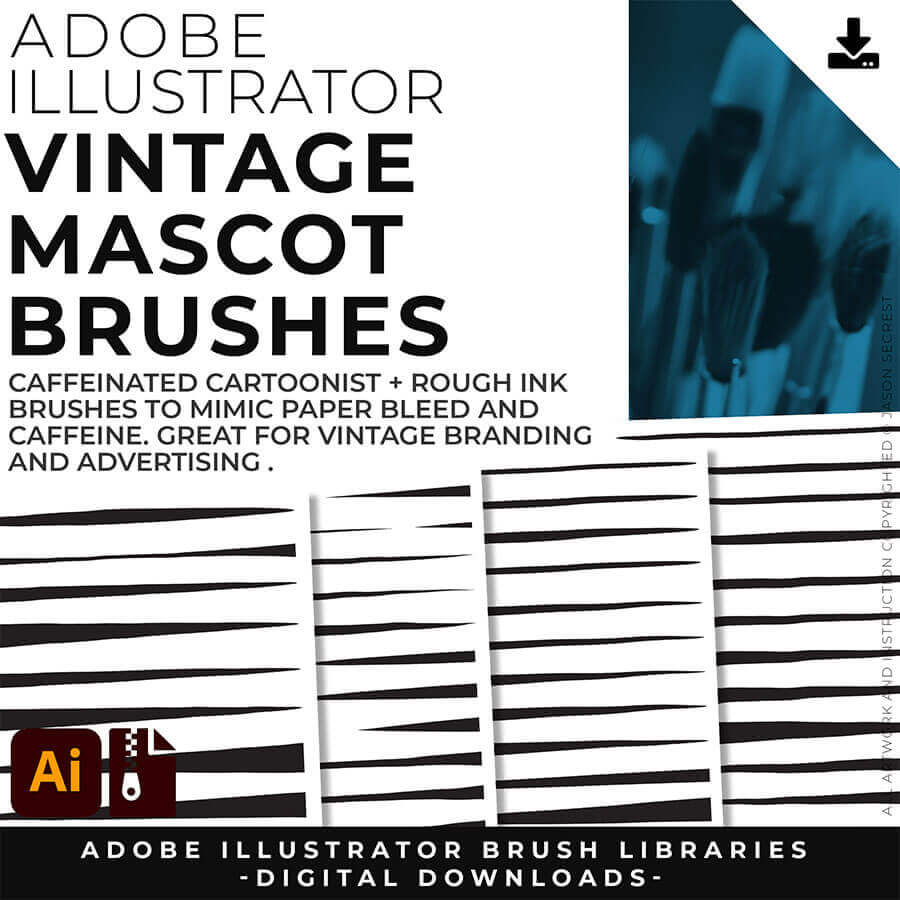
50 MASCOT BRUSHES: Jittery Hand, Caffeinated Cartoonist + Rough Ink Brushes to Mimic Paper Bleed and Caffeine. Designed to be a little less stiff with your vector art. Use these Brush Libraries to get more of a distressed look or ink bleed back in your own Vector Artwork. Includes (Updated) Caffeinated Cartoonist, Rough Ink, and Jittery Hand Brush Libraries. DIGITAL DOWNLOAD: MASCOT BRUSHES

70 CARTOON BRUSHES: Cartoon Brushes are my go-to for Professional Logos, Cartoons, Mascots, and Branding. Use Cartoon Illustrator Brushes with the Pen, Pencil or Paint Brush Tools to Apply different Line Variation to your Vector Artwork. Includes (Updated) Cartoon, Cartoon 2, and Original Cartoon Brush Libraries. DIGITAL DOWNLOAD: CARTOON BRUSHES


50 MASCOT BRUSHES: Jittery Hand, Caffeinated Cartoonist + Rough Ink Brushes to Mimic Paper Bleed and Caffeine. Designed to be a little less stiff with your vector art. Use these Brush Libraries to get more of a distressed look or ink bleed back in your own Vector Artwork. Includes (Updated) Caffeinated Cartoonist, Rough Ink, and Jittery Hand Brush Libraries. DIGITAL DOWNLOAD: MASCOT BRUSHES




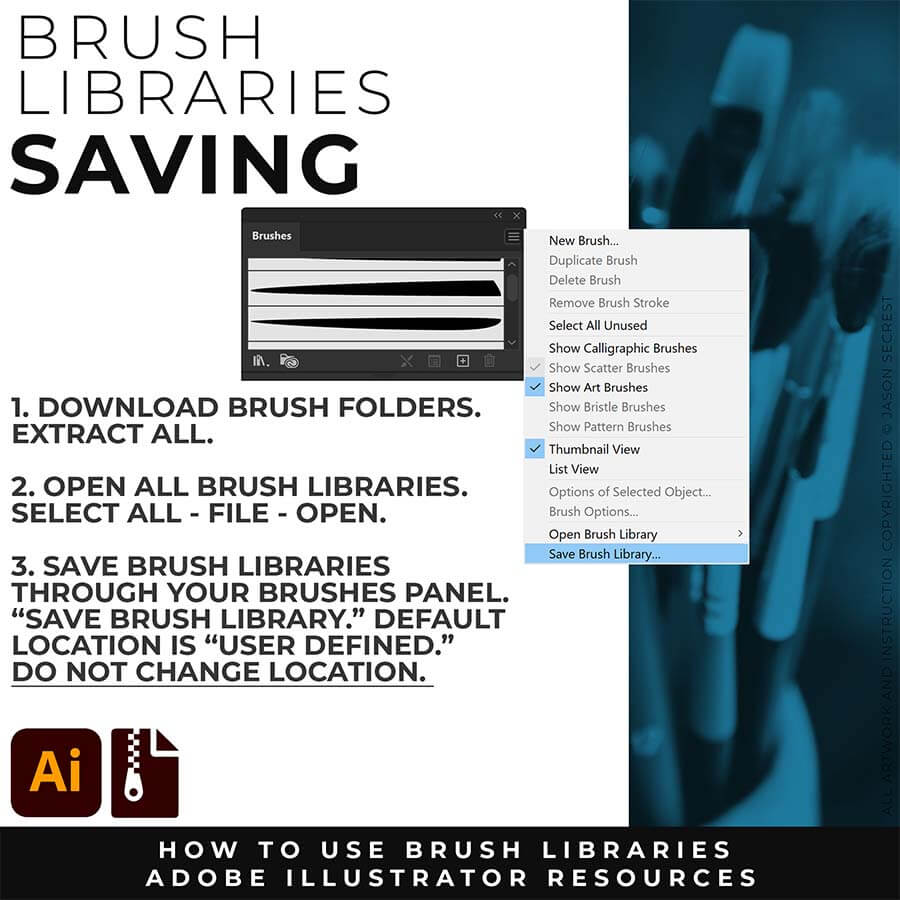
DOWNLOAD BRUSHES. Many of you are jumping over from YouTube looking to download our Adobe Illustrator Brushes and Resource Folders. Digital Downloads will come through our friends at Teachable. Once you have downloaded and extracted the Folders, Brush Libraries are ready to be used in Adobe Illustrator. Start with our Resource Guides, Illustrator Tutorials, or YouTube Playlists to understand how to apply Brush Libraries in Adobe Illustrator.
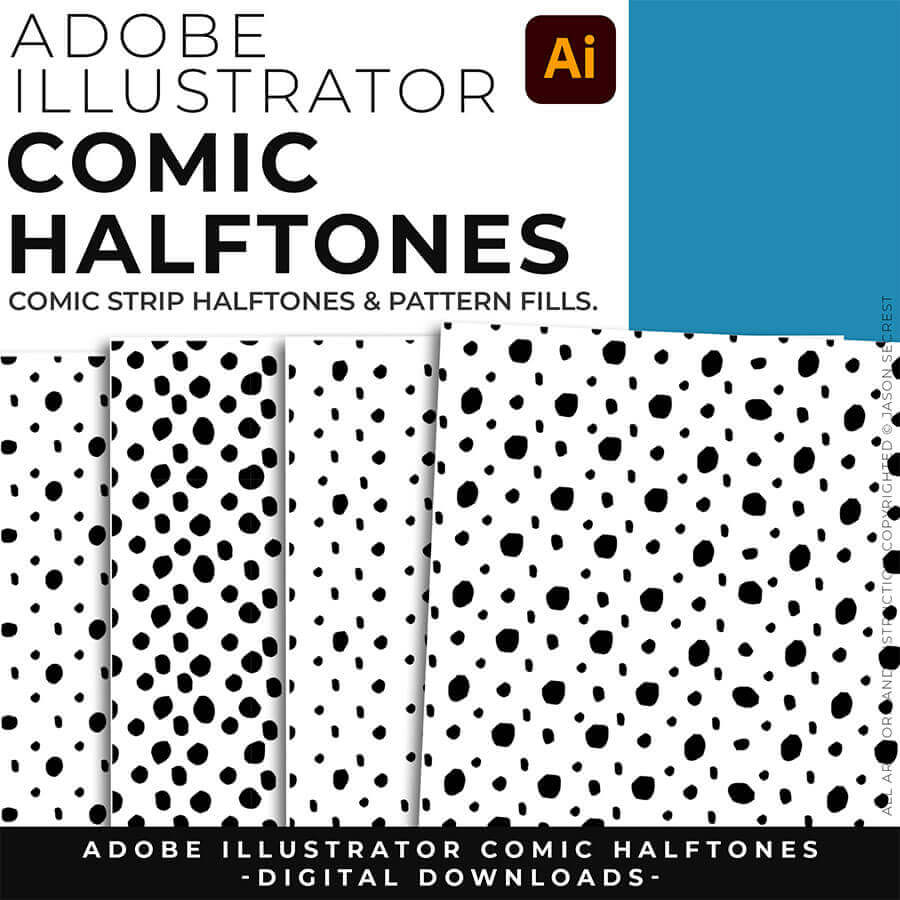
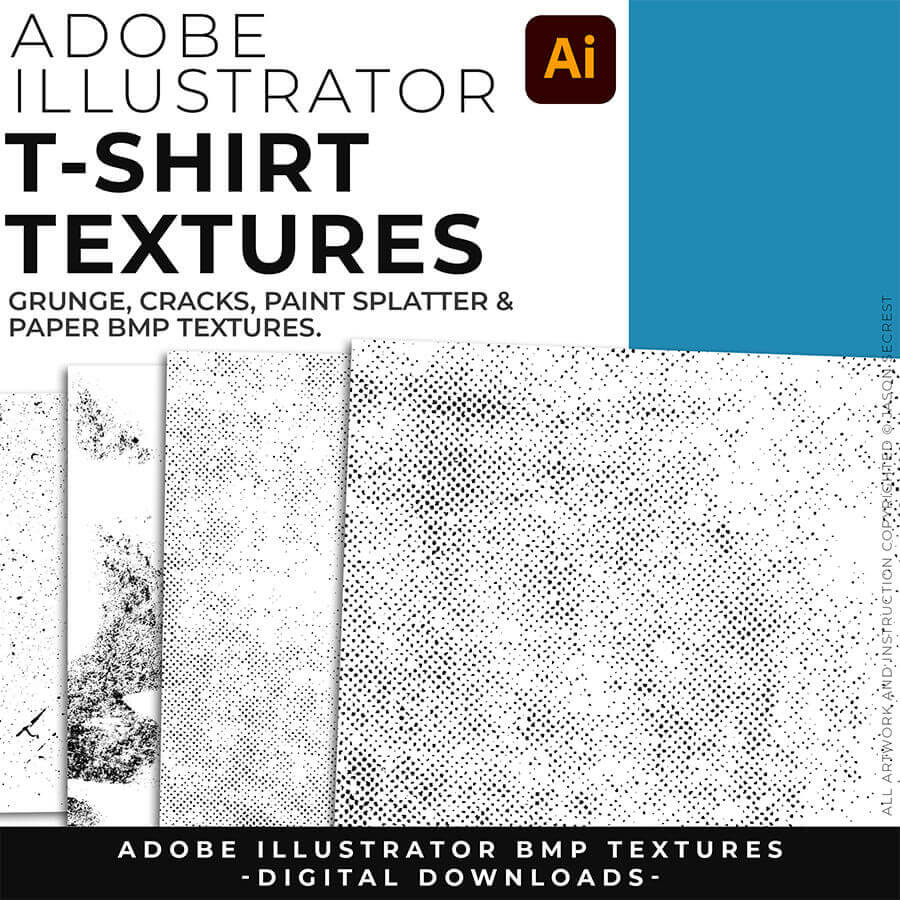
DIGITAL DOWNLOADS. Many of you are jumping over from YouTube looking to download our Adobe Illustrator Brushes and Resource Folders. Digital Downloads will come through our friends at Teachable. Download our Adobe Illustrator Brush Libraries, T-Shirt Textures, and Comic Halftones. BRUSH LIBRARIES / COMIC HALFTONES / T-SHIRT TEXTURES
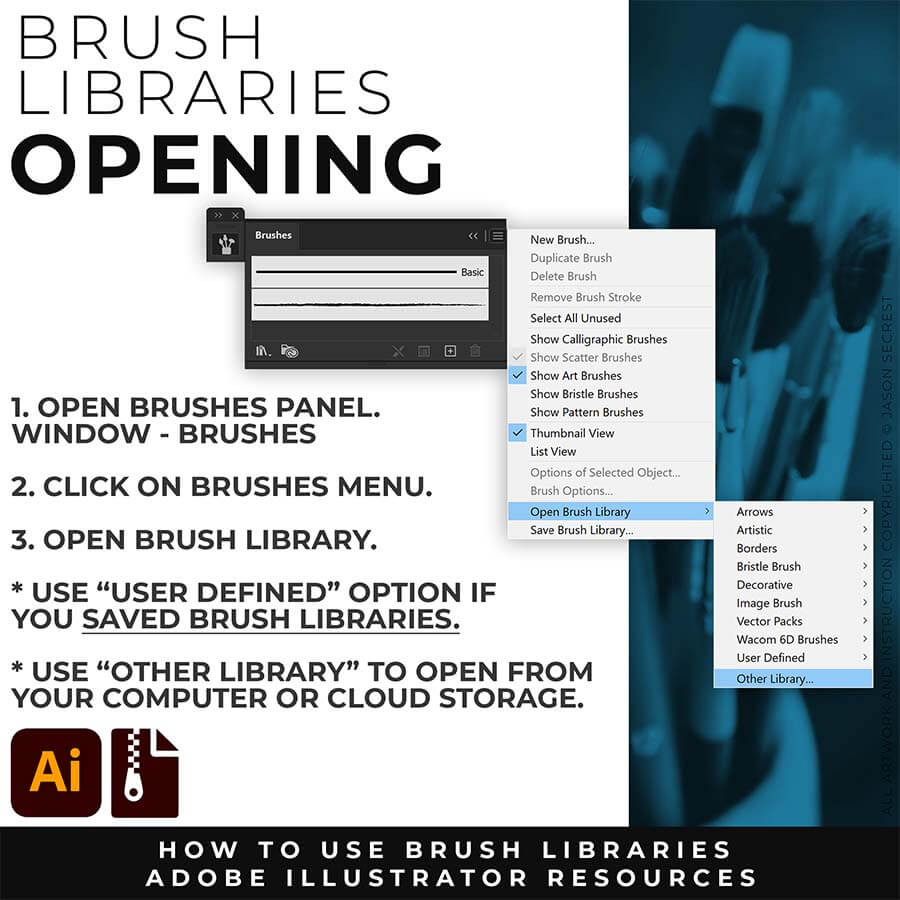


BRUSH LIBRARIES
BRUSH LIBRARIES
BRUSHES BUNDLE
BRUSHES BUNDLE
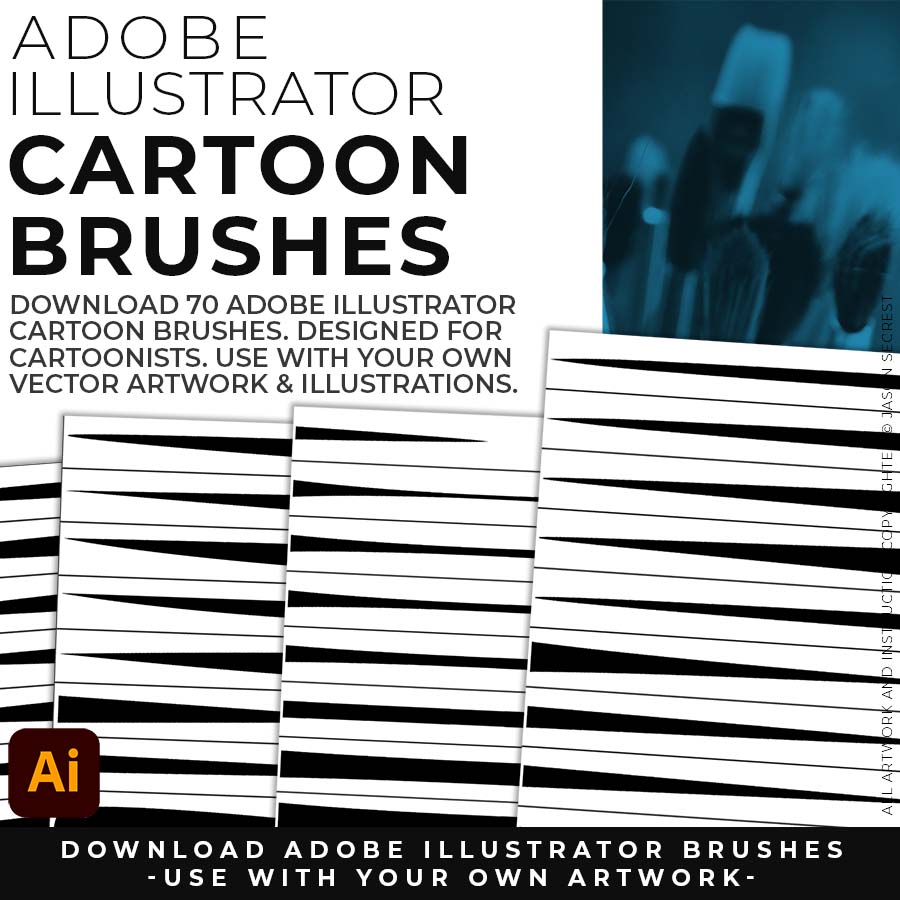


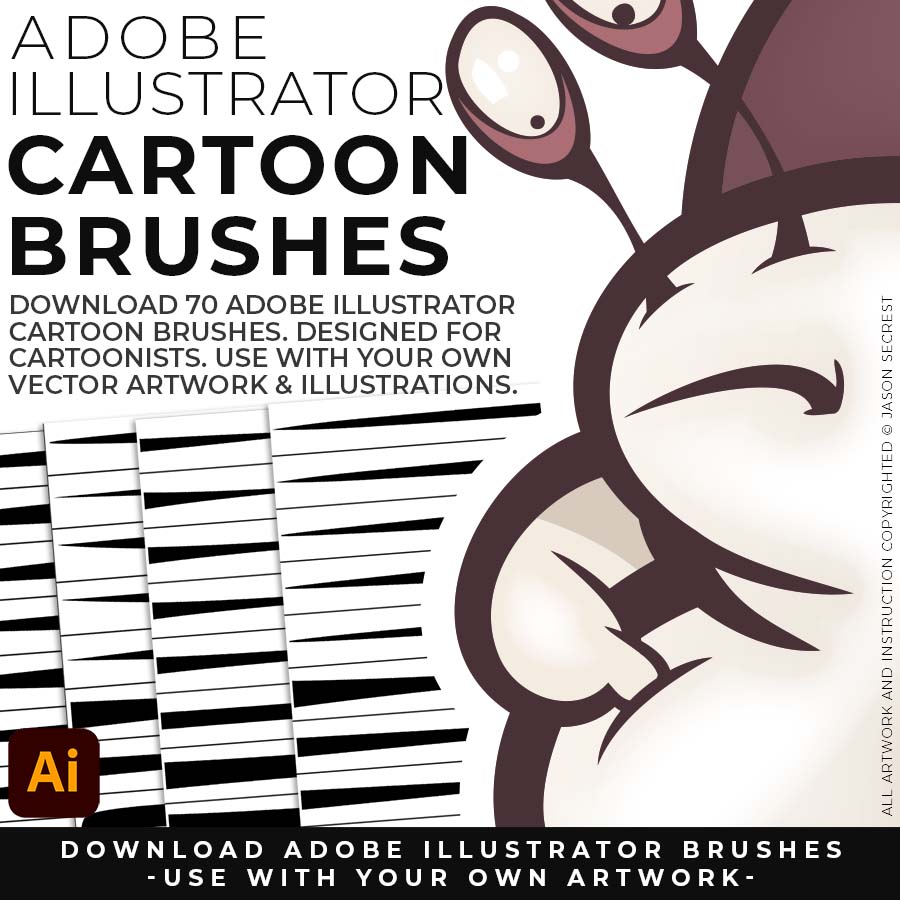


BRUSH LIBRARIES
BRUSH LIBRARIES
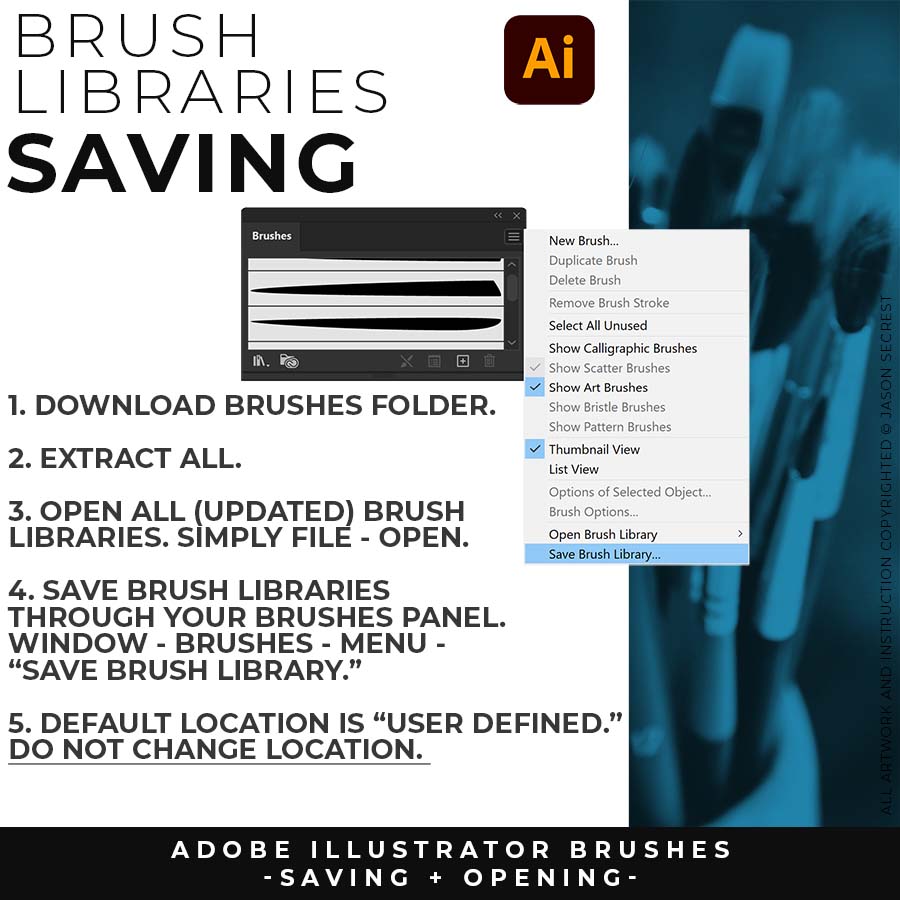
BEGINNER GUIDES
I appreciate your videos. I have been an illustrator user for years and have my own ways of doing things. It's great to see other ways of using tools and learning tricks I didn't know were available! It's also good to see you doing the same thing as me in other instances, confirming I'm on the right track!Andy Zenz
Awesome tutorial! I don't think I've picked up something so easily from someone who knows what they are doing. I managed to draw my first vector art and it was a joy! Great work keep it up!blitz145
Thank you loads! Compared to other tutorials, yours are just really well-explained and easy-to-follow. Can totally see that you've got a passion for what you're doing and that's just wonderful! 🙂 Keep it up, you're doing an amazing job. Yulia Kachurova
Love your video thanks so much. you blow Lynda.com out of the water!!!!Steve Yensel
Brilliant video. So much great info packed in here. I'm just getting started drawing cartoons with my Wacom tablet, and this was a huge help. Thumbs up and thanks!Dorian Staten
Wow Thanks Jason...was really struggling with making images with basic shapes. Your tutorial is helping me out!!Kishor Rajani
thanks a lot you are really one of my favorites, I like the steps you give us, and I'm so thankful for that effort you do for helping us :)Wessam Lotfi
Keep up the good work Jason. I’ve been doing Lynda.com tutorials for a few months now and I got more out of your videos than what I’ve received at Lynda. Keep it up and Thank You!!bobby jacobs • 1 year ago
These tutorials are amazing. Just started using illustrator and really glad I found your channel. The only videos that explain everything step by stepAida Stan
You are definitely one of the best teachers I've found dealing with start to finish creative process. Great work!!!Jasen Fisher
Thank you so much man, I loved the way you explain this, I spent days looking for a good tutorial vid, thanks a lot, gonna keep watching your videos!!!Karel Marccenaro
Awesome tutorial! I don't think I've picked up something so easily from someone who knows what they are doing. I managed to draw my first vector art and it was a joy! Great work keep it up!blitz145
Thank you loads! Compared to other tutorials, yours are just really well-explained and easy-to-follow. Can totally see that you've got a passion for what you're doing and that's just wonderful! 🙂 Keep it up, you're doing an amazing job. Yulia Kachurova
Love your video thanks so much. you blow Lynda.com out of the water!!!!Steve Yensel
Brilliant video. So much great info packed in here. I'm just getting started drawing cartoons with my Wacom tablet, and this was a huge help. Thumbs up and thanks!Dorian Staten
Keep up the good work Jason. I’ve been doing Lynda.com tutorials for a few months now and I got more out of your videos than what I’ve received at Lynda. Keep it up and Thank You!!bobby jacobs • 1 year ago
These tutorials are amazing. Just started using illustrator and really glad I found your channel. The only videos that explain everything step by stepAida Stan
You are definitely one of the best teachers I've found dealing with start to finish creative process. Great work!!!Jasen Fisher
*Older Content (<2018) was originally recorded for my in-class students (children). You are all adults, it has gotten weird.
