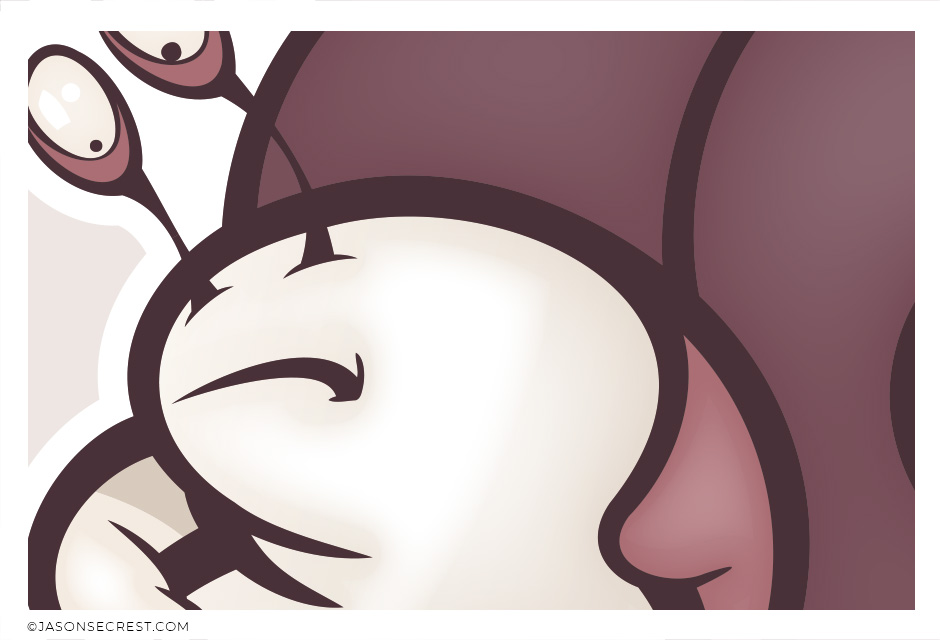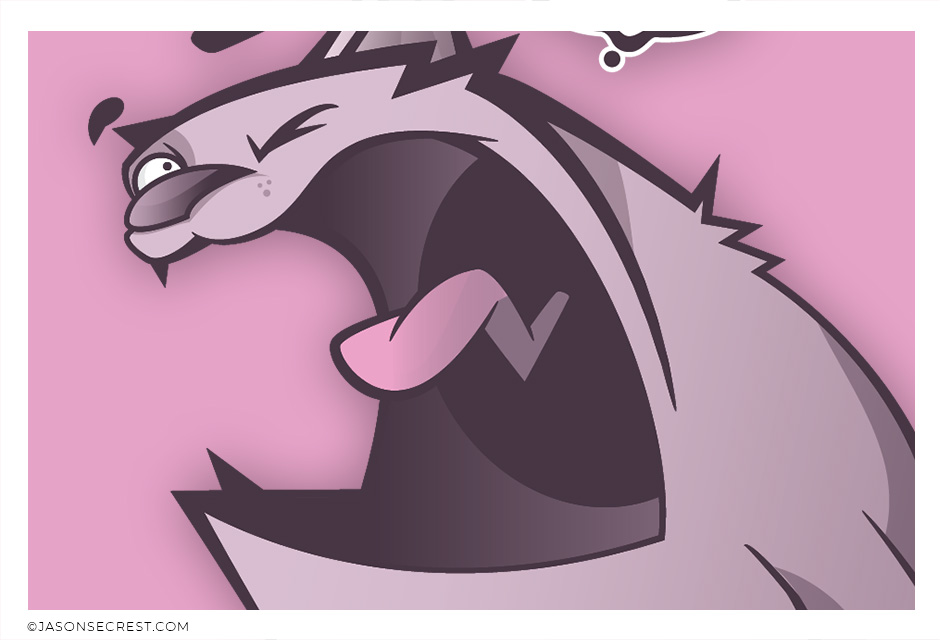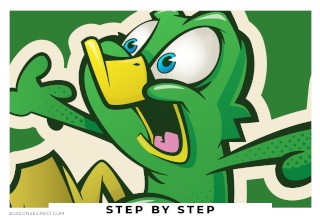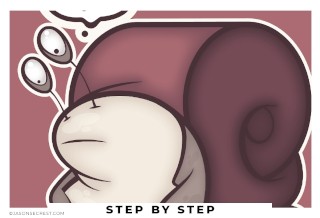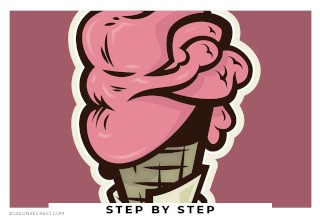
Easy Beginner Illustrator Cartoon Tutorial
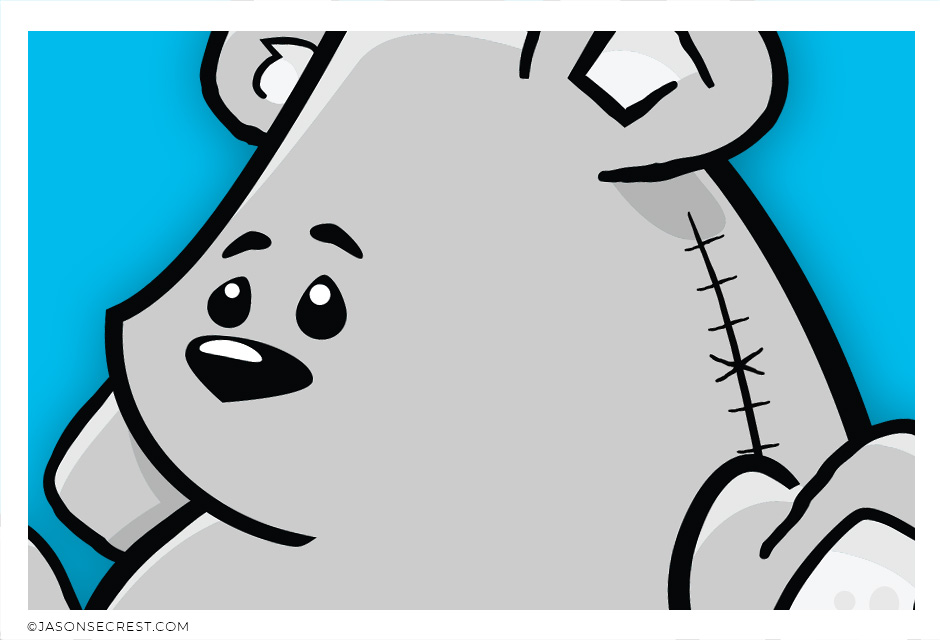
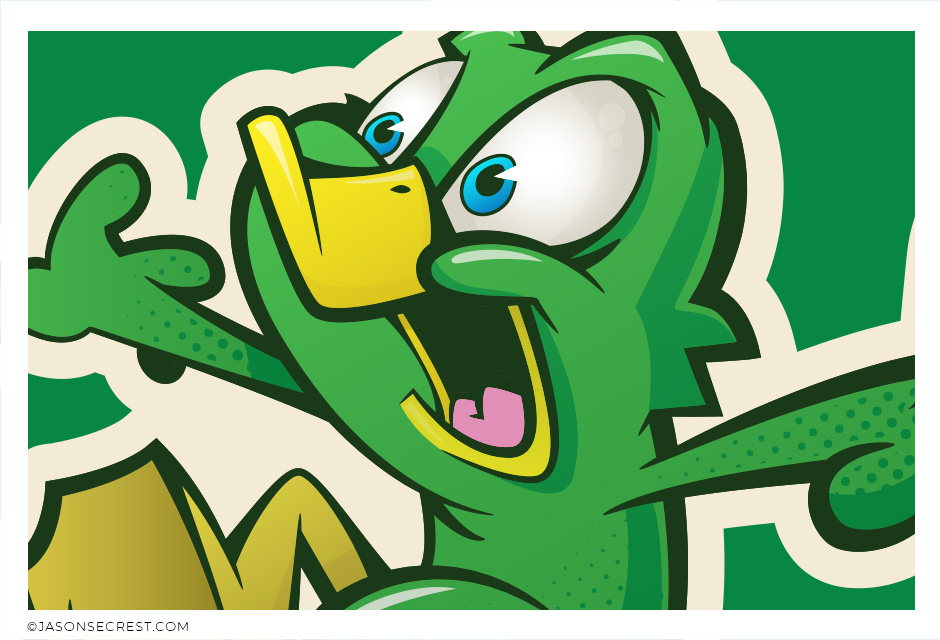
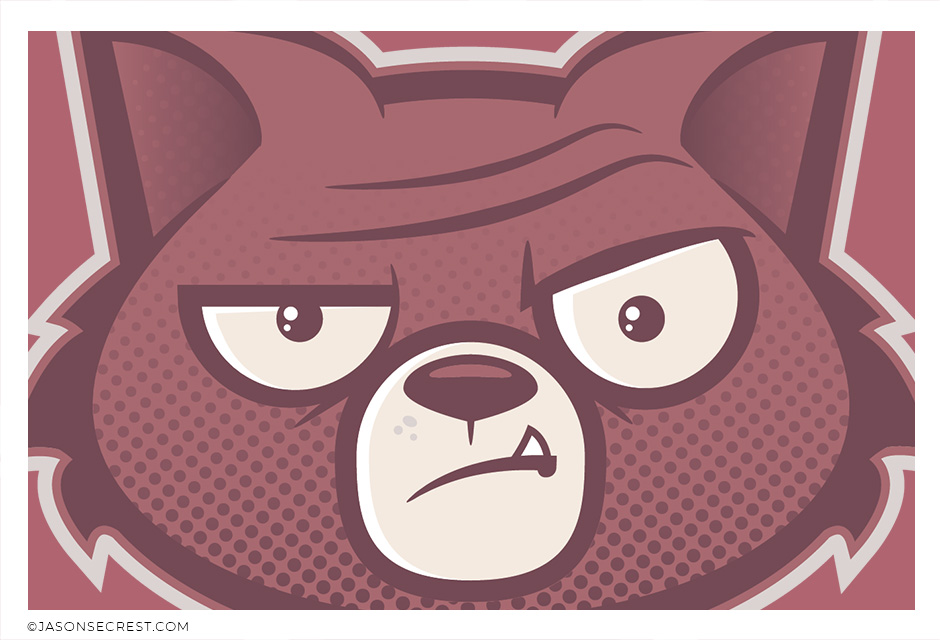
Easy Beginner Adobe Illustrator Cartoon Tutorial using Anchor Point Guide and Pen Tool.
In this easy to follow tutorial we will be going through our anchor point guide step by step to learn the pen and anchor point tool to apply anchors and handles. We will also be adding color by using the Live Paint Bucket and the knife tool to create easy shadows. Looking to Follow Along? Download Brushes, Textures + Tutorial Resources

Anchor Point Guides
Anchor point guides are designed to make our step by step tutorials as easy to follow as you are learning where to place anchors and how to adjust handles using the pen tool.
Using Pen Tool
Anchor point guides are designed to make life easier as you are learning where to place anchors and how to adjust handles.
Live Paint
Using live paint and the knife tool are fast ways of getting down color and shadows without having to use pathfinder to create shapes.
Adding on Line Variation using Cartoon Brushes
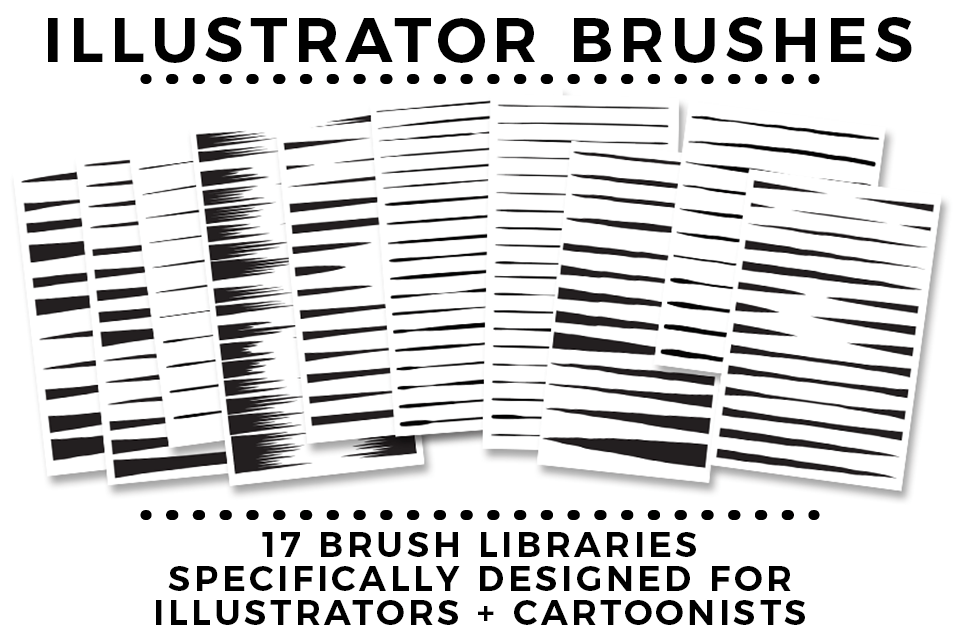
You will have more control over the placement and width of each of your lines using the Cartoon Brushes. The process will be a combination of using the Brushes to get down the initial thickness and stroke width. The second step will be modifying the placement of the variation using the so we can edit later. This 2-Step Process allows for more control over your Line Variation compared to using your Tablet with Pressure.
Download Brushes
1. The Direct Download will make it very easy to download the zipped brushes file. Simply Extract All of the contents and follow along with the rest of the video.
Open Other Library
2. In your Brushes Panel, Window - Brushes. In the Bottom Left Hand Corner you will see a Brushes Library icon that looks like books. Click on it and scroll down to Other Library. Open Brush Library from folder.
Adding Line Weight
3. Depending on your own Style or preference, I would recommend adding a little more line weight to your artwork. The mistake I see a lot of beginners make is keeping the line weight at 1pt.
Cartoon Brushes
4. We have 17 Brush Libraries in our folder. You can use any one of them during this tutorial. All you have to do is line up the thin edge which will be floating in space. The Thick ends will represent our values which will be merging into other areas and strokes.

