Advanced Adobe Illustrator Cartoon Coloring Tutorial
Adobe Illustrator Tutorial using Pen Tool
In this Adobe Illustrator Tutorial for Beginners, we are going through some different options for the Pen Tool. The few things to remember is to focus on getting down the anchors first. We have a lot of our tutorials that focus just on straight lines and placing anchors. The easy parts of the line are the start and end points which means you just have to look for changes in direction in the middle. This tutorial will focus on Building Tools, Applying Brushes, Editing Options, and Basic Coloring Techniques.
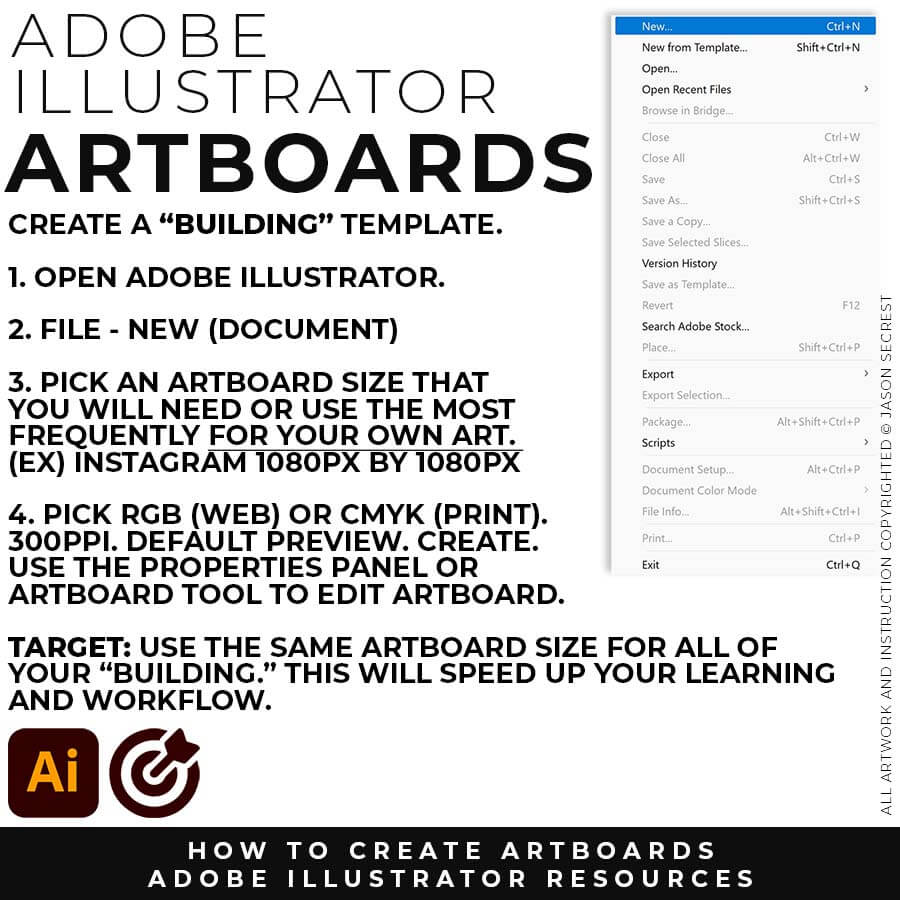
ARTBOARDS: File-New. Use a size or ratio that you can use for all of your own artwork. I recommend a 1080px by 1080px artboard for websites and social postings. Many of you will be looking to export your own artwork to Instagram. You can modify the size of the artwork or artboard with the Artboard Tool or Properties Panel.
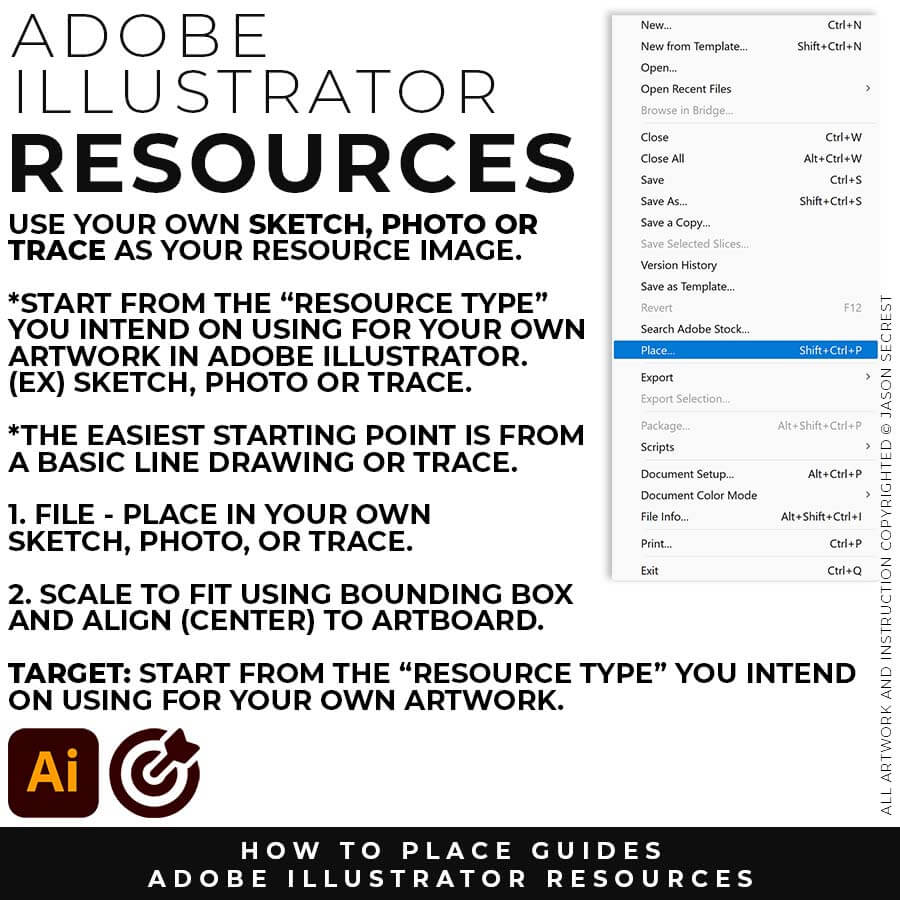
SKETCH OR TRACED PHOTO: I recommend starting from a Clean Line Drawing or a simple Traced Stock Photo for your artwork and designs. Create a "Traceable Path" to align with the Building Tools in Adobe Illustrator. You can speed up your workflow by using a Quick Sketch when you become more advanced.
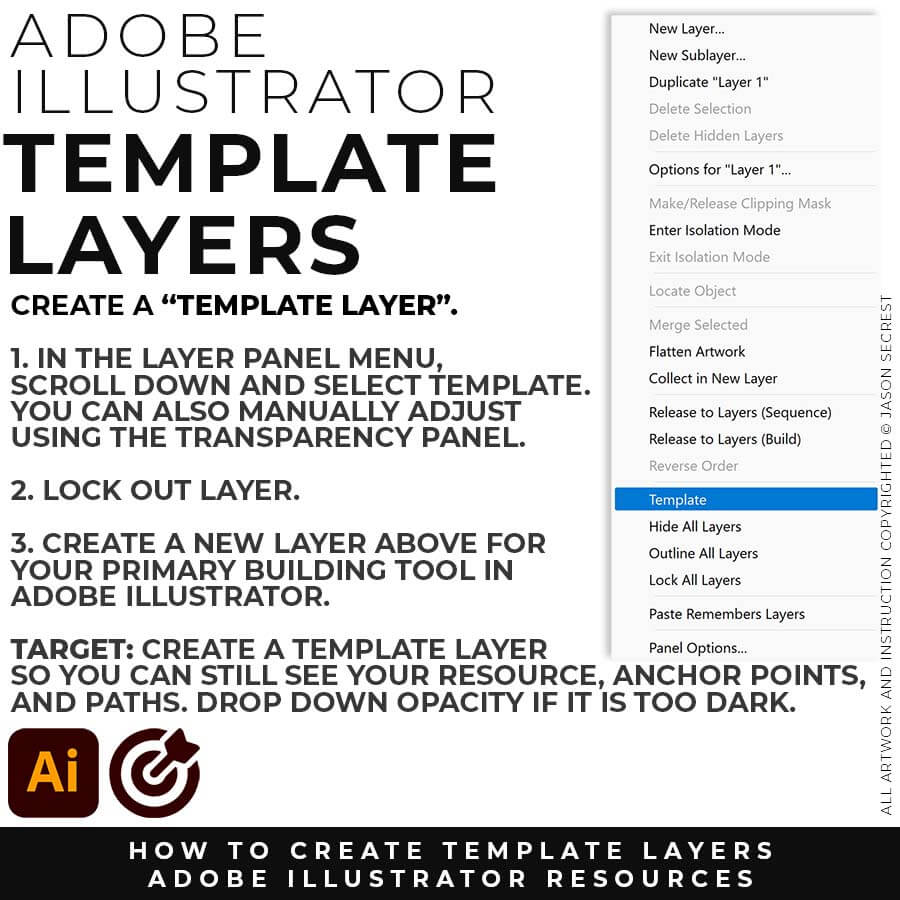
TEMPLATES: File -Place in your own Drawing, Sketch, or Traced Stock Photo. Select your Resource Layer. (It will usually be your only layer) In your Layers Panel, select the Menu in the Upper-Right Hand Corner. Drop down to Template. This will create a 50% Opacity and Lockout the Layer. Create a New Layer above to start "Building".
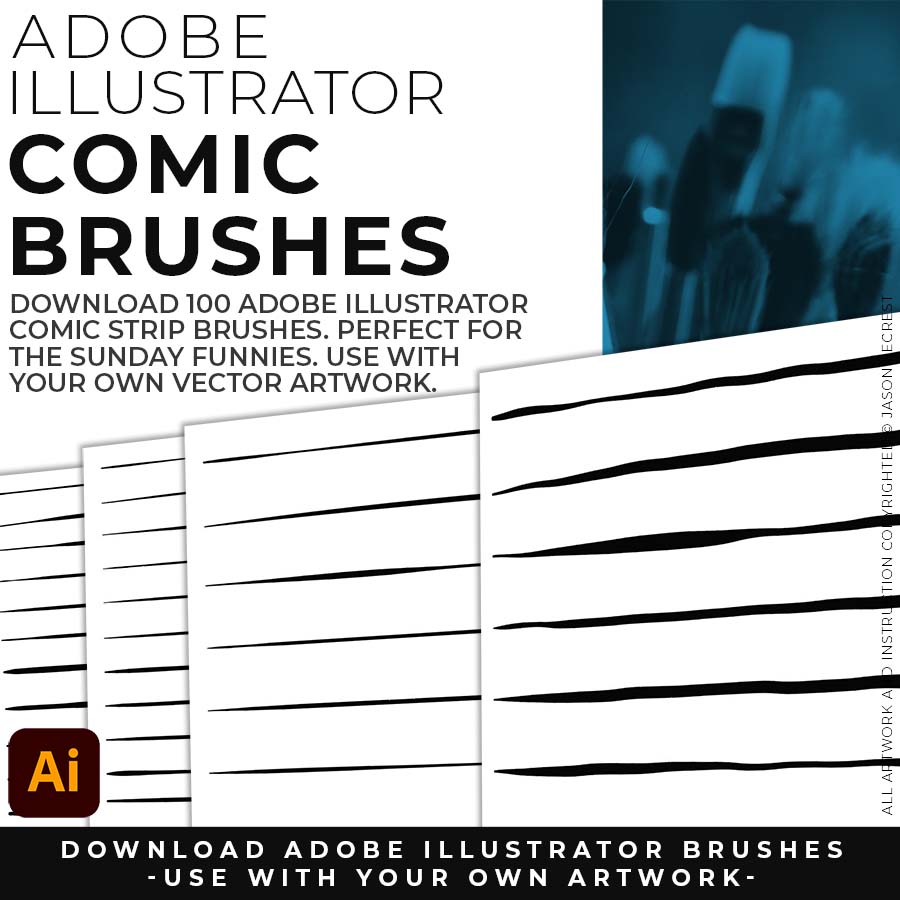
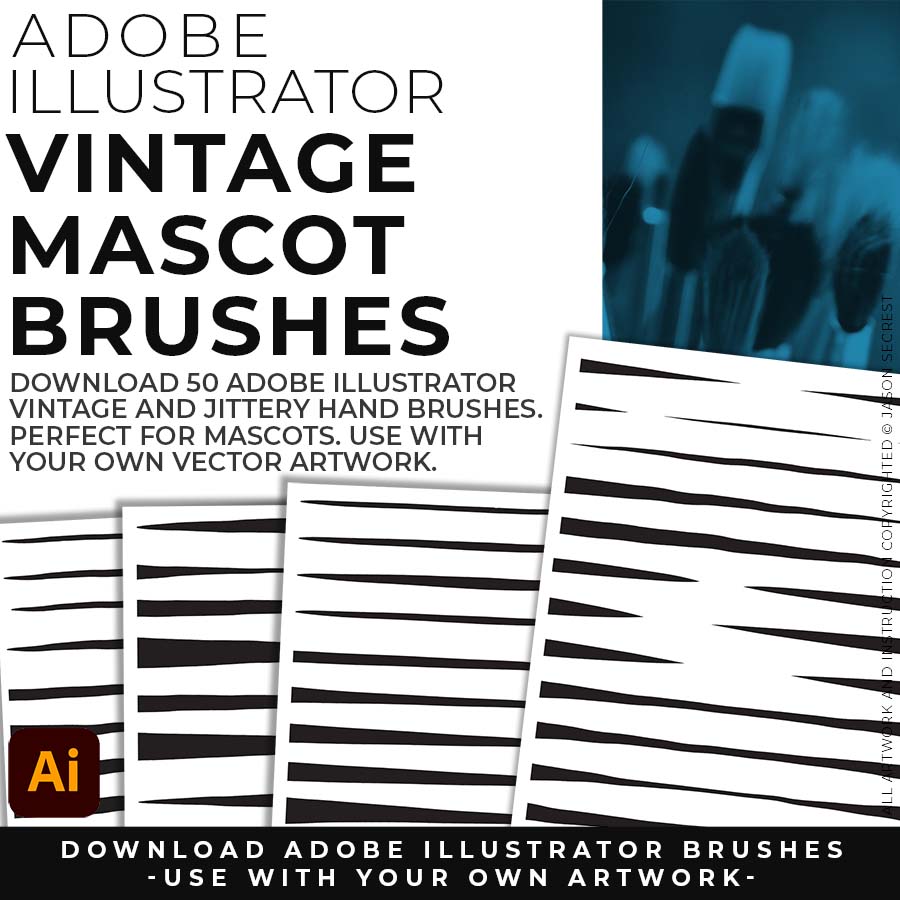
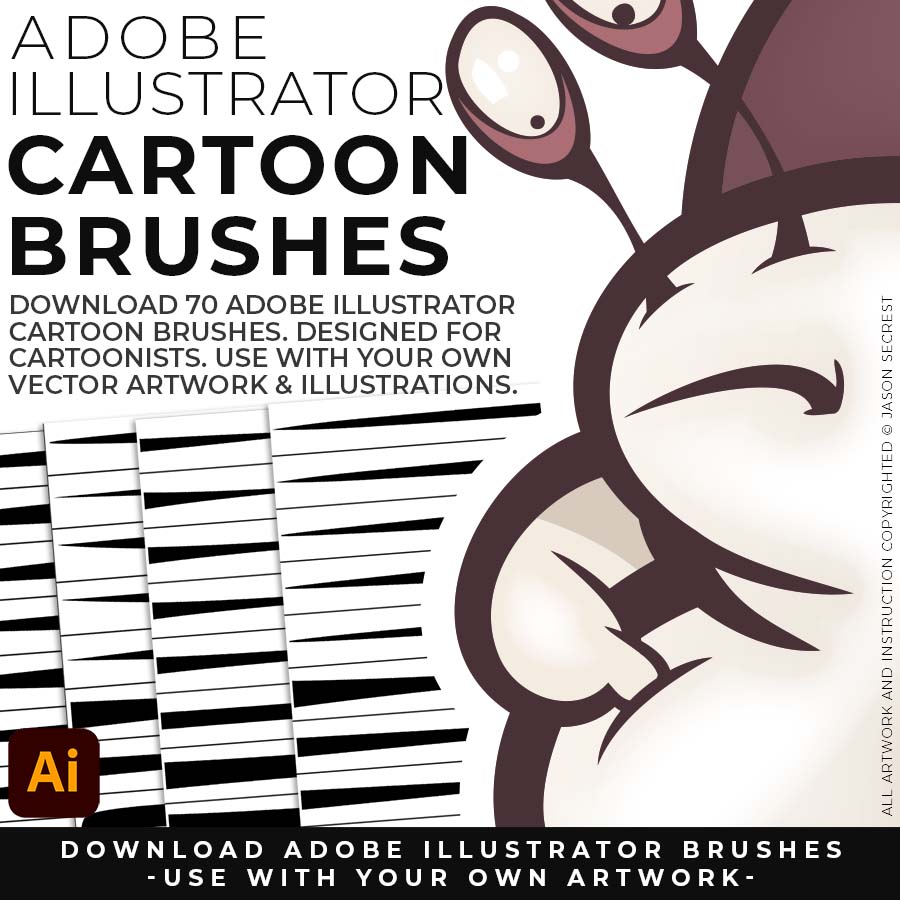
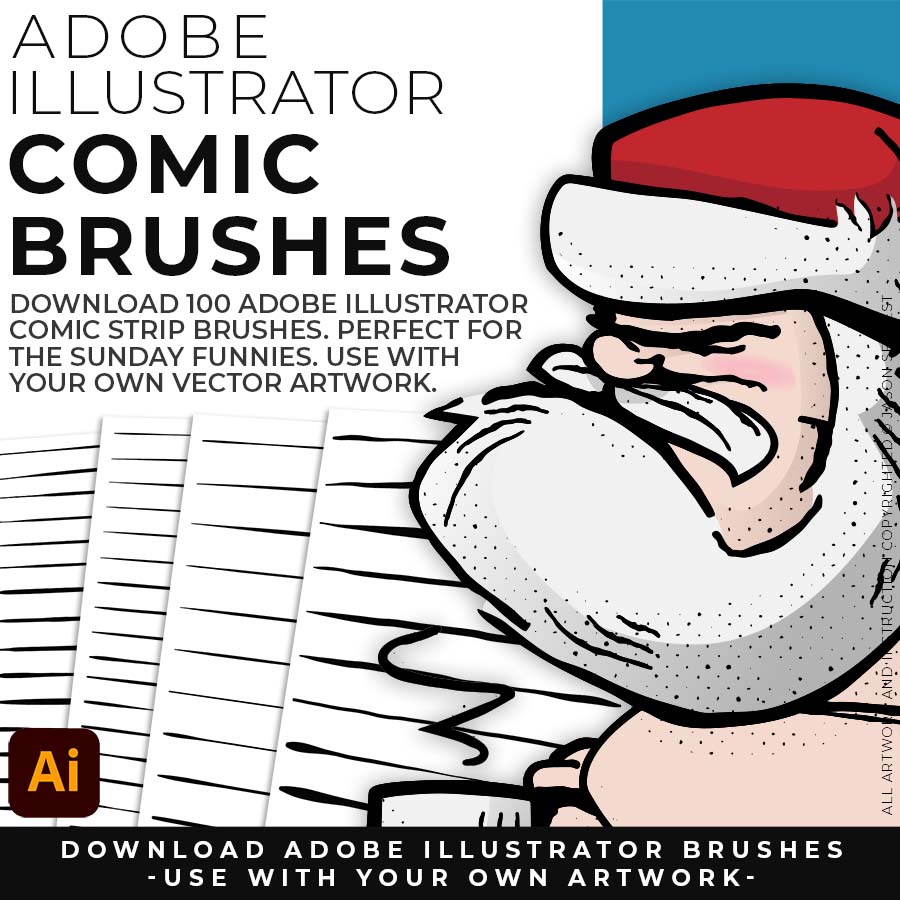
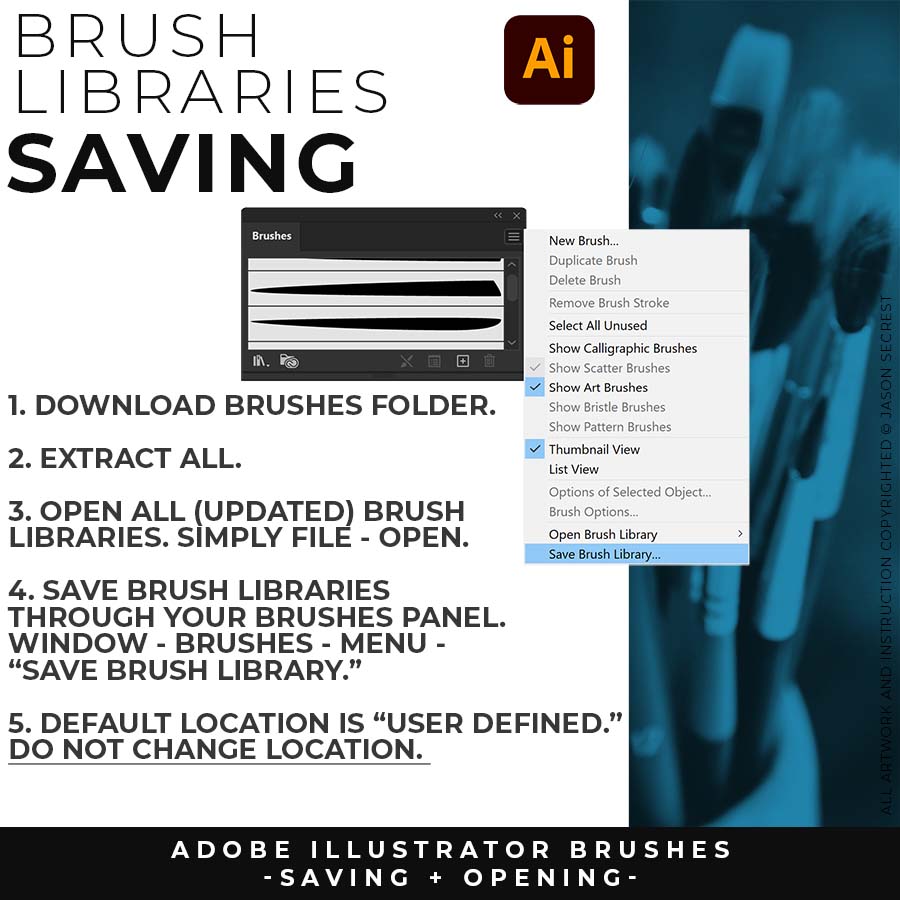
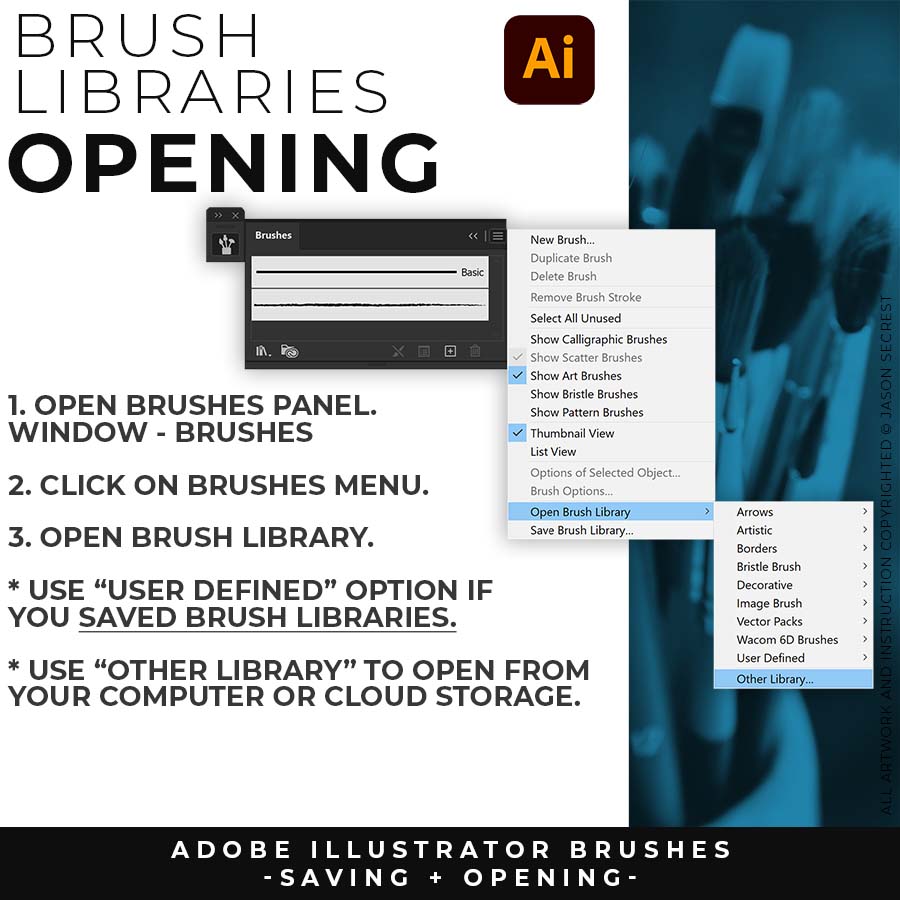
SKETCH TO BRUSHES: Attach your rough sketch to get clean, inked linework back from the prompts, then open the file in Illustrator and polish it with the matching brush set. Apply the Sketch to Brushes Prompts and move straight to editing. Resource Guides are in a full course format. Brush Libraries and Sketch to Brushes Prompt Packs are hosted through Teachable. → CARTOON BRUSHES / COMIC BRUSHES / MASCOT BRUSHES
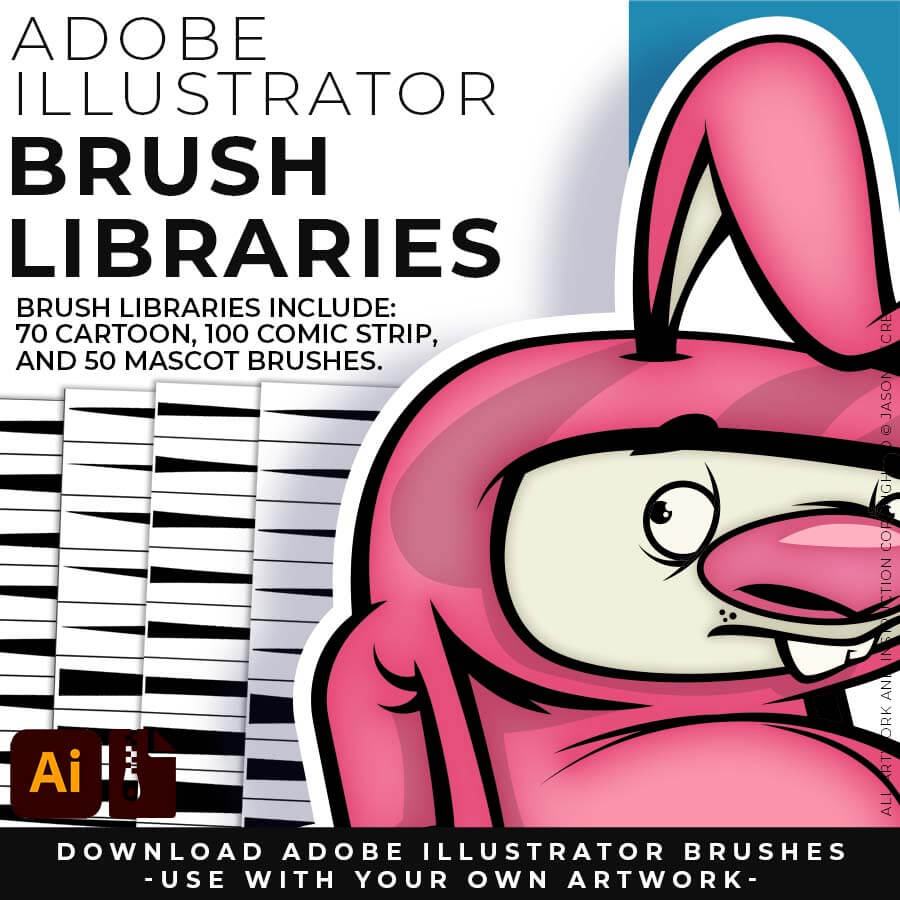
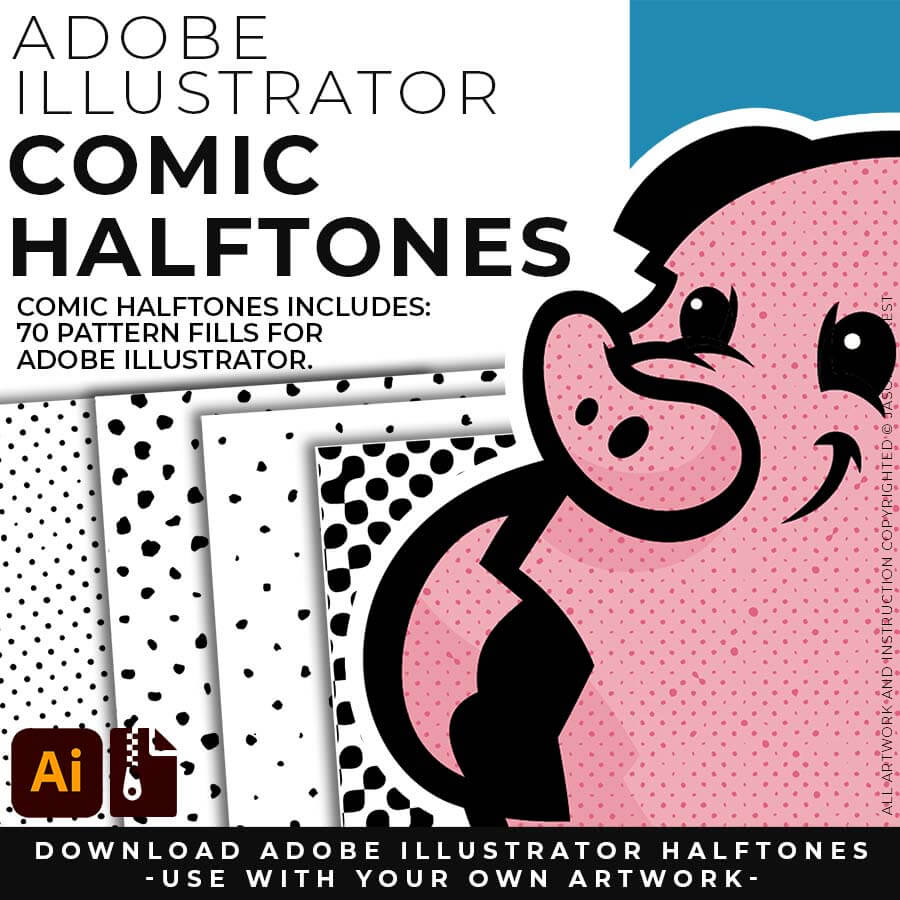
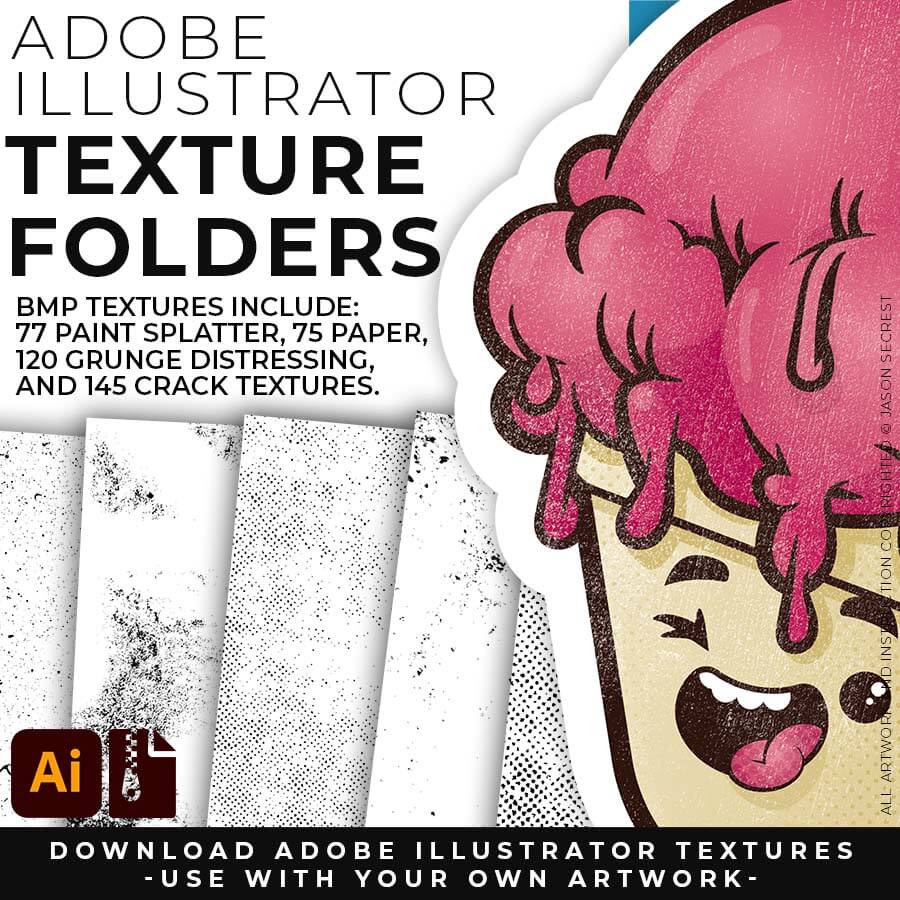
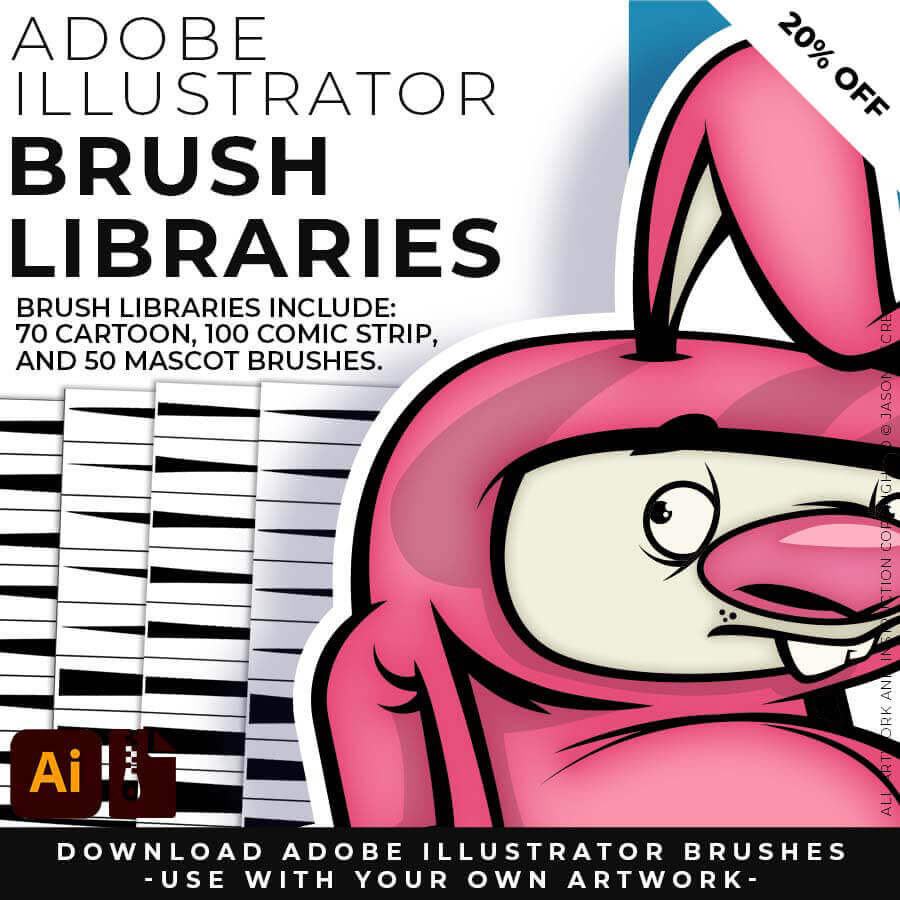
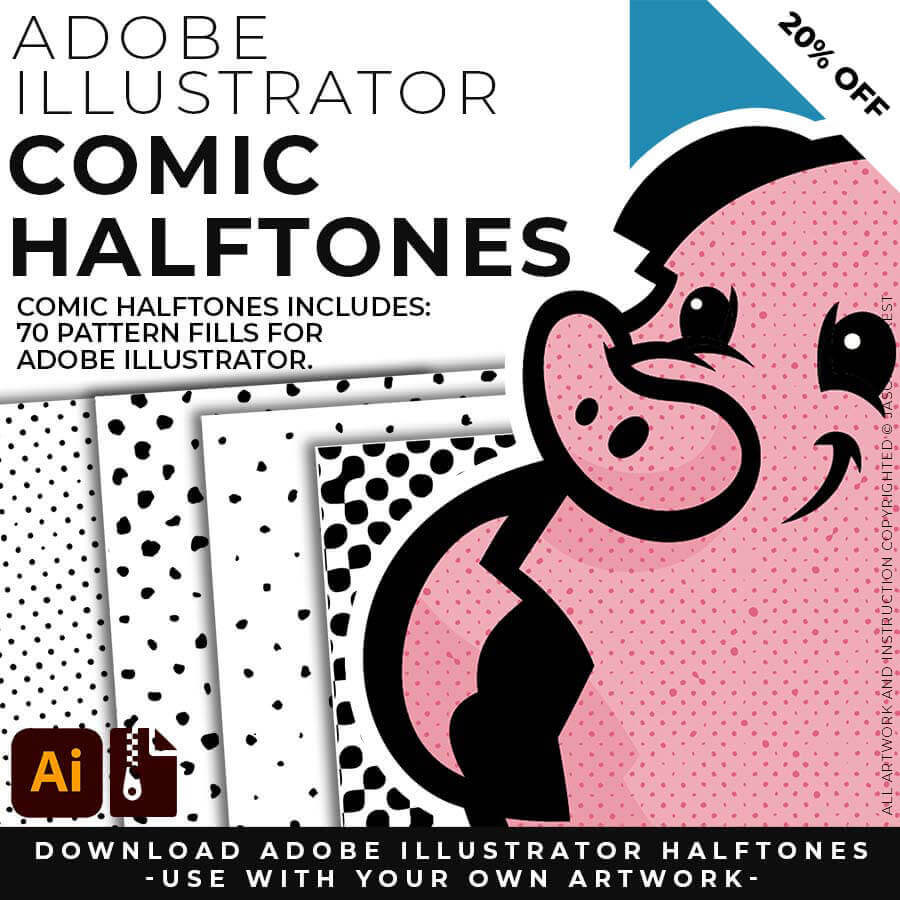
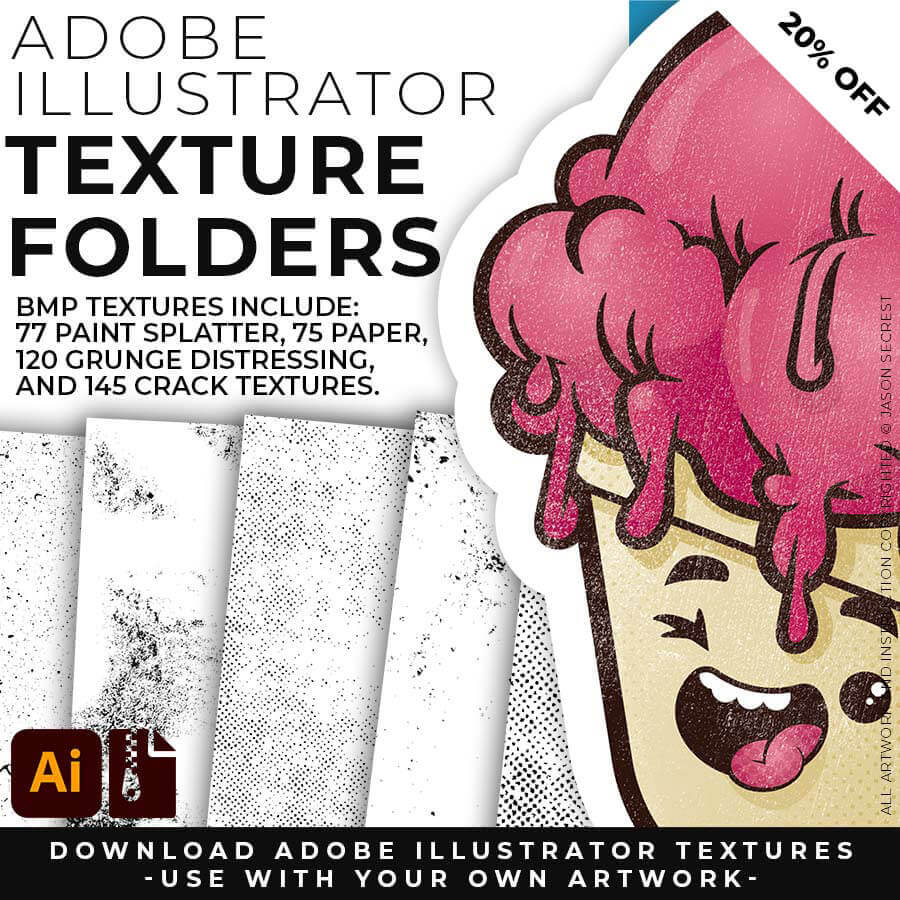
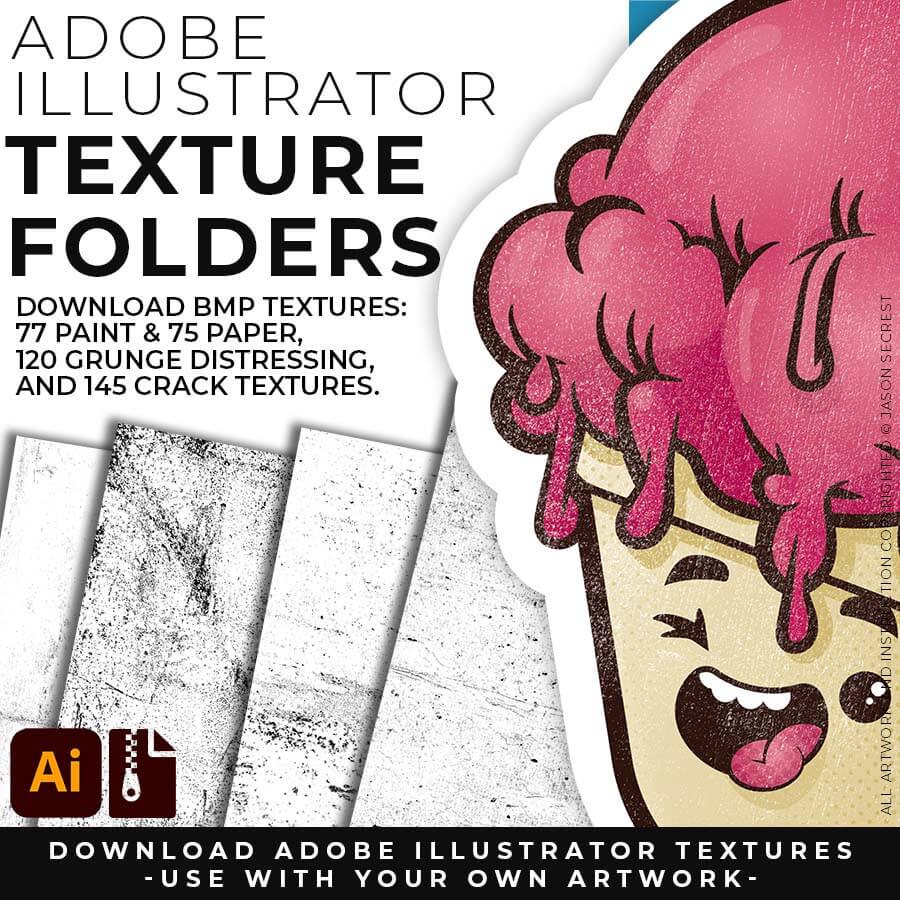
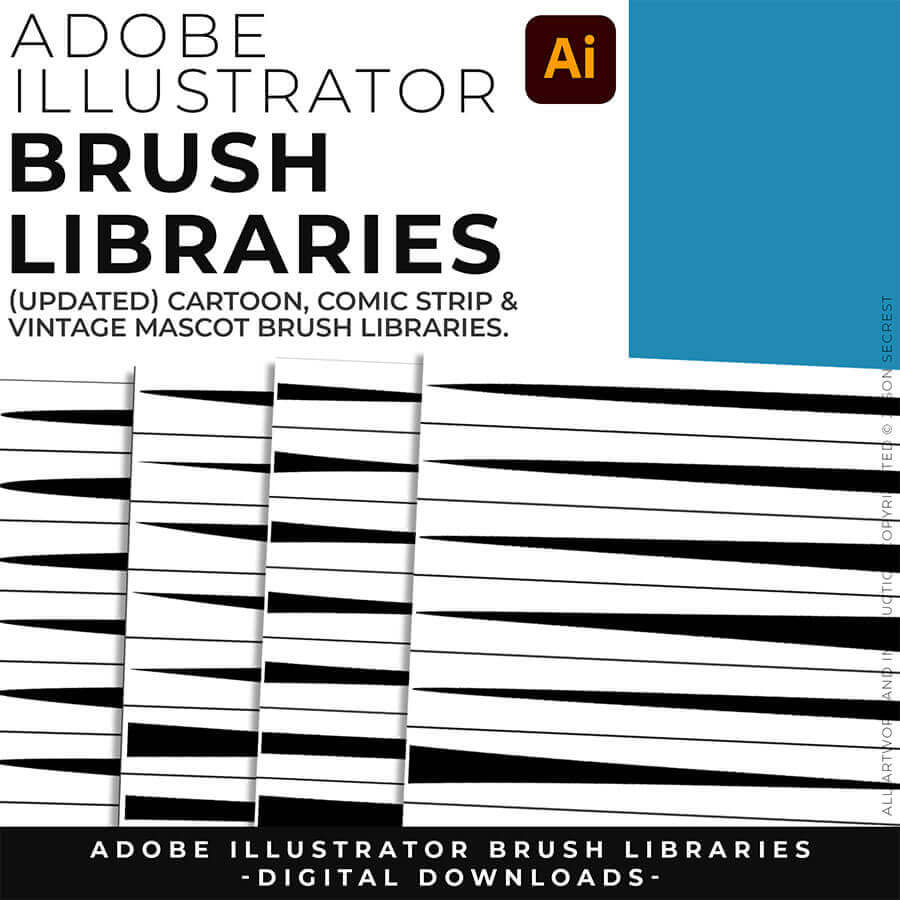
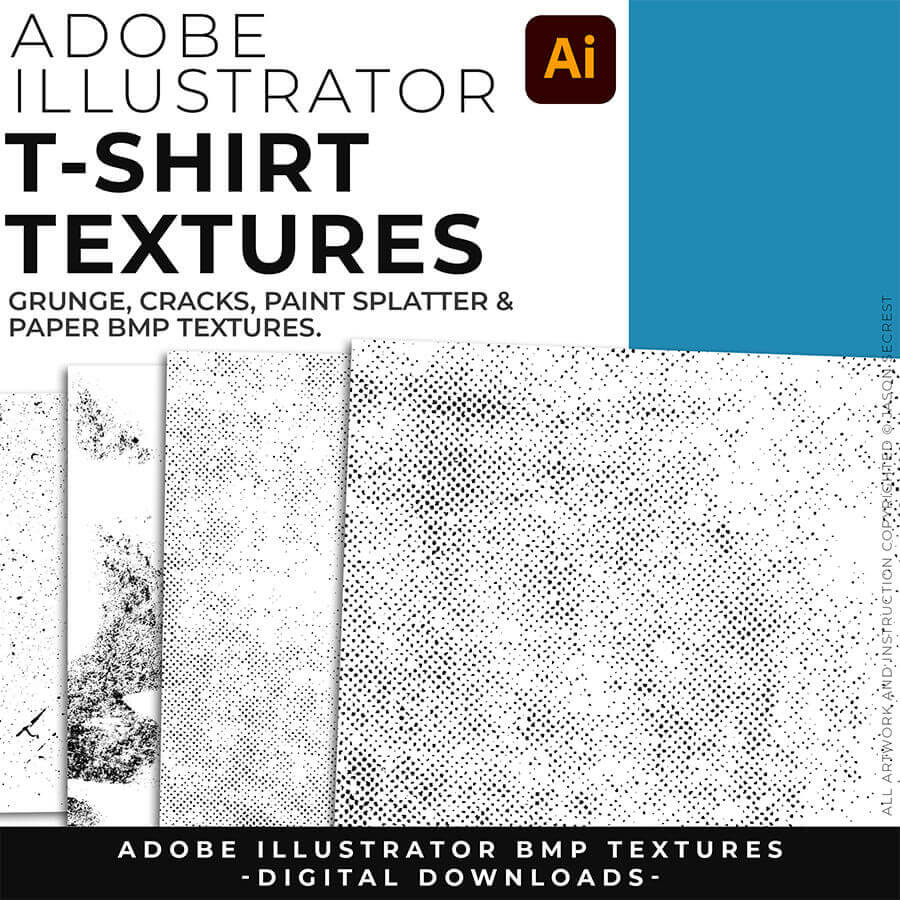
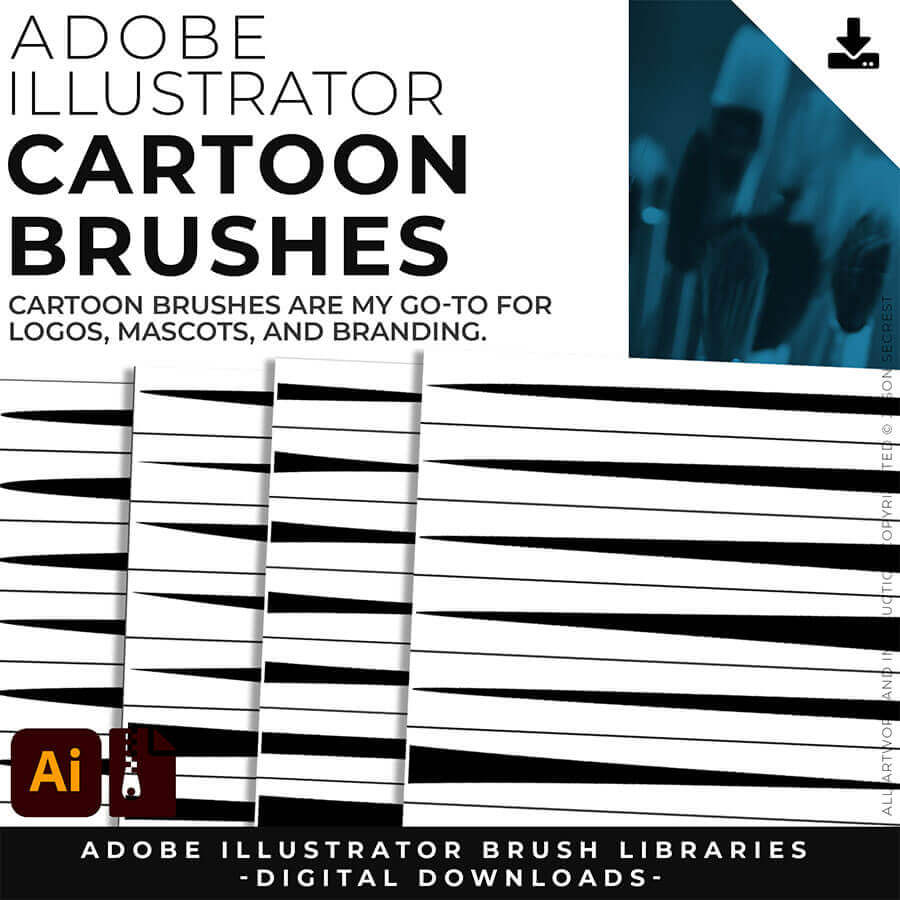
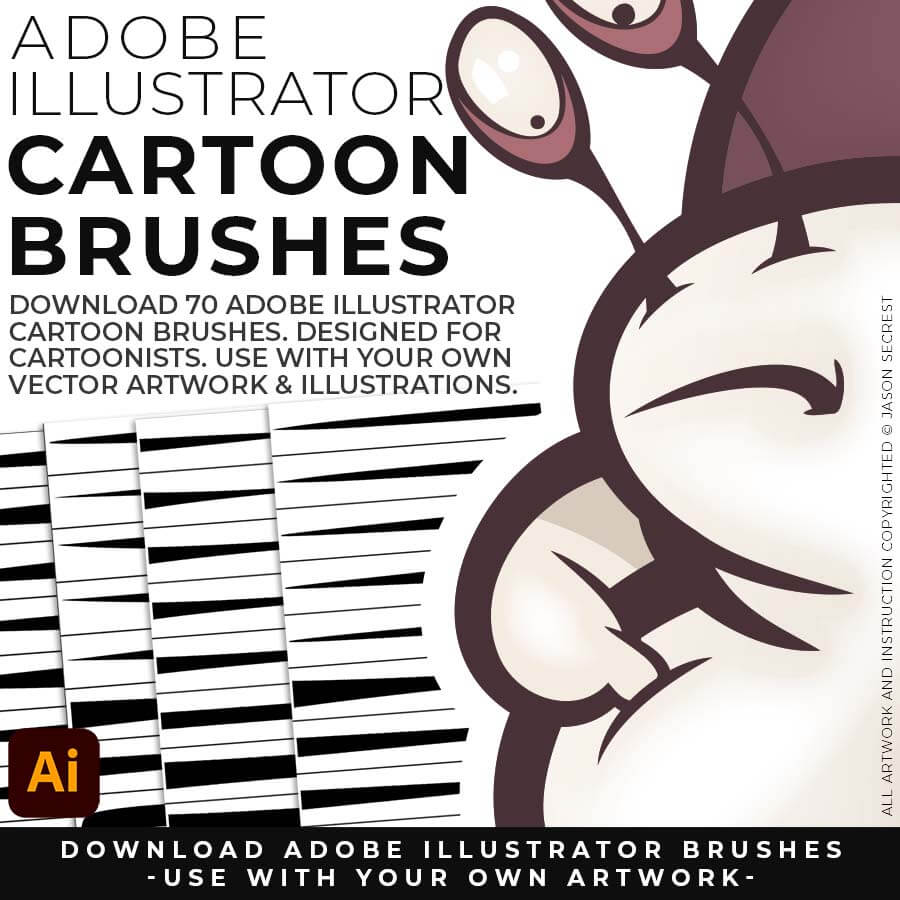
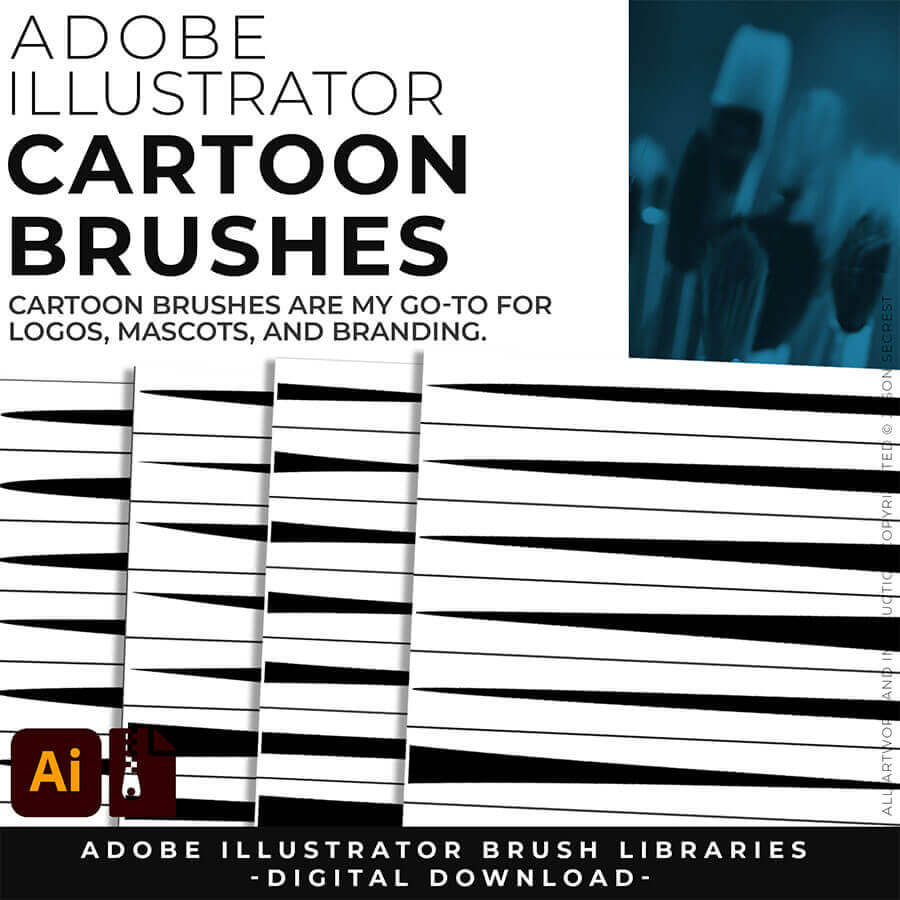
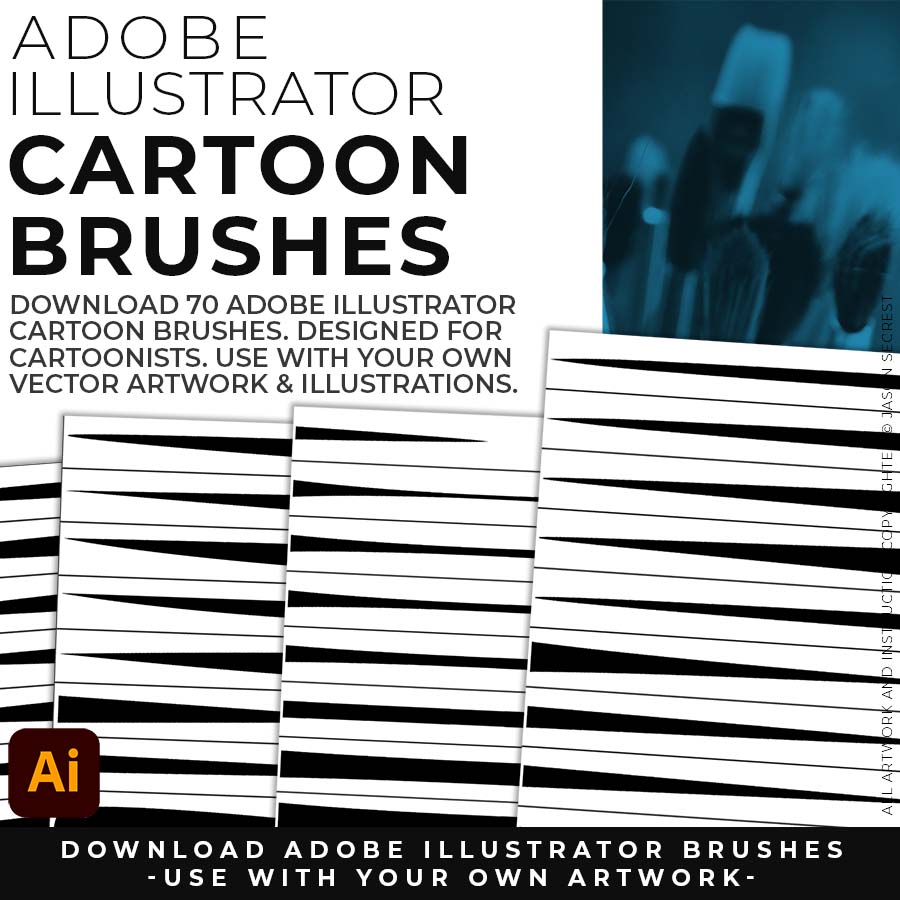
SKETCH TO CARTOON BRUSHES: Most people get stuck at one of two spots — they have a sketch, but can't build and ink it cleanly in Adobe Illustrator. This combo fixes both ends: sixteen AI prompts turn your rough sketch into clean, professional cartoon linework, formatted for Midjourney, Gemini, ChatGPT Images, Kittl, and Canva — then the actual 70-brush library lets you finish and edit it by hand in Illustrator.
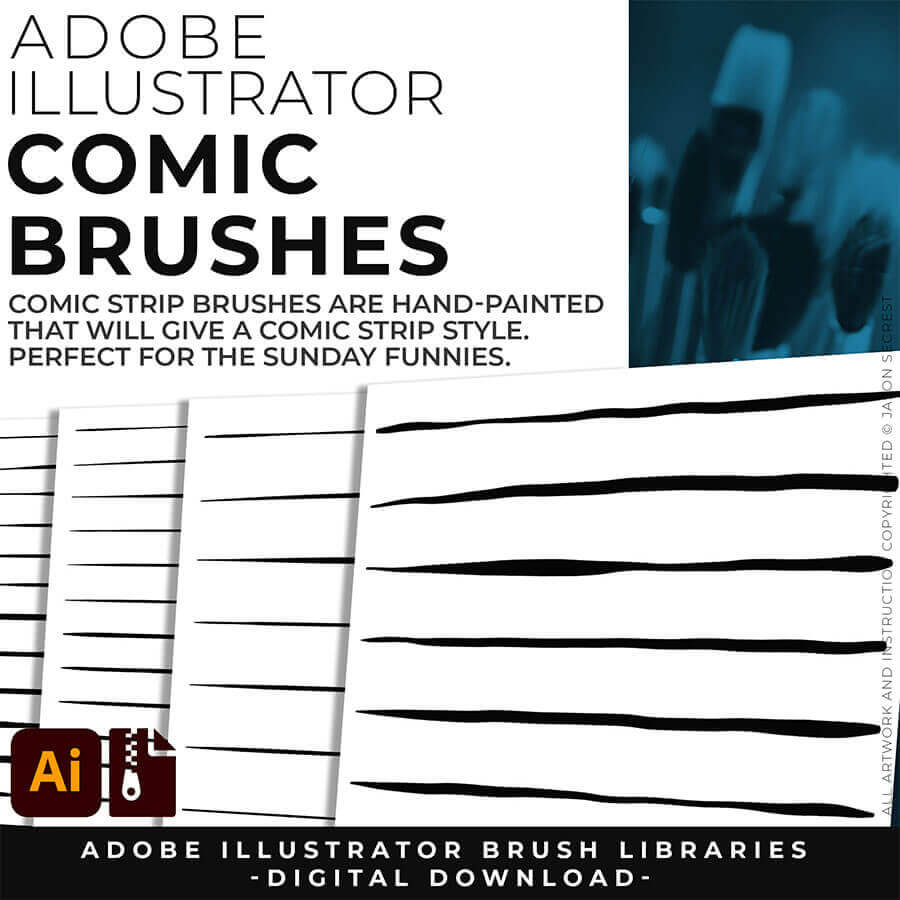
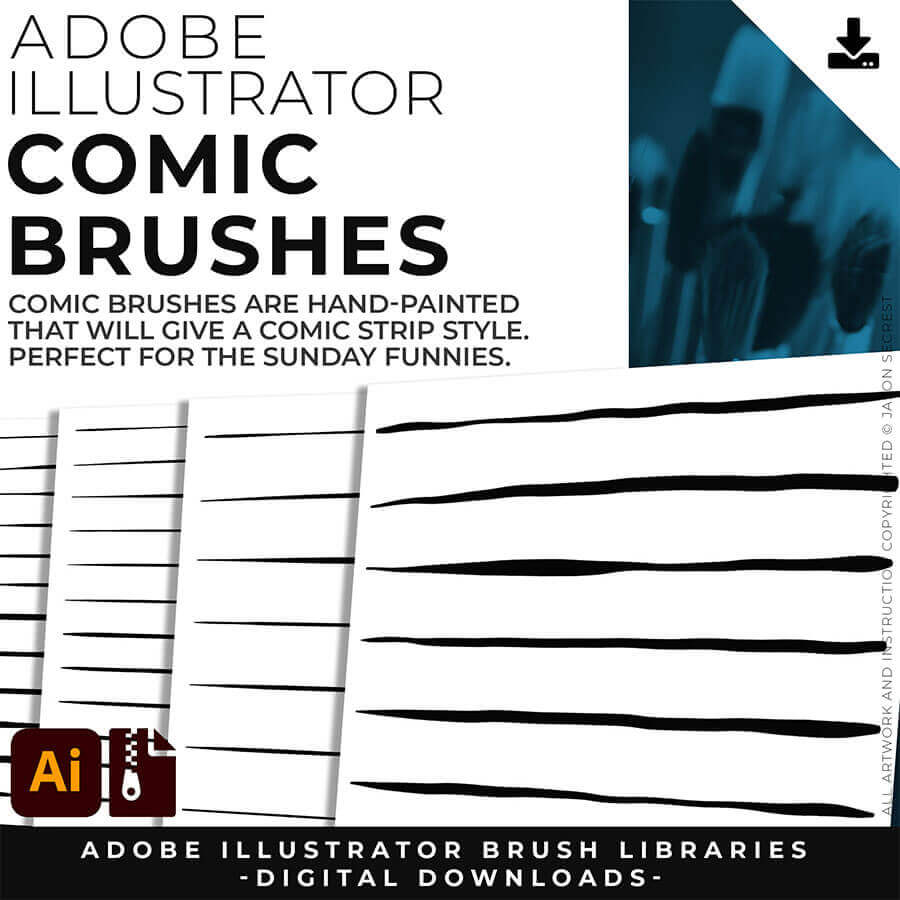
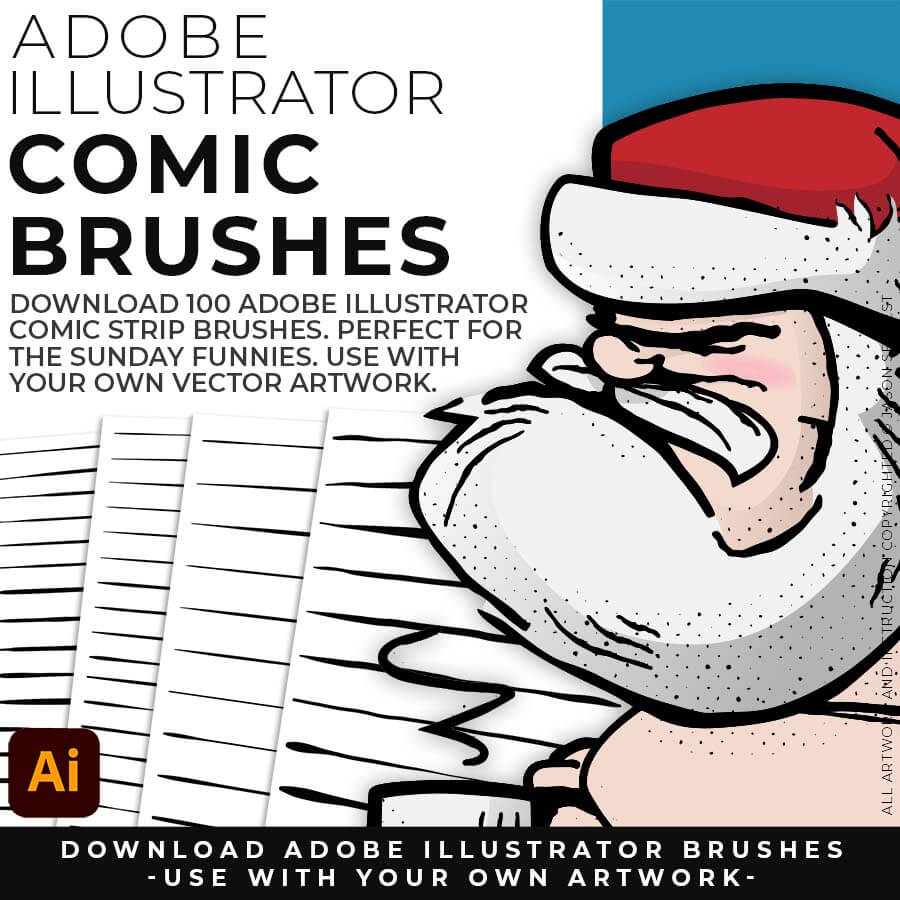
SKETCH TO COMIC STRIP BRUSHES: Real comic art has that bold-outline-to-fine-detail depth, and it takes forever to learn by hand. This pack gets you there faster: sixteen AI prompts built around that exact classic hierarchy, formatted for Midjourney, Gemini, ChatGPT Images, Kittl, and Canva, plus the 100-brush download to polish the final linework in Illustrator yourself. AI gets you 90% there, your hand gets you the last 10.
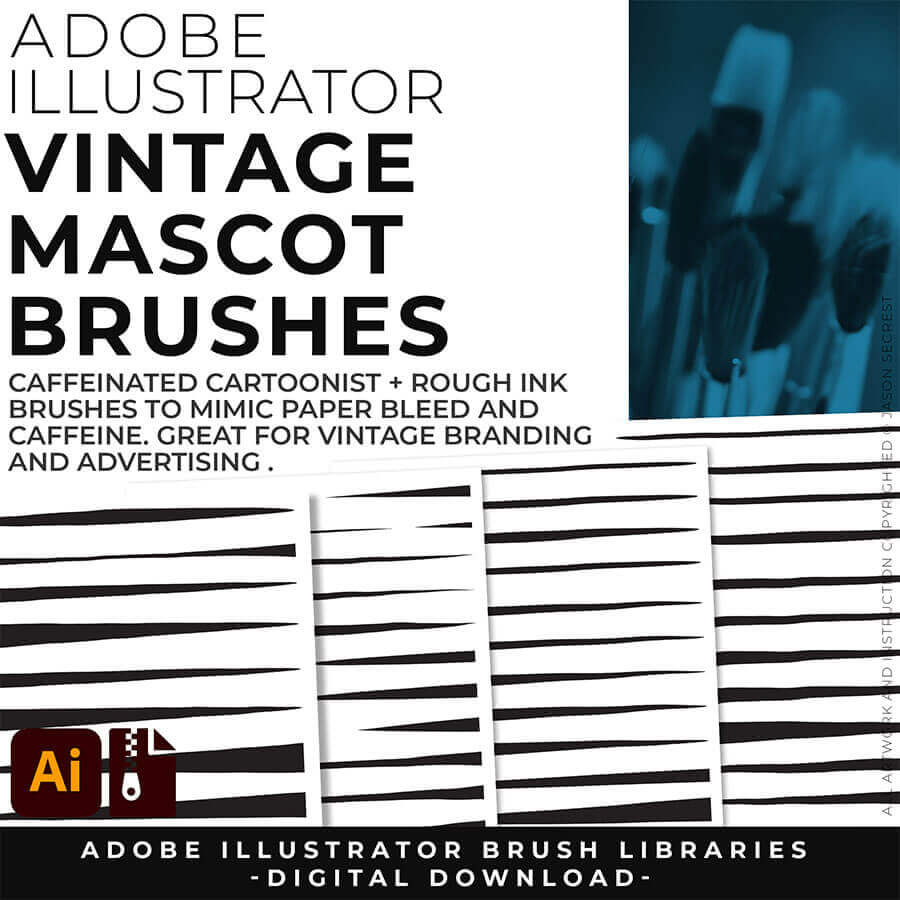
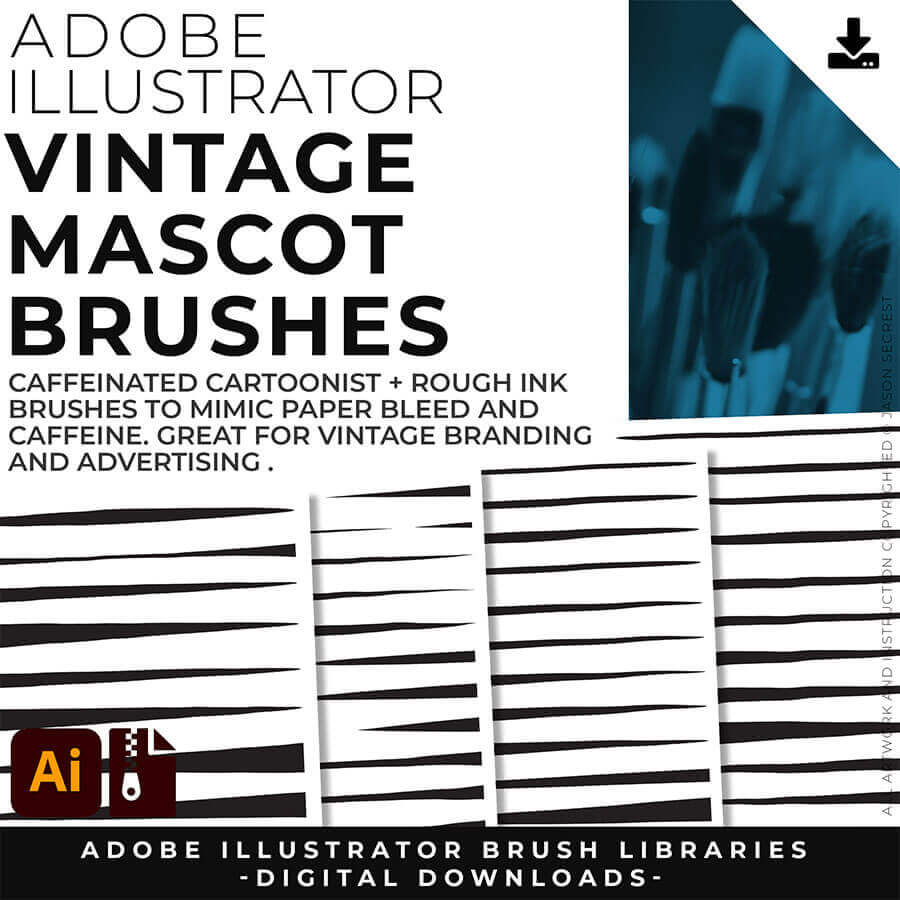
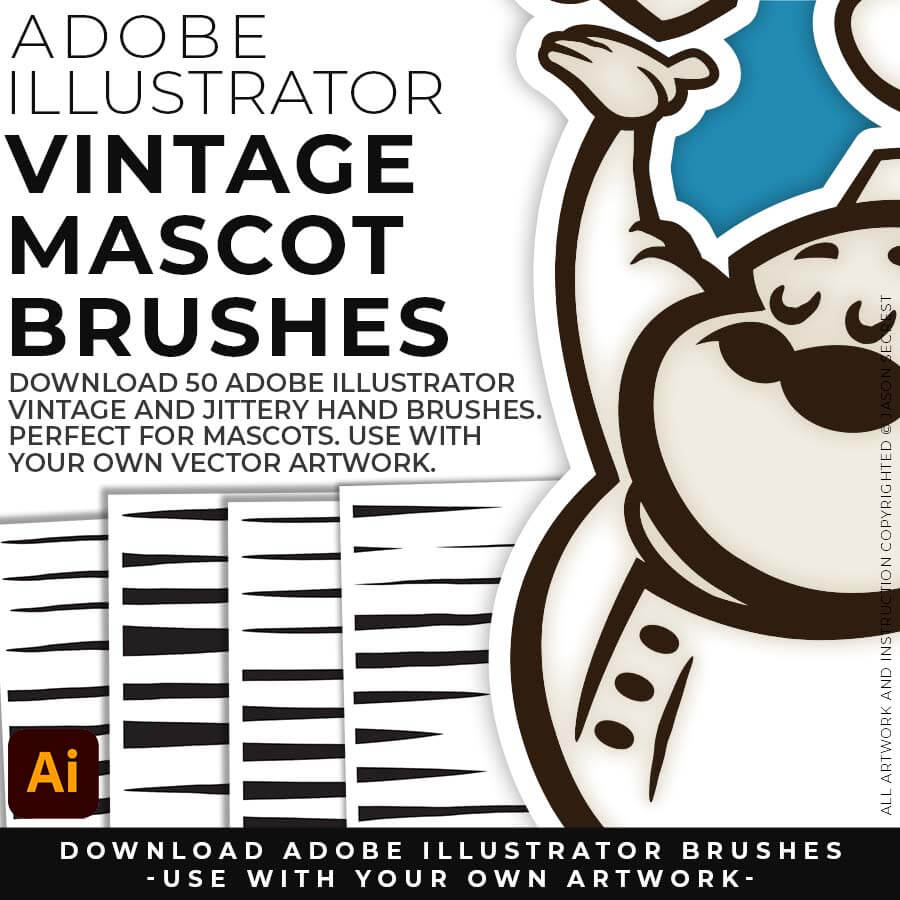
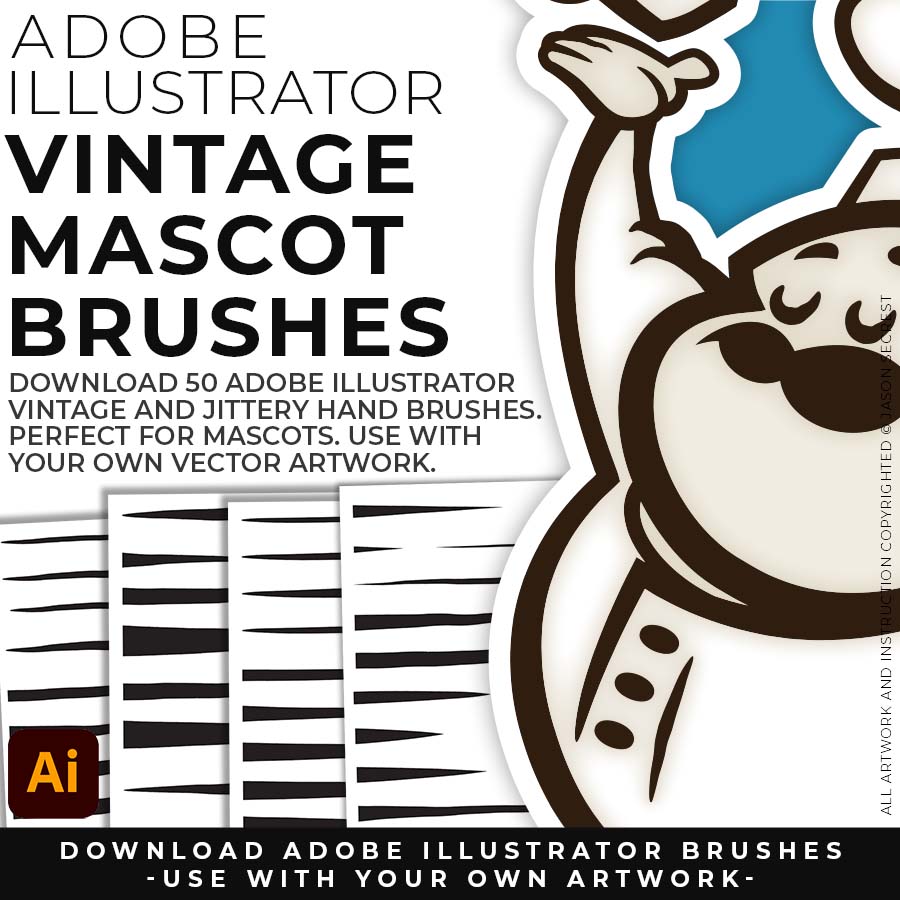
SKETCH TO MASCOT BRUSHES: Mascot work has to hit hard on a T-shirt, not just look good on a screen. Sixteen AI prompts give you that bold, hand-inked mascot energy straight from a rough sketch, formatted for Midjourney, Gemini, ChatGPT Images, Kittl, and Canva, and the matching 50-brush download lets you finish it by hand in Illustrator so it's print-ready. Sketch rough, finish with real brushes.
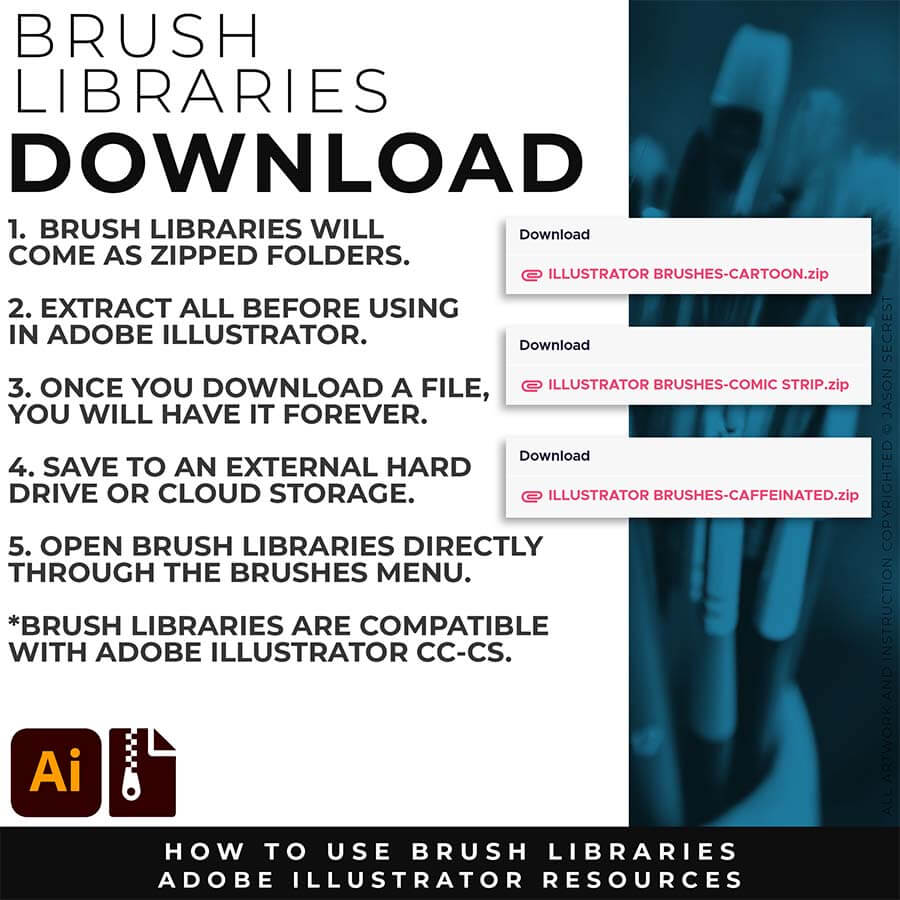
Downloads and Prompts live inside full course format resource guides through Teachable.
Copy the ready-made prompt - One click — no prompt-writing needed.
Paste into your AI tool - Generate the result in seconds.
Subscription Model -Updates Included - 365-day access includes every update to the pack.
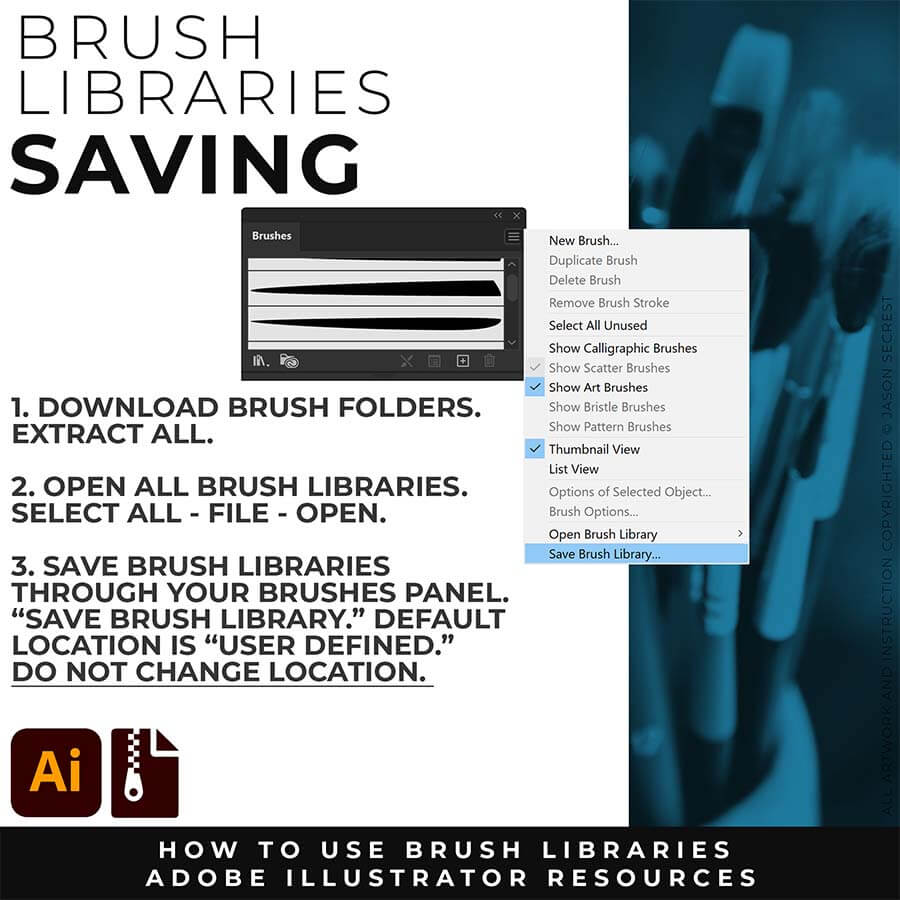
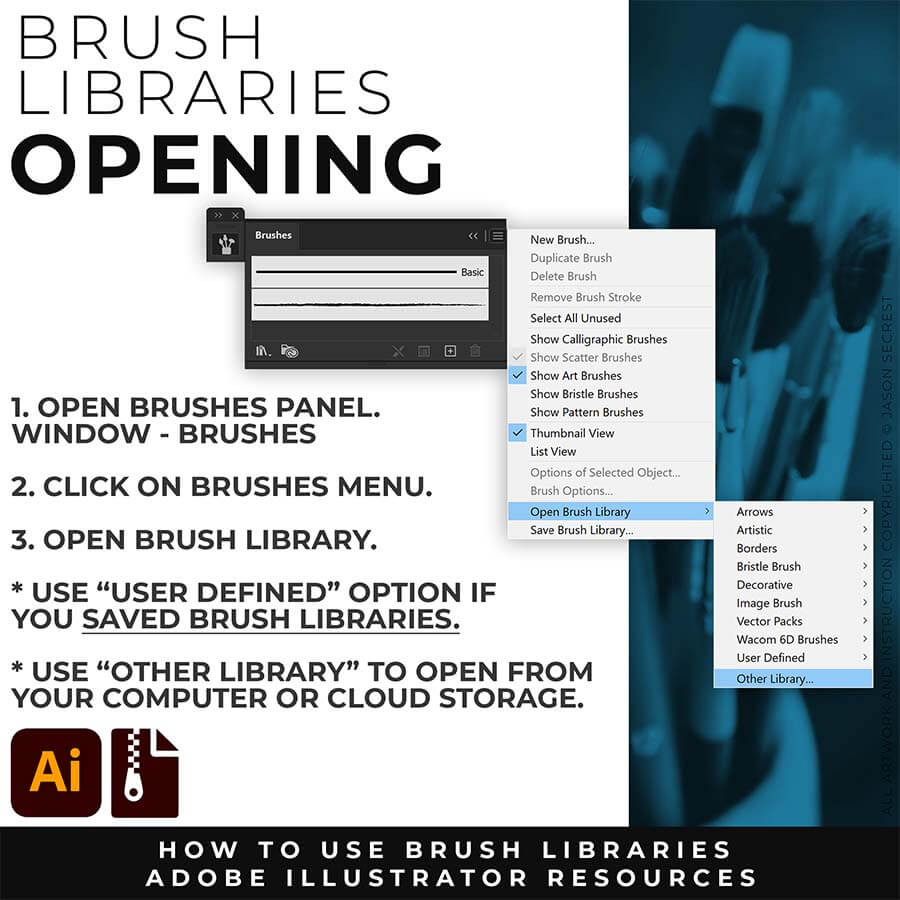
PRIMARY PROMPTING: Instead of manually aligning Building Tools to your sketch's Shapes, Lines, and Curves, let AI generate your starting point. Attach your rough sketch, copy the prompt for your style, and the AI handles the inking — clean, professional linework aligned to your original drawing, ready to bring into Illustrator for tracing and finishing.
PATH SIMPLIFY: Whichever AI Prompt Pack or Concept to Vector option you used, the vector conversion likely placed more anchor points than you actually need — this is normal, not a mistake on your end. Before you move into coloring, select your paths and run Object > Path > Simplify. This reduces the anchor point count while preserving the shape of your line, using the Curve Precision and Angle Threshold sliders to control how aggressive the cleanup is.
Opening Color Swatches
Open the Swatch Window. On the bottom left hand corner you will see the Open Swatch Libraries icon. At the bottom of the drop-down menu you will see Open Other Library. Go to our resource folder in the Color Palettes folder to Open ASE files. The ASE files have been created to make your life easier while going through the Challenge Series. Once you open the Library- click on the folder icon next to the swatches to move them from the library to the swatches.
Coloring with Fills
One of the easiest and fastest ways of filling in your color is through using Fills. The main thing to look for is enclosed shaped. We have done nothing but build with Shapes so coloring is super easy. Keep this in mind as you are going through the other tutorials where we don't have any shapes.
Gradient Panel
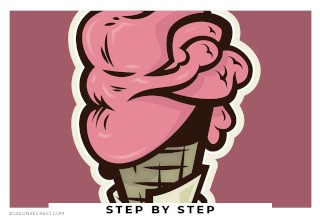
Select each color using the Magic Wand Tool (Adjust to Tolerance 5) each color. Add on a Radial Gradient to the frosting layers (3). Use the lightest and Darkest Color Swatch from the color set of 3. Adjust the slider to control where the values hit. Troubleshooting: Double check your fill is in front and not your stroke.
Gradient Tool
You can use the Gradient Tool to gain some control over where the gradient hits on your shapes. The tool will control the same features that are in the panel. I use the tool when I don't want to guess and check angle degrees or aspect ratio percentages.
NEW: START HERE
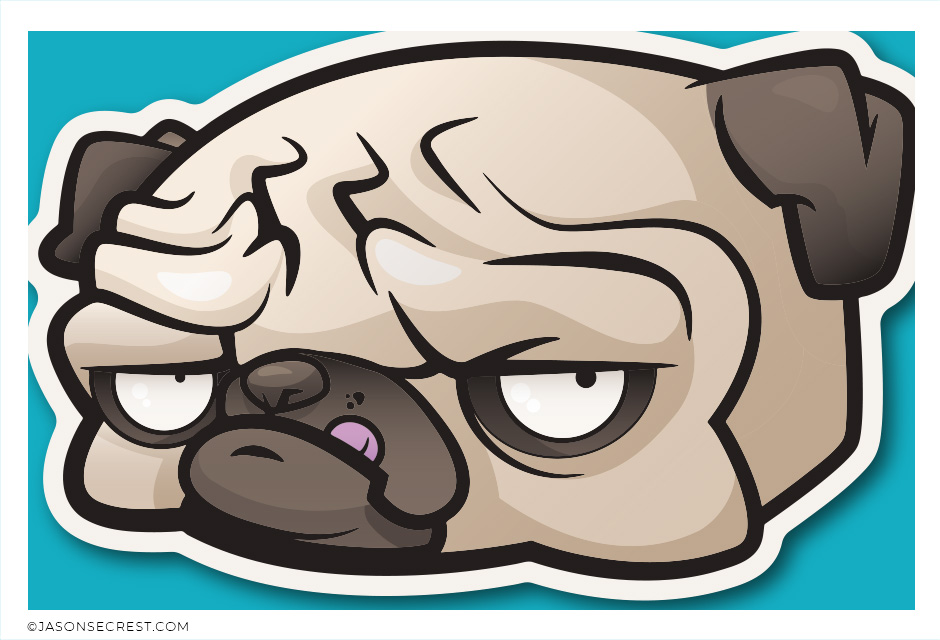
PENCIL TOOL WORKFLOW: Beginner Tablet Workflow using Pencil Tool and Live Paint Bucket. Understand the Building, Variation, and Advanced Coloring Methods. VIEW BEGINNER GUIDE
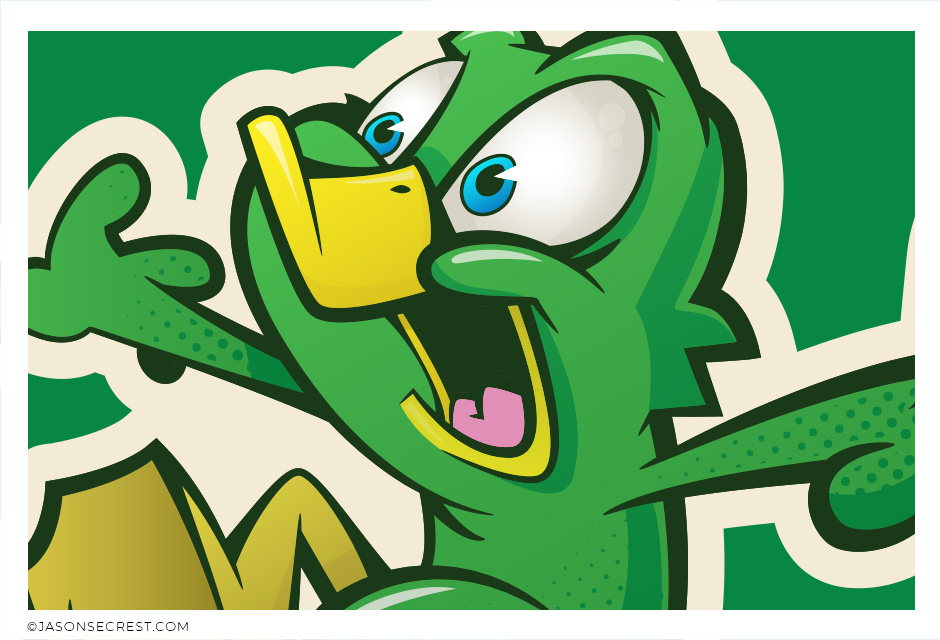
PENCIL TOOL WORKFLOW: Beginner Tablet Workflow using the Pencil Tool and Cartoon Brushes. Understand the Building, Variation, and Basic Coloring Methods. VIEW BEGINNER GUIDE
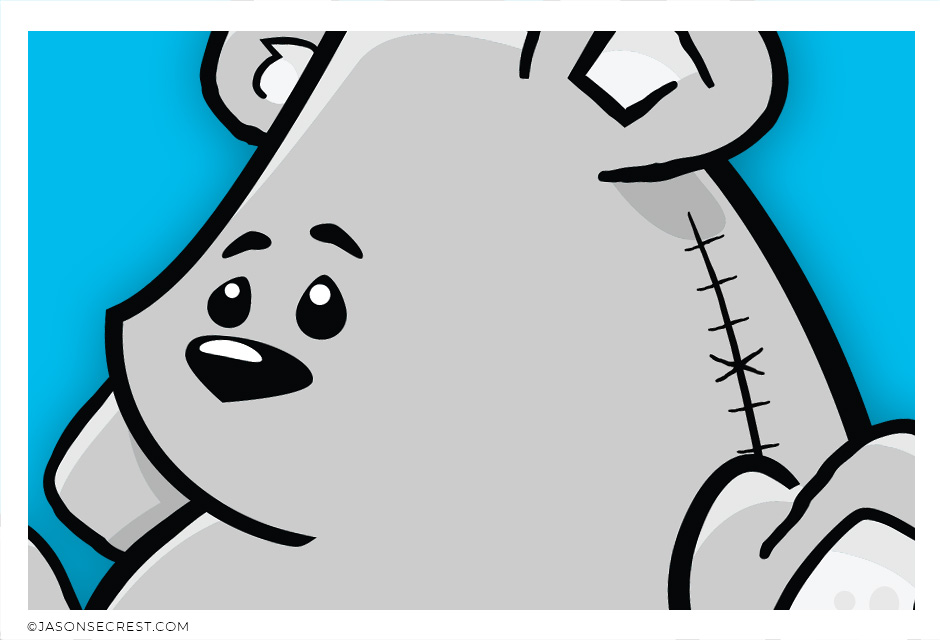
PEN TOOL WORKFLOW: Beginner Pen Tool Workflow using Comic Strip Brushes and Live Paint. Understand the Building, Variation, and Basic Coloring Methods. VIEW BEGINNER GUIDE
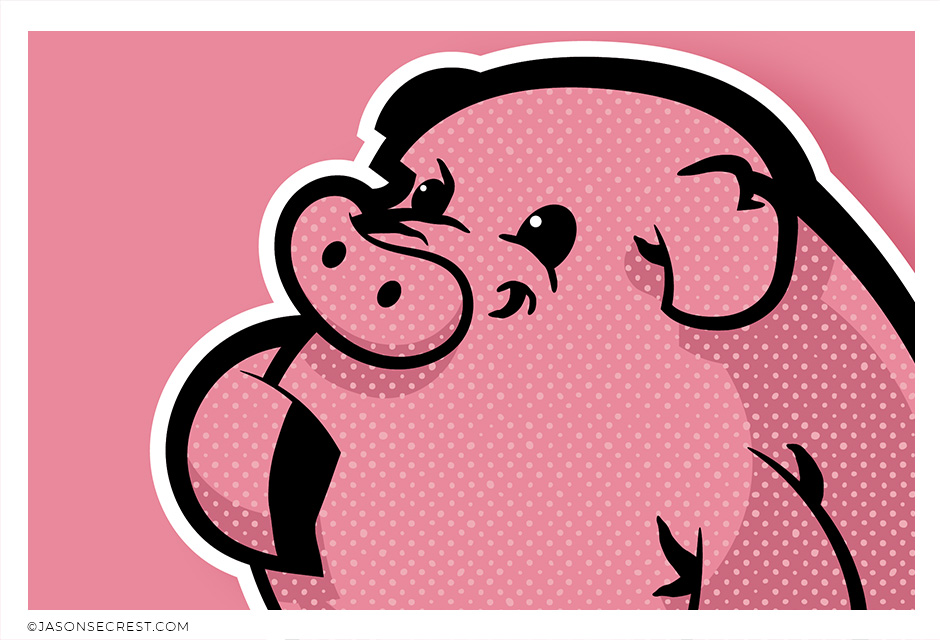
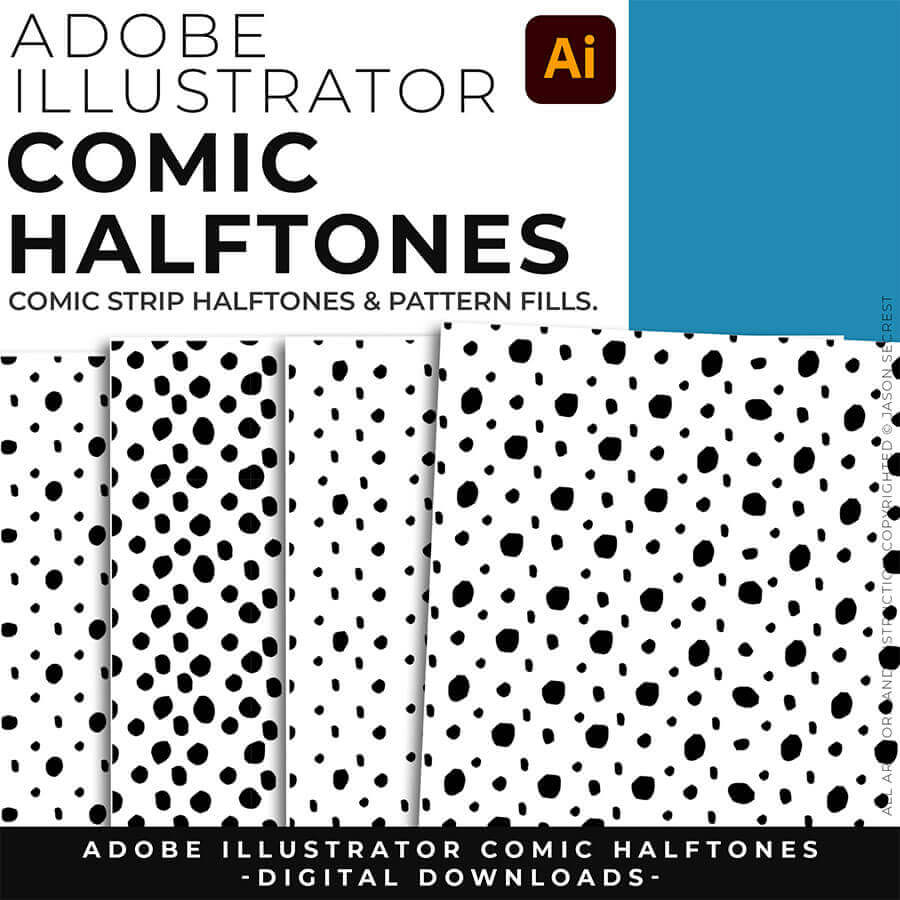
PEN TOOL WORKFLOW: Beginner Workflow using Pen Tool Shapes, Halftones, and Knife Tool. Understand the Building, Variation, and Basic Value Methods. VIEW BEGINNER GUIDE
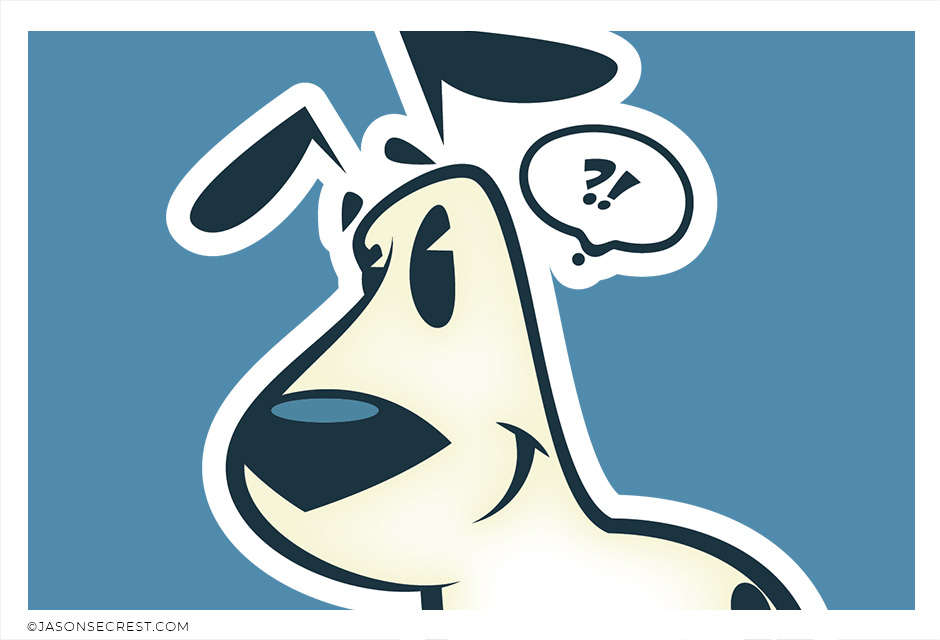
PEN TOOL WORKFLOW: Beginner Pen Tool Workflow using Live Paint Bucket. Understand the Building, Variation, and Basic Coloring Methods. VIEW BEGINNER GUIDE
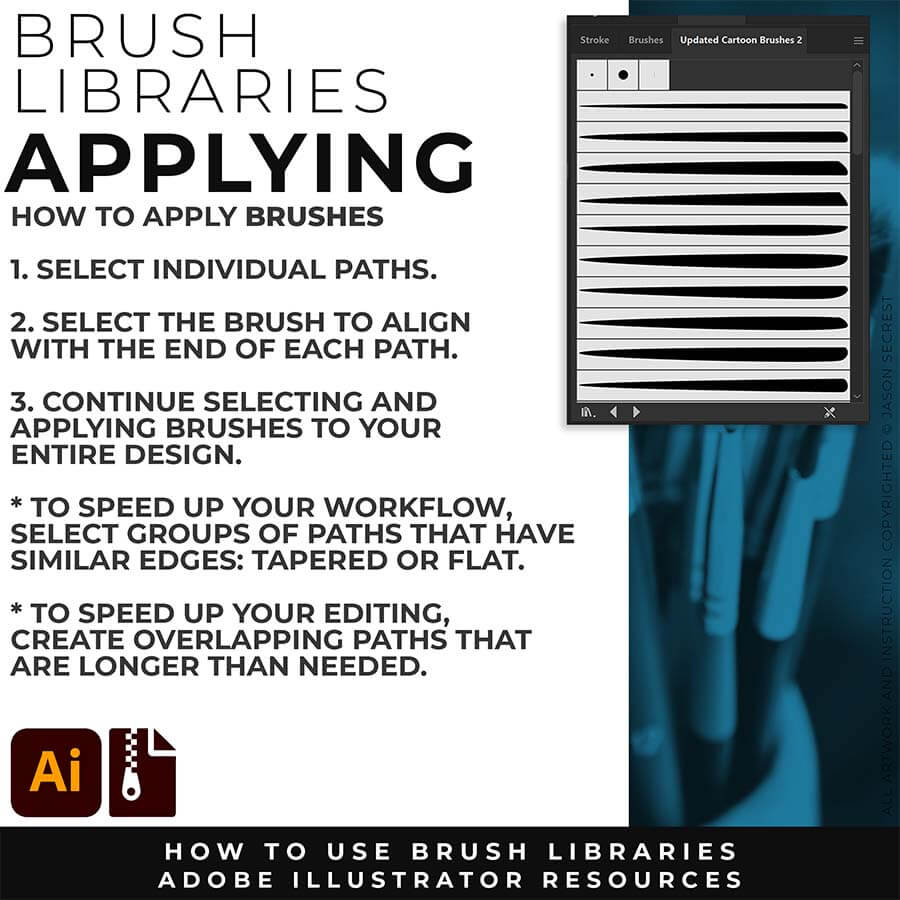
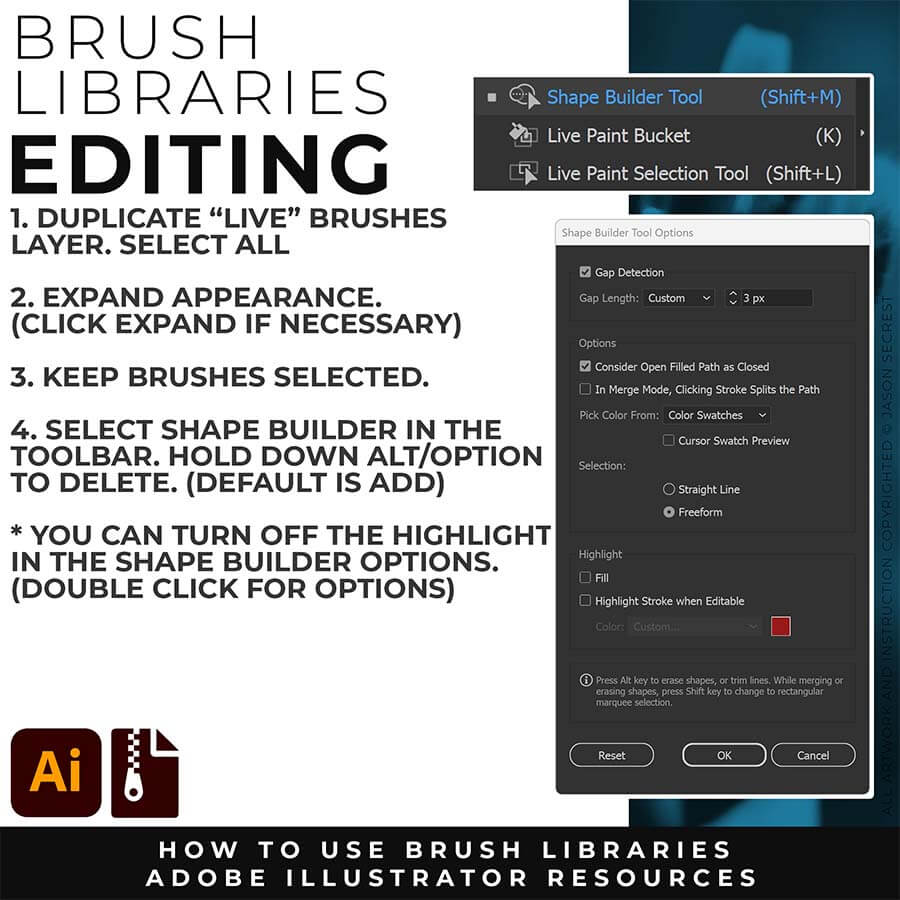
PEN TOOL WORKFLOW: Beginner Pen Tool Workflow using Shapes and Cartoon Brushes. Understand Building, Applying, and Editing Brush Libraries. VIEW BEGINNER GUIDE
SHAPE TOOL WORKFLOW: Beginner Shape Tool Workflow using Fills and Brushes. Understand the Building, Variation, and Basic Coloring Methods. VIEW BEGINNER GUIDE
PEN TOOL WORKFLOW: Beginner Pen Tool Workflow using Cartoon Brushes. Understand Building, Applying, and Editing Brush Libraries. VIEW BEGINNER GUIDE
PEN TOOL WORKFLOW: Beginner Pen Tool Workflow using Live Paint and Knife Tool. Understand the Building, Live Paint, and Advanced Value Methods. VIEW BEGINNER GUIDE
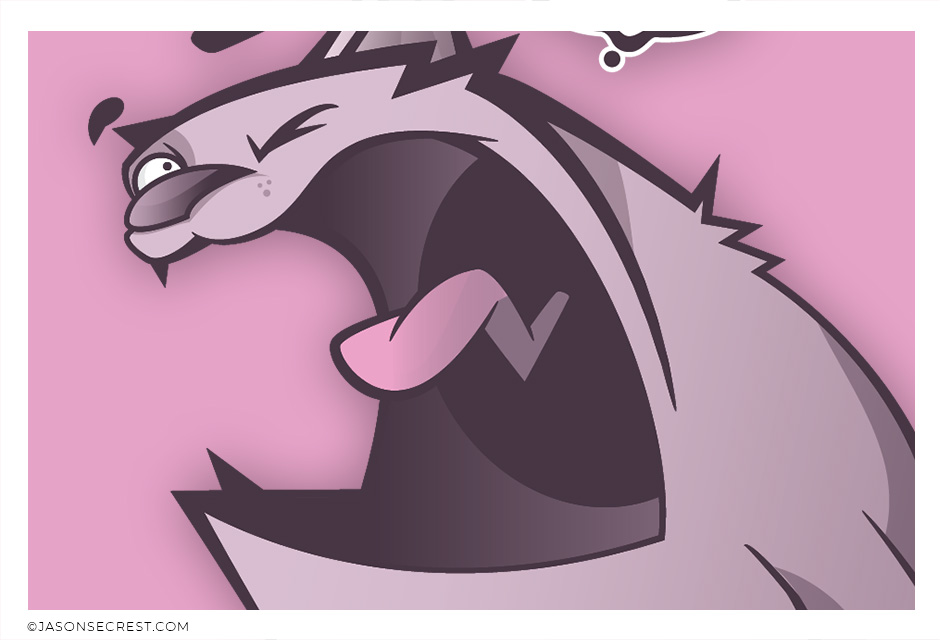
PEN TOOL WORKFLOW: Beginner Pen Tool Workflow using Live Paint and Knife Tool. Understand the Building, Variation, and Advanced Coloring Methods. VIEW BEGINNER GUIDE

PEN TOOL WORKFLOW: Beginner Pen Tool Workflow using Live Paint and Knife Tool. Understand the Building, Variation, and Advanced Coloring Methods. VIEW BEGINNER GUIDE

PEN TOOL WORKFLOW: Advanced Pen Tool Workflow using Pen Tool, Blend, and Live Paint. Understand Building, Variation, Editing, and Basic Coloring Methods. VIEW BEGINNER GUIDE